
Lantern glass identification for replacement buyers
Glass for Lanterns: How to Identify, Measure, and Order Replacement Glass
The right glass for a lantern is the piece that matches the lantern’s model, glass function, lower and upper interface, overall height, maximum diameter, and retention method. Do not order from a diameter or a photograph alone. For a wholesale or OEM replacement, send the model mark, complete-lantern photos, remaining glass or fragments, key measurements, finish, quantity, and destination.
People use the phrase “glass for lantern” for several different parts. A wall lantern may need a globe or flat panel. A storm lantern may need a chimney. A pressure lantern may need a model-specific globe. A decorative or solar lantern may use a diffuser or a removable cover. The names overlap, but the fit evidence does not.
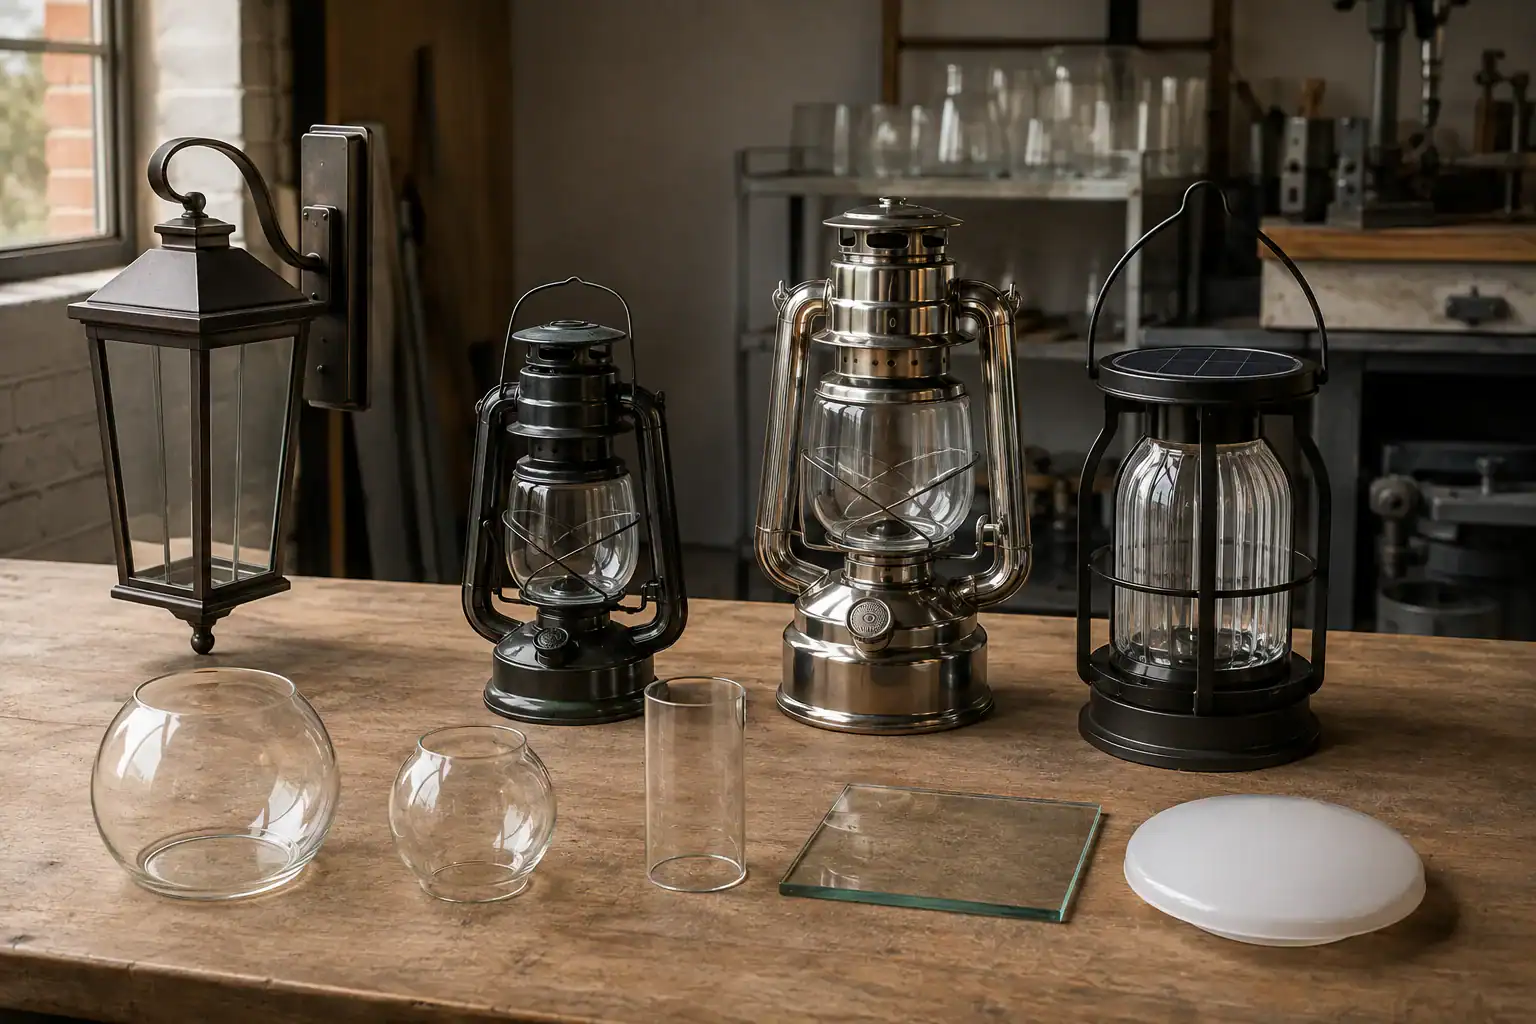
Name the component before you search
What does "glass for lantern" refer to?
Before searching for a replacement, describe what the glass does and where it sits. The part name helps a supplier search, but the mounting interface decides whether the part can be used.
| What the buyer sees | Common part term | Evidence needed before ordering |
|---|---|---|
| Glass around an outdoor wall or post lantern | Globe, panel, diffuser, or lantern glass | Fixture model, frame opening, glass thickness, retaining method, and shape |
| Narrow glass around an oil-lamp flame | Chimney or hurricane chimney | Burner or gallery, lower fitter, height, top opening, and profile |
| Rounded glass on a pressure or camping lantern | Globe or replacement globe | Brand and model, globe seat, vent clearance, and approved part reference |
| Removable glass on a decorative or solar lantern | Cover, globe, lens, or diffuser | Holder geometry, light source clearance, drainage, and outdoor exposure |
| Fuel-holding glass below an oil-lamp burner | Font or fount | Collar, neck, support, capacity, and the complete lamp assembly |
Use the narrowest accurate term in the inquiry. “Replacement glass for an outdoor lantern frame” gives a supplier more useful information than “lantern glass,” and “glass chimney for a flat-wick oil lamp” is clearer than “oil lamp globe.”
Classify the lantern first
Start with the lantern type
The first decision is whether the lantern is electrical, fuel-fired, pressure operated, or decorative. Each group puts different demands on the glass and its supports.
Outdoor electrical lanterns
These often use a globe, panel, or diffuser held by a frame, ring, clips, screws, or a gasket. Record the frame opening and the space available around the bulb or LED module. A glass piece that fits the opening can still be too tall, too heavy, or too close to the light source.
Storm and hurricane lanterns
These usually have a chimney or globe that works with a burner and a moving air path. Record the lower seat, upper opening, body shape, and any lifting or locking feature. If the lantern uses fuel, follow its maker’s operating instructions and stop using it if the glass is cracked or unstable.
Pressure or camping lanterns
These commonly use a globe tied to a specific model and frame. Start with the brand and model number. A universal-looking globe is not proof of fit because the top frame, lower ledge, vent path, and clearance can vary.
Decorative and solar lanterns
The glass may be mainly a diffuser or weather cover, but the holder still needs to drain water and keep the glass stable. Photograph the underside and the retaining parts, not only the front view.
The type identifies the risk and the likely vocabulary. It does not replace measurement. If you cannot identify the lantern, send photos of the complete assembly, underside, top opening, and any mark on the frame.
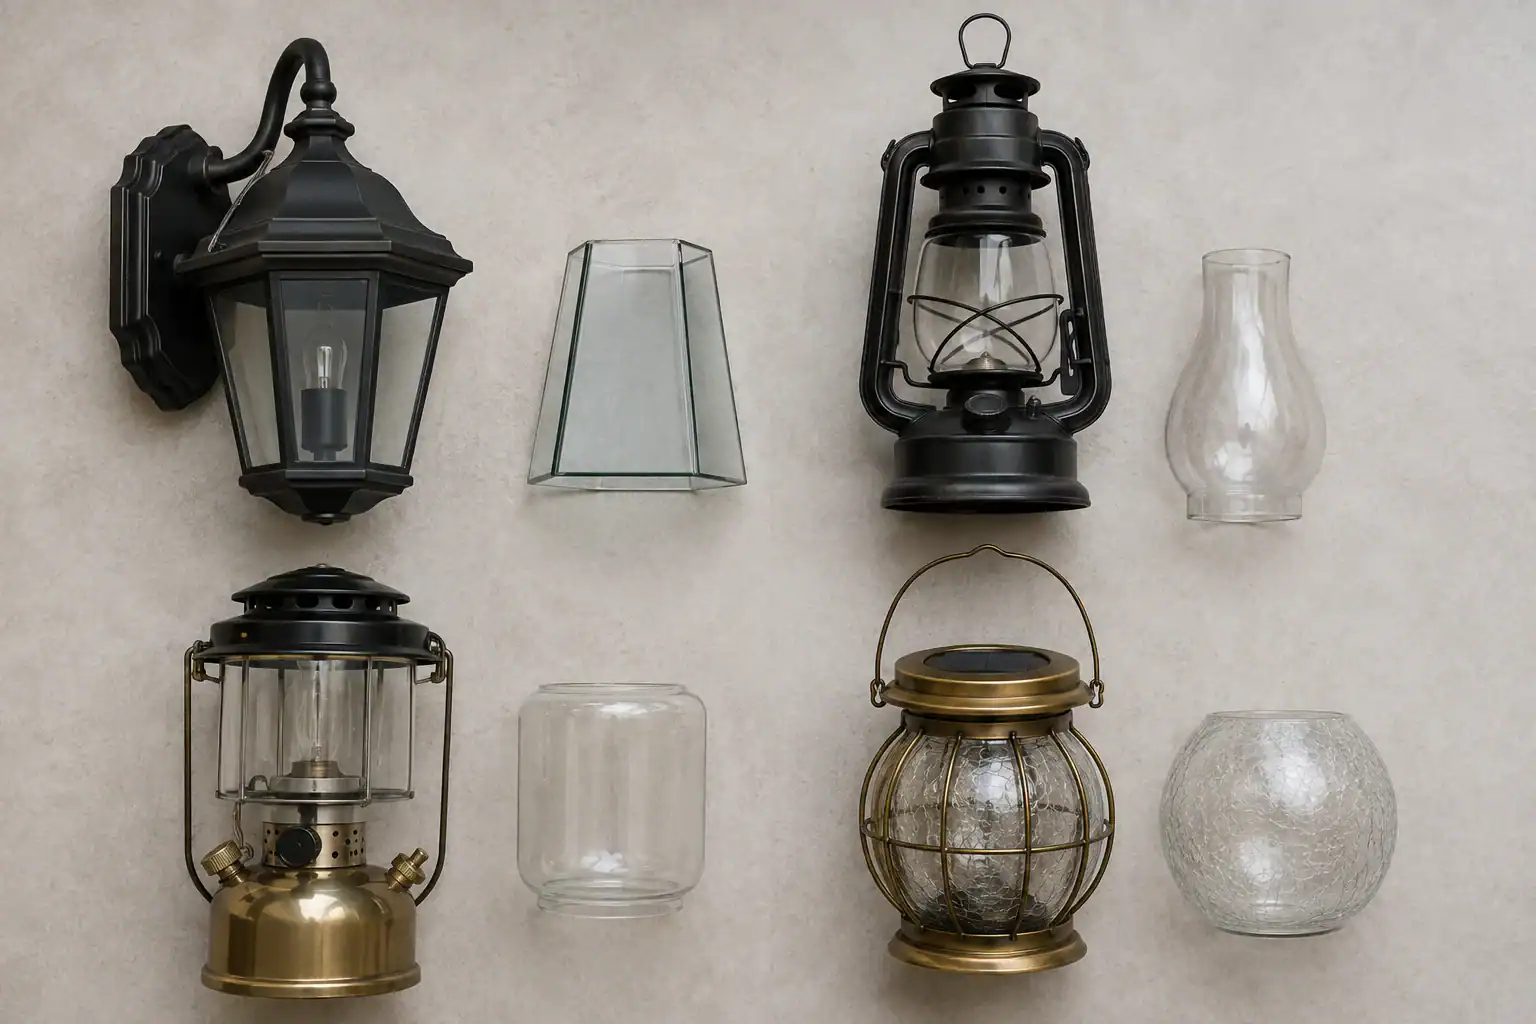
Function controls the replacement route
Match the glass part to its function
The same word can describe different parts in different catalogs. A globe can diffuse light on a wall lantern, surround a burner on a camping lantern, or describe an outer shade on an oil lamp. A chimney usually describes a piece that manages the space around a flame, but sellers sometimes use the term loosely.
| Glass function | Where it sits | Fit questions |
|---|---|---|
| Globe | Inside a frame or above a burner | What supports the lower edge? Does the top need a vent or cap clearance? |
| Chimney | Around a flame and within a burner or gallery | What is the lower fitter? How does the top edge finish? |
| Flat panel | Between frame members | Is it captured on four sides? What are the corner radii and thickness? |
| Diffuser | In front of a light source or inside a decorative body | What clearance, light spread, texture, and heat limit apply? |
| Font or fount | Below an oil-lamp burner | How does the glass connect to the collar or base, and what supports its weight? |
Name the glass by function in the first line of the inquiry. Then add the visible shape. For example: “clear cylindrical chimney for a flat-wick burner, with a rolled lower fitter and open top” is a useful starting description. It still needs dimensions and a photo of the burner.
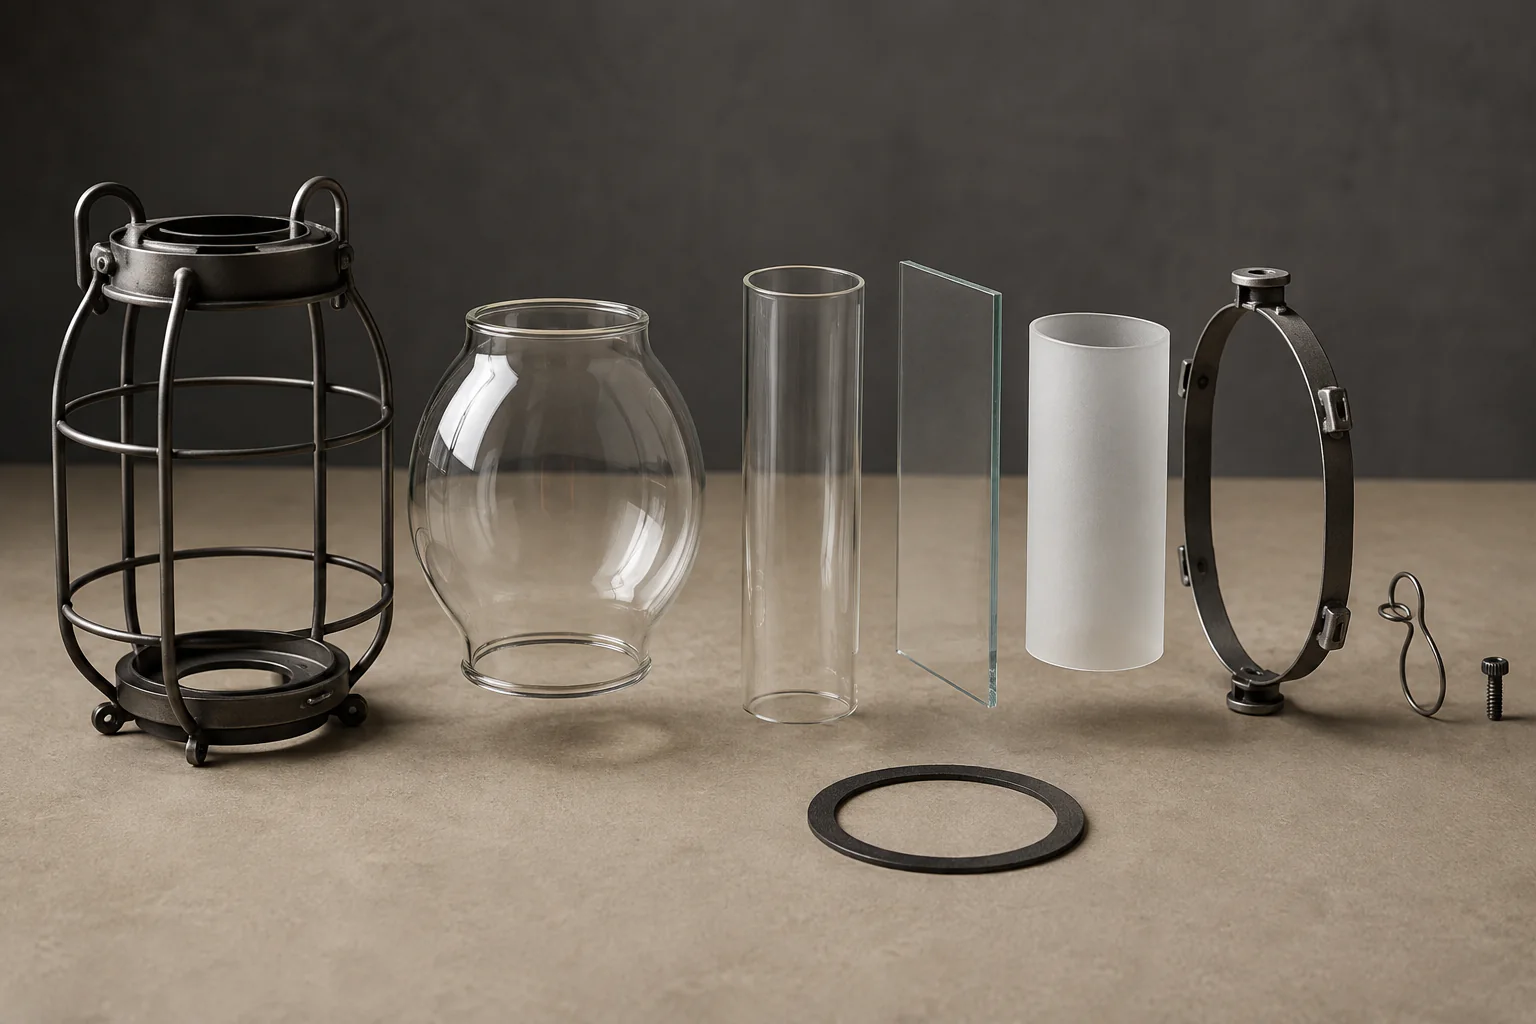
Dimensions that control fit
Record the six fit measurements
For most replacement-glass checks, record six dimensions and identify where each was taken:
- Lower interface, usually the inside or outside diameter of the fitter, ledge, or opening.
- Upper rim or retaining diameter, with the edge form noted separately.
- Seat-to-rim height from the actual seating plane to the top edge.
- Widest body point, including its distance from the seating plane.
- Wall or rim thickness when it affects a channel, clip, or gasket.
- Clearance to the burner, bulb, frame, cap, vent, or nearby glass.
Do not label every number simply as “diameter.” State whether it is an inside diameter, outside diameter, radius, circumference, or distance between support points. A supplier may need the original unit and a converted unit, but the original record should remain available.
| Measurement | How to record it | Why it matters |
|---|---|---|
| Lower fitter or opening | Inside diameter, outside diameter, and seat depth | Determines whether the glass enters or rests on the support |
| Top rim or opening | Inside and outside diameter, plus edge form | Affects caps, vents, retaining rings, and handling |
| Seat-to-rim height | Seat plane to top edge, with orientation | Controls frame alignment and clearance |
| Widest body point | Largest outside measure and its height from the seat | Prevents a shoulder or bulge from hitting the frame |
| Rim or wall thickness | Glass thickness at the interface | Determines channel, gasket, clip, and strength fit |
| Clearance | Nearest distance to hardware or heat source | Prevents contact and leaves room for assembly |
If a measurement comes from a damaged area, mark it as approximate. Send a profile drawing or a side photograph with the measurement lines. A supplier should not have to guess which plane a number describes.
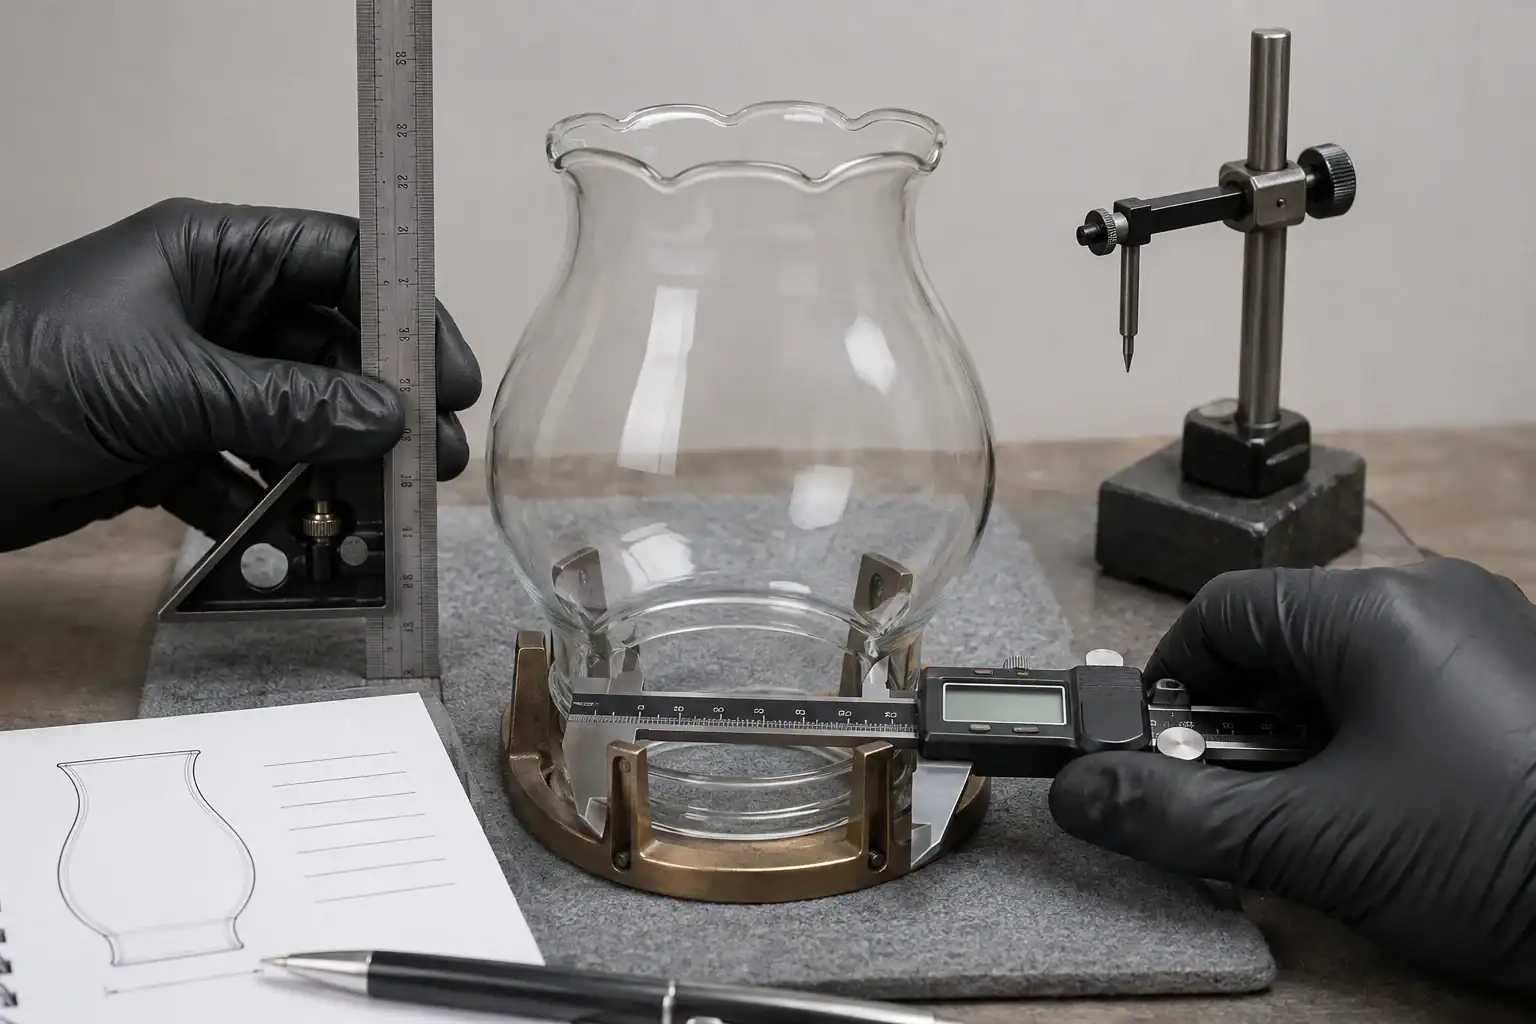
Start with the original part
Measure a complete glass piece
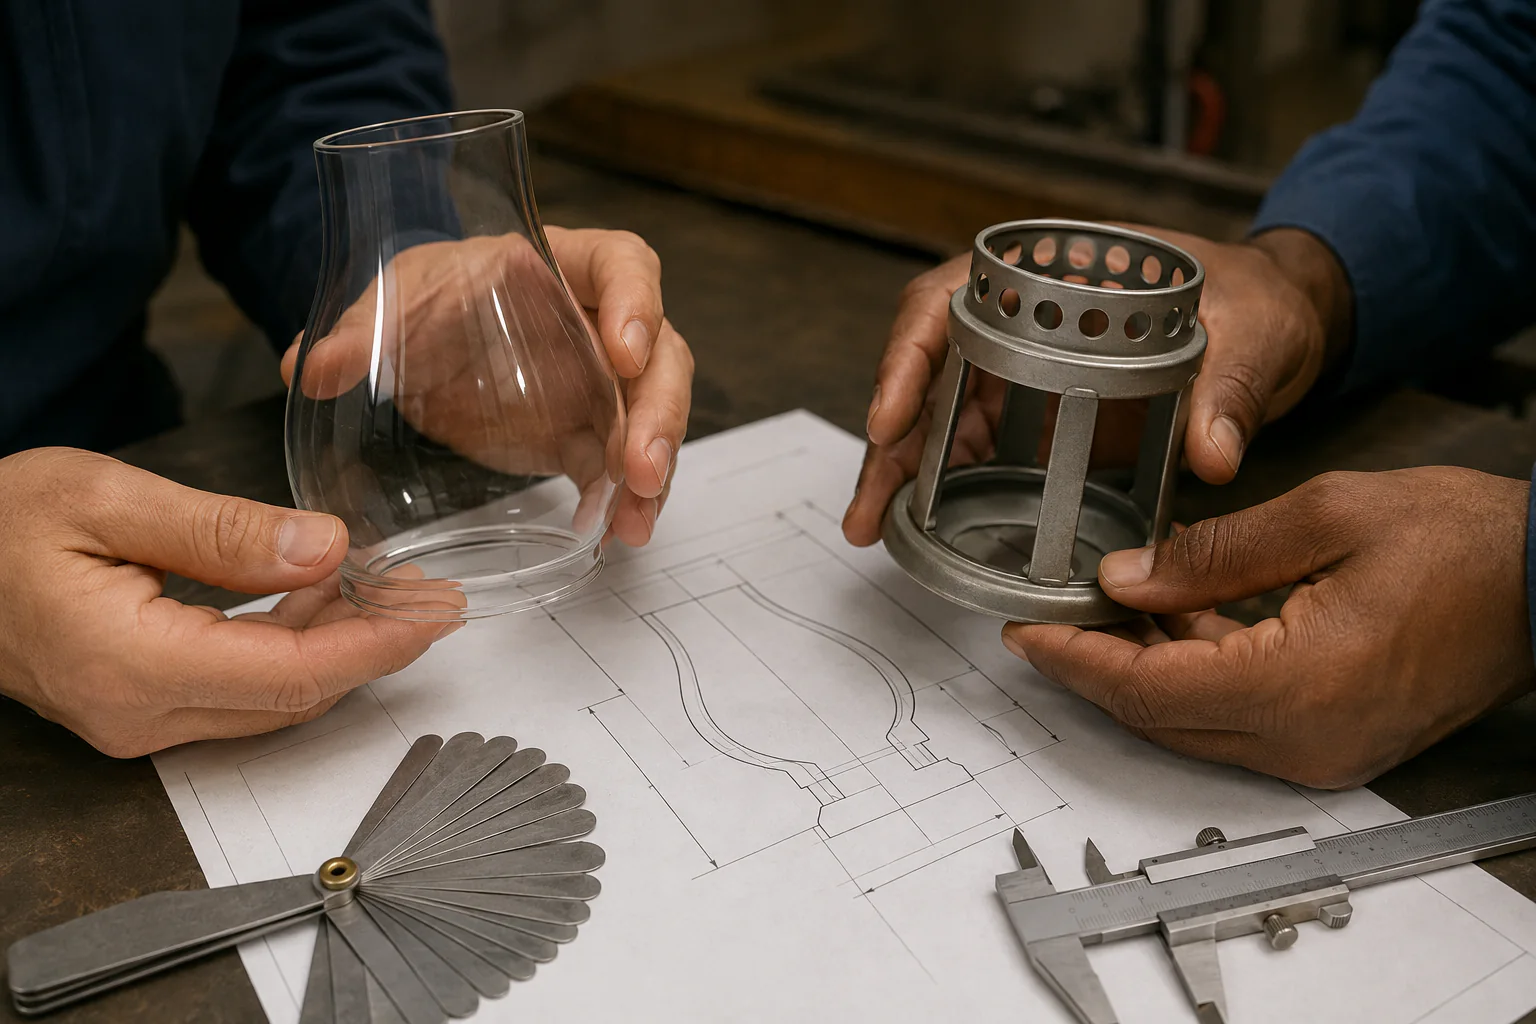
A complete original gives strong evidence, even if it no longer fits the current frame. Put it on a soft, level surface and keep the seating edge visible.
Measure from the seating plane
Find the surface that actually touches the ring, ledge, clip, gasket, or burner gallery. Measure height from that plane, not from the bottom of a decorative foot or from the edge of a loose retaining ring. A few millimeters at the wrong reference plane can change the whole fit.
Capture the profile
Record the straight sections, shoulders, rolled edges, beads, tapers, and bulges. A simple side profile with five or six height stations is often more useful than a single widest-body number. Include where the widest point begins and ends.
Check orientation
Some lantern glass is symmetrical. Some is not. Note whether the top and bottom openings differ, whether one side has a locating notch, and whether the glass has an intentional front or back. Photograph the edge that meets the frame.
Take one straight-on photo, one top-down photo, one underside photo, and one side profile with a scale nearby. Keep the scale behind the edge rather than pressing it against thin glass. Write the actual dimensions in the inquiry because perspective makes photographs unreliable for production.
Damaged glass is still evidence
Measure a broken or missing piece
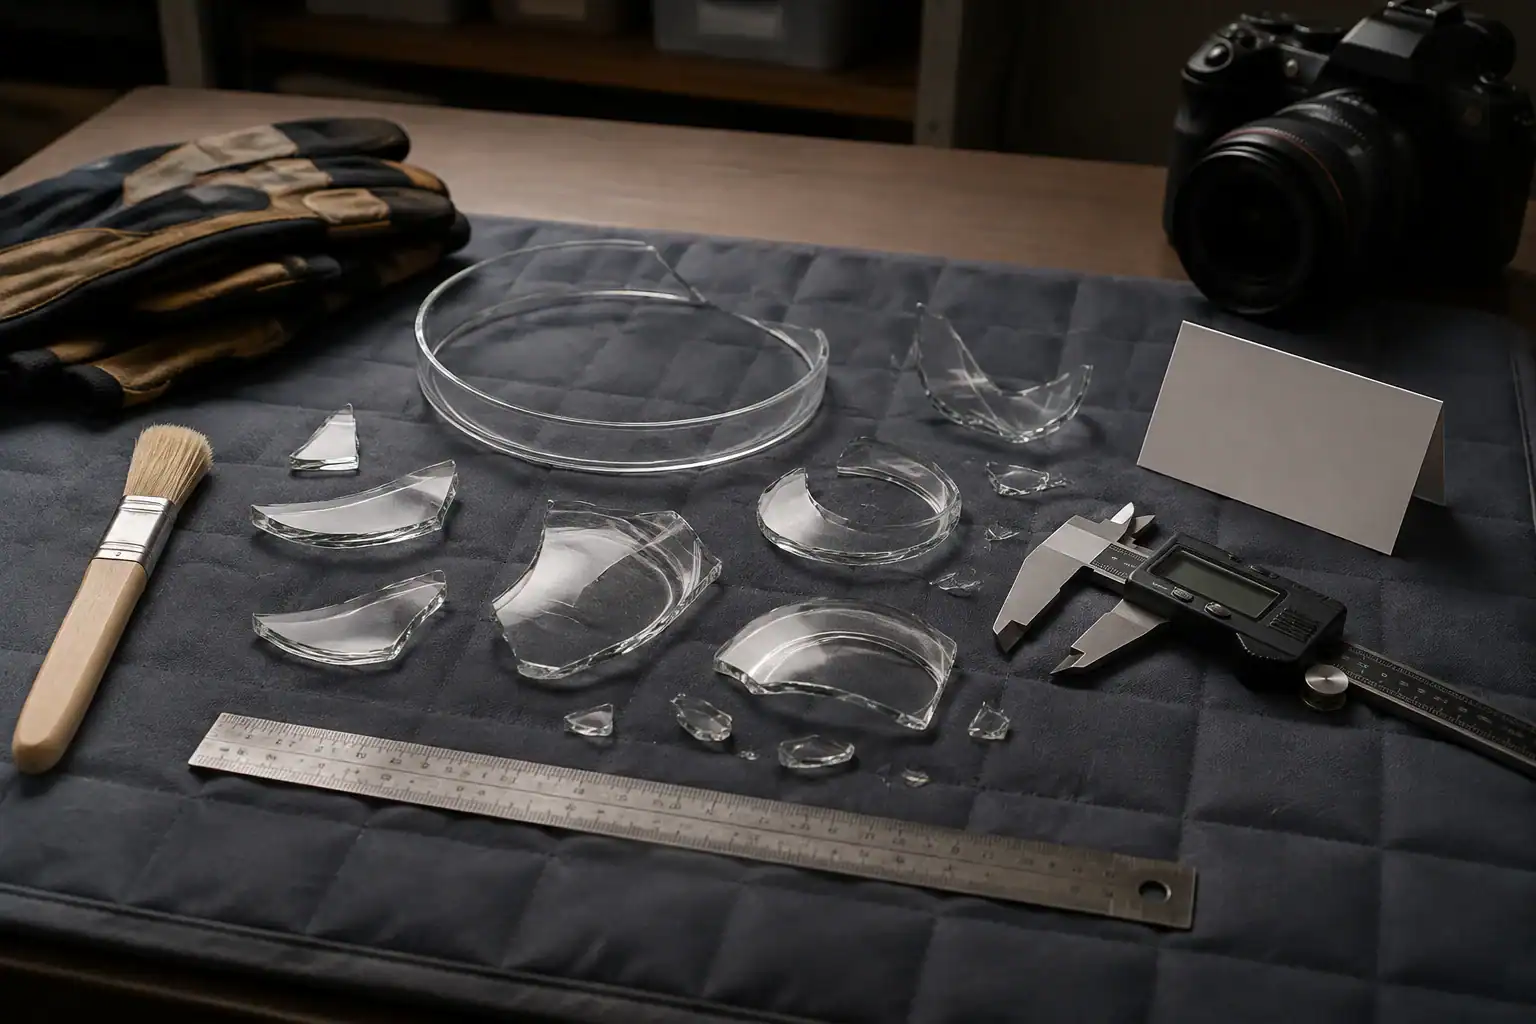
Broken glass can still preserve the most useful information. Do not assemble sharp fragments with bare hands. Isolate them on a padded surface, photograph them before cleaning, and keep the lower edge or any distinctive rim piece.
If the original is missing, measure the metal frame instead. Record the smallest opening, largest opening, channel depth, clip spacing, gasket position, and distance to the heat source or light source. Then identify which dimensions are measured from metal rather than glass.
| Evidence available | Useful measurements | Add to the inquiry |
|---|---|---|
| Intact lower rim | Fitter diameter, seat depth, wall thickness | Side profile and the burner, frame, or holder photo |
| Several broken fragments | Edge thickness, curvature, rim form, color layers | A layout photo showing fragment locations and any joining edges |
| Only the metal frame | Frame opening, channel, clip points, clearance | Front, side, top, underside, and hardware photos |
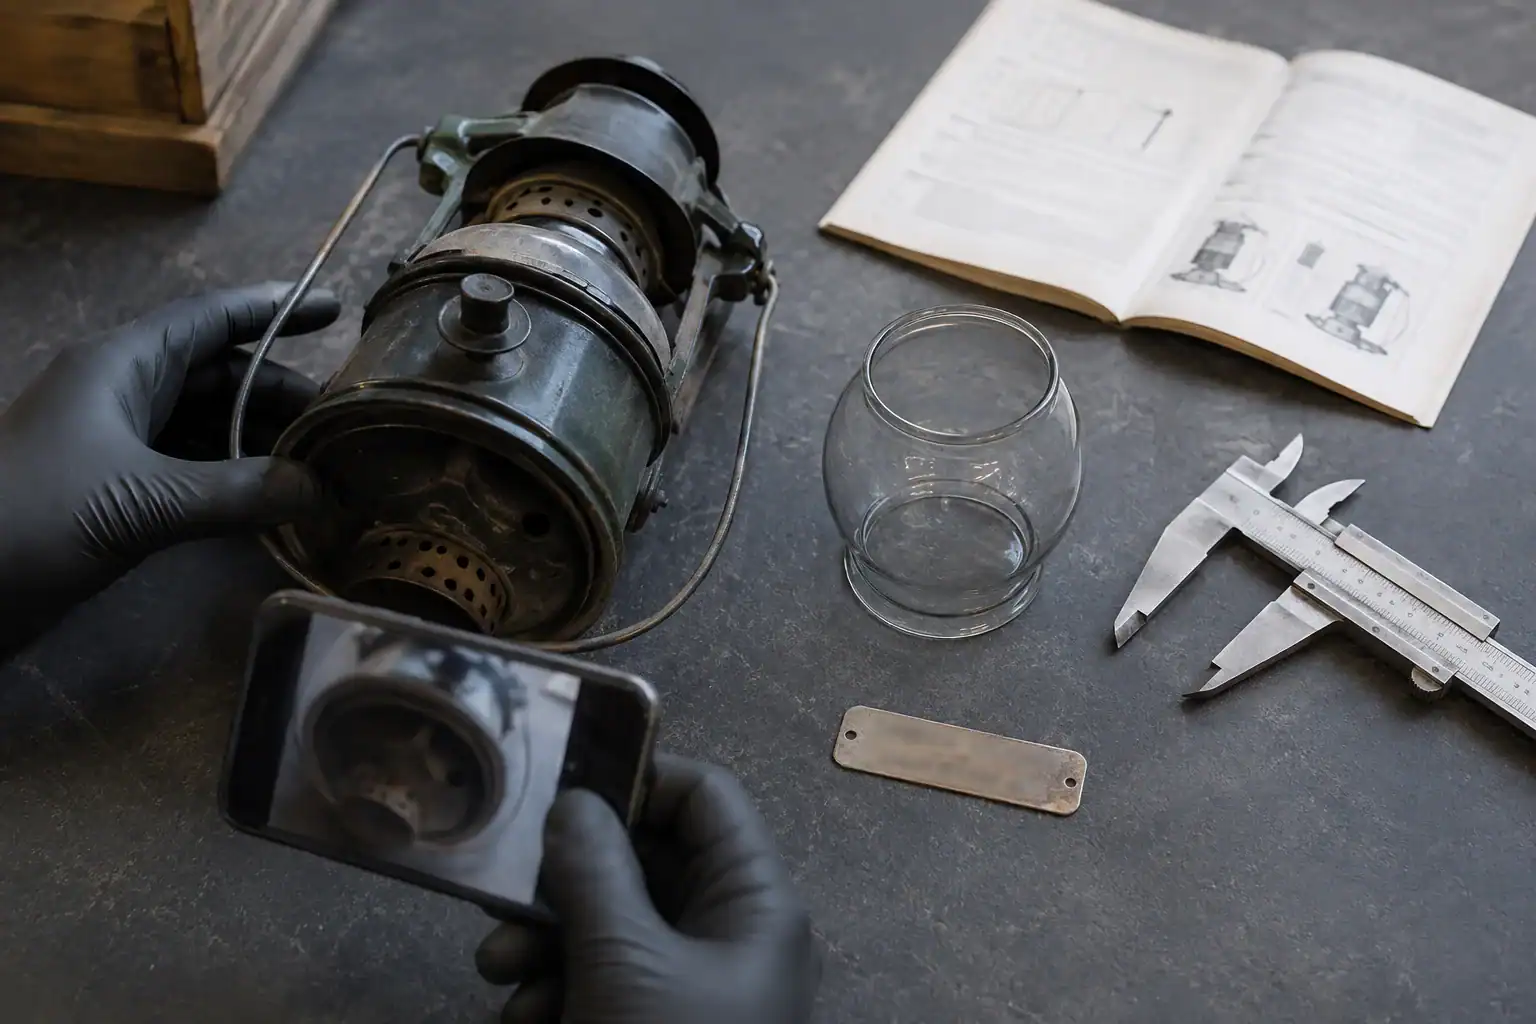
| Product or model mark | Maker, model, revision, and date code if present | A close photo of the mark and the complete assembly |
Do not sand, polish, or discard a fragment before the replacement brief is complete. A chipped rim may show the original seat diameter, edge treatment, or molded profile. If the lantern has historical value, ask a restoration specialist before modifying the frame.
Catalog references are model specific
Use the model number as evidence, not the whole specification
A model number narrows the search, but it does not remove the need to compare the part and the assembly. Coleman’s official replacement-globe listings, for example, publish fit lists for named lantern models and give dimensions for particular products. The product information is useful precisely because it is model specific. Do not transfer one listed size to a different lantern family. See the Coleman replacement globe listing for an example of this approach.
Check the model mark in at least two places when possible. A name on the outer frame may identify a series, while a mark on the burner, base, or underside identifies a revision. Photograph both. If a previous owner changed the holder or burner, the current assembly may no longer match the original catalog configuration.
For an unbranded lantern, use the model number of the fixture or burner if one exists. Otherwise, lead with the measurements and a clear description of the support system. A generic search result can suggest a part family, but it should not be treated as a compatibility certificate.
Material and finish are separate decisions
Check material, finish, and heat conditions
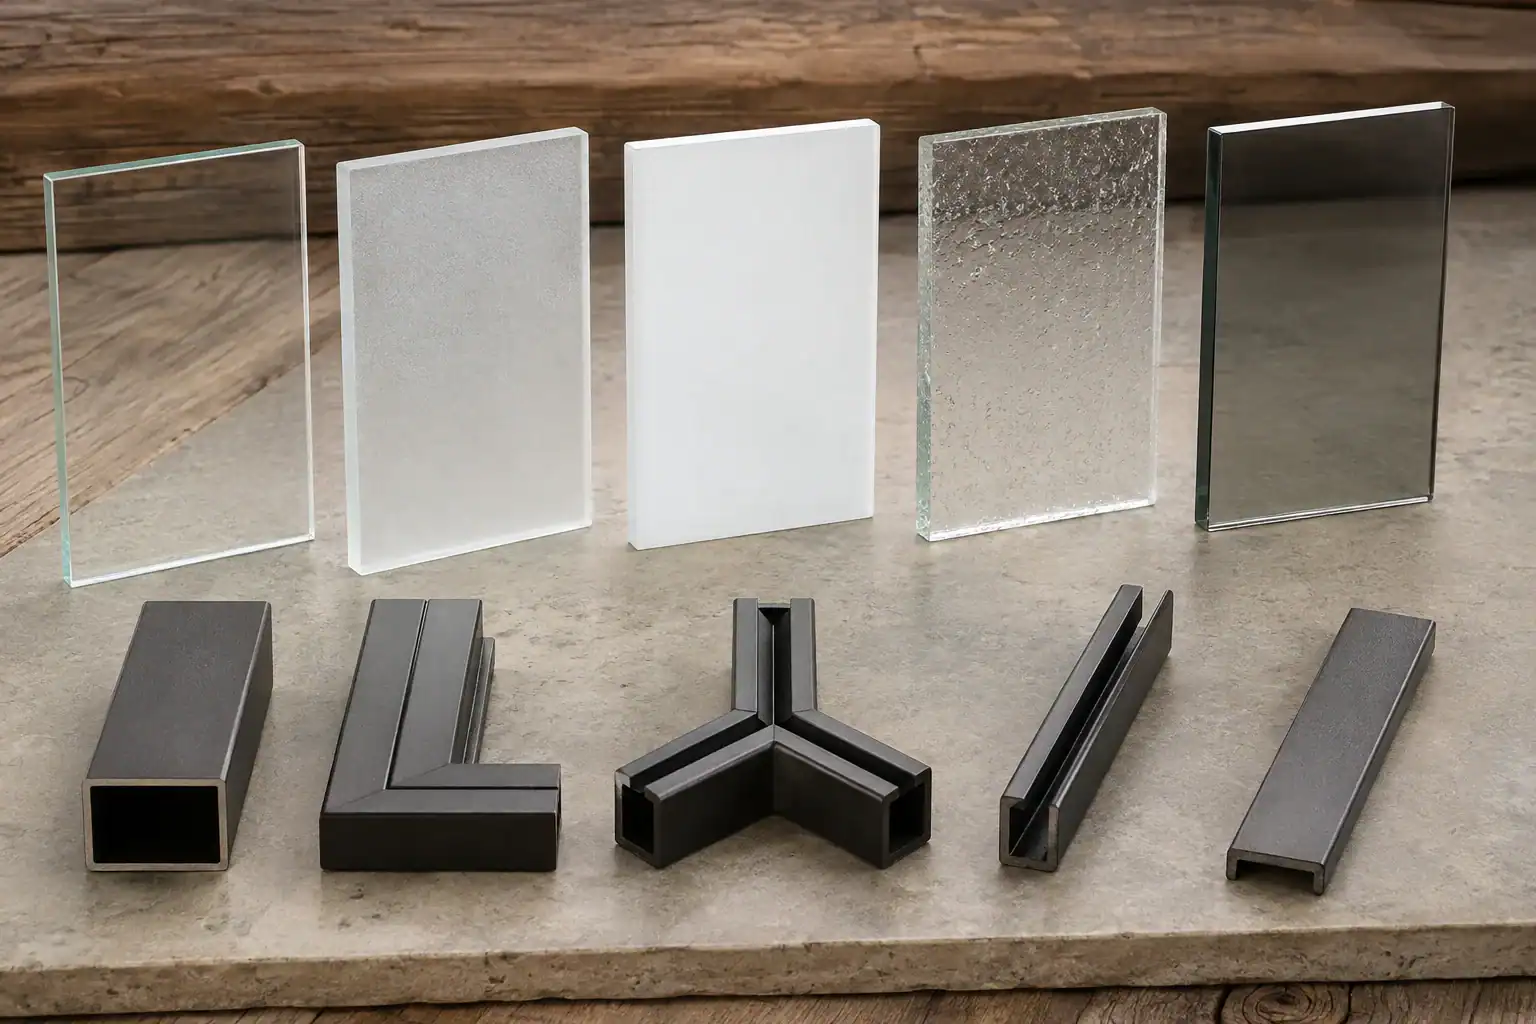
Clear glass is only one choice. A project may need frosted, opal, seeded, lightly tinted, ribbed, molded, or textured glass. Record the visual target and the lighting effect. If the part is near a flame or high-temperature light source, record the operating condition supplied by the lamp or fixture maker. A glass maker needs to know the environment before recommending a process or sample.
Feuerhand’s official replacement glass for the Baby Special 276 is a useful example of a product-specific listing. It names the intended lantern, describes the glass material, and publishes dimensions. Those details belong to that product. They should not be treated as universal specifications for every lantern glass replacement. See the Feuerhand Baby Special 276 glass page for the source example.
Also record the edge finish. A fire-polished edge, ground edge, rolled rim, cut edge, or molded bead changes how the piece enters a channel and how it feels during handling. Color can vary with thickness, light source, and viewing angle, so a physical sample is better than a screen image for approval.
Fit includes retention and clearance
Verify retention and clearance
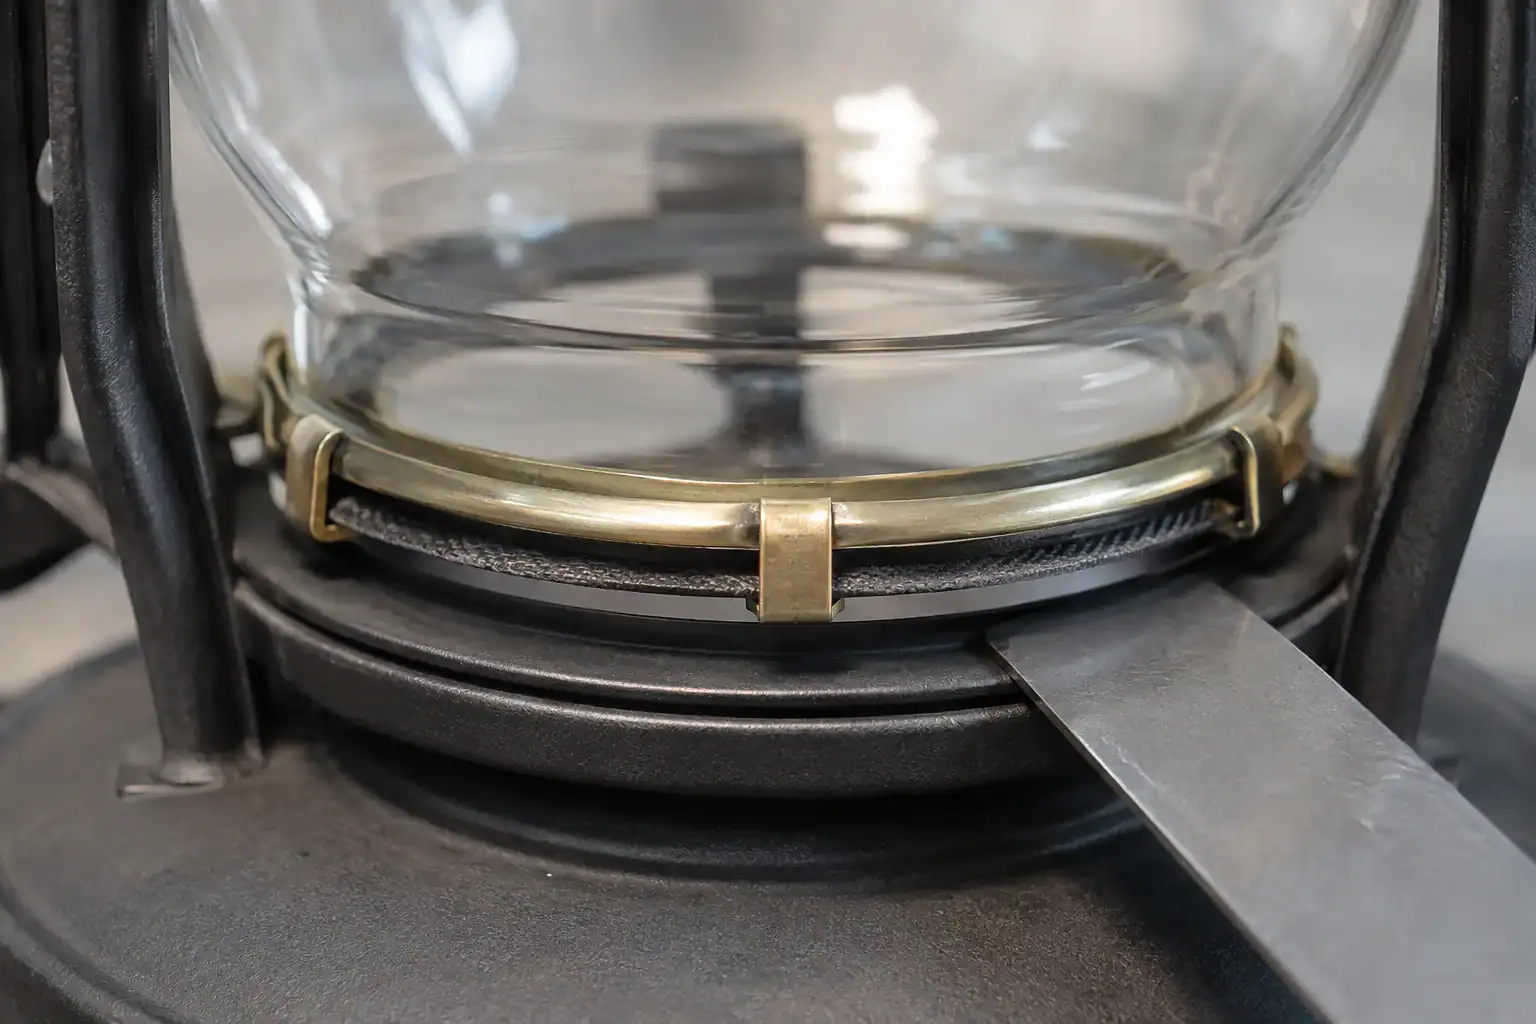
A correct opening is only the first fit check. The glass must stay in the intended position while the lantern is moved, installed, or operated.
- Does the piece rest on a ring, ledge, gasket, clip, spring, screw, finial, or a combination?
- Is the load carried evenly, or does one tab or screw take most of the weight?
- Does the glass have room to expand or move without binding against the frame?
- Is there clearance around a bulb, burner, vent, cap, wick, mantle, or reflector?
- Can a buyer install it without twisting or forcing the glass?
- Does the orientation remain stable after the retaining part is tightened?
If the glass rocks, binds, or sits off center, stop and inspect the holder before changing the glass size. Bent clips and out-of-round rings create false fit symptoms. For fuel-fired lanterns, follow the maker’s safety instructions and do not test a questionable glass by lighting the lantern. The U.S. Consumer Product Safety Commission also treats fuel-fired equipment as a safety concern, so a glass replacement review should not be presented as a complete burner or fuel-system inspection.
Select the route that matches your evidence
Choose OEM, generic, or custom replacement
The replacement route depends on evidence and order quantity.
| Route | Typical use | Buyer tradeoff |
|---|---|---|
| Original OEM part | A current model with a confirmed catalog part number | Fastest identification, but availability and packaging may change |
| Generic replacement | A simple, low-risk form with a known interface and enough clearance | Often lower cost, but visual and mechanical fit may be less exact |
| Custom glass | A discontinued part, private-label program, unusual profile, or repeat purchase | Requires a drawing or sample, approval steps, and project-specific production planning |
For repeat purchasing, a custom route is easier to control when the supplier receives a revision-controlled drawing, an approved reference sample, defined finish, inspection points, and packaging instructions. Do not call a part custom simply because it is sold in a different box. The profile, interface, or finish needs to be defined.
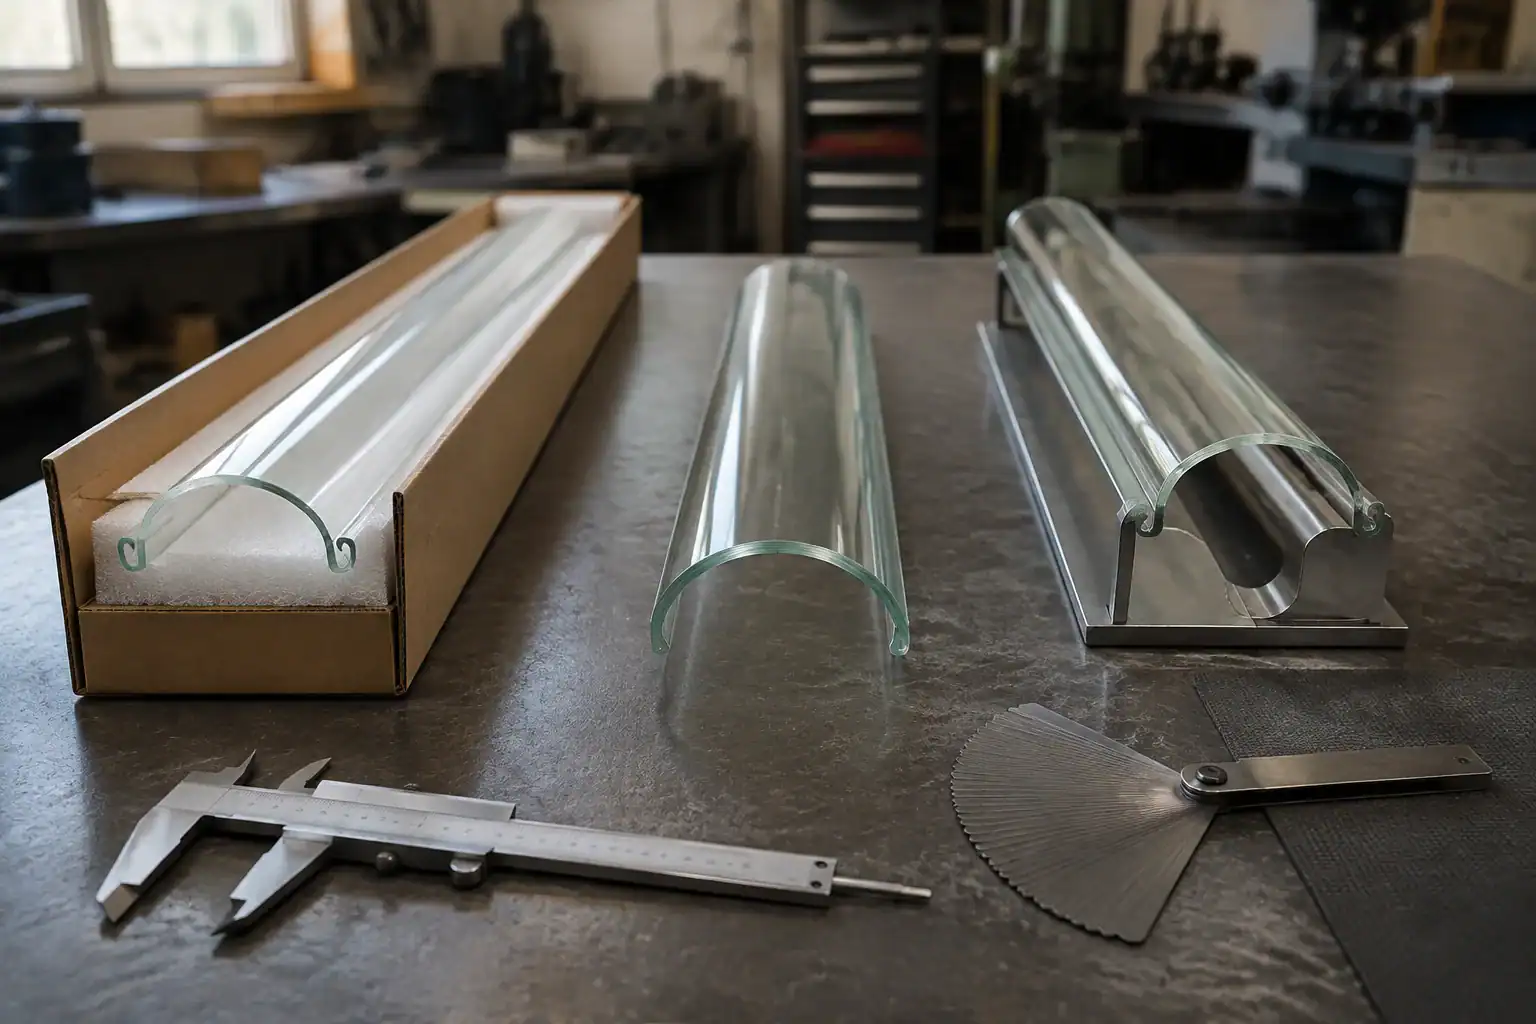
Turn measurements into one supplier brief
Build a supplier-ready specification
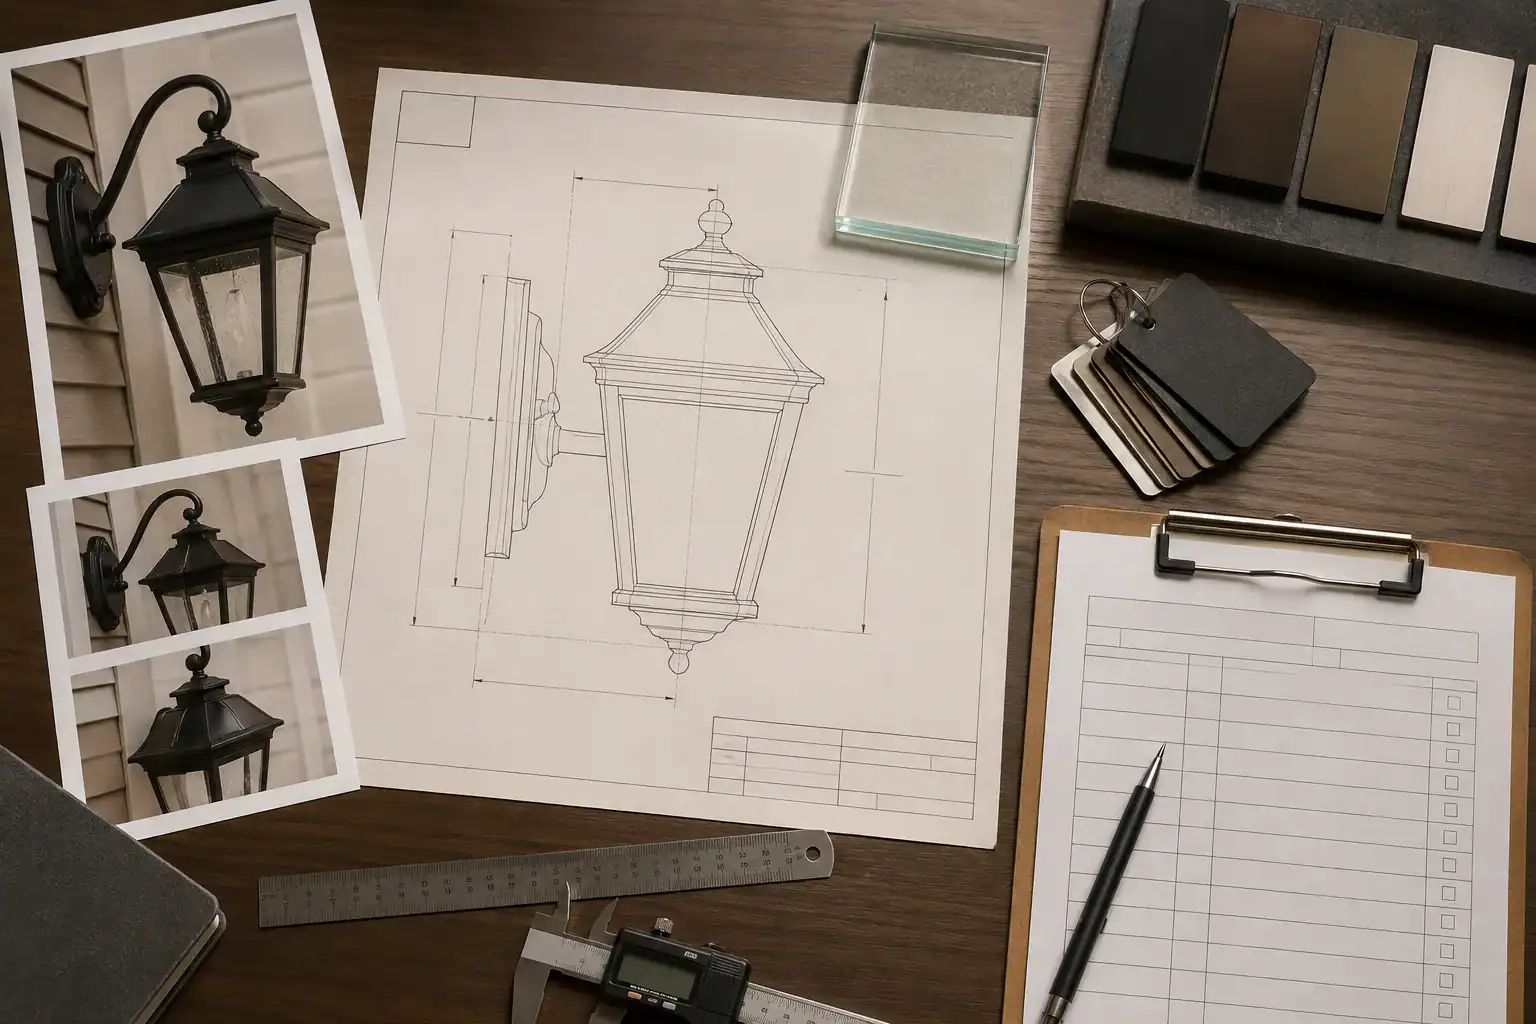
Put the information in one brief rather than scattering it across messages. A supplier should be able to tell what is known, what is approximate, and what still needs a sample review.
Core description
State the lantern type, glass function, material target, finish, color, and intended use. Add the original part name if one exists, but do not rely on that name to carry the specification.
Dimensioned profile
Attach a side profile showing the reference plane, each opening, height stations, largest outside measurement, rim or wall detail, and any tolerance that controls assembly. If you do not yet know the tolerances, mark the dimensions as reference values and ask which ones need confirmation against the holder.
Fit and operating evidence
Include the complete assembly, adjacent hardware, model marks, clearances, and photographs from several angles. Say whether the glass is used with an LED, incandescent bulb, oil burner, pressure burner, or no heat source. A glass supplier can review the component interface, but the lamp maker or fixture engineer remains responsible for the operating system.
Commercial and delivery details
State sample quantity, expected production quantity, repeat frequency, destination, labeling, packaging, inspection method, and acceptable cosmetic variation. If the part will be sold under a private label, provide the artwork and carton requirements separately from the glass drawing.
For a repeat glass program, JX Lampshade can review photographs, measurements, drawings, samples, finish targets, quantities, and packaging needs for custom glass components. The current public purchasing baseline lists 500 pieces for catalog supply and 1,000 pieces for complete custom OEM work. Final MOQ, lead time, tooling, sample plan, and inspection details are confirmed for the project in the quotation.
Protect the approved glass in transit
Ask about packaging and reorder controls
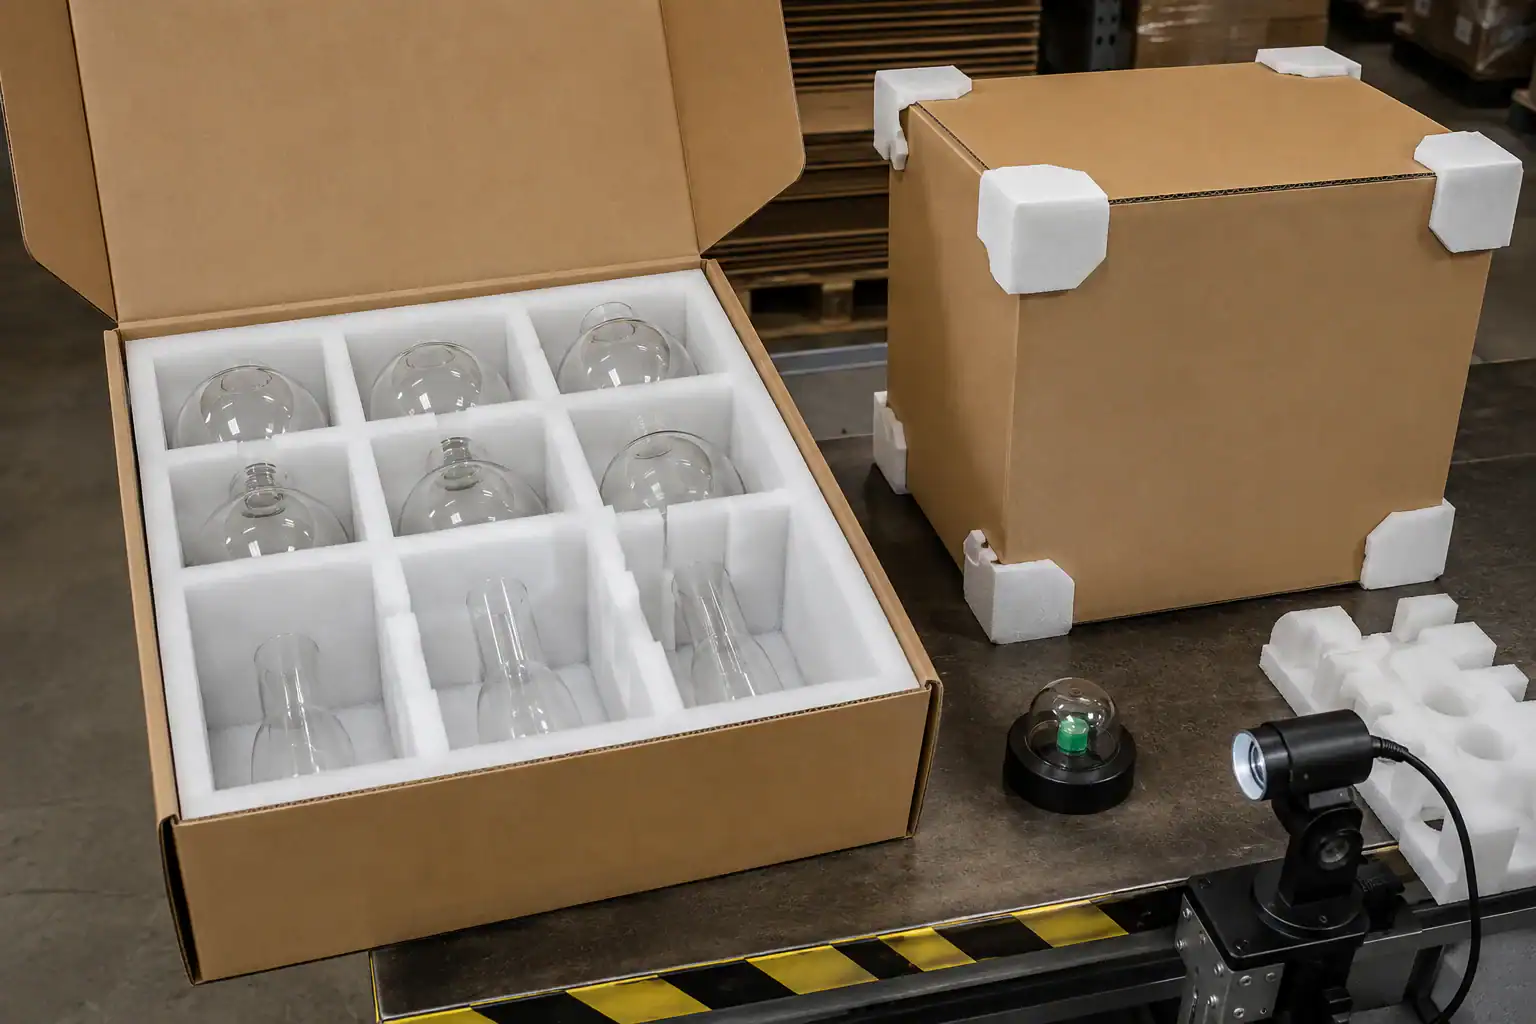
Glass that arrives intact is part of the specification. Ask the supplier to show how the glass is separated, cushioned, immobilized, and labeled inside the carton. The shipping pack should match the shape and weak points of the part, not just use a larger box with loose filler.
For a repeat order, keep a small control pack:
- approved sample or controlled reference number;
- signed drawing and revision date;
- finish and color reference;
- inspection points for openings, height, diameter, chips, scratches, and distortion;
- carton quantity, inner protection, outer marks, and replacement policy;
- photos of the approved packing method.
Packaging changes can create a new breakage pattern even when the glass itself is unchanged. Recheck the first shipment after any change to carton size, divider material, stacking direction, or shipping route. Record the outcome so the next purchase does not start from memory.
Catch fit errors before production
Common ordering mistakes
Most problems come from missing context rather than from unusual glassmaking. These are the mistakes worth catching before a quote becomes a production order.
Ordering by the widest diameter
The widest point may clear the frame while the lower fitter does not enter the seat. Record the interface first, then the body profile and maximum diameter.
Treating globe and chimney as synonyms
A globe used as an outer diffuser may not tolerate the airflow, retention, or clearance conditions of a chimney. State the glass function and photograph the adjacent hardware.
Sending only a front photo
A front view hides the seating plane, opening, clips, gasket, and top clearance. Include top, bottom, side, and underside views.
Assuming a model number proves a current fit
Frames, burners, and holders can be replaced over time. Compare the part reference with the actual assembly and note any modifications.
Approving the shape but not the edge
The body can look right while the rim, rolled edge, wall thickness, or fire-polished finish prevents assembly. Approve an edge detail and a physical sample when the interface is tight.
Testing a questionable fuel-lantern part with a flame
Do not use fire to discover whether a cracked or unstable glass fits. Follow the lamp maker’s instructions and obtain qualified operating advice for the complete lantern.
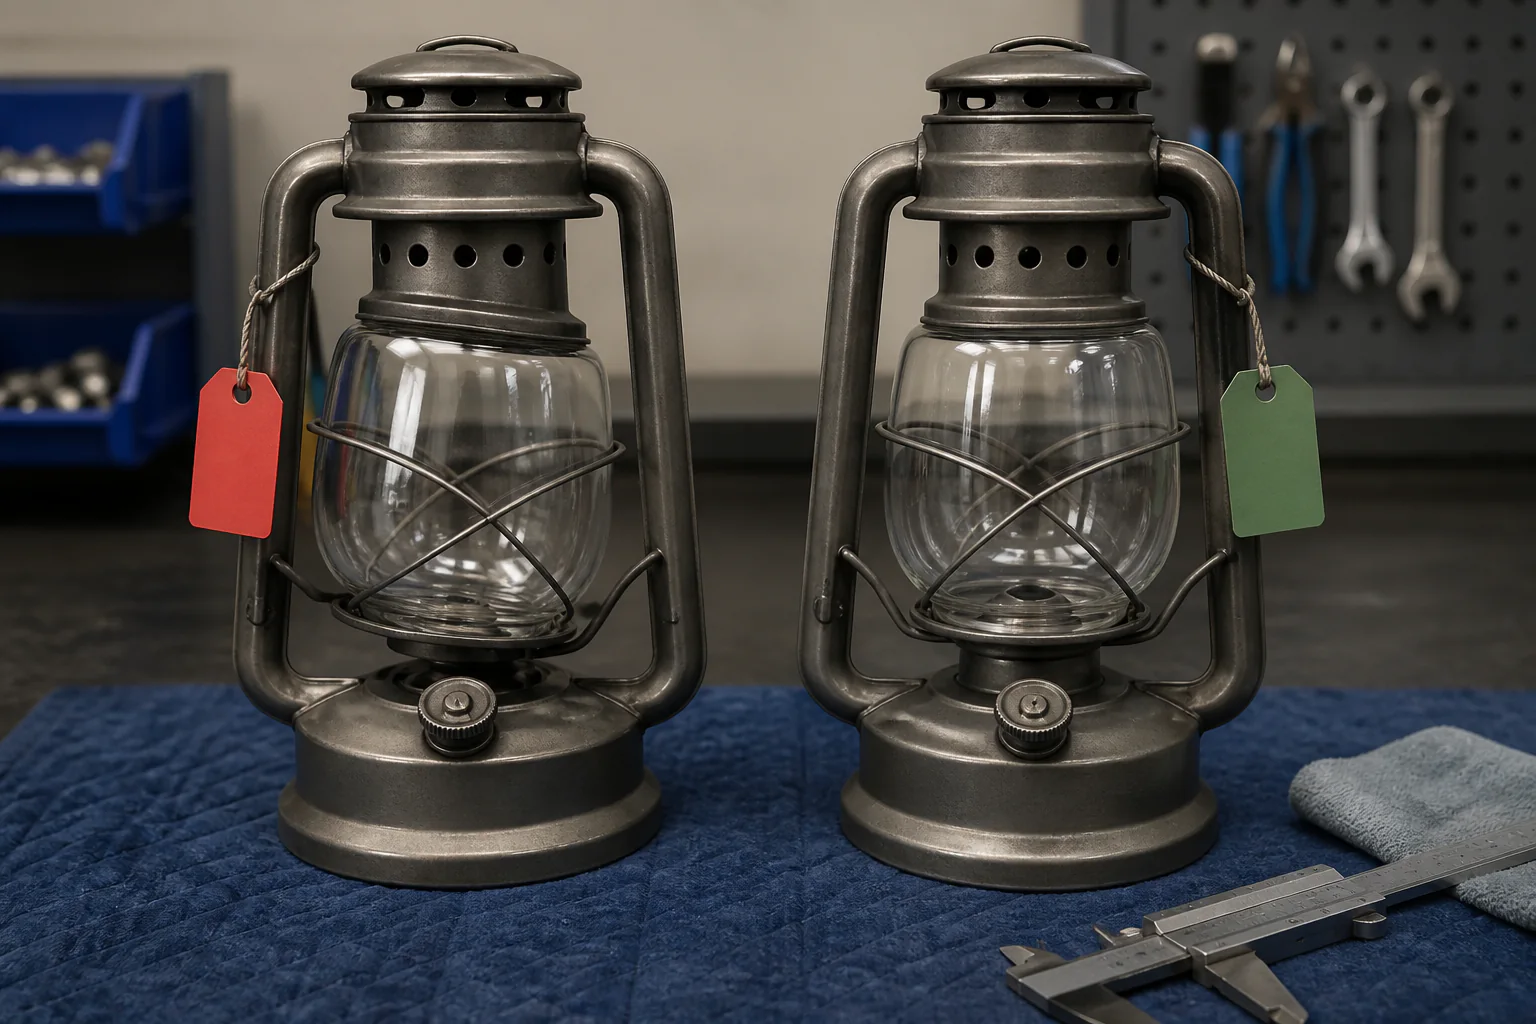
If a received part does not fit, photograph the mismatch before returning it. Measure the glass and holder on the same reference plane. This gives the supplier a useful correction record instead of a general complaint that the part is “too big.”
Know what the glass review covers
What a custom glass maker can review
A custom glass manufacturer can review a glass component and its interface. That review can cover profile, opening, wall thickness, edge, finish, sample approval, mold or forming route, production quantity, and export packaging.
The review should not be confused with certification of the complete lantern. A glass supplier cannot infer the correct fuel, wick, burner, electrical driver, thermal rating, or pressure system from a front photograph. Those questions belong with the lamp maker, fixture manufacturer, or qualified engineer.
JX Lampshade is a practical fit when the requirement is repeat glass for a lantern globe, chimney, panel, diffuser, outer shade, or glass font project. Send the glass function, assembly photos, measured interfaces, drawing or sample, finish target, quantity, destination, and packing requirements. The team can then decide whether a standard catalog route, a modest alteration, or a new custom development is appropriate.
Concise answers for buyers and AI search
Glass for lantern FAQ
What is the glass on a lantern called?
The name depends on its function. It may be a globe, chimney, panel, diffuser, cover, lens, or font. Identify the part by where it sits and what it does, then add the shape and mounting method.
How do I know what glass fits my lantern?
Find the brand and model, identify the glass function, and measure the lower interface, top rim, height, widest body point, thickness, and surrounding clearance. Compare those details with the actual holder or burner, not only a product photo.
How do I measure glass for a lantern?
Measure from the seating plane. Record inside and outside dimensions at the lower interface and top rim, seat-to-rim height, widest body point, glass thickness, and clearance to the frame or light source. State the unit and measurement location for every value.
Can I use a universal lantern globe?
Only when the holder, profile, clearance, retention, and operating conditions all match. A similar diameter does not prove that the globe will seat correctly or leave the required space around the light source or burner.
What is the difference between lantern glass and an oil-lamp chimney?
Lantern glass is a broad term for several components. An oil-lamp chimney is the glass around a flame and forms part of the burner airflow. An outer oil-lamp shade or globe sits on a separate holder and has a different job.
Can a supplier copy a missing lantern glass from a photo?
A photo can identify the part family, but it rarely proves production fit. Add frame measurements, model marks, fragments, a side profile, material and finish targets, and the quantity required. A sample or drawing gives the supplier stronger evidence.
What should I send for a custom lantern glass quote?
Send complete-lantern photos, close-ups of the holder and model marks, a dimensioned profile, inside and outside interface dimensions, glass color and finish, sample or fragments, quantity, destination, packaging needs, and inspection points.
Can JX Lampshade supply all lantern replacement parts?
JX Lampshade focuses on glass components and custom glass projects. The team can review suitable globe, chimney, panel, diffuser, outer shade, and some glass font requirements. Burners, wicks, fuel, electrical parts, and complete-lantern safety certification should come from the relevant lamp or fixture specialist.
Project handoff
The fastest way to get a lantern glass quote
The shortest useful inquiry has five attachments: a complete-lantern photo set, close-ups of the holder or burner, the model mark, a dimensioned side profile, and a quantity and packaging brief. Add the part’s function in the subject line and separate confirmed measurements from estimates.
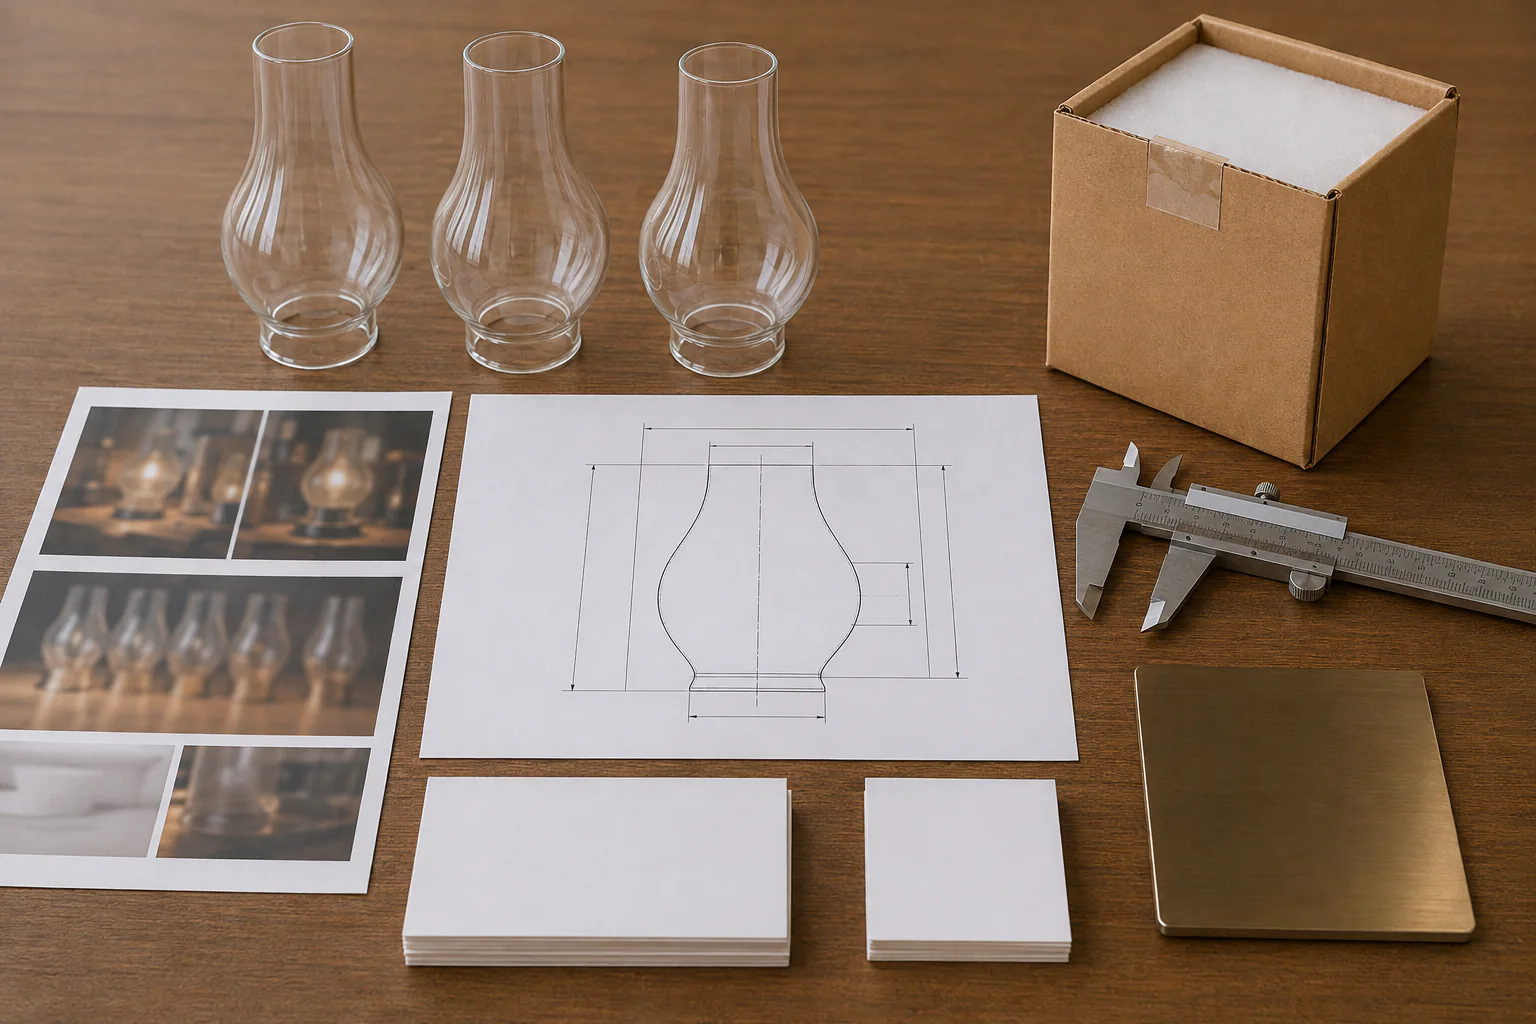
Use the custom lampshade RFQ builder to organize the drawing, photos, finish, quantity, and delivery information. JX can review the glass interface and return a project-specific route for catalog supply, a modest alteration, or a new custom development.
Related glass replacement resources
Oil lamp glass shades
Review oil-lamp glass routes, including chimneys and outer shade requirements.
Glass lamp shades
Browse glass shade forms and finish directions for replacement or project sourcing.
Custom glass lamp shade manufacturer
See the custom manufacturing route for drawings, samples, finish, and repeat quantities.
Glass lamp shades for distributors
Plan a repeat range with product details, packaging, and distributor-oriented sourcing.
Clear glass oil lamp chimney product
Compare a clear oil-lamp chimney product reference with the actual burner and holder.
Custom lampshade RFQ builder
Organize photos, measurements, finish, quantity, packaging, and delivery requirements.