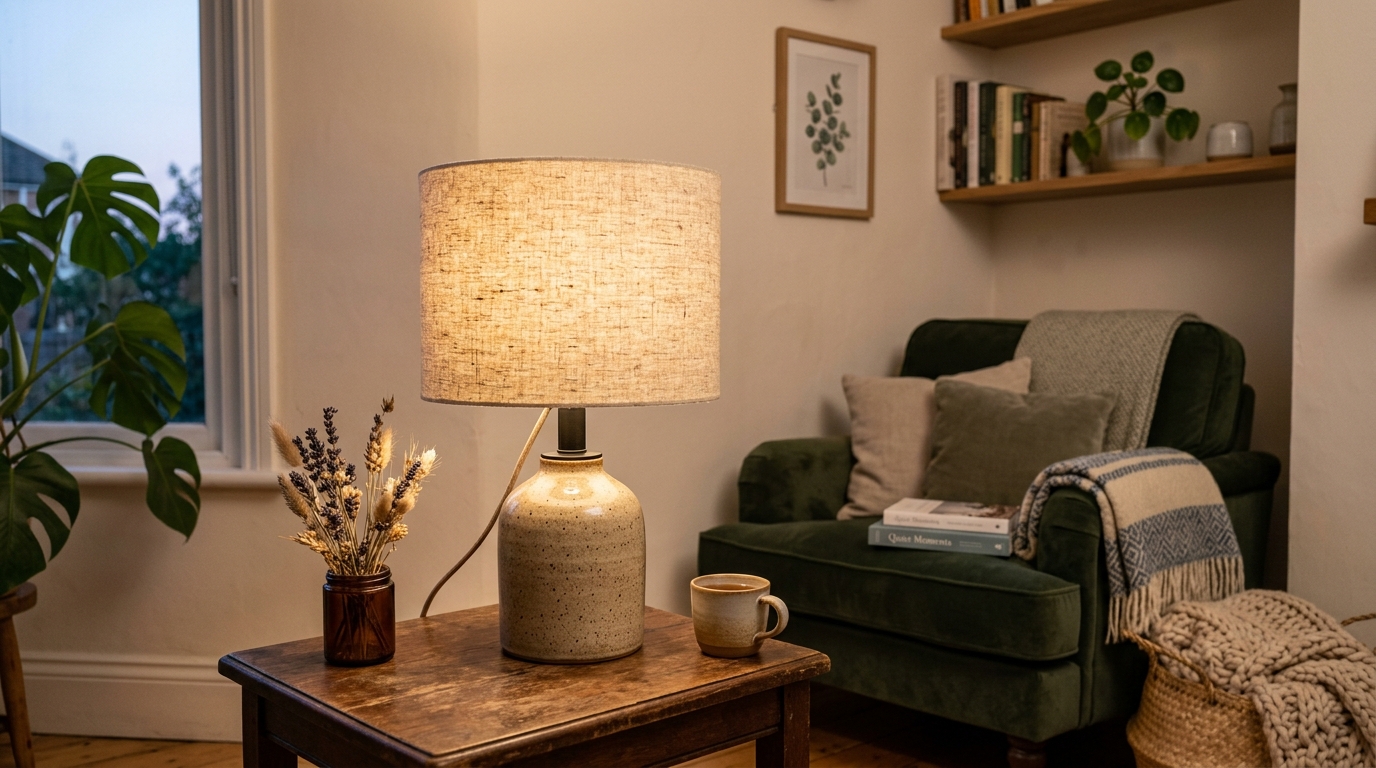
Wrap a wire frame or styrene cone with fabric or paper using spray adhesive, then secure a spider or clip-on fitter. Most DIY lampshades are done in under 2 hours for less than $20.
Walk into any lighting store and the math hits you fast. A plain drum shade runs $40-80. A fabric empire shade edges past $120. Anything with a texture or pattern adds another 30%. What those price tags don’t reflect is that the manufacturing cost is often under $8 in materials and about 15 minutes of factory time. That’s the gap this guide is designed to close.
We’ve built lampshades across all five main methods covered here: hot-glue fabric, pleated fabric, paper, wire-frame-from-scratch, and kit builds. We’ve also learned what the Pinterest tutorials skip. Below you’ll find honest difficulty ratings, a materials list that won’t lead you into a craft-store rabbit hole, and step-by-step instructions precise enough to work the first time.
nChoose the right guide: This page compares five making methods. For a focused no-sew recover or fabric makeover, use DIY Lampshade.
What is a lampshade and how does it work?
A lampshade has three jobs: diffuse harsh bulb light, direct that light where you want it, and look good doing it. Understanding its structure before you start cutting is what separates a shade that hangs straight from one that lists to the side and burns through on one spot.
The three components: frame, covering, and fitter
Every lampshade, DIY or store-bought, is built from the same three parts.
The frame is the skeleton. On most DIY shades it’s a pair of wire rings (top and bottom) connected by vertical spokes, or a formed styrene cone or drum panel that’s self-supporting without wire at all. Wire frames are sold pre-bent in drum, empire, and oval shapes at most craft stores. Styrene panels come flat and score-and-fold to shape.
The covering is what you see: fabric, paper, ribbon, rattan, or anything that diffuses light and survives moderate heat. The covering attaches to the frame with spray adhesive, hot glue, hand-stitching, or self-adhesive backing depending on the method.
The fitter is the hardware that connects the shade to the lamp. Get this wrong and nothing else matters.
Spider vs. UNO vs. clip-on fitters: which do you need?
The fitter type is determined by your lamp base, not your shade style. Check the existing shade (or look at the lamp’s harp and saddle) before buying any hardware.
| Fitter type | How it attaches | Works with | Common on |
|---|---|---|---|
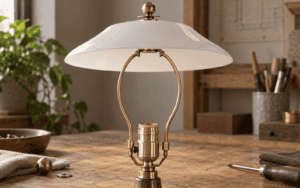
| Spider | Sits on a harp, held by a finial | Any lamp with a harp and saddle | Table and floor lamps |
| UNO | Threads directly onto the bulb socket | Lamps without a harp | Swing-arm and pharmacy lamps |
| Clip-on | Clips onto the bulb itself | Small-bulb lamps, chandeliers | Candelabra bases, mini shades |
Spider fitters are the most common for DIY projects because harps are cheap, widely available, and adjustable in height. If you’re building a shade from scratch, buy a spider fitter ring and wire-wrap or sew it into the top ring of your frame.
Lampshade styles: choose one before you cut anything
Pick your shape before buying materials. The style determines how you cut, how you stretch, and how forgiving the build is if something goes slightly off.
Drum shades are the right starting point for beginners. Identical top and bottom diameter means no tapering to account for and no wrestling with fabric that wants to pucker at the join.
Drum shade: the easiest to DIY
A drum shade has the same circumference at top and bottom. That flat cylinder means your fabric or paper covering is a simple rectangle: height x (circumference + 1 inch for overlap). No bias cuts, no pleating required unless you want it. Error margin is generous. If your rectangle is 2mm off, nobody can tell after gluing.
Drum shades work with most table lamps and nearly every pendant fitting. They’re the sensible first project.
Empire and bell shade: classic shape, trickier seams
Empire shades taper from a wide bottom to a narrow top. Bell shades curve outward before tapering back in. Both require either a pre-tapered styrene panel (sold as a single piece you score and bend) or very precise bias-cutting of fabric to account for the flare.
The seam on an empire shade has to be planned. The fabric doesn’t wrap flat like it does on a drum, so styrene backing keeps things from distorting. Difficulty is moderate. The payoff is a more traditional look that suits vintage and mid-century lamp bases.
Coolie, pendant, and specialty shapes
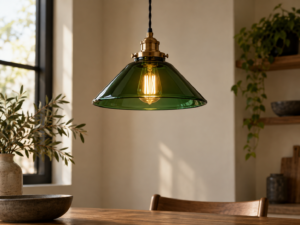
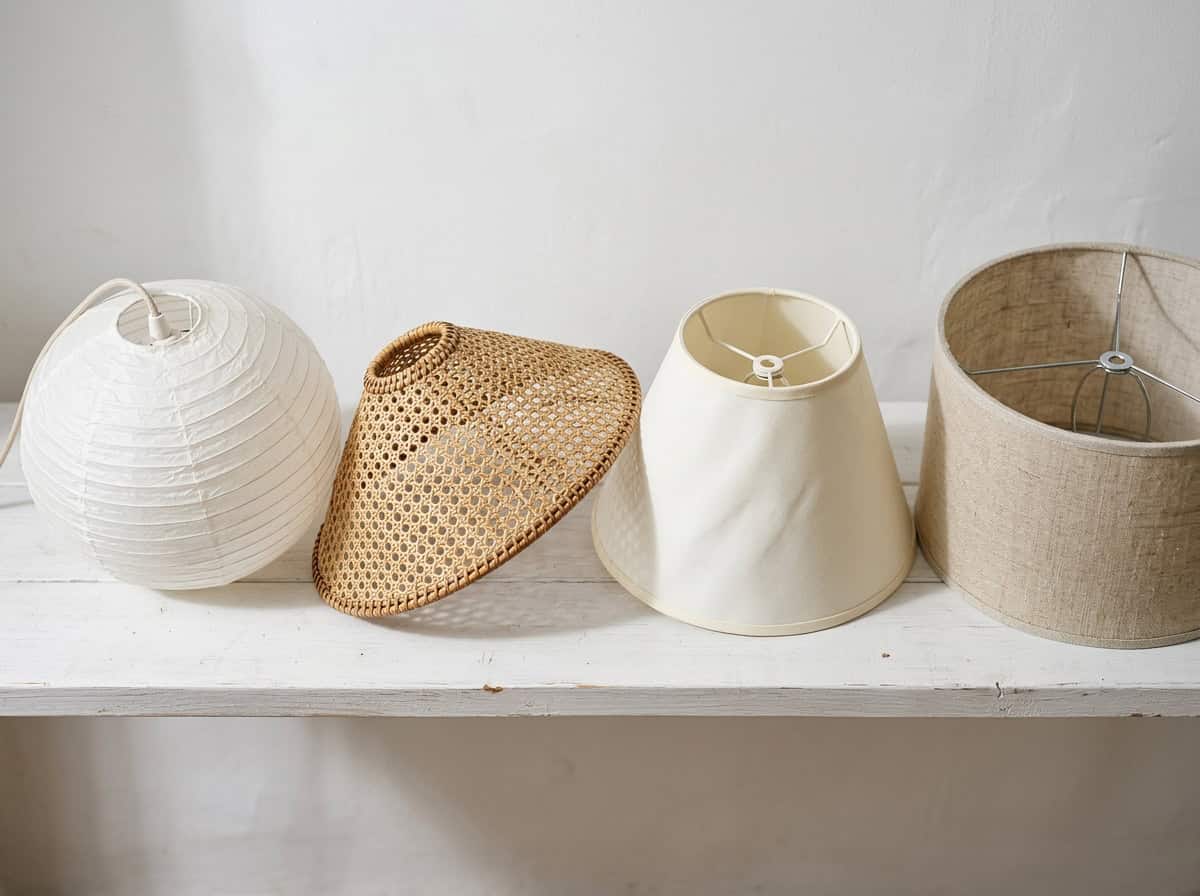
Coolie shades are wide-bottomed cones with a very narrow top, dramatic and common in Asian-inspired décor. Pendant shades (also called dome shades) are hemisphere or globe forms. Most use paper or pre-molded glass because fabric won’t drape cleanly around a full curve.
This is where DIY hits its practical ceiling. A coolie can be fabric-covered with a styrene panel, but anything with a deep curve (a true dome, a globe, a faceted geometric) is extremely difficult to cover cleanly in fabric. These are usually smarter to buy than make.
| Style | DIY difficulty | Best material | Time estimate |
|---|---|---|---|
| Drum | Easy | Fabric, paper | 45-90 min |
| Empire | Moderate | Fabric + styrene panel | 1.5-2.5 hrs |
| Bell | Moderate-Hard | Fabric + styrene panel | 2-3 hrs |
| Coolie | Moderate | Fabric + styrene panel | 1.5-2 hrs |
| Pendant / dome | Hard | Paper, rattan | 2-4 hrs |
| Globe | Not recommended DIY | Glass / molded | Buy instead |
Materials and tools you actually need
Skip the “complete supplies” Pinterest list. Most how to make a lampshade projects fail because the builder bought too many materials and didn’t understand which ones were doing the actual work.
Fabric lampshade supplies
For the frame, get a wire drum or empire ring set ($6-12 at craft stores or online). Buy one slightly larger than your finished shade; the covering adds about 3-4mm of height.
For the covering, natural-fiber fabric works best: linen, cotton, silk. Avoid synthetics. Polyester near a bulb diffuses light poorly and the heat accelerates off-gassing. Medium weight is ideal, and sheer fabrics require a lining.
For adhesive, use spray adhesive (3M Super 77 or equivalent) for large panels and a hot glue gun for trims and edge finishing. Never use white PVA glue directly on fabric. It dries stiff and shows through most materials.
Self-adhesive styrene sheets are optional but worth getting. They let you iron fabric directly onto the backing, then score and bend the whole panel to shape. This is the biggest quality upgrade you can make on a fabric shade. It eliminates bubbling and makes the shade rigid enough to hold its shape for years.
For trim, use ribbon, gimp braid, or bias tape to cover the top and bottom edges. Budget 2x the circumference of each ring.
Paper lampshade supplies
Use the same wire ring set as for fabric, or a pre-scored styrene cone for geometric paper shades.
Paper weight matters more than most tutorials mention. 90-120 gsm hits the sweet spot. Lighter paper tears at stress points. Heavier paper doesn’t diffuse light well. Textured watercolor paper and Japanese washi both give beautiful diffusion results.
For adhesive, PVA (white glue) diluted 50/50 with water works for paper shades and dries clear. Spray adhesive also works for flat paper panels.
You’ll also need 20-30 clothespins to hold paper in place while adhesive sets. Binder clips damage paper edges, so use the wooden kind.
Tools for building a wire frame from scratch
If you’re making the frame itself (not just the covering), you need more than a glue gun:
- Galvanized steel wire: 16-gauge for the top and bottom rings, 20-gauge for the vertical spokes. 18-gauge works as a reasonable compromise if you only want one roll.
- Wire cutters and round-nose pliers
- Soldering iron with rosin-core solder (or binding wire if you prefer no-solder joins)
- Ring-bending jig or large round object, such as a pot lid or bucket, for wrapping the wire to diameter
Bending a perfect ring freehand takes practice. Wrap the wire around the jig 1.5 times, trim, and solder the overlap. The join won’t be perfectly invisible, so plan to put it at the back.
How to make a lampshade: 5 step-by-step methods
What separates a useful tutorial from a vague one is the order of operations. Most failed DIY shades result from attaching the covering before the frame is squared, or trimming before the adhesive fully cures. Each method below specifies timing and sequencing.
Method 1: no-sew fabric lampshade (hot glue on existing frame)
Best for refreshing an old shade, first-time builders, or quick projects. You need a wire drum frame, fabric at least 2x the frame circumference in width, a hot glue gun, scissors, and clothespins.
- Measure and cut. Height of fabric = frame height + 1.5 inches (top and bottom allowance). Width = circumference of the larger ring x 2, since you’re wrapping twice for a clean overlap.
- Anchor the starting edge. Run a bead of hot glue along one vertical spoke. Press the fabric edge onto it and hold for 15 seconds. This is your registration point: everything else is measured from here.
- Stretch and glue across the frame. Working in 4-6 inch sections, apply glue to the wire ring (not the fabric) and press the fabric down. Pull the fabric taut but not enough to pucker. If the fabric shifts, stop, peel back, and re-anchor.
- Finish the overlap seam. When you return to the start, fold the raw edge under by 1/2 inch and glue it over the starting edge to create a clean vertical seam.
- Turn and tuck the top and bottom edges. Fold the allowance inward over the wire ring and glue in place. Use clothespins to hold while it cools.
- Add trim. Run gimp braid or ribbon over the top and bottom rings with glue to hide the raw edge.
Time: 45-75 minutes. Easy.
Method 2: pleated fabric lampshade
Best for vintage aesthetics, people with fabric scraps, or drum frames. Pleating creates a textured, gathered look and is more forgiving of fabric imperfections than a smooth wrap. Slight variations in fabric weight disappear in the folds.
- Cut the fabric. You need at least 2.5x the circumference of the frame in width to get visible pleats. For a 12-inch drum shade (circumference about 37.7 inches), cut a strip about 95 inches wide and 2 inches taller than the frame.
- Mark your pleat spacing. Use a fabric marker to mark intervals along the top edge. For 1/2-inch pleats, mark every 1 inch (half goes forward, half folds back). Consistent spacing matters more than the exact size.
- Fold and pin at the top ring. Fold each pleat and pin it directly to the top wire ring using long straight pins. Work all the way around before gluing anything.
- Adjust the tension. The pleated fabric should lie flat against the frame without gaps or bunching. If you have excess fabric at the seam, adjust the last 4-5 pleats slightly wider.
- Glue the top edge. Remove one pin at a time, apply a small dot of hot glue to the wire, press the pleat down, and move to the next. Work in 3-pleat sections so the glue doesn’t skin over.
- Repeat at the bottom ring. Pull each pleat straight down (or twist slightly for a spiral effect), glue, and trim excess.
Time: 1.5-2 hours. Easy to moderate.
Method 3: paper lampshade (flat panel or geometric)
Paper lampshades have a cleaner, more sculptural look than fabric and diffuse light differently. When paper is translucent the light comes out warmer and more even. When it’s opaque the edges are harder.
For a flat-panel paper drum shade:
- Cut paper to height x (circumference + 1 inch overlap), the same dimensions as Method 1 for fabric.
- Score a vertical line 1/2 inch from one edge. This becomes the overlap seam.
- Apply diluted PVA glue to the back of the paper with a sponge brush. Let it tack for 60 seconds.
- Roll the paper around the wire frame starting at the scored edge, pressing against the top and bottom rings as you go. Use clothespins to hold at 3-inch intervals.
- Let dry fully (2-3 hours) before removing pins. The paper stiffens as the PVA cures.
- Glue the overlap seam and trim the top and bottom edges cleanly with a craft knife and ruler.
For geometric folded paper pendants, score-and-fold methods create origami-style pendant shades. These work best with 120 gsm paper and a printed template. Freehand geometric scoring is nearly impossible to get straight across multiple panels.
Time: 1.5-3 hours. Easy for flat panel, moderate for geometric.
Method 4: wire frame from scratch
This is the most involved method, but it’s the only one that gets you a shade in any custom size or shape. That matters if you have an unusual lamp base or a non-standard pendant fitting.
- Calculate your ring size. Measure the widest point you want the shade to be (bottom diameter for an empire, both diameters for a drum). Add 5% to account for the wire join.
- Bend the top ring. Wrap 16-gauge wire around your jig to the target circumference. Overlap by 1.5 inches at the join and solder. Let cool completely before removing from jig. Wire holds its round shape better after a few minutes of cooling under tension.
- Bend the bottom ring using the same process. For a drum shade this is the same diameter as the top. For an empire, it’s larger.
- Add vertical spokes. Cut 6-8 pieces of 20-gauge wire, each 1 inch longer than your intended shade height. Wrap one end tightly around the top ring, pull taut, and wrap the bottom end around the bottom ring. Space spokes evenly by pre-dividing the rings into equal segments with a marker before you start.
- Add the spider fitter. A pre-made spider fitter ring (around $3-5) can be soldered onto the top ring at 3-4 equidistant points. Alternatively, bend a cross-wire from the center of the top ring using 18-gauge wire, with a washer soldered at the center for the finial to pass through.
- Strengthen the frame. For shades over 14 inches tall, add one horizontal ring midway up the spokes. It prevents the frame from racking sideways under the weight of the covering.
Once the frame is complete, cover using Method 1 or 2.
Time: 2-3 hours for the frame alone. Moderate to hard, requires soldering.
Method 5: lampshade kit (fastest route)
A self-adhesive styrene lampshade kit contains a pre-cut styrene panel with peel-and-stick backing, top and bottom wire rings, a spider fitter, and trim. You supply the fabric or paper.
According to WikiHow’s guide on making lampshades with a kit, kits eliminate the most error-prone steps (measuring, cutting styrene, aligning the frame) so you can focus on the covering itself.
- Iron your chosen fabric. Wrinkles transfer directly to the finished shade.
- Peel the styrene backing and lay the panel sticky-side up on a flat surface.
- Lay the fabric face-down onto the sticky panel, smoothing from center outward. No spray adhesive needed.
- Trim the fabric at the marked lines using a rotary cutter for clean edges.
- Score the panel along the spine line, bend to shape, and overlap the seam edge.
- Snap the wire rings into the channels at top and bottom.
- Glue trim over the wire rings to finish.
Kits run $15-25 and are available at most fabric and hobby stores. The limitation is that you’re locked into the kit’s shape and size. For a first lampshade, that constraint is actually helpful.
Time: 30-60 minutes. Easy.
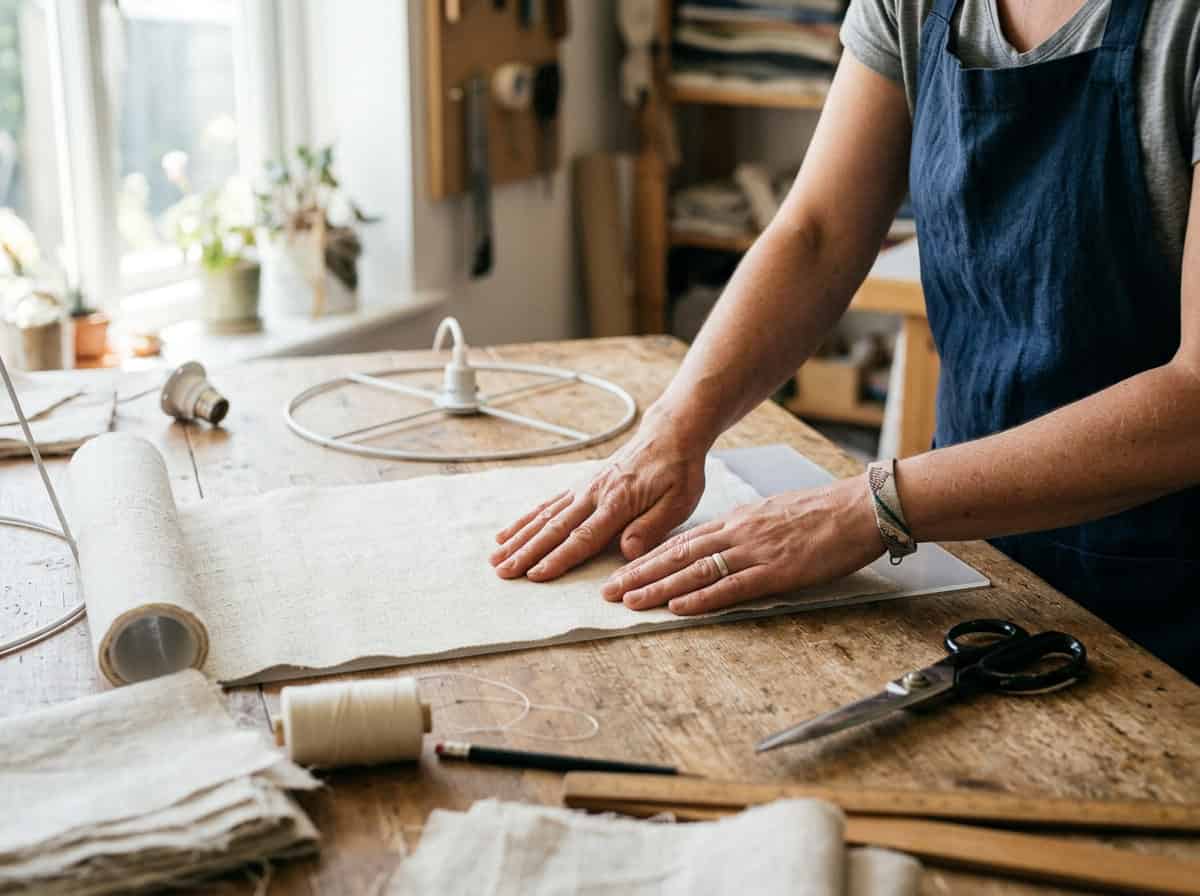
How to stiffen fabric for a lampshade
Stiffening is what separates a fabric shade that holds its shape for years from one that sags, develops ripples, or collapses at the seam after a few months. Two approaches with meaningfully different results.
Spray starch vs. commercial fabric stiffener
Spray starch is the quick fix. It adds light body to fabric and helps with initial shaping, but it’s water-soluble and humidity will relax it over time. Fine for lightweight fabrics on small shades, but not sufficient for anything you’re building to last.
Commercial fabric stiffeners (Stiffen Stuff, Aleene’s Fabric Stiffener) create a permanent bond within the fabric fibers. Apply with a sponge brush, stretch the fabric to shape while wet, and let it cure for 4-6 hours. Once dry, the fabric holds its form even without a rigid backing. One caveat: stiffeners can slightly darken some light-colored fabrics, so test on a scrap first.
Self-adhesive styrene backing: the pro method
This is what commercial lampshade manufacturers use, and it’s available to DIYers through lampshade kit suppliers. Self-adhesive styrene is a thin, slightly flexible plastic sheet with a peel-off adhesive layer.
The process: iron the fabric, peel the styrene backing, lay the fabric onto the adhesive and smooth out, then trim. The resulting fabric-styrene laminate is rigid, heat stable, and won’t ripple or buckle. It’s the most reliable technique available when you’re figuring out how to make a lampshade at home.
The Illuminating Engineering Society recommends evaluating shade materials not just for aesthetics but for heat stability at the intended bulb’s operating temperature. Styrene-backed fabric works safely with LED bulbs, which run cool. For incandescent bulbs over 60W, check the styrene manufacturer’s heat rating before committing.
Troubleshooting: 6 common DIY lampshade problems
Most lampshade failures trace back to rushing the glue cure, wrong fabric tension, or a frame that wasn’t trued before covering. Here’s how to diagnose the most common ones.
Fabric won’t lay flat / bubbling along seams
Bubbles usually mean the spray adhesive was applied too far in advance (it skins over and stops bonding properly) or the fabric had residual wrinkles when applied.
For a built shade: inject a small amount of spray adhesive under the bubble with a thin card, press flat, and weight it down for 20 minutes. For a shade in-progress: strip the fabric back while the adhesive is still tacky and re-press starting from the center outward.
Uneven light or hot spots
Hot spots are bright patches that shine through more intensely than surrounding areas. They mean the covering varies in density, which happens with natural-weave fabrics where the weave opens up over wire spokes.
The fix is a lining layer. A second layer of thin white fabric or translucent paper glued inside the shade evens out light diffusion. On an existing shade, a lining cut to fit and sprayed onto the interior is invisible from outside.
| Problem | Likely cause | Fix |
|---|---|---|
| Bubbling / lifting fabric | Adhesive skinned over before pressing | Re-inject adhesive, weight down |
| Sagging at top edge | Frame not level, fabric glued under tension | Re-glue, use clothespins to re-tension |
| Hot spots / bright patches | Thin or open-weave fabric over spokes | Add white interior lining layer |
| Shade lists to one side | Spider fitter arms unequal or off-center | Re-solder fitter in centered position |
| Paper tears at wire | Paper too light, over-stressed at bend | Reinforce with tissue tape on interior |
| Seam gap opening | Insufficient adhesive overlap | Re-glue with hot glue, clamp 30 min |
When to buy a ready-made lampshade instead
Knowing when not to make a lampshade is as useful as knowing how. Some shade types are genuinely beyond practical DIY reach, not because the technique is too hard, but because the materials require equipment no craft room contains.
What DIY can’t replicate: heat resistance, optical clarity, precision
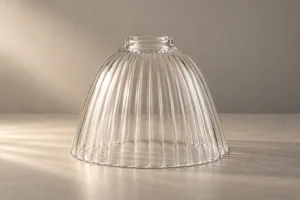
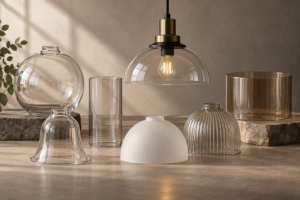
Glass lampshades are the clearest example. A hand-blown or molded glass lampshade collection has optical clarity that no fabric or paper covering achieves. Light passes through cleanly without the color shift, texture noise, or diffusion artifacts that fabric introduces. Glass also handles heat differently: thermally stable across a wide temperature range, it doesn’t off-gas and won’t discolor over years of use.
The forming process requires a glass furnace, molds, and annealing ovens. This is a capital equipment barrier, not a skill barrier. A glassblowing studio might produce a custom piece for several hundred dollars, but for everyday use, a quality manufactured glass shade delivers precision and longevity that fabric alternatives can’t match.
Choosing a glass lampshade that fits your lamp base
When buying rather than making, the same three measurements still matter: height, top diameter (where the shade attaches to the fitter), and bottom diameter (which affects the light spread).
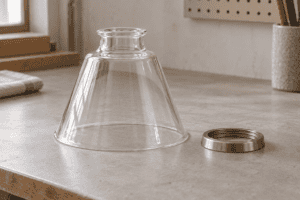
For pendant fixtures, also check the fitter opening, the hole at the top of the shade that fits over the lamp socket. Standard pendant fitters have openings of 1.6 inches (40mm), 2.25 inches (57mm), or 4 inches (100mm). Using the wrong opening size means the shade either falls off or sits at the wrong angle. Browse jxlampshade’s glass shade collection with size guides to match your specific fixture.
Lampshade design trends for 2026 and beyond
The lampshade market is moving in two directions at once: toward lower-material, artisan-feel pieces on the DIY side, and toward precision-formed statement materials on the manufactured side.
Sustainable and natural materials
Washi paper, dried botanicals embedded in pulp, rattan weave, and organic cotton are dominating the DIY lampshade space. Home décor market research from Statista tracks natural material accessories as one of the faster-growing segments in home furnishings, and lampshades are following that same direction.
The practical result: unbleached and naturally dyed fabrics are now easier to source than two years ago, and both specialty paper suppliers and craft stores have noticeably expanded their natural-fiber lampshade materials sections.
Artisan mixed-media and statement shades
On the manufactured side, the 2026 trend is mixed-material statement pieces: glass shades with embedded minerals, hand-painted interior surfaces, textured iridescent coatings, and geometric forms that were previously only feasible in plastic.
Design publications like Dezeen have pointed to pendant and ceiling shades functioning increasingly as sculptural objects rather than simple light diffusers, with shapes and textures that hold attention even when the light is off.
For DIYers, the implication is that a plain white drum shade is harder to notice in a room full of statement lighting. Lean into what artisan techniques actually offer (pleating, botanical embedding, layered papers) rather than trying to replicate the precision of a manufactured shade.
FAQ
How do you stiffen fabric for a lampshade? Self-adhesive styrene backing is the most reliable method. Iron fabric onto the peel-and-stick sheet and the result is permanently rigid without spraying or waiting. For a lighter-duty fix, commercial fabric stiffener (applied with a brush, cured 4-6 hours) works well on small shades. Spray starch is temporary and won’t hold up past the first humid summer.
What fabric is best for making a lampshade? Medium-weight linen or cotton gives the best combination of light diffusion, heat tolerance, and ease of handling. Avoid polyester (poor heat tolerance), sheer fabrics (require a lining), and anything with a very open weave (shows through unevenly). Patterned fabrics work, but steer clear of tight geometric prints. The pleating process distorts straight lines.
How do I make a lampshade frame from scratch? Use 16-gauge galvanized steel wire for top and bottom rings, bent around a circular jig (a bucket or pot lid works) and soldered at the join. Connect the rings with 6-8 vertical spokes of 20-gauge wire, spaced evenly and wrapped tight at each ring. Add a pre-made spider fitter soldered to the top ring. Total materials cost: $8-15.
Can I make a lampshade without a kit? Yes. Method 1 (no-sew hot glue) and Method 3 (paper) in this guide both work without a commercial kit. A kit makes the process faster and more accurate, but the only thing it provides that you can’t source separately is the pre-scored styrene panel, and those are sold individually at most craft stores.
What is a spider fitter on a lampshade? A spider fitter is the metal cross-shaped hardware that sits on top of a lamp harp, held by a finial screwed through the center. It’s the most common fitter type for table and floor lamps. The shade’s top ring rests on the spider arms and the finial locks everything in place. Most DIY frames use a purchased spider fitter ring soldered or wire-wrapped to the top wire ring.
How do I make a paper lampshade? Cut paper to height x (circumference + 1 inch), apply diluted PVA glue to the back, roll it around a wire frame pressing against the rings, and secure with clothespins while it dries. For pendant dome shapes, use a pre-scored template. Freehand geometric scoring rarely comes out even across multiple panels. Use 90-120 gsm paper for good light diffusion without tearing.
How much does it cost to make a DIY lampshade? A basic hot-glue fabric drum shade runs $12-20 in materials (wire frame, fabric, trim, glue). A kit-based shade costs $20-30 including the kit. Making a wire frame from scratch adds $8-15 for wire and solder. The only situation where DIY doesn’t clearly save money is a complex empire or bell shade requiring full styrene panel kits plus high-end fabric. At that point a quality store-bought shade may cost the same.
What size lampshade do I need for my lamp? The shade’s bottom diameter should be roughly equal to the height of the lamp base. A 24-inch base pairs well with a shade that’s 14-16 inches in bottom diameter. Height-wise, the shade should be about 60-70% of the lamp base height. For pendant fixtures, the shade bottom diameter should be at least 2 inches wider than the widest point of the bulb for safe heat clearance.
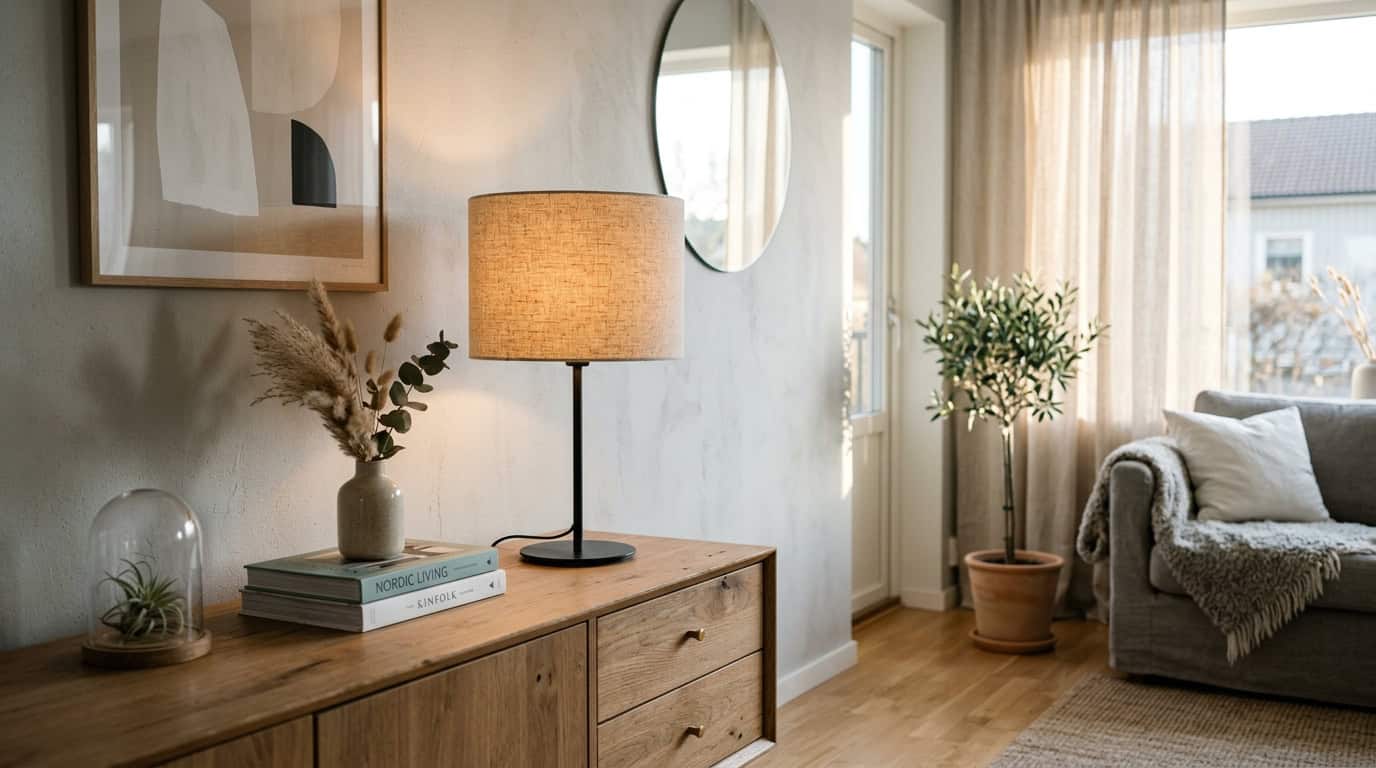
Choosing the right lampshade: when to make one and when to buy
DIY lampshades earn their place in two situations. First, when you want a material or texture that manufacturers don’t offer at your price point. Second, when you need an unusual size that off-the-shelf shades can’t match. A pleated linen shade on a vintage base, a washi paper pendant over a kitchen island, a fabric-wrapped drum in a print that matches your wallpaper: these are genuinely satisfying projects that produce results you can’t buy at Target.
Where buying wins is precision-formed shapes and glass. For pendant fixtures especially, a quality glass lampshade collection gives you optical clarity and heat resistance that fabric alternatives can’t replicate, at a price that’s often competitive with the material cost of a complex DIY empire shade. Try one of the five methods above for your next fabric or paper project, and know that the glass option exists when the shape or material requirements go beyond what a craft-room build can deliver.