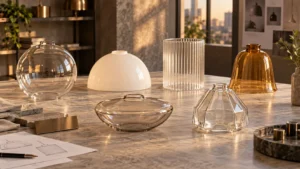
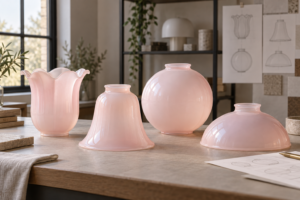
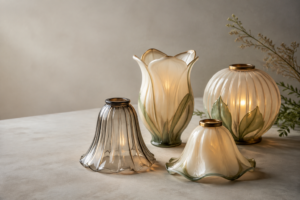
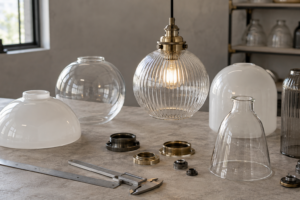
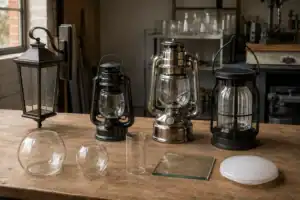
Lamp shade styles are more than a mood-board decision. For a lighting brand, the useful specification is the combination of profile, glass body, surface treatment, fitter, light behavior and application. A globe, bell, cylinder or faceted shade can look right in a reference image and still fail when the opening, seated height, bulb position or diffusion does not match the fixture.
This guide explains the main lamp shade styles used in glass lighting and shows how to convert a visual preference into a supplier-ready brief. The intended reader is the team that turns a lighting concept into a repeatable purchase: brand product managers, distributor buyers, hospitality specifiers, importers and project teams.
What does lamp shade style mean in a glass lighting brief?
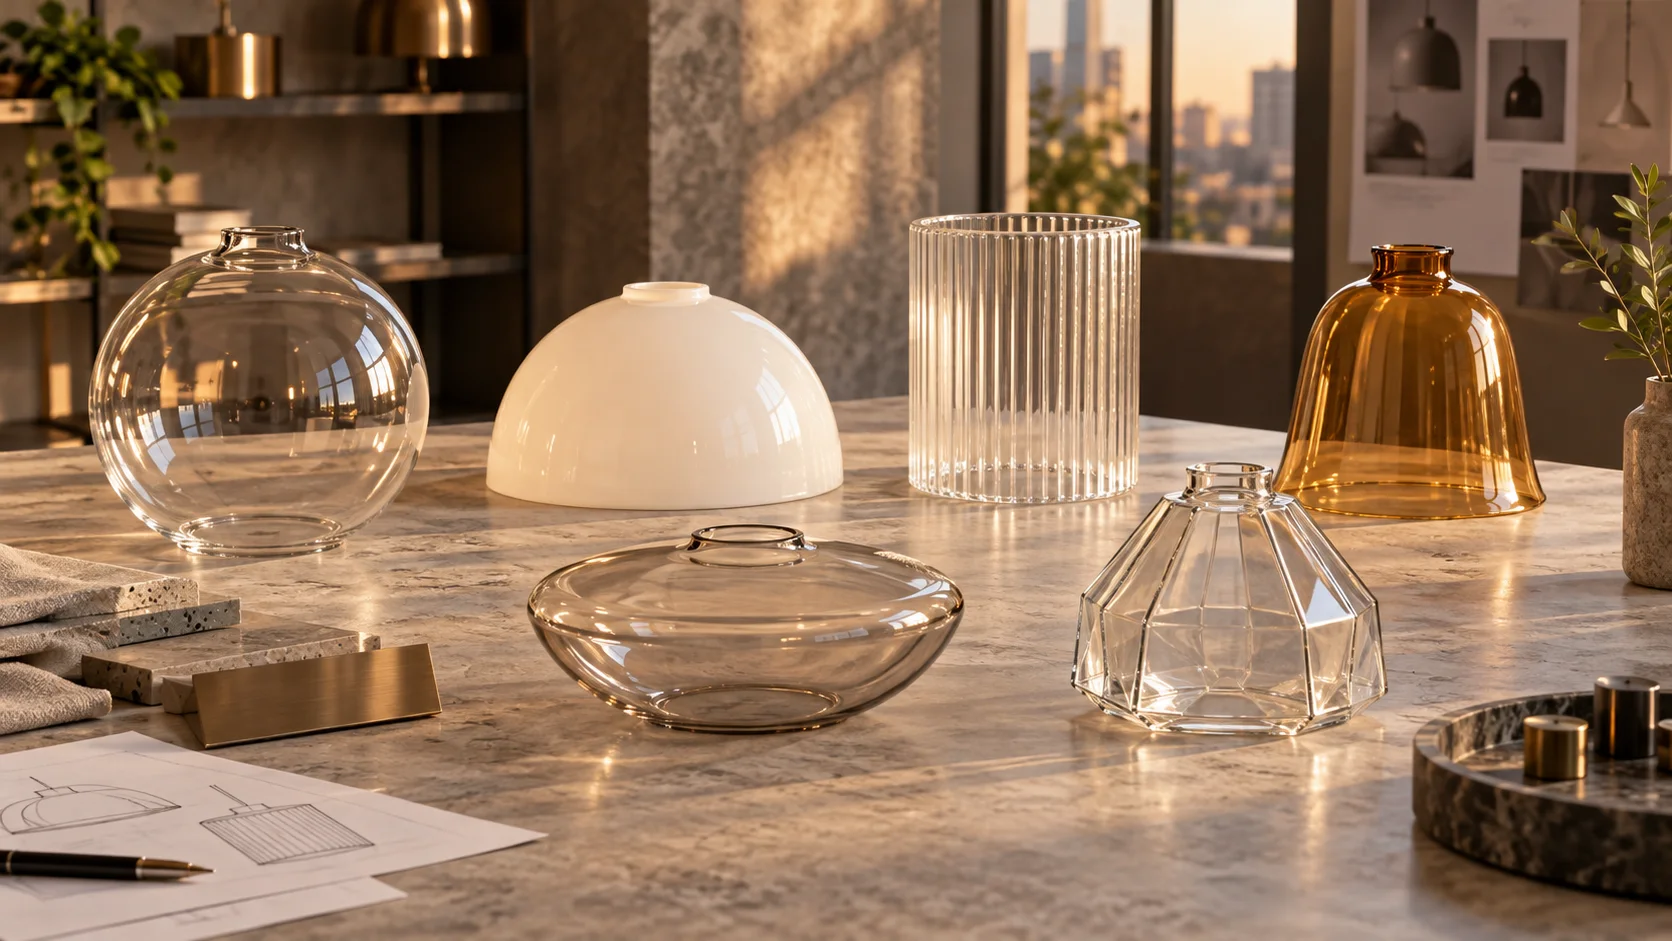
In a procurement conversation, “style” can mean several different things at once. A buyer may be describing the silhouette, the glass transparency, a historic reference, a surface texture or the way the lamp feels when illuminated. A factory needs those decisions separated before it can assess tooling, sampling and production.
Use these four layers to make the request precise:
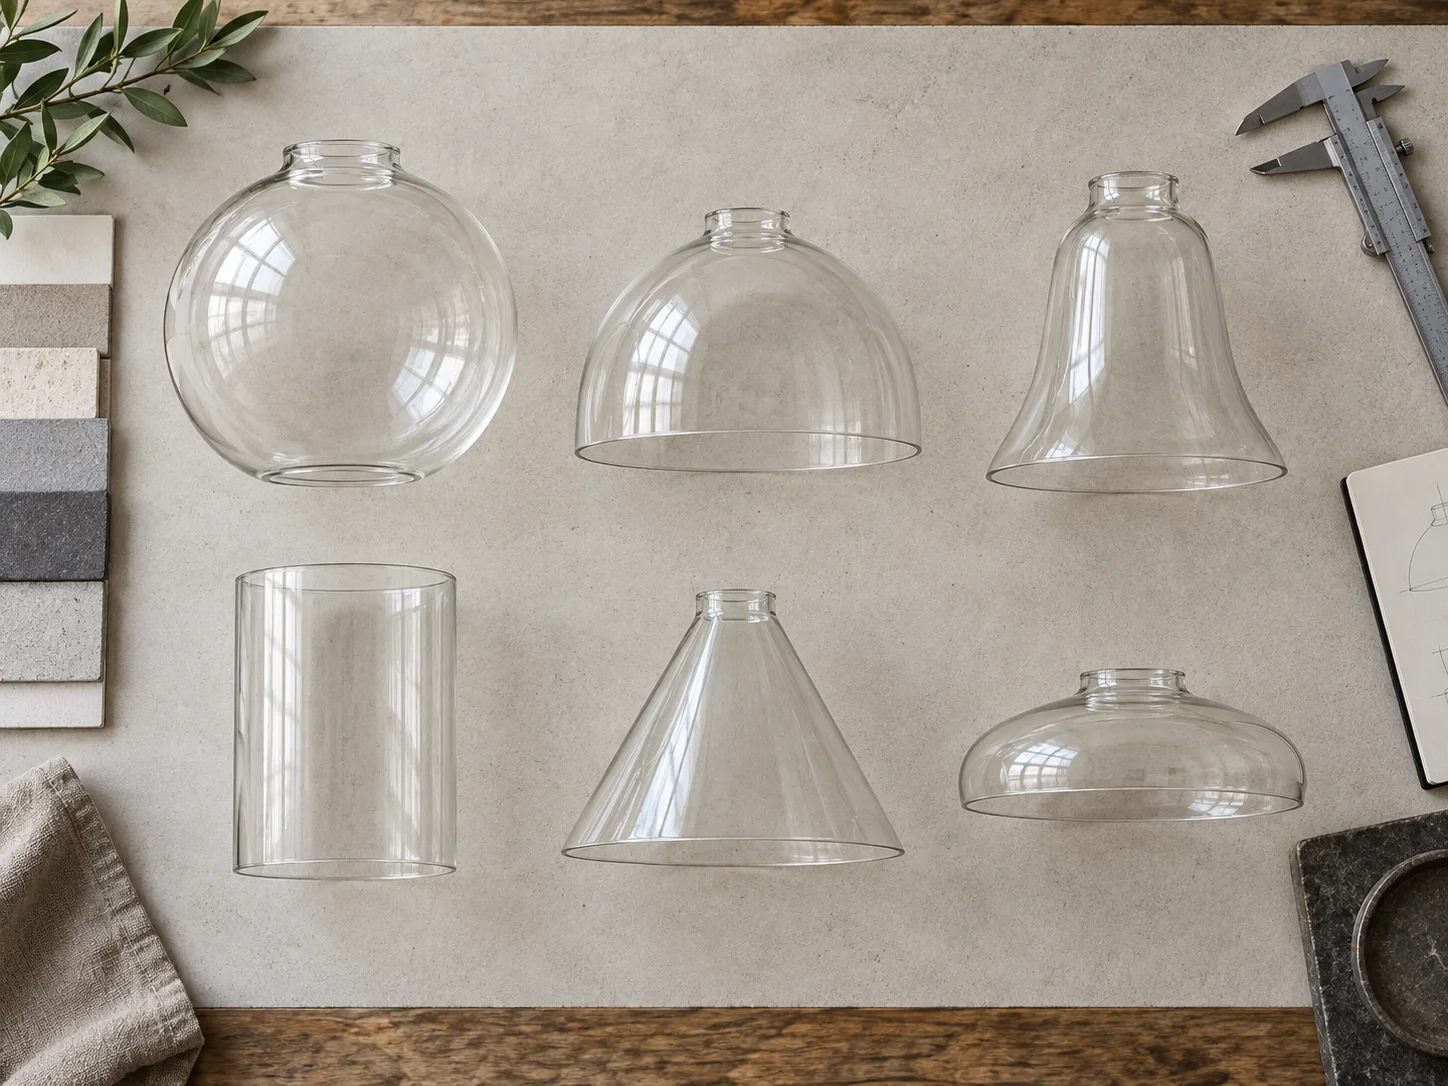
- Profile: The three-dimensional outline, such as globe, dome, bell, cylinder, cone, bowl or an irregular custom form.
- Glass body: The base material appearance, such as clear, opal, frosted, amber, smoke or another approved color.
- Surface treatment: The texture or finish, such as ribbing, fluting, seed bubbles, cut facets, etching or a smooth surface.
- Fitter and interface: The opening, neck, rim, threaded base, shoulder or other structure that connects the shade to the luminaire.
The visual style is the result of those layers, not a substitute for them. The JX glass lamp shade catalog is useful for collecting references, but a quote should be based on a drawing, sample, measurements or a clear specification set.
Compare common lamp shade styles by profile
The table below is a starting point for choosing a form. It is not a promise that any profile will fit a particular fixture. The final choice depends on the fitter, bulb position, desired light direction, cleaning access and production route.
| Glass shade profile | Visual character | Typical lighting use | Buyer specification to confirm |
|---|---|---|---|
| Globe | Balanced and continuous, with no dominant front or back | Pendants, table lamps, chandeliers and replacement globes | Maximum diameter, total height, opening diameter, wall thickness and suspension position |
| Dome | Broad lower body with a curved crown | Ceiling fixtures, pendants, vanity lights and hospitality applications | Crown radius, lower opening, neck or collar, seated height and light cut-off |
| Bell or tulip | Narrower top flowing into a flared lower edge | Decorative pendants, wall sconces, table lamps and vintage-inspired collections | Neck diameter, flare angle, lower edge shape, edge thickness and bulb clearance |
| Cylinder | Straight or nearly straight side walls | Pendant rows, wall lights, architectural fixtures and replacement shades | Outside diameter, inside diameter, height, top and bottom openings and orientation |
| Cone | Tapered sides that direct the eye and often the light | Pendants, reading lights and modern decorative fixtures | Top and bottom diameter, taper, open end, fitter location and glare control |
| Bowl or torchiere | Wide reflector-like form that sends light upward or outward | Floor lamps, ceiling reflectors and period-inspired lighting | Rim diameter, support points, reflector angle, seated depth and heat path |
| Faceted or cut | Geometric surfaces that create sparkle and directional refraction | Statement fixtures, chandeliers and premium decorative collections | Facet pattern, indexing, edge protection, clarity and cleaning requirements |
| Irregular custom profile | A brand-specific sculptural outline | Signature collections, feature lighting and design-led projects | Master sample, 3D or dimensioned drawing, mold split, repeatability and approval standard |
Choose the glass body and finish separately
Two shades can share the same profile and create completely different rooms. A clear globe exposes the light source and surrounding hardware. An opal or milk-like body softens the source. A frosted surface reduces visual clarity while keeping the outline visible. An amber or smoke body changes the color impression of the illuminated fixture.
| Glass body or finish | What the buyer usually wants | Questions to answer before sampling |
|---|---|---|
| Clear | Maximum visual transparency, visible bulb or crisp refraction | Should bubbles, seeds or tooling marks be visible? Is the shade meant to be decorative when unlit? |
| Opal or milky | Softer appearance and a more even-looking glow | What level of opacity is required? Should the rim and neck match the body? |
| Frosted | Less glare and a matte visual surface | Is the frost inside, outside or through the body? How will cleaning and abrasion be handled? |
| Amber, smoke or other colored glass | A recognizable collection color and a warmer or darker visual effect | Is the color through-body, coated or layered? Which illuminant and background should be used for approval? |
| Ribbed or fluted | Vertical texture, rhythm and controlled refraction | What is the pitch, depth and direction of the ribs? Should the texture continue through the neck? |
| Seeded or bubbled | A handcrafted or vintage-inspired optical texture | What variation is acceptable, and where may bubbles appear without affecting the fit? |
| Cut or faceted | Sparkle, geometric highlights and a premium decorative signal | Is the pattern proprietary? What edge, corner and surface inspection is required? |
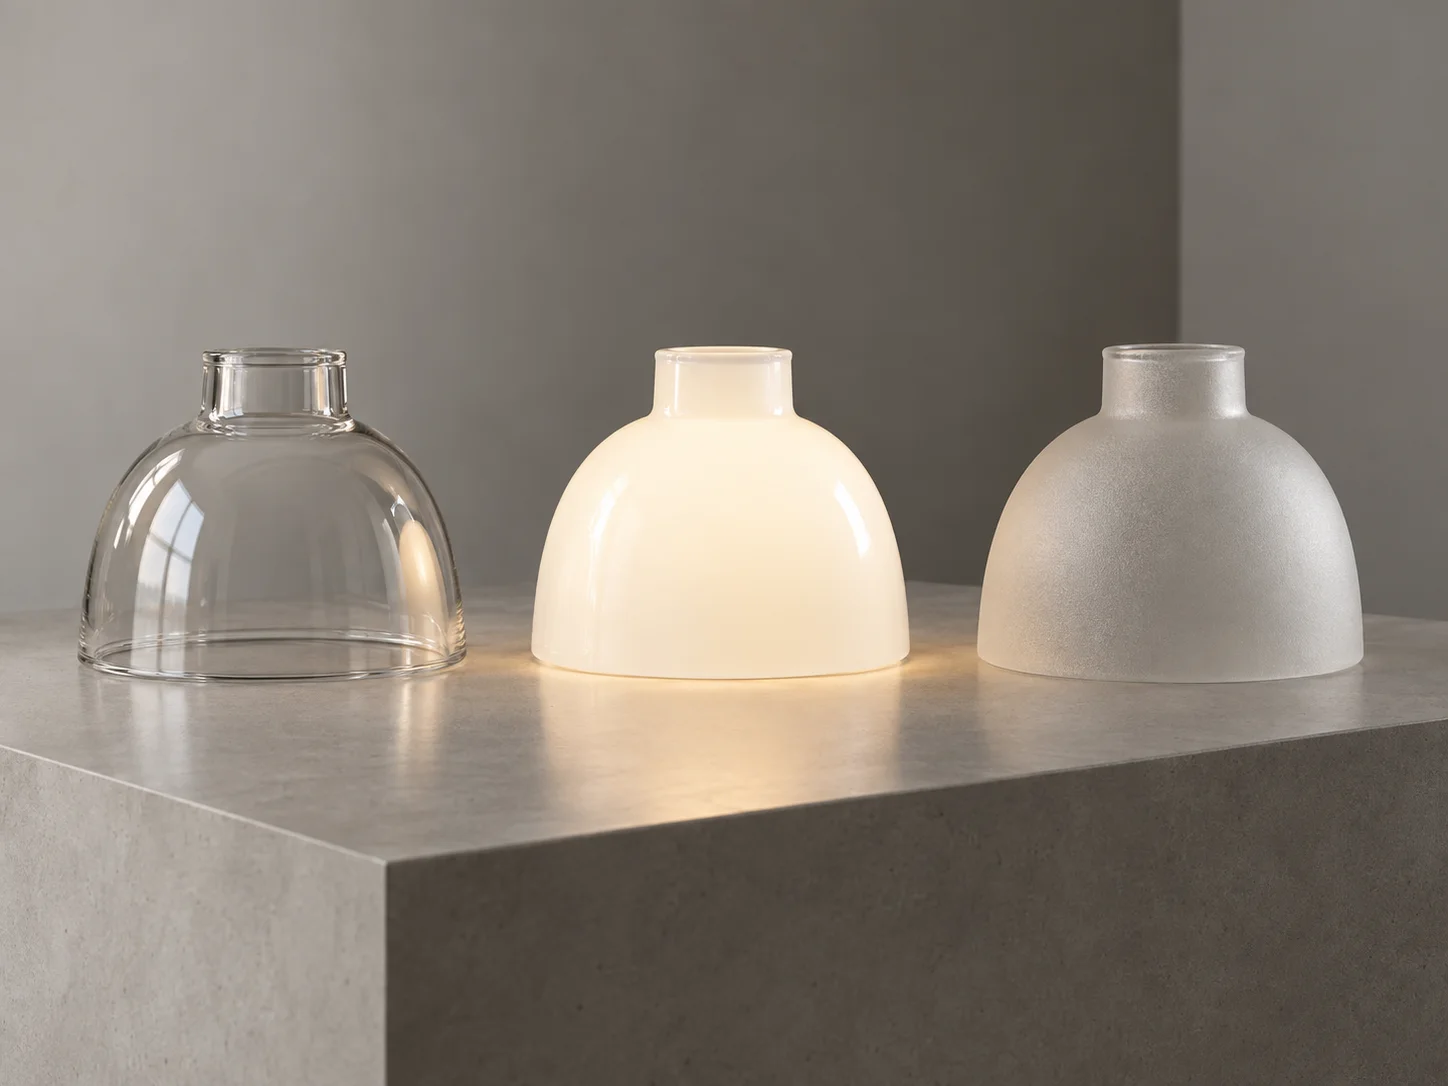
Do not use “high quality glass” as the finish specification. It does not tell the supplier the required transmission, haze, color tolerance, visible texture, edge condition or approval method. A better request names the visual result and the physical checkpoints that create it.
How surface texture changes the lighting effect
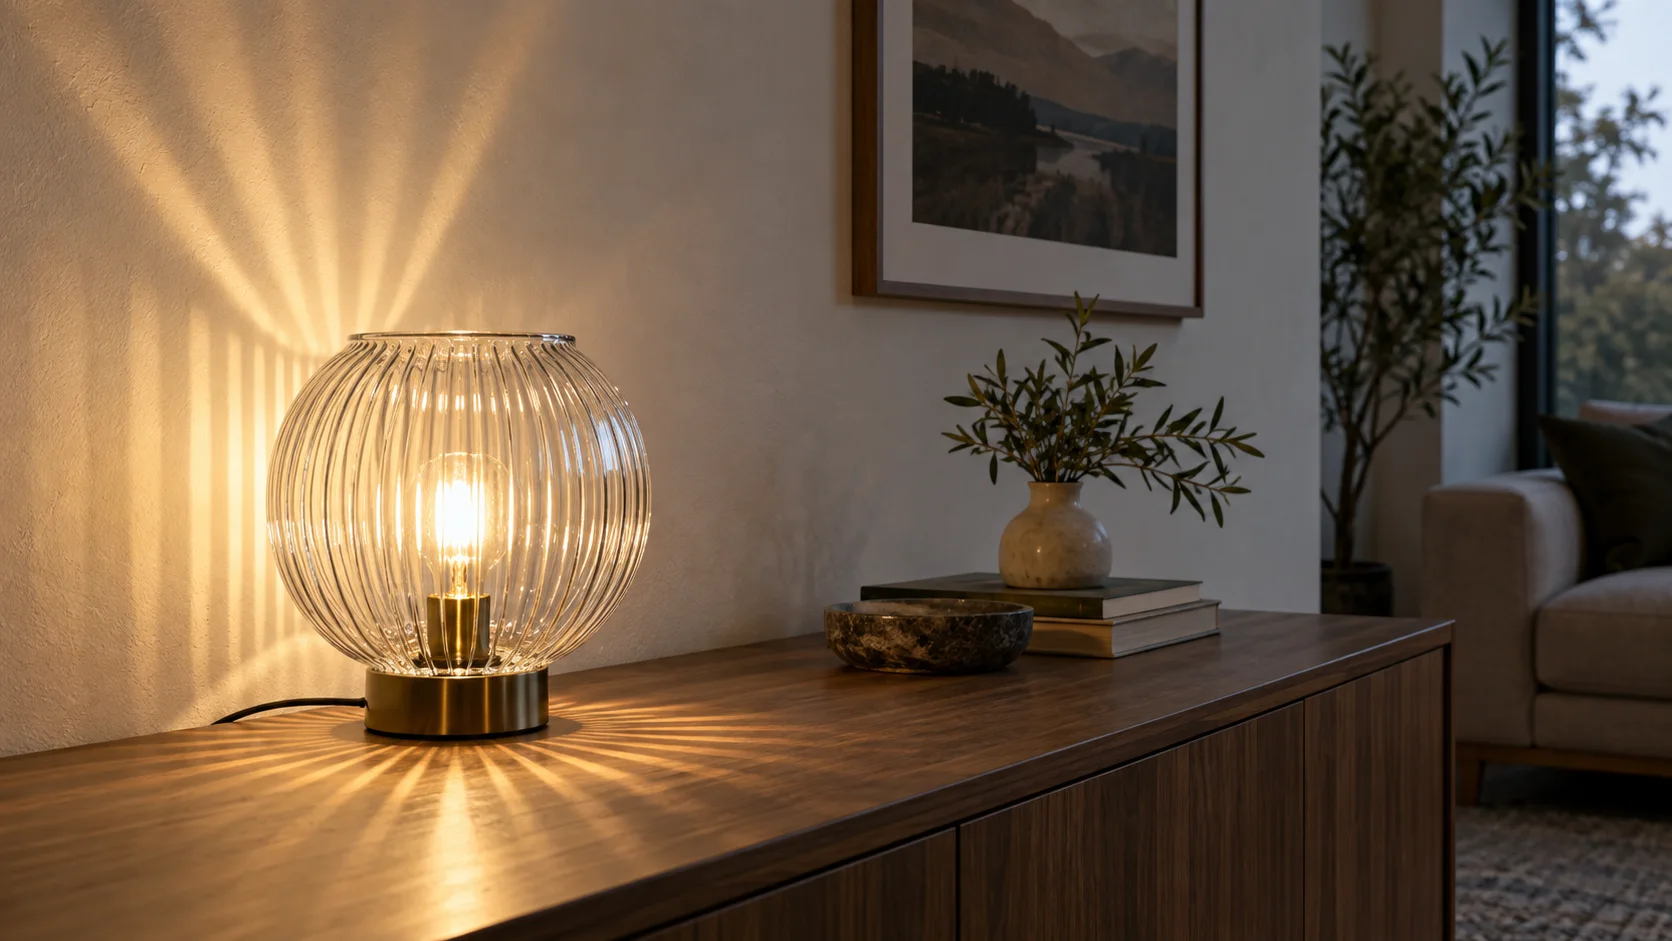
Surface texture is part of the optical brief. Ribbing can break a reflection into vertical bands and create a more tactile silhouette. Cut facets can redirect highlights and produce sharper points of sparkle. Seeded glass can soften the view through the shade while adding small points of variation. None of those effects should be promised from a photograph alone because the bulb, dimmer, viewing angle and surrounding surfaces change the result.
| Texture direction | Common visual result | Useful sample test |
|---|---|---|
| Vertical rib or flute | Repeated highlights and a stronger sense of height | Photograph the shade lit and unlit from the front and side |
| Horizontal ring or band | Layered reflections and a more compact visual scale | Check whether the bands align with the fitter and fixture arms |
| Cut facets | Concentrated sparkle and patterned shadow | Test a range of viewing angles and inspect facet indexing |
| Seeded or bubbled | Soft distortion and craft variation | Review acceptable variation under a defined distance and light source |
| Smooth frosted surface | Reduced clarity and quieter reflections | Check glare, cleaning marks and edge transition |
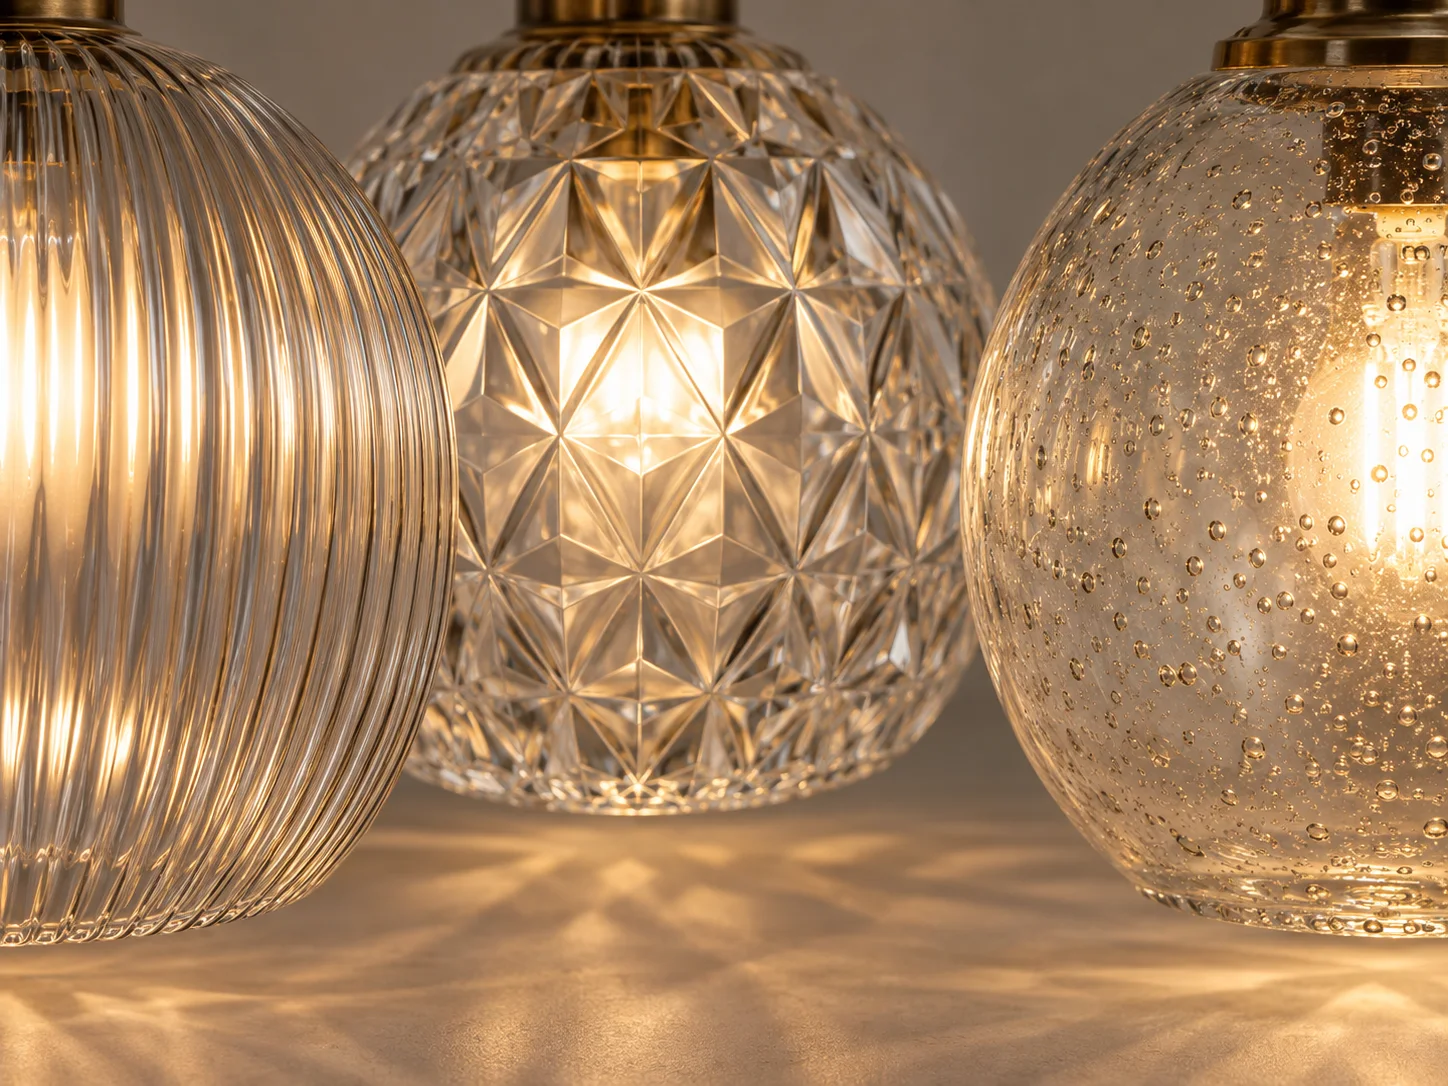
For a coordinated range, approve texture at the same time as the profile. Changing wall thickness, rib depth or facet size after the first sample can change the apparent scale of the entire collection.
Match the style to the fixture application
The same glass shape can work differently on a pendant, wall sconce, table lamp or ceiling fixture. Application determines how close people are to the glass, which direction the light should travel and how the shade will be supported.
| Application | Style decisions that matter most | Common mistake |
|---|---|---|
| Pendant | Suspension height, opening orientation, lower glare and the visual rhythm of multiple shades | Choosing a shade from a single product photo without checking the canopy, cord set or fitter |
| Wall sconce | Depth from the wall, arm clearance, upward or downward spill and service access | Selecting a shade that fits the holder but collides with the backplate or wall |
| Table or floor lamp | Base proportion, seated stability, eye-level glare and access for cleaning | Matching the outside diameter while ignoring the harp, collar or bulb position |
| Ceiling or flush mount | Rim support, heat path, diffuser behavior, weight and replacement access | Treating the glass shade as a universal cover without checking the complete luminaire assembly |
| Hospitality or project lighting | Repeatability, cleaning routine, replacement planning and packaging for multiple sites | Approving one attractive sample without defining the production tolerance for the next order |
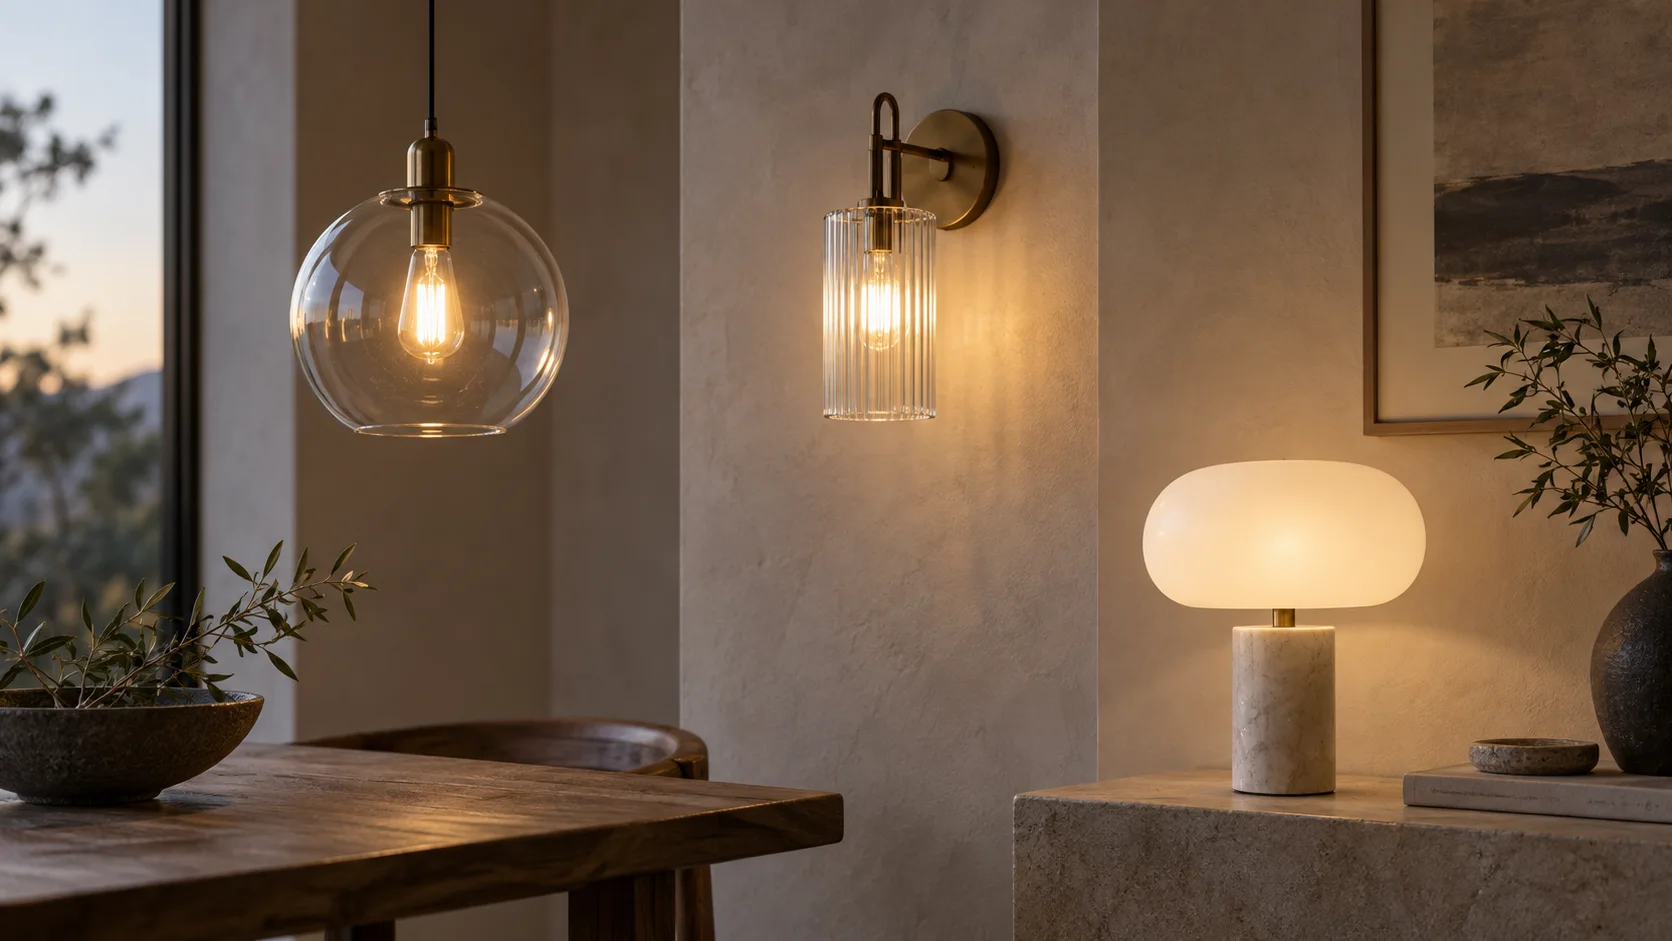
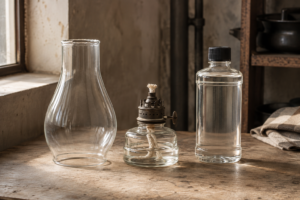
For replacement work, an old shade is often more useful than a style name. Send clear images of the fixture, the original shade, the holder and the seated position. For a new collection, send the fixture drawing or the intended holder geometry so the shade is developed as part of the assembly.
Use the fitter as the compatibility checkpoint
The fitter is the interface that decides whether a shade can actually be installed. “Standard size” is not enough because standards vary by market, fixture family and construction. Use the detailed JX guide to lamp shade fitting standards when preparing a technical request.
Record these measurements before asking for a replacement or custom quote:
- Maximum outside diameter and maximum height.
- Opening inside diameter and outside diameter.
- Neck height, shoulder position and any stepped transition.
- Fitter type, thread, collar or retaining ring arrangement.
- Seated height from the support surface to the top of the shade.
- Distance from the bulb to the nearest glass surface.
- Fixture orientation, including whether the opening faces up, down or sideways.
- Maximum acceptable weight and the location of all support points.
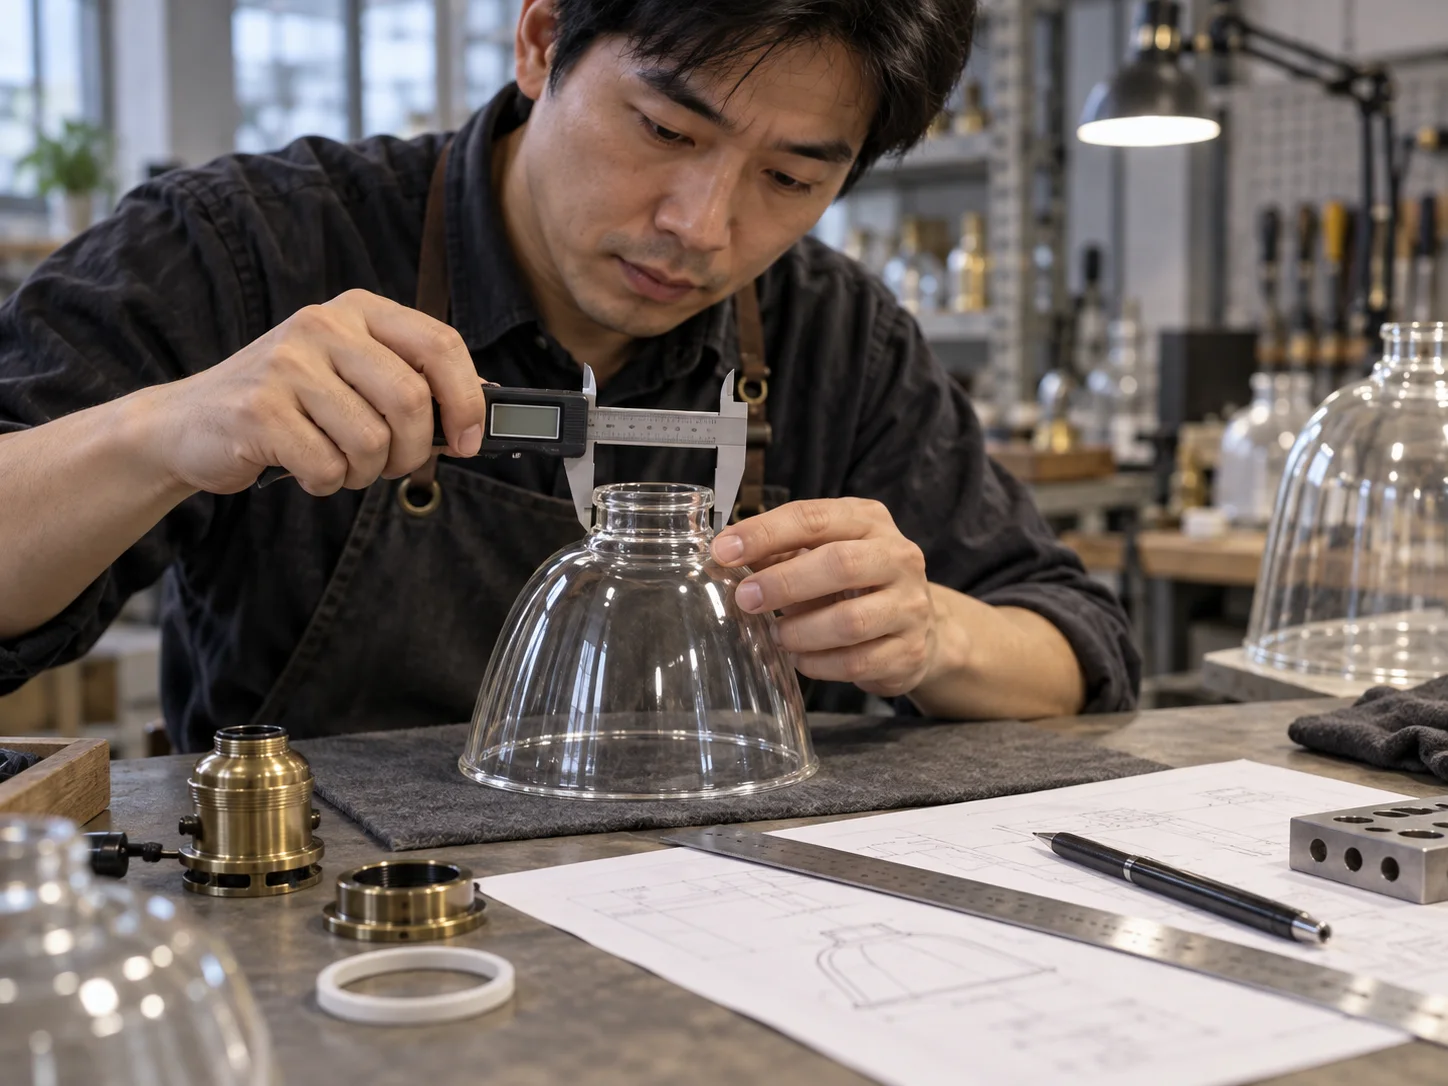
If you have no drawing, provide a scale reference in the photographs and include the old sample if it is available. A supplier can review feasibility more reliably when the visual style and the interface dimensions arrive together.
Specify the desired light behavior
Lighting buyers often approve a shade while it is unlit, then discover that the finished lamp is too bright, too dark or too directional. Include a simple light-behavior brief with the style request.
| Desired behavior | Design levers to discuss | How to review it |
|---|---|---|
| Soft ambient glow | Opal, milky or frosted body, rounded profile and reduced direct view of the source | View the assembled fixture from normal eye level with the intended bulb |
| Visible sparkle | Clear or cut glass, faceted geometry and a point-like source | Check reflections, shadow pattern and visual comfort at several angles |
| Downward task light | Open lower section, controlled cone or directional profile | Measure the working surface and inspect glare from the seated position |
| Upward wash | Bowl or open upper profile with a clear path to the ceiling | Check ceiling brightness and shadow transition around the fixture |
| Textured wall pattern | Ribbing, cut detail or controlled openings | Photograph the wall at the intended distance and fixture height |
| Warm decorative tone | Amber or other approved color with a warm source | Review color with the actual lamp, background and dimming state |
The complete luminaire remains responsible for electrical, thermal and installation compliance. IEC 60598-1 describes general requirements and tests for luminaires, while UL Solutions explains that decorative lighting is commonly assessed against luminaire and LED standards. A shade supplier can help with material, fit and sample documentation, but the applicable certification path belongs to the finished product and target market.
Move from a style reference to a manufacturable sample
A good supplier brief does not need to be long, but it must contain the decisions that affect tooling and repeatability. Use this sequence:
1. Start with the reference and the job
State whether the shade is for a new collection, a replacement, a hospitality project, a distributor range or a one-time design feature. Identify the fixture and the expected order pattern.
2. Fix the profile and the interface
Provide a sketch, old sample, 2D drawing, 3D file or measured photo. Mark the outer dimensions, openings, seated height, wall thickness target and fitter structure. A style adjective should support the drawing, not replace it.
3. Define the glass and finish
Name the body appearance, surface texture, color, opacity, edge treatment and any logo or decoration. If the shade must match an existing collection, send the reference piece or a physical color standard.
4. Decide what the sample must prove
Write down the questions the sample must answer: visual proportion, fixture fit, light diffusion, glare, color under the intended source, cleaning access, weight or packing durability. This prevents a sample from being judged only on a studio photograph.
5. Agree on the approval record
Keep the approved dimensions, finish reference, fixture test images, tolerance notes and packing method together. If a change is made after approval, record whether it changes the mold, surface treatment, weight or optical result.
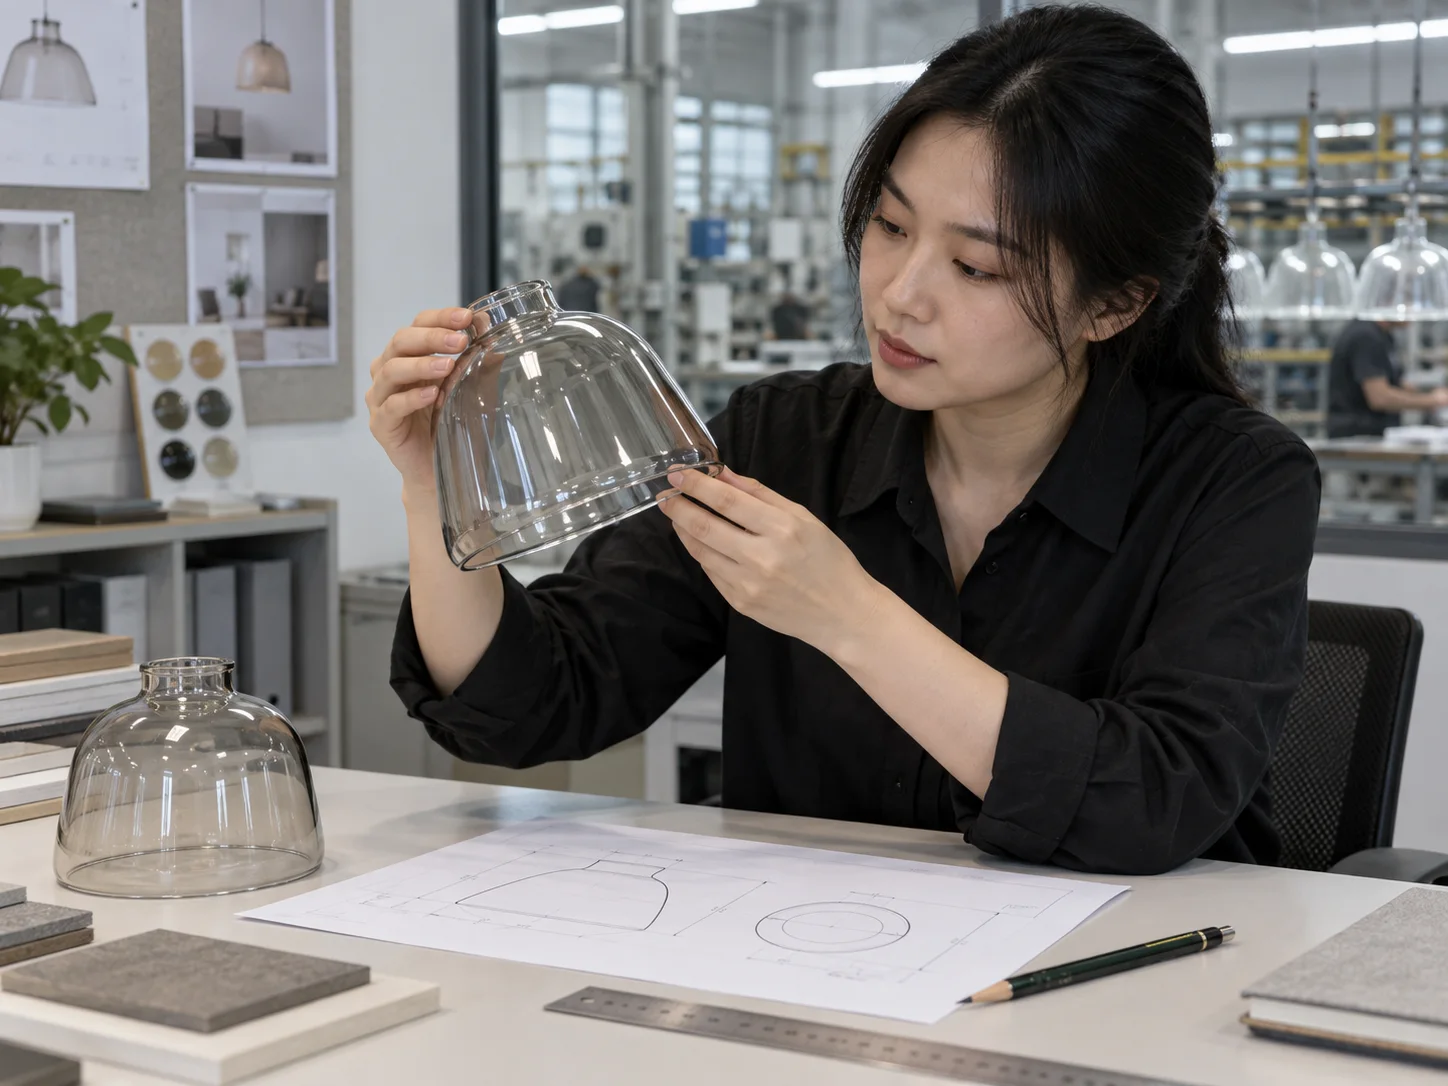
The JX custom glass lamp shade services page describes review from drawings, photos or samples and lists support for custom geometry, color, wall thickness, surface treatment and cartons. Confirm the actual process, sample schedule, MOQ, mold ownership and compliance documents for the individual project.
Choose a production route based on the design and quantity
The right production route depends on the shape, volume, tolerance, texture and commercial position of the collection. A distinctive low-volume form may need a different development path from a repeatable shade ordered across several fixture families.
- Hand forming or mouth-blown development: useful when the form is sculptural, the quantity is limited or the design needs craft variation. The brief should define which variations are part of the look and which are defects.
- Pressed or molded production: useful when a repeatable profile, stable dimensions and controlled repeat orders matter. Confirm draft, mold split, rim strength and the transition from sample to production.
- Surface processing: frosting, ribbing, cutting, coloring or other decoration can change the appearance and the inspection method. Confirm coverage, edge treatment, cleanability and abrasion expectations.
- Hybrid development: a collection may use a formed body with a controlled finish or a standard fitter combined with a custom profile. Ask the supplier to separate tooling, sample and per-piece costs so the reorder model is visible.
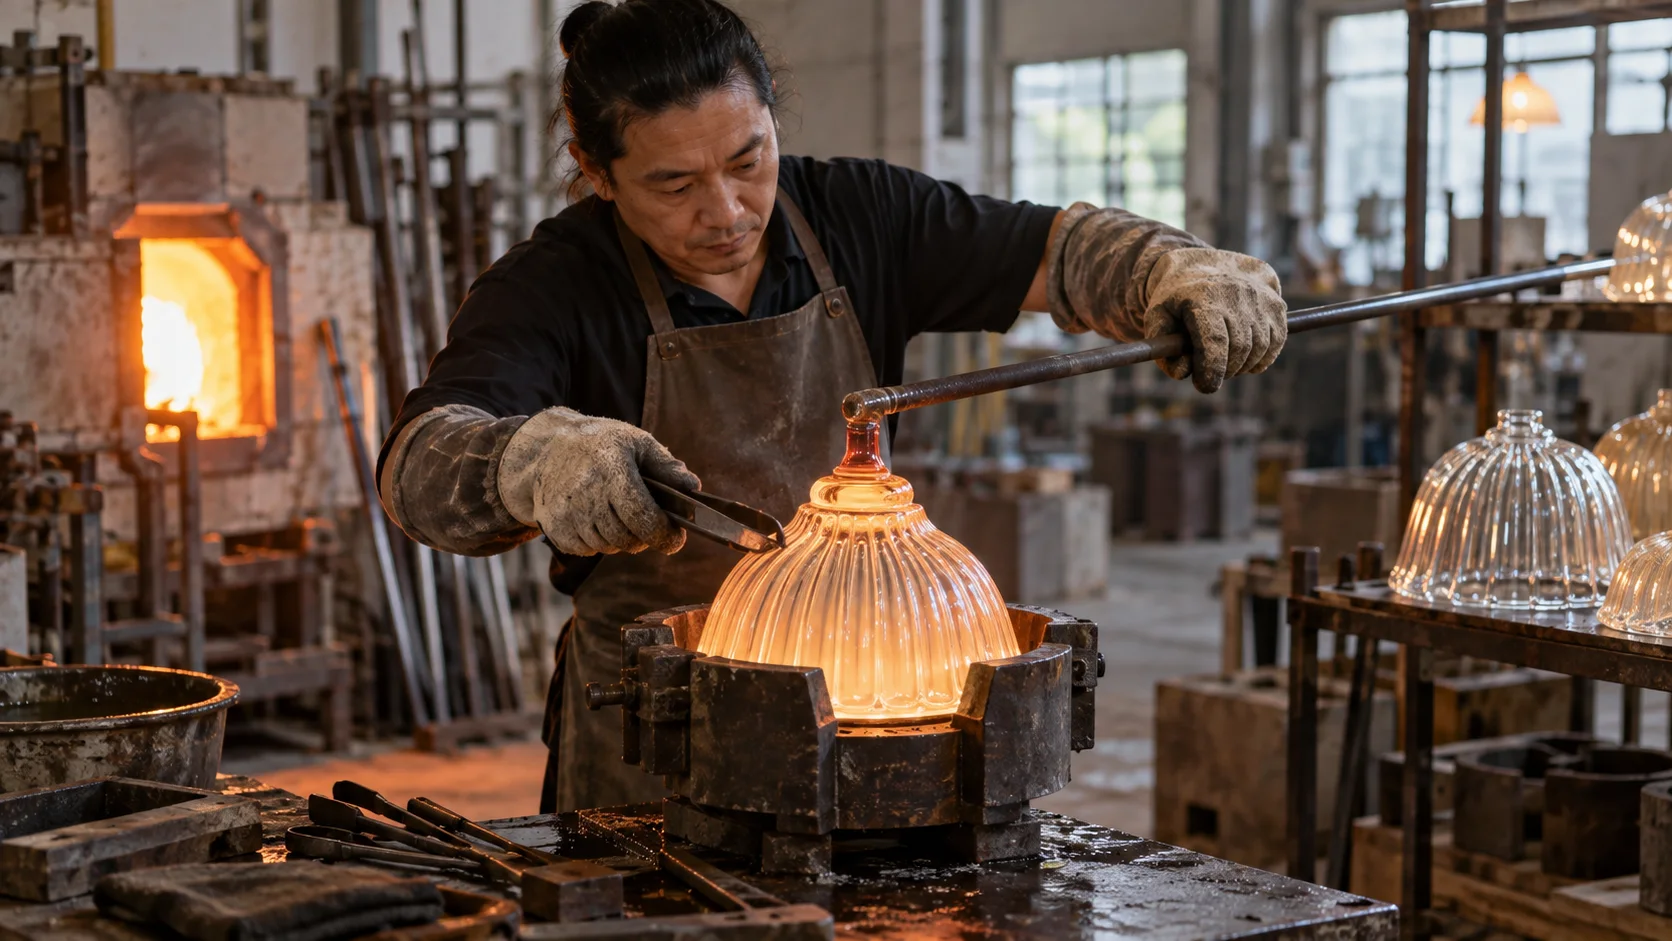
Do not assume that a small change in the visual reference is a small manufacturing change. Moving the shoulder, narrowing the neck or deepening a rib can change mold release, wall thickness, weight, light transmission and packing risk.
Approve finish and color under lit and unlit conditions
Every finish should be reviewed in at least two states: the shade unlit in normal room light and the shade installed with the intended lamp. If the shade will be sold into different markets, specify the source or color temperature used for the approval photographs. A warm source can make amber, pink or smoke glass appear more saturated than it does under a neutral source.
The approval record should include:
- the glass body and finish name used by the project;
- the reference sample or color standard;
- the light source, dimming state and viewing distance;
- the background and fixture hardware used for review;
- the acceptable variation in color, bubbles, seeds, ribs or facets;
- the photos and notes that define the approved result.
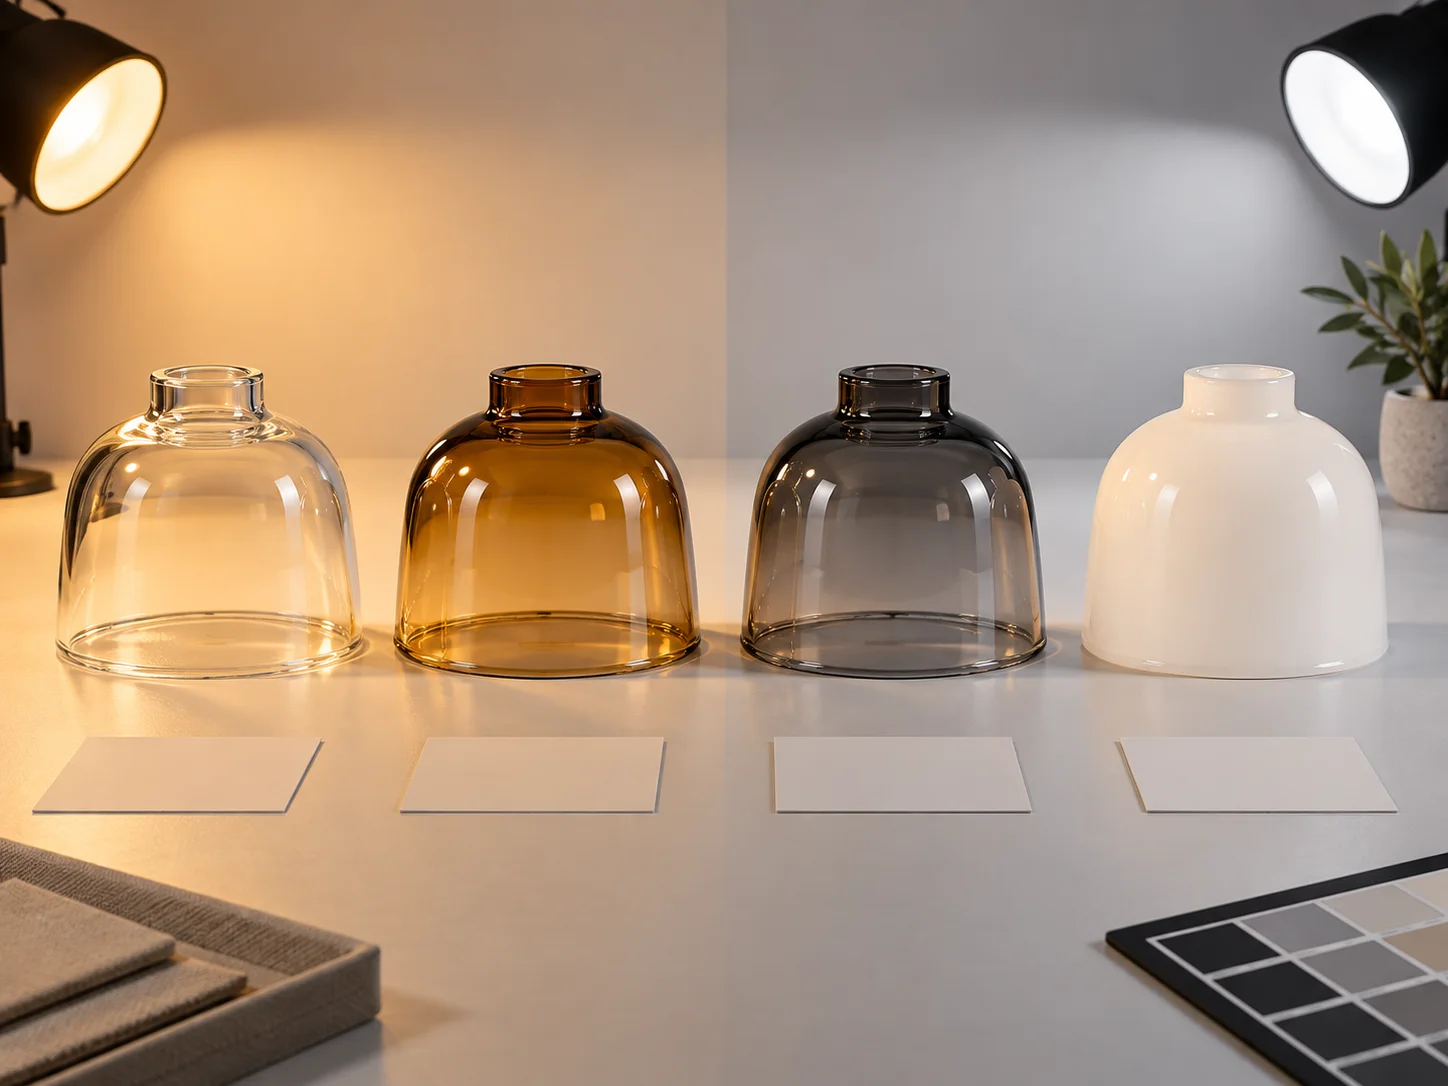
A phone image is useful for discussion, but it is weak as the only repeat-order standard. Use a physical master sample or a written approval record when color and diffusion are central to the collection.
Quality checks before mass production
Inspection should connect the visible style to the functional interface. A shade can look excellent and still be unusable if the opening is out of tolerance or the rim cannot seat safely.
Ask the supplier to define the inspection points for:
- outer diameter, total height and seated height;
- opening diameter, neck and fitter structure;
- rim continuity, chips, cracks, sharp edges and visible stress marks;
- wall thickness or weight where these affect fit and handling;
- color, opacity, surface texture and pattern alignment;
- bubbles, seeds or inclusions according to the approved sample;
- cleanliness, protective film or removable residue;
- carton fit, separators, cushioning and quantity per master carton.
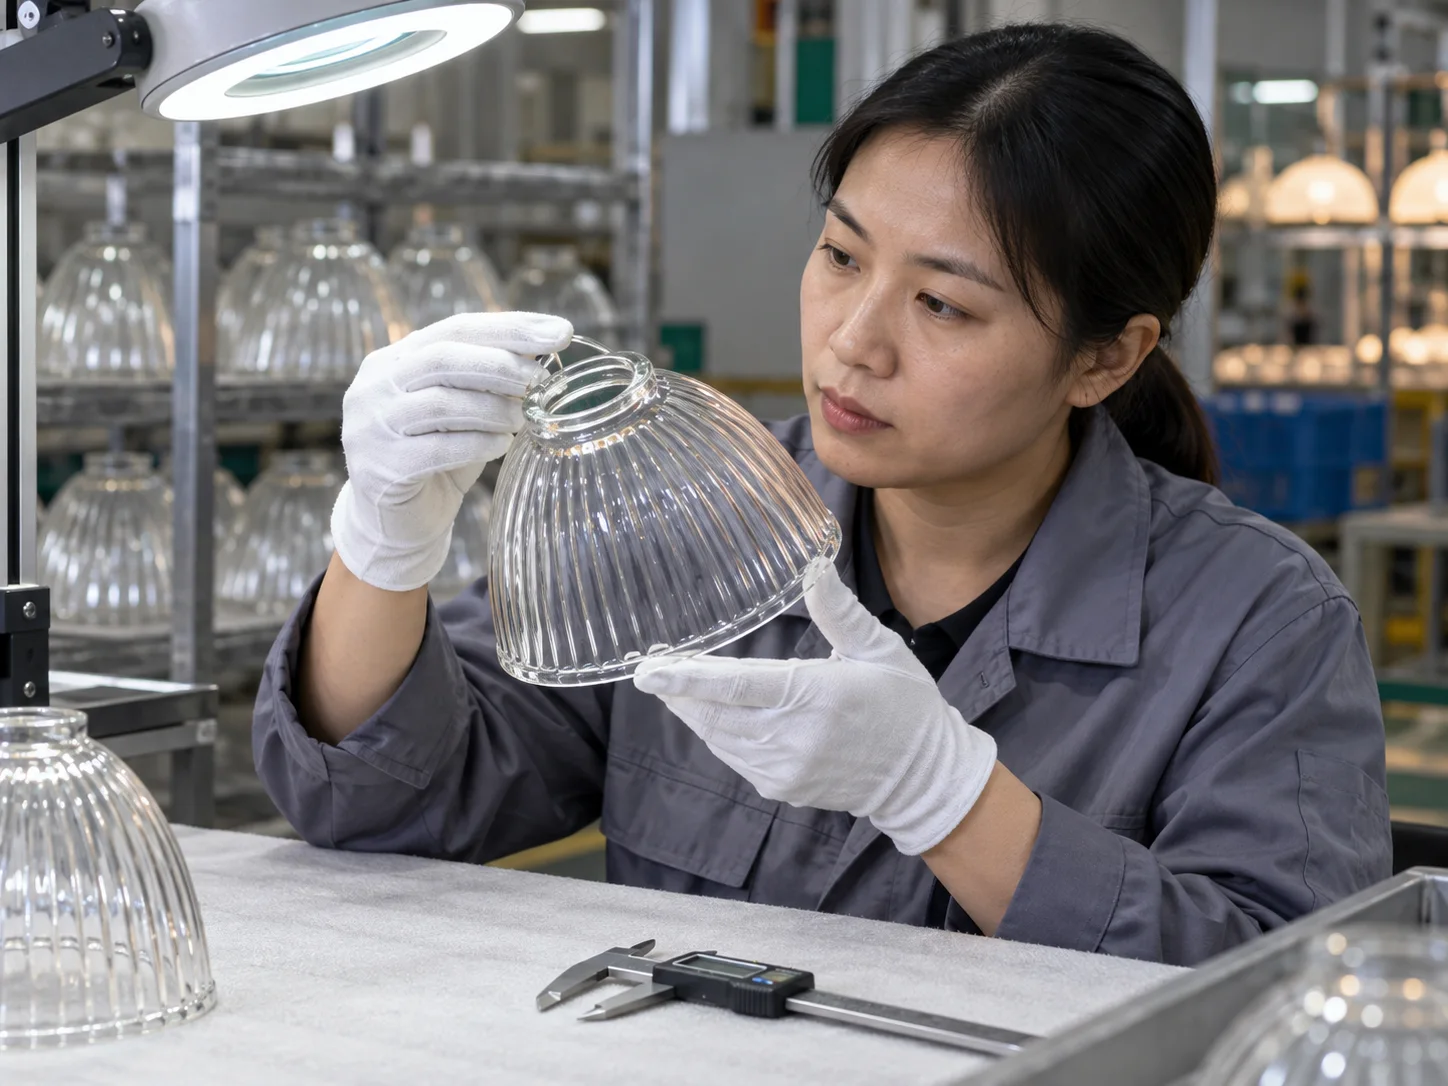
Use a written inspection checklist for the first order and for repeat orders. The JX glass lamp shade quality inspection checklist can be used as a related reference, then adapted to the specific profile and finish.
Packaging and reorder control are part of the style decision
Fragile glass creates a second approval problem after the visual sample: the approved shade must arrive in the same condition in which it left the factory. Packaging should protect the rim, neck, surface finish and any projecting geometry. It should also make counting and replacement planning practical for distributors and projects.
Confirm the following before a purchase order:
- Individual wrap, molded cavity or divider method.
- Clearance between glass and carton walls.
- Protection for fitter threads, rims and decorative edges.
- Quantity per inner pack and master carton.
- Carton markings, item code and orientation instructions.
- Spare or replacement policy for transit damage.
- Whether the approved packing can be repeated for the next order.
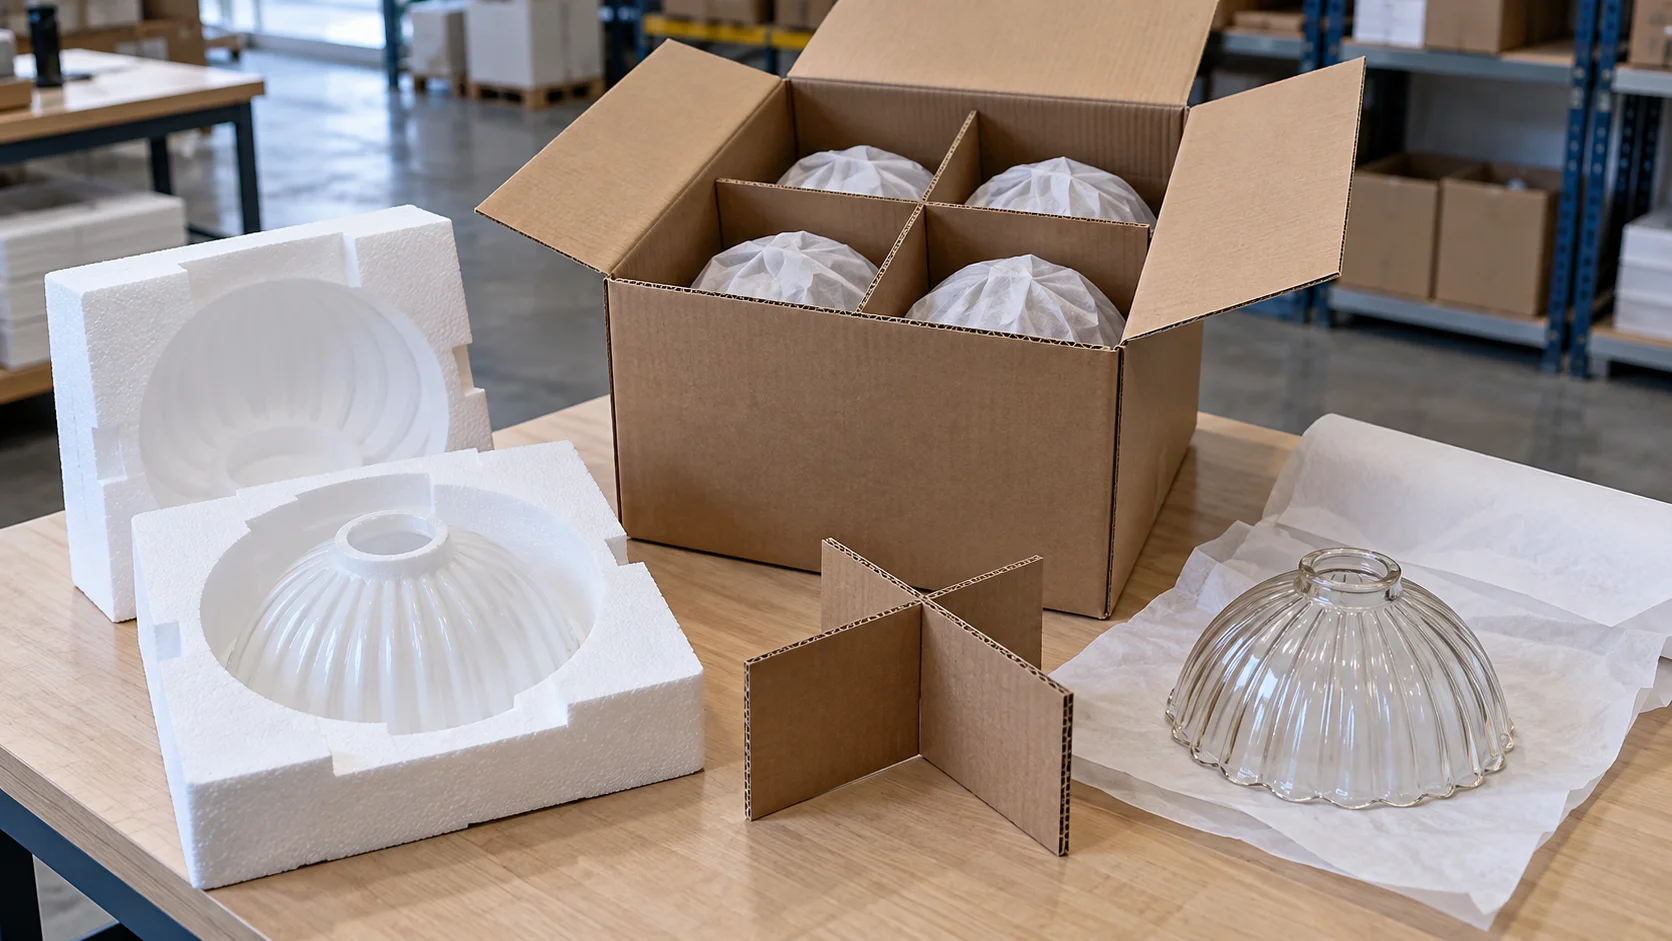
MOQ, tooling, sample charges, lead time and reorder pricing should be quoted against the same approved specification. If a brand changes the glass body, finish, opening or packing method, ask the supplier to identify which commercial terms change with it. That makes supplier comparison more useful than comparing a single unit price.
RFQ template for lighting brands and distributors
Send the following information when requesting a quote for a glass lamp shade style:
- project name, fixture type and target market;
- intended application, quantity and expected reorder pattern;
- reference images, old sample, sketch, CAD file or dimensioned drawing;
- profile name plus the dimensions that define it;
- fitter type, opening dimensions, seated height and support method;
- glass body, color, opacity, texture and surface finish;
- bulb or LED information, light direction and glare expectation;
- sample quantity, approval method and fixture-test requirement;
- packaging, labeling, carton quantity and transit concerns;
- target timing, MOQ, tooling ownership, payment terms and requested compliance documents.

If the project is still at the concept stage, use the custom lampshade RFQ builder to organize the design, dimensions, application and packaging questions before sending the request. A clear RFQ helps a supplier explain what is standard, what needs a new mold and what must be confirmed by a physical sample.
Common questions about lamp shade styles
What are the main lamp shade styles for glass lighting?
Common glass profiles include globe, dome, bell or tulip, cylinder, cone, bowl, faceted and custom irregular forms. The profile describes the outline. The final style also depends on the glass body, finish, fitter and light behavior.
Which lamp shade style diffuses light best?
There is no single best profile for every fixture. Opal, milky and frosted glass usually give a softer visual result than clear glass, but diffusion also depends on wall thickness, surface treatment, bulb position and the complete luminaire. Approve the assembled fixture rather than the shade on a table.
Are glass lamp shade styles interchangeable between fixtures?
No. A shade must match the fitter, opening, seated height, support method, weight, bulb clearance and fixture orientation. Two shades with the same outside diameter may use different interfaces and may not be interchangeable.
What should I measure before ordering a replacement shade?
Measure the outside diameter, total height, opening inside and outside diameters, neck or shoulder, fitter structure, seated height and bulb clearance. Photograph the fixture with a ruler or provide the old shade and a drawing when possible.
Should I choose the style before the glass finish?
Choose the application and profile first, then select the glass body and finish within that geometry. Color and diffusion can look different in a globe, cylinder or flared bell even when the glass recipe is similar.
Can a supplier make a custom glass lamp shade style?
Many suppliers can review custom shapes from a drawing, photo, sample or concept, but feasibility depends on geometry, mold release, wall thickness, fitter, quantity and finish. Ask for a sample and confirm the approved specification before mass production.
What should a lighting brand approve in a lamp shade sample?
Approve profile, dimensions, fitter, weight, finish, color, light diffusion, glare, surface quality, fixture compatibility and packaging. Keep lit and unlit photographs with the approved sample record.
Does a glass shade itself prove luminaire compliance?
No. Shade material and fit are only part of a complete lighting product. The finished luminaire must follow the applicable electrical, mechanical, thermal and marking requirements for its market. Ask for project-specific documents rather than assuming a general material statement is a certification.
Request a quote for a glass lamp shade style
The fastest route from an attractive reference to a repeatable product is a measurable brief. Send the profile, opening, fixture application, glass body, finish, light source, quantity and packaging expectation. JX Lampshade can review the design route and confirm whether the next step is a catalog match, a sample, a mold discussion or a custom quotation.
Request a Custom Glass Shade Quote