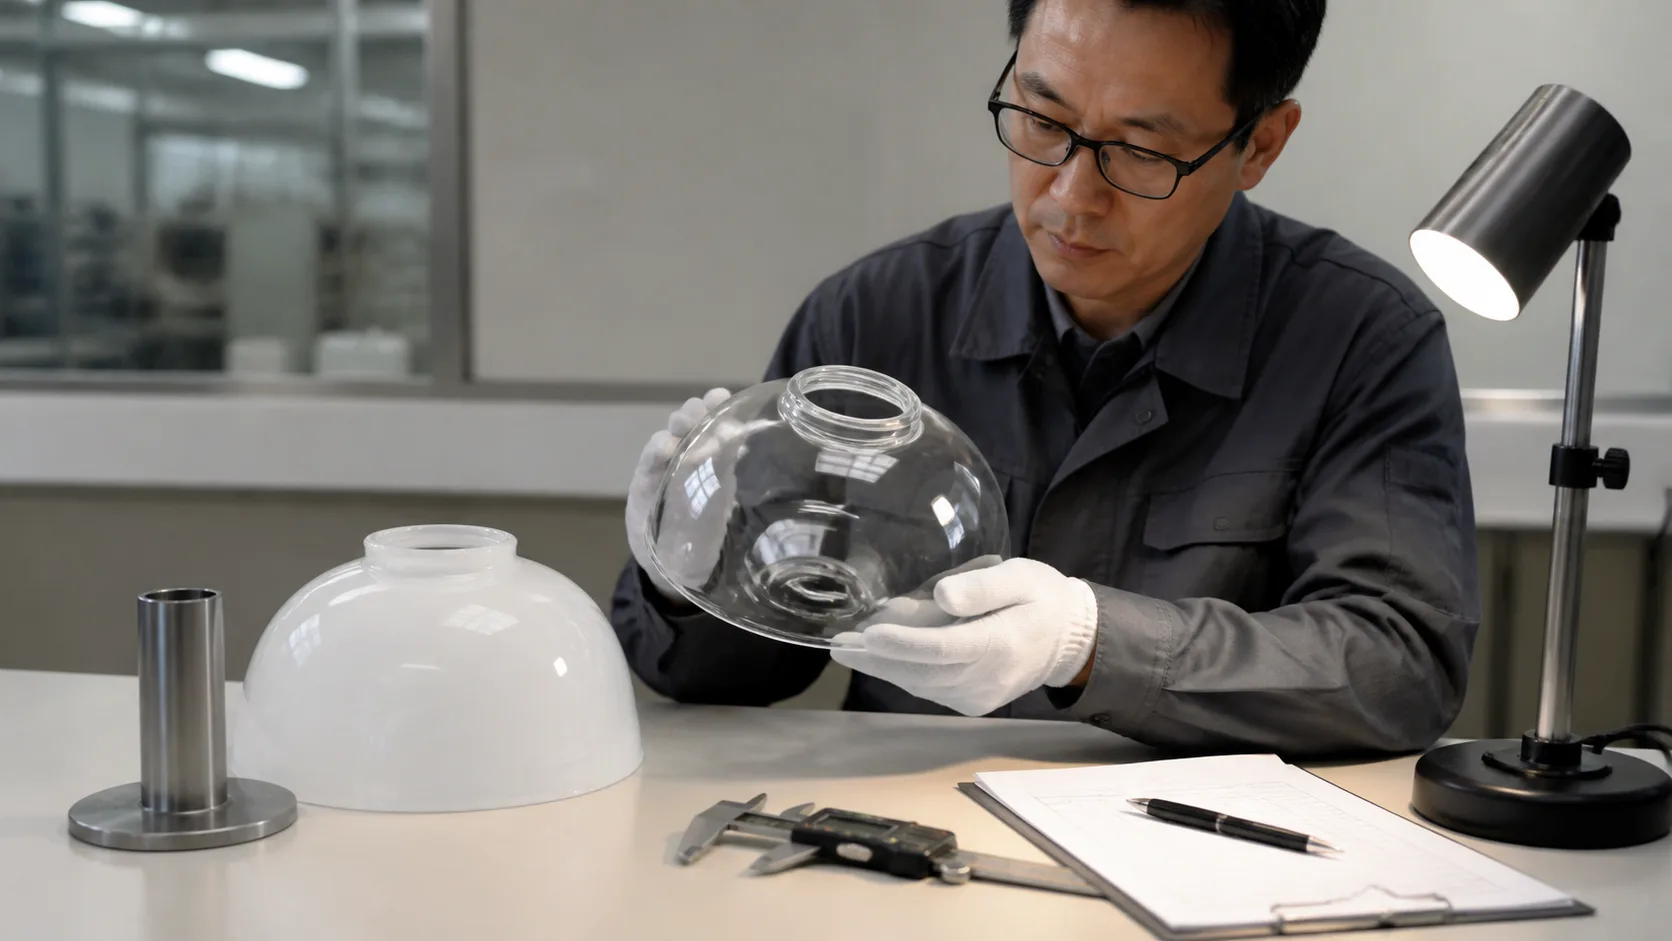
When a glass lamp shade reaches a buyer's warehouse, "good quality" is not a useful acceptance standard. The buyer needs a controlled drawing, an approved reference sample, an agreed lot plan, and a record that shows what was checked. Without those items, a shade can look attractive and still fail because the fitter does not seat, the rim chips during assembly, the color drifts across a set, or the packing protects the body but not the connection edge.
This glass lamp shade quality inspection checklist is for lighting brands, fixture manufacturers, hospitality procurement teams, importers, and distributors. It turns a broad quality promise into 20 checks covering identity, dimensions, glass appearance, rims, fit, optical behavior, finish, packing, and release documents. It is written for custom and repeat-order work rather than one-off replacement purchases.
What a useful inspection checklist controls
A shipment inspection should answer four buyer questions:
- Is this the correct part, finish, quantity, and production revision?
- Does each shade meet the dimensions and interface requirements that control assembly?
- Are visual, optical, and material variations inside the approved range?
- Can the buyer prove what was accepted, rejected, reworked, and packed?
The checklist should be attached to the purchase order or quality agreement before production. A form created after a problem appears usually records the dispute, but it does not prevent the dispute. The supplier and buyer should agree which characteristics are critical, which are major, which are minor, and which are appearance preferences that need a master sample rather than a single numerical limit.
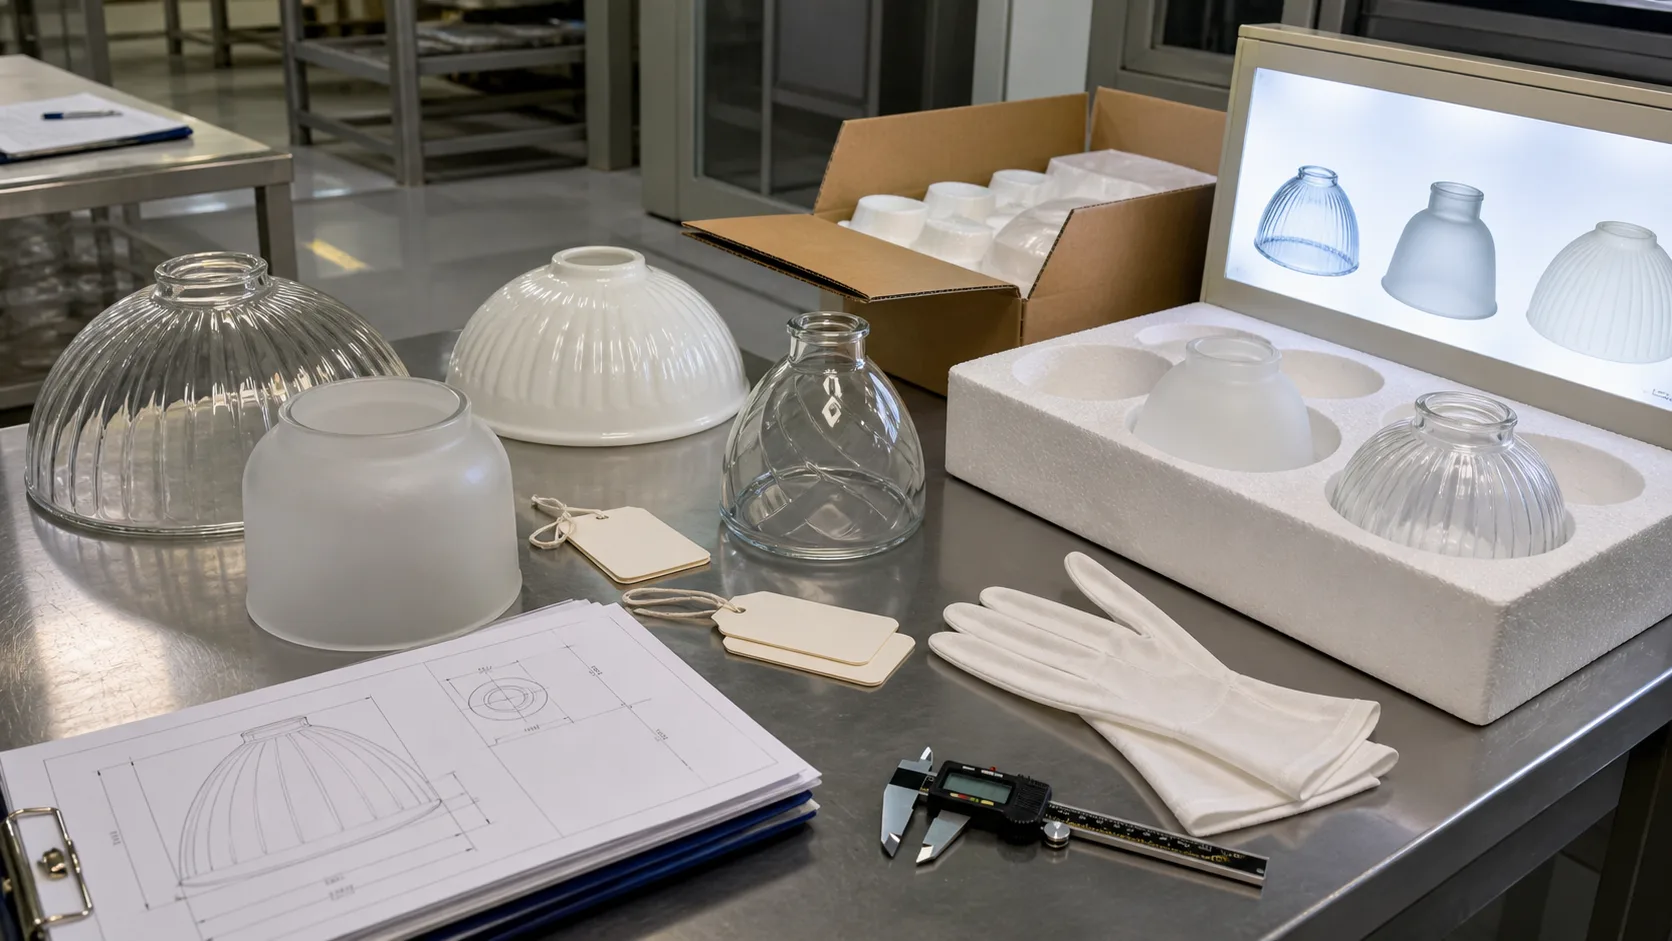
The article uses the word "check" broadly. Some checks are performed on every piece, some on a defined sample, and some on the production record. The correct plan depends on the risk of the part, the repeatability of the process, the fixture interface, the order quantity, and the buyer's contract.
Freeze the inspection basis before production
Inspection is only fair when the reference is stable. Before the first sample or production run, create one inspection basis that the buyer, supplier, and any third-party inspector can read in the same way.
| Inspection basis | What it should identify | Evidence to keep |
|---|---|---|
| Drawing revision | Profile, openings, height, wall notes, holes, threads, and critical datums | Approved PDF or CAD revision with date and change history |
| Master sample | Finish, color, texture, seam position, edge appearance, and acceptable visual range | Signed sample photos and, where practical, a retained physical sample |
| Fixture interface | Holder, ring, gasket, screw, clip, socket, or retaining system that mates with the glass | Controlled metal part, assembly drawing, or interface sample |
| Light source | Bulb or LED type, output, color temperature, diffuser position, and dimming state | Test setup photo and the conditions used for optical approval |
| Lot definition | Which pieces belong to one production lot and how the lot is identified | Batch code, carton range, quantity, and production date |
| Acceptance plan | Critical, major, and minor defects, sample size, and release authority | Signed purchase-order quality section or inspection plan |
If a dimension changed after tooling, do not let an old screenshot remain the only reference in an email chain. Mark the new revision and identify the old parts that are no longer acceptable. A polished inspection report cannot repair an uncontrolled drawing history.

The 20-point glass lamp shade quality inspection checklist
The following list is a starting framework. It does not create a universal tolerance for every glass type, shape, forming route, or luminaire. Put the controlling value, method, and responsible person into the buyer's actual inspection plan.
| No. | Check | What to inspect | Evidence or release action |
|---|---|---|---|
| 1 | Part identity | SKU, drawing revision, finish code, color, and fixture position match the order | Photograph the lot label and quarantine mixed revisions |
| 2 | Quantity and lot | Carton count, piece count, batch code, and sample traceability are complete | Reconcile packing list, cartons, and inspection sample |
| 3 | Profile | The shade outline matches the approved drawing and sample from the agreed view | Record profile deviation and attach comparison photos |
| 4 | Critical dimensions | Height, maximum diameter, opening, neck, hole location, and other datums are measured by the stated method | Use the drawing limits; do not substitute a nominal catalog size |
| 5 | Roundness or symmetry | Circular, oval, or rotational features remain within the agreed form | Use a gauge, template, fixture, or documented measurement method |
| 6 | Wall and mass | Wall distribution and finished weight are suitable for the design and holder | Record the method and investigate outliers rather than guessing a limit |
| 7 | Fitter interface | Thread, groove, lip, sleeve, ring, clip, or plain rim engages the mating fixture correctly | Assemble with the controlled holder or gauge |
| 8 | Rim and edge | Contact edges are finished as specified and free from chips, sharp projections, or damaging high points | Define acceptable edge condition by drawing and master sample |
| 9 | Holes and cutouts | Diameter, position, edge condition, and orientation match the drawing | Check with the actual hardware when holes affect retention |
| 10 | Surface defects | Stones, seeds, cords, scratches, scuffs, blisters, cracks, and tool marks are screened under agreed lighting | Classify by location, size, visibility, and function rather than appearance alone |
| 11 | Seam or parting line | Mold seams, seams, and orientation marks are in the agreed location and finish range | Compare with the approved sample and the mold plan |
| 12 | Color and finish | Tint, opacity, frost, coating, polish, texture, and gloss match the reference | Compare under the specified light and viewing distance |
| 13 | Pattern registration | Ribs, flutes, bubbles, painted marks, or decorative alignment are positioned consistently | Photograph the pattern against a fixed orientation reference |
| 14 | Light transmission | The shade produces the approved spread, brightness, hotspot, and glare behavior | Test assembled samples with the agreed light source |
| 15 | Thermal and stress evidence | The supplier's process record, annealing evidence, or required test result is available where specified | Do not infer internal stress from a clean surface photograph |
| 16 | Fit and retention | The shade seats, levels, clears the bulb, and remains secure without damaging force | Record the assembly result and any tool or torque requirement |
| 17 | Cleaning and handling | The approved finish withstands the agreed wipe, handling, and removal routine | Record cleaner, dilution, cloth, cycles, and visible change |
| 18 | Marking and traceability | Carton, part, and batch references remain linked to the inspection report | Reject anonymous mixed cartons for repeat-order work |
| 19 | Inner protection | Rims, necks, threads, coatings, and contact surfaces are protected from impact and abrasion | Photograph inserts and the first and last packed layers |
| 20 | Final document pack | Measurements, defect photos, rework status, packing photos, and release signature are complete | Release only after open nonconformities have an owner and decision |
The most important line in the table is not a number. It is the evidence column. A buyer should be able to trace a failed shade to a dimension, sample, image, batch, or assembly observation without relying on memory.
1. Verify identity, quantity, and drawing revision
The first four checks prevent an expensive category of error: a supplier may inspect the wrong part correctly. A lighting collection can contain similar globes, the same profile in several finishes, or left and right versions with different holes. Inspect the carton label, the part reference, the drawing revision, and the finish code before opening a sample.
For a repeat order, compare the current lot with the last approved revision. Do not accept a new mold, changed coating, or revised fitter only because the overall shape looks similar. A small interface change can make a complete set unusable.
Review the actual profile from the same orientation used in the drawing. A camera angle can hide a shoulder, a flat, or an asymmetrical cutout. A simple profile template or a controlled photo taken against the drawing can expose a change before assembly begins.
2. Measure the dimensions that control assembly
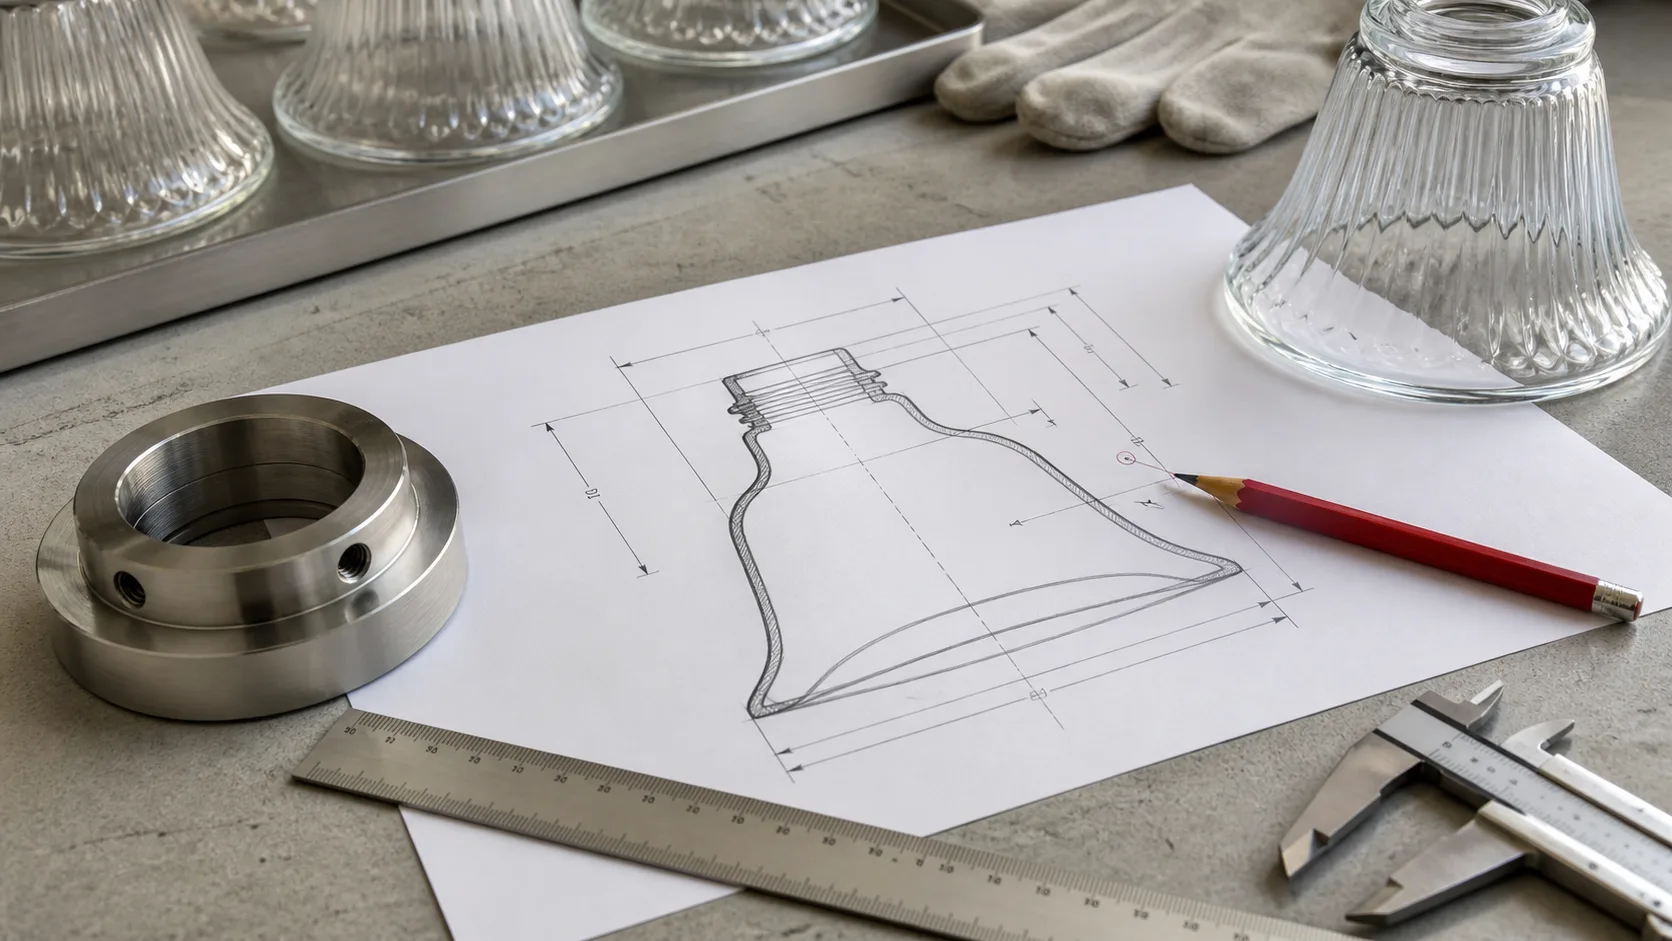
Measure dimensions in the order that the fixture uses them. The fitter or retaining interface usually deserves priority because a shade with a perfect body profile still fails if the connection does not seat. Measure the inside and outside of openings according to the drawing, not according to a remembered standard size.
For a custom shade, define whether the measurement is taken before or after grinding, polishing, frosting, coating, or another finishing step. The same nominal opening can change when an edge is removed or when a coating builds on a contact surface. The drawing should say which surface controls inspection.
Use the glass lamp shade technical drawing checklist when the RFQ needs multiple datums, hole locations, or installation clearances. The fitter compatibility checker is useful for naming the connection, but a new project should still provide the mating holder or a controlled interface drawing.
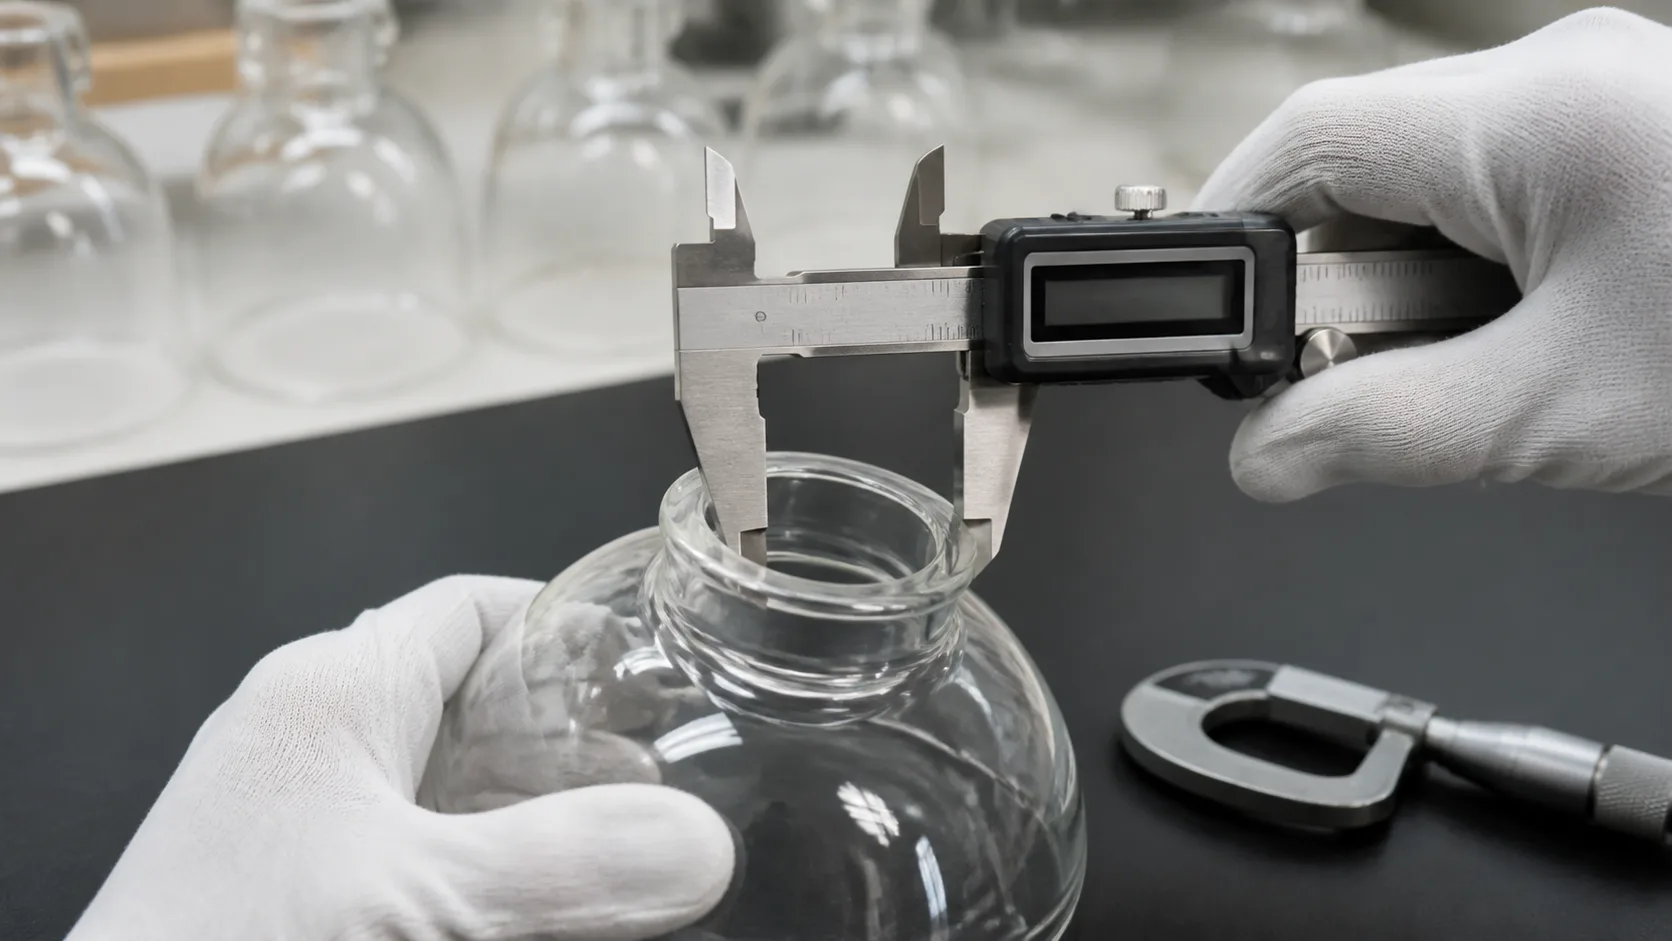
Do not copy a general tolerance from another product. The correct limit depends on the size, process, glass behavior, finishing route, and how the fixture retains the piece. If the buyer needs a tight fit, specify the measurement method and the consequence of failure. For example, "opening must pass the supplied go/no-go gauge without force" is more useful than "high precision".
3. Check roundness, wall distribution, and finished mass
Roundness and symmetry matter when the shade rotates in a ring, lines up with a backplate, or sits beside matching pieces. A shade can have the correct maximum diameter but still wobble because the opening is off-center or the body is not symmetrical around the intended axis.
Check finished mass when the fixture, suspension, or matched set depends on it. Weight is not a substitute for wall-thickness measurement, and a scale cannot show where the glass is thick. It is a useful screening signal: an outlier may indicate uneven wall distribution, extra material at a rim, or a finishing difference that deserves investigation.

Record the instrument, calibration status, operator, and test position. If the shade is hand-finished, agree which variation is expected and how it affects assembly, balance, and appearance. A buyer should not reject a craft process for being non-identical when the approved sample already defines a range, but the range must be visible to the people inspecting the lot.
4. Inspect the fitter, rim, edge, and cutouts
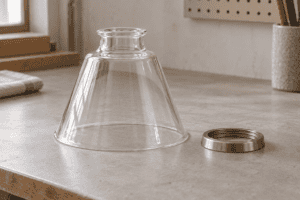
The fitter is where appearance becomes a working part. Inspect the neck, groove, thread, lip, plain rim, or opening with the actual holder or a controlled gauge. Look for interference, rocking, incomplete seating, uneven contact, and a retaining ring that reaches the end of its travel before the glass is secure.
The rim is both a visible finish and a contact surface. Check for chips, sharp projections, grinding marks, excessive waviness, and a high point that could concentrate pressure. The required edge may be fire-polished, ground, seamed, or another defined condition. Use the glass lamp shade edge finishing guide to align terminology before writing the acceptance line.
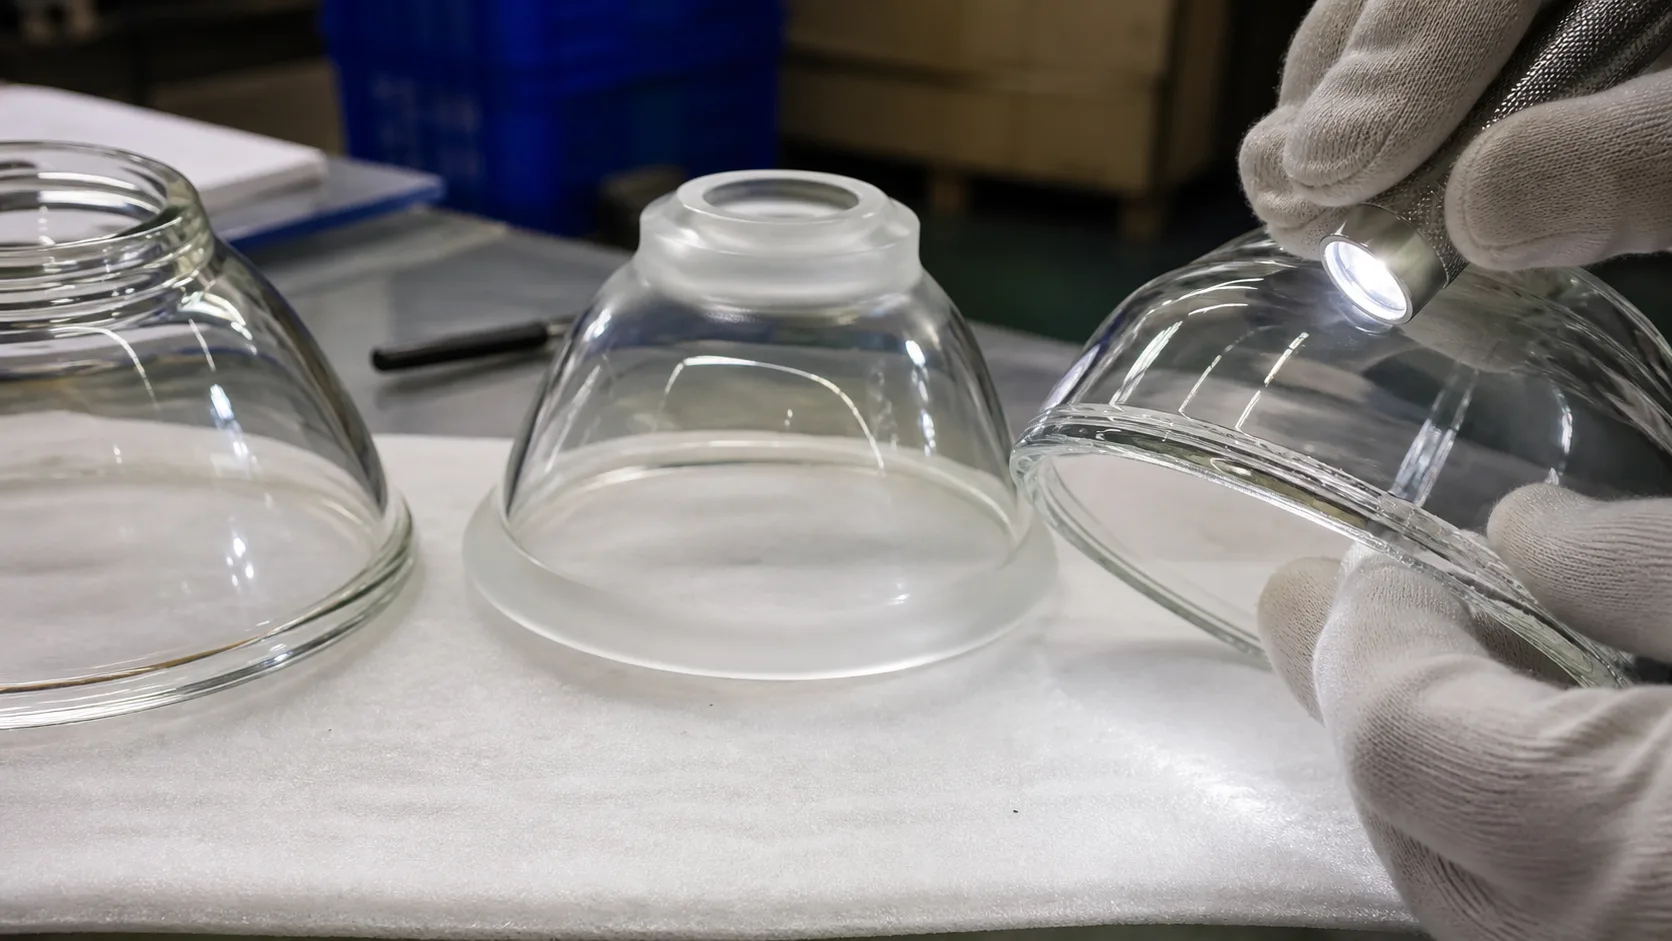
For holes and cutouts, measure the opening, position, edge finish, and orientation. Assemble the intended hardware where a hole affects retention or wiring. The holes and cutouts guide covers the design conversation, but shipment inspection still needs a drawing value or a physical gauge.
A fixture installation guide from Besa shows why the hardware relationship matters: its glass shade instructions identify a balance cup, retaining cap, fastener screws, and silicone washers, and warn against overtightening. Use the manufacturer installation guide as a concrete example of a complete assembly instruction. It is not a universal installation method for every glass shade.
5. Screen the glass body under controlled light
Visual inspection should use a defined background, light direction, viewing distance, and inspection time. A clear shade may hide a line in one direction and reveal it under transmitted light. A frosted shade may hide a small surface mark until it is illuminated. A ribbed shade can create reflections that look like defects when the light source is not controlled.
Screen for the defect types that matter to the design and process: stones or unmelted particles, unwanted seeds, cords or flow lines, blisters, scratches, scuffs, cracks, coating marks, tool contact, and damage from handling. Do not turn a supplier's informal vocabulary into an acceptance limit without defining the size, location, contrast, and viewing condition.
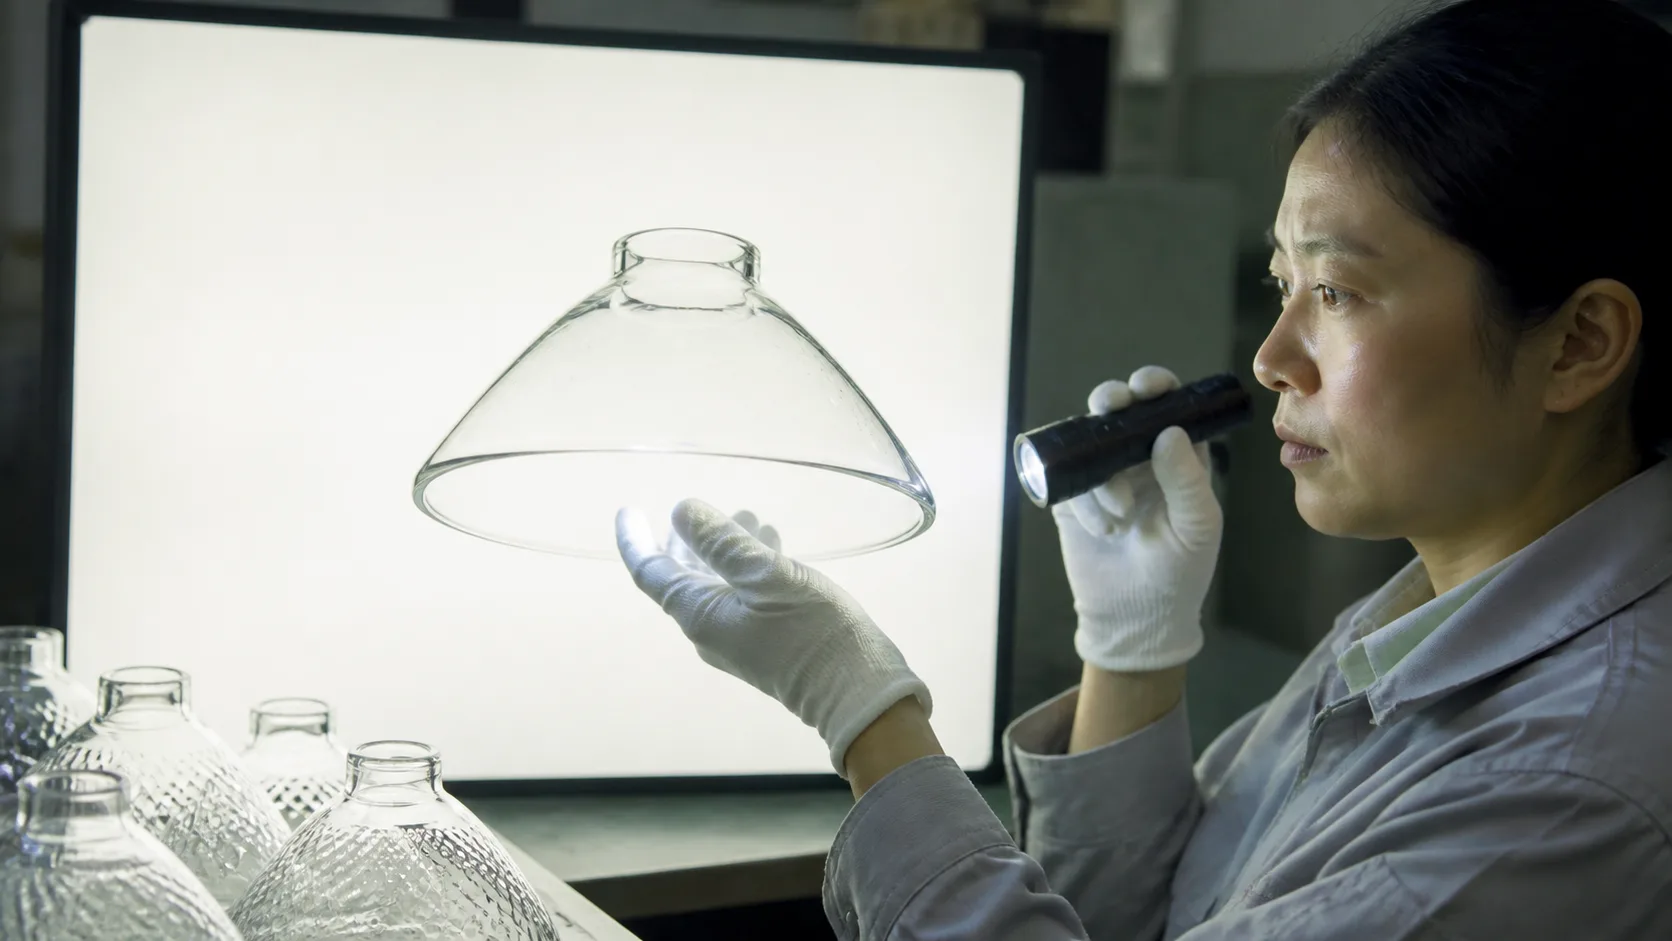
Classify a defect by function as well as appearance. A tiny mark in a hidden upper area may be different from the same mark inside a visible luminous zone, on a gasket surface, or at a stressed rim. The buyer and supplier should mark appearance zones on the drawing when the distinction affects release.
ASTM C1036 is a useful reminder that glass specifications can address dimensions, blemish content, distortion, reflectance, and transmittance. Its scope is flat glass, not a universal acceptance standard for every shaped lamp shade. Read the ASTM C1036 scope, then adapt the idea of defined characteristics to the actual shade geometry and purchase order.
6. Compare color, opacity, and surface finish
Color inspection fails when the reference is a product name such as "smoke" or "warm white" with no physical sample or viewing condition. Compare the production pieces with a master sample under the light source defined in the inspection plan. Note whether the sample is viewed by transmitted light, reflected light, or both.
For opal, milk, frosted, or coated glass, inspect uniformity across the full body. Look for streaks, cloudy areas, gloss changes, lap marks, patchiness, and differences around the fitter or rim. For colored glass, compare the body, thick sections, thin sections, and edge. A shade may look acceptable in a single photograph and still show a visible lot difference when ten pieces are lit together.
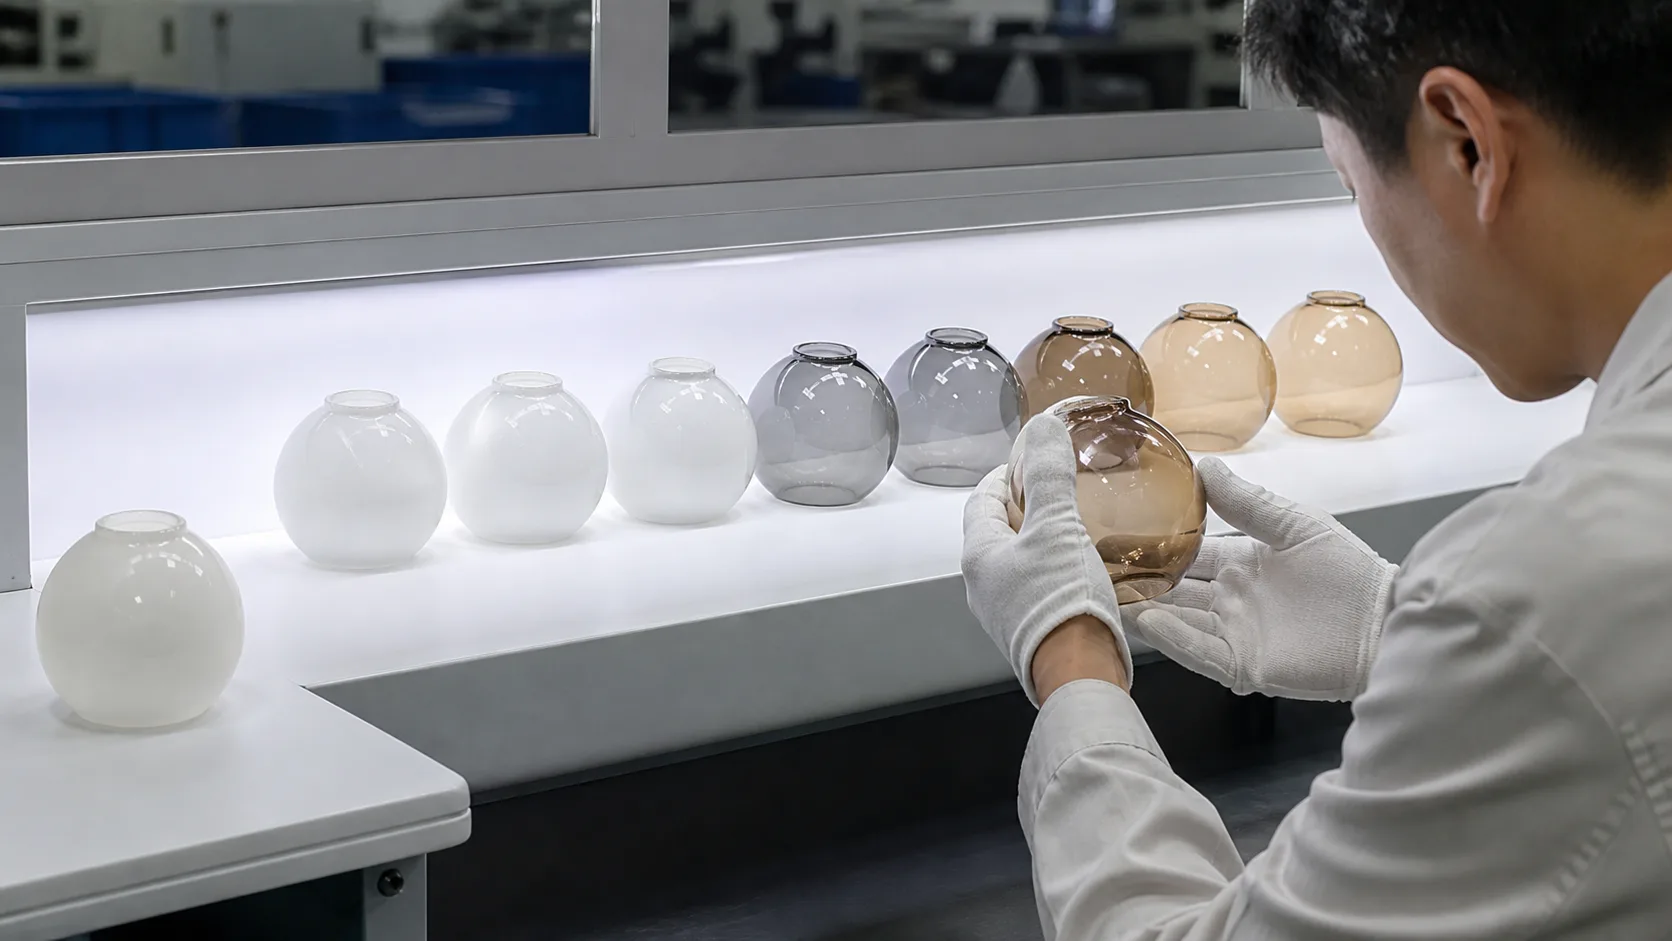
For a matched collection, keep the comparison set together. Do not approve one piece and scatter the reference through different departments. If the finish is intentionally variable, photograph the range and identify which variations are acceptable, preferred, or rejectable.
7. Review pattern registration and mold seams
Ribs, flutes, seeded texture, printed details, painted marks, and decorative transitions should have a defined orientation when the fixture presents a preferred front. Inspect pattern spacing, registration at the neck or rim, and alignment across a group. If the pattern is intentionally irregular, the master sample should show the acceptable character instead of promising machine-like alignment.
For pressed or molded glass, the parting line and seam location are part of the inspection basis. A seam may be acceptable in one zone and unacceptable in a visible or hand-contact zone. JX's mold seam inspection guide covers the buyer conversation around projection, location, orientation, and sample limits. This checklist adds the release step: record the seam result for the actual lot and tie any rework to the part identity.
8. Check optical behavior on the real fixture
Do not approve a shade's light behavior from an empty sample. Assemble it with the intended socket, LED or bulb, holder, trim, and orientation. Inspect from the normal user viewpoint and from the installer or maintenance viewpoint.
Check the visible hotspot, glare, shadow bands, dark areas, diffusion, color shift, and relationship between adjacent pieces. Repeat the check at the planned operating output and at the lowest planned dimming state when dimming is part of the product. If the collection contains several sizes or shapes, test each materially different geometry.
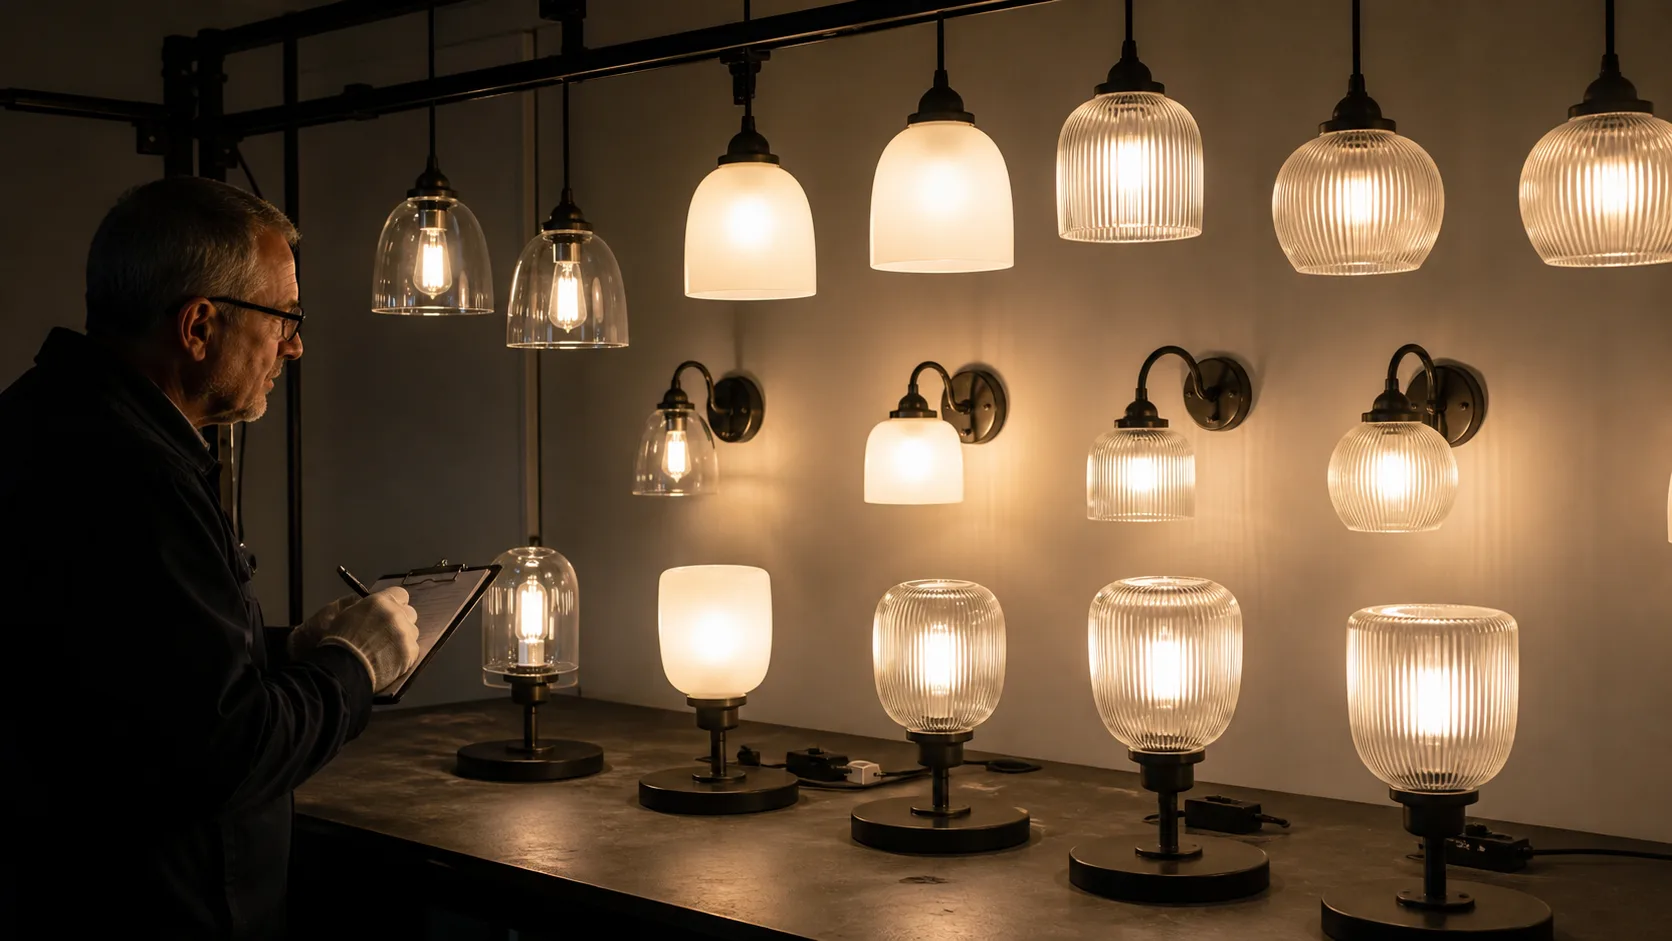
Record the light source, output, color temperature, driver, dimming condition, camera position, and sample orientation. The purpose is not to make a universal claim about how much light a finish transmits. The purpose is to make a later comparison possible.
9. Request process and stress evidence where it matters
A clean surface does not prove that the glass has the required internal condition. Depending on the process and application, the buyer may ask for annealing records, a stress check, a thermal test, or another agreed evidence item. The correct requirement comes from the glass type, fixture design, destination market, and risk assessment.
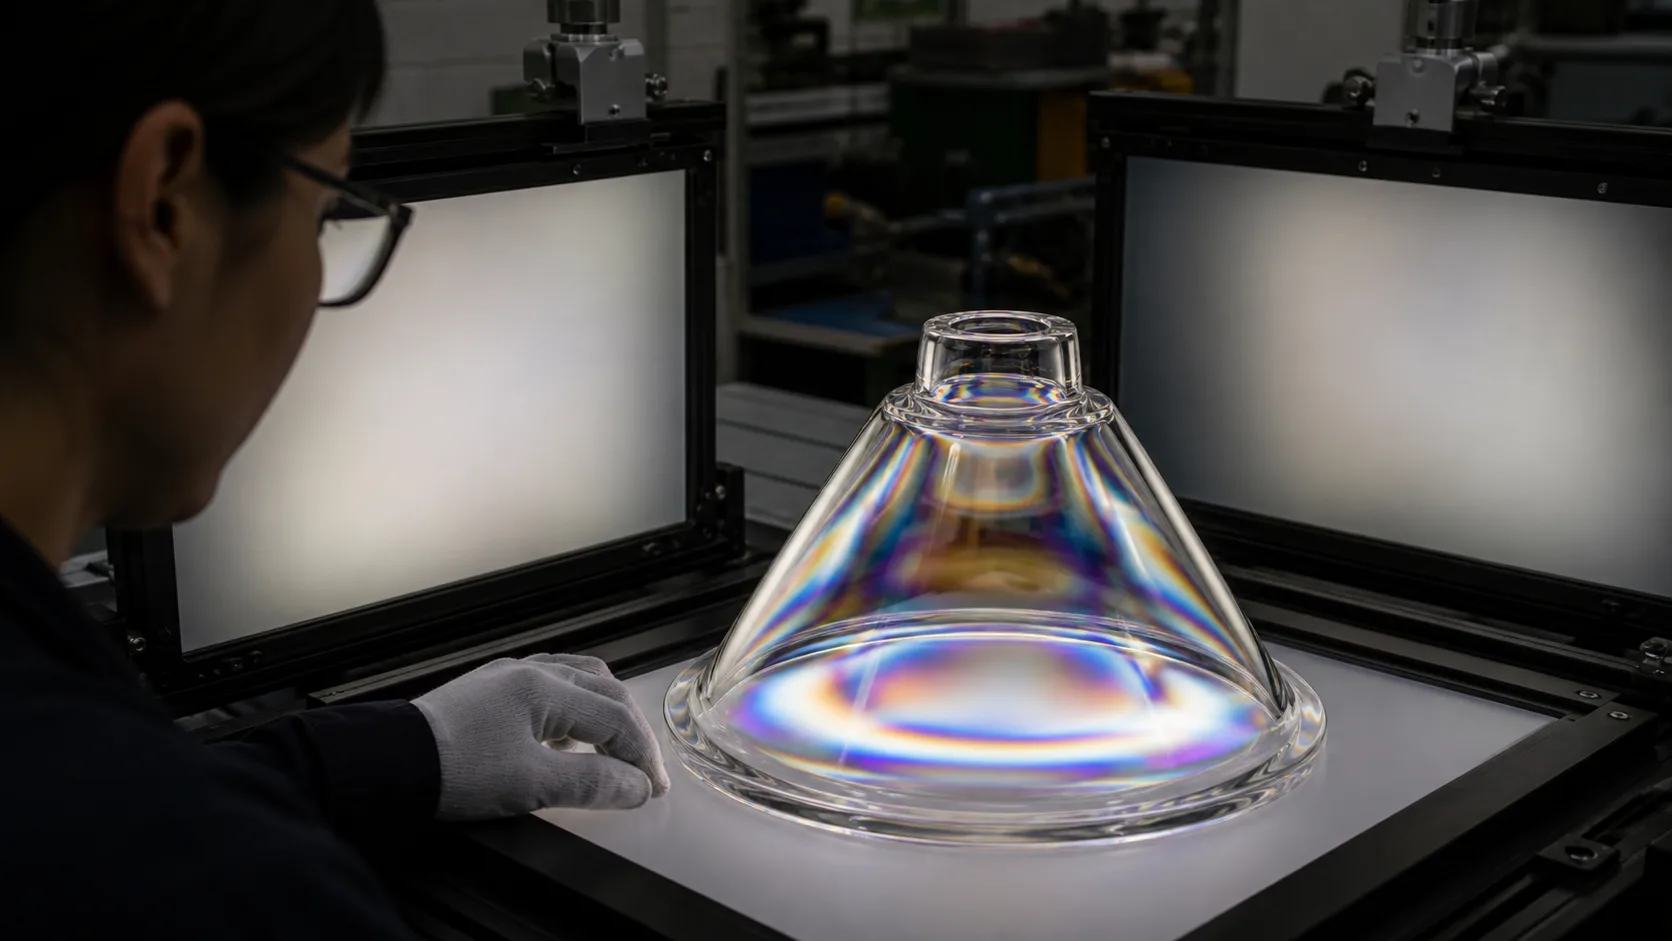
Use test evidence carefully. A process certificate may cover a batch, while a visual inspection covers a sample. A stress check may show a condition at the time of testing, but it does not replace correct handling, packaging, and installation. If the buyer needs a fracture analysis after a failure, ASTM C1256 is a reference for interpreting fracture surface features, not a routine release test for every shipment. See the ASTM C1256 reference for its defined scope.
10. Test fit, retention, and removal without damaging the glass
Fit the sample to the same holder and hardware revision used in production. Check that the shade seats fully, remains level, clears the bulb or LED, and can be removed using the agreed service method. Look for rocking, contact between glass and hard metal, uneven gasket compression, and a ring or screw that bottoms out before retention is achieved.
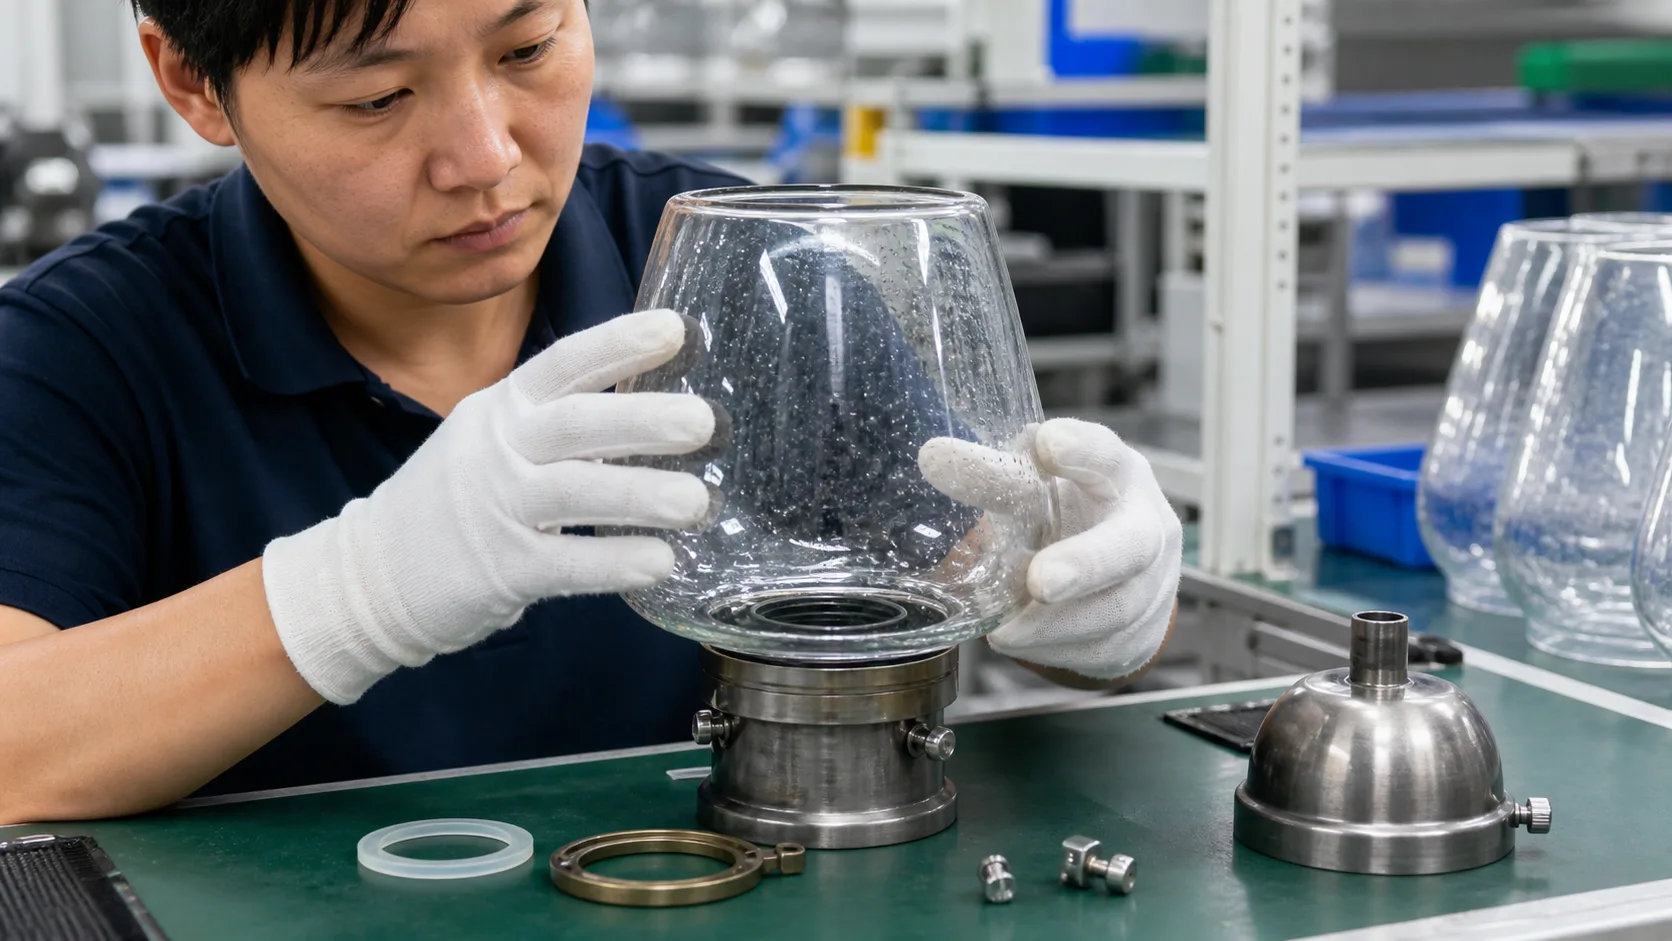
Do not make "tight" the inspection instruction. Excessive force can chip an edge or create stress that appears later. Define the hardware, contact surface, sequence, and any tool or torque requirement in the fixture documentation. The custom manufacturer page can be used to route a controlled drawing and interface sample for an OEM review.
11. Check cleaning, handling, and finish durability
If a shade is installed in a hotel, restaurant, bathroom, retail display, or care environment, cleaning is part of product performance. Wipe the production-intent finish with the buyer's planned cleaner at the planned dilution. Use the planned cloth or pad and the planned number of cycles. Check for residue, gloss change, color shift, coating lift, trapped moisture, and damage at the rim or holder interface.
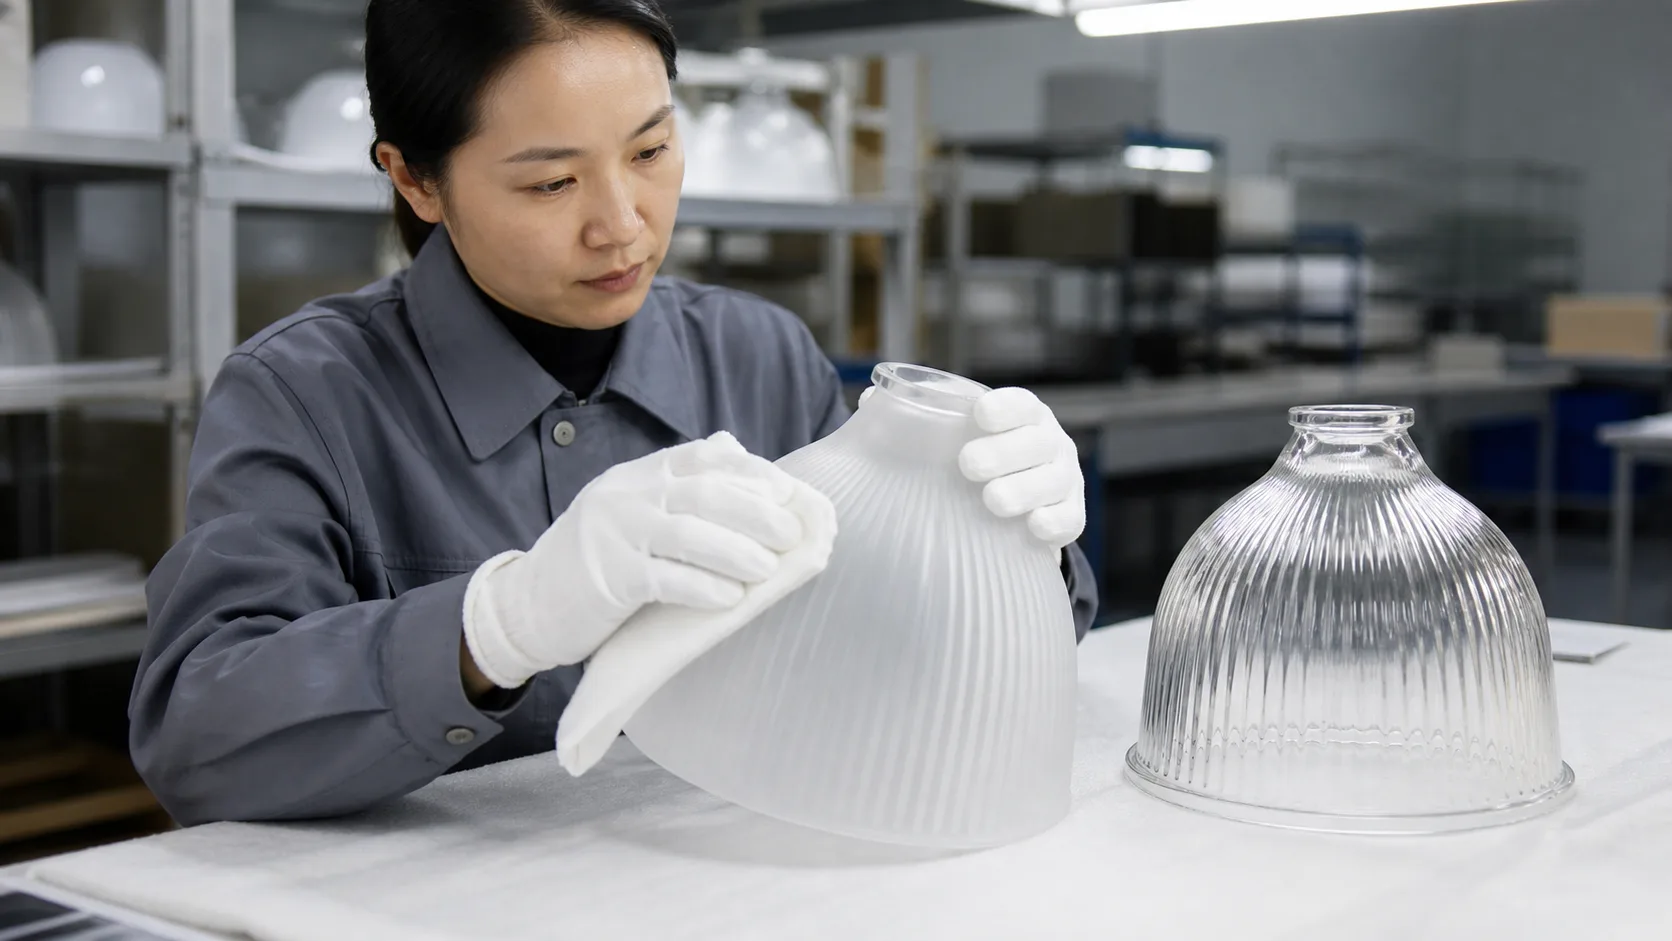
The result should be recorded as a test condition, not as a vague statement that the shade is easy to clean. A textured finish may need more time to wipe than a smooth finish. That is a maintenance decision for the buyer, not automatically a manufacturing defect.
12. Use a sampling plan that matches the risk
Sampling saves time, but it does not make a risky interface safe by default. Decide which features require 100 percent checking, which can be sampled, and which need a process record. A critical fitter, sharp edge, crack, or unsafe retention condition may deserve a stricter plan than a small appearance variation outside the main viewing zone.
ISO 2859-1:2026 defines acceptance sampling plans indexed by an acceptance quality limit for lot-by-lot inspection. It can provide a common framework for sample size and acceptance or rejection decisions, but the buyer still needs to choose the relevant inspection level, defect classes, and contract limits. See the current ISO 2859-1 page. Do not copy an AQL value from a generic article and treat it as the correct value for a glass shade order.
Write the plan in a form that a third-party inspector can execute:
- Lot size and lot identity.
- Sampling level or the agreed sample quantity.
- Critical, major, and minor defect definitions.
- Dimensions and instruments to use.
- Lighting and viewing conditions.
- Assembly fixture and hardware revision.
- Acceptance and rejection rules.
- Rework, reinspection, and release authority.
For a small custom run, a buyer may choose to inspect every shade visually and measure every critical interface. For a large repeat lot, the buyer may use sampling for appearance while requiring a process record for each production batch. The plan should reflect the actual risk and the buyer's contract.
13. Package the evidence as well as the product
A shipment can pass inspection and still create a dispute if the evidence cannot be matched to the cartons. Ask for a report that includes:
- Purchase order, SKU, drawing revision, and finish reference.
- Lot size, sample size, inspector, date, and instruments.
- Dimensional results with the agreed units and method.
- Defect photos with a scale or location reference where useful.
- Fit photos showing the actual holder, gasket, ring, or hardware.
- Optical test conditions and images for any approved sample.
- Nonconformance list, corrective action, reinspection status, and release signature.
- Packing photos showing inserts, edge guards, carton labels, and the relationship between part and batch.

The JX services page describes quality inspection as part of the manufacturing workflow. For a real order, ask the supplier to state what its report contains instead of assuming that the phrase "full inspection" means the same thing to every factory.
14. Protect the features most likely to fail in transit
Packaging inspection starts at the glass features that are difficult to replace: fitter rims, threads, polished edges, coatings, holes, and thin projections. Check that the insert holds the shade without point loading, that pieces cannot contact each other, and that hardware is separated from finished surfaces.
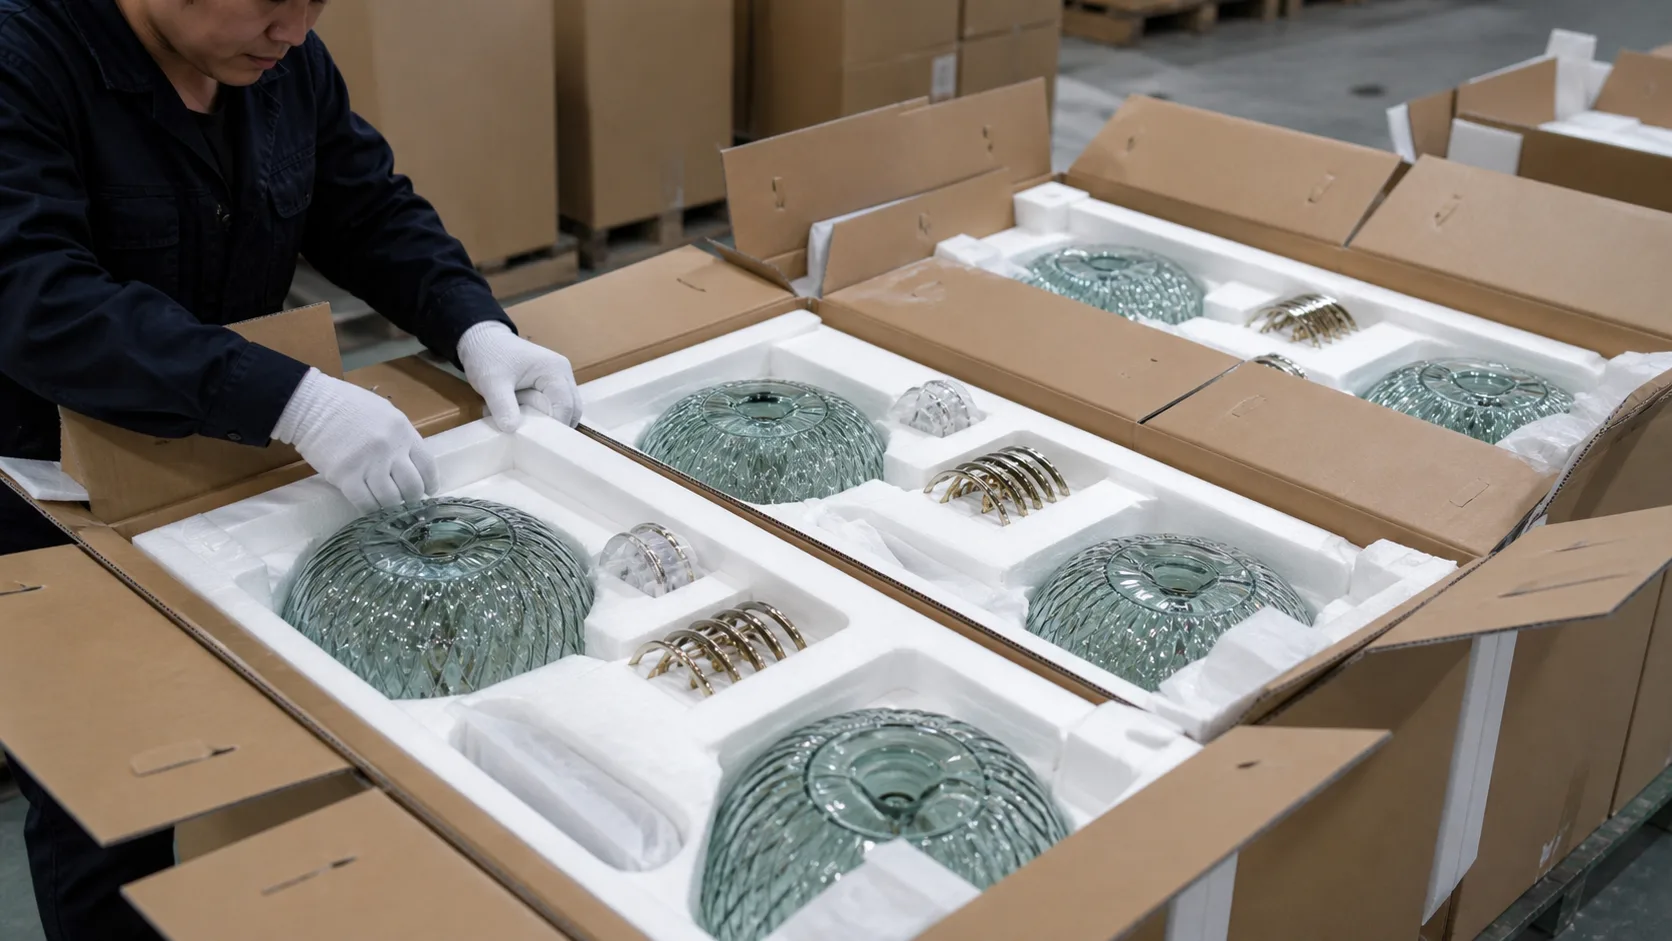
Open the first and last cartons in a packed lot when the buyer's plan allows it. Photograph the insert, the piece, and the carton label together. For repeat shipments, keep a packing reference approved with the product sample. If the shape changes, the packing review should be repeated even when the carton dimensions remain the same.
Common inspection mistakes
Inspecting a sample without the mating fixture
A shade can pass an appearance review and fail installation. Use the actual holder, ring, gasket, or gauge for any dimension that controls fit or retention.
Using one light source for every finish
Clear, frosted, opal, ribbed, and colored glass reveal different marks and optical behavior. Define the viewing condition and record it with the result.
Treating a nominal size as a complete specification
The same nominal fitter label can hide differences in thread, contact face, opening depth, or retaining method. Measure the interface that the fixture actually uses.
Copying a generic AQL or tolerance
Sampling systems and tolerance values need a contract, product risk, and process context. A generic number is not an approval basis.
Mixing approved and rejected pieces in one carton
Rework and reinspection need visible status. Use batch and carton traceability so a released lot cannot be mixed with an open nonconformance.
Photographing only the best piece
A report should show the sample method and representative results, including any rejected or reworked condition that affects the release decision. One attractive close-up is not lot evidence.
Send the inspection basis with the RFQ
If the buyer sends only a product name, the supplier has to guess which dimensions, finish zones, and assembly risks matter. A stronger RFQ includes the drawing revision, controlled interface, light source, master sample, quantity, lot plan, inspection conditions, packaging requirement, and destination documents.
Use the custom lampshade RFQ builder to send the starting information. Include the glass type or finish direction, maximum diameter, height, openings, fitter or holder, critical edge, holes, quantity, sample requirement, packing level, and the inspection evidence needed before shipment.
The supplier can then confirm which checks are measurable, which need a sample, which require the complete fixture, and which depend on a third-party or destination-market requirement. That conversation is more valuable than asking for a certificate with no defined acceptance basis.
Frequently asked questions
What should a glass lamp shade quality inspection checklist include?
It should include part identity, drawing revision, quantity, critical dimensions, roundness, wall or mass checks where relevant, fitter and edge condition, holes, surface defects, color and finish, optical behavior, fit, cleaning, packaging, traceability, and the final evidence package.
Is there one universal tolerance for glass lamp shades?
No. The appropriate limit depends on the glass type, size, forming process, finishing route, fixture interface, and approved sample. Put the controlling dimensions and methods in the drawing or purchase-order quality section instead of relying on a generic tolerance.
Should every glass lamp shade be inspected?
The answer depends on the risk and the order plan. Critical interfaces, sharp edges, cracks, and unsafe retention may need 100 percent checks. Appearance or other characteristics may use an agreed sampling plan. The buyer and supplier should define the plan before production.
Can a visual inspection prove that a glass shade is safe?
No. Visual inspection can identify visible defects and assembly problems, but it does not prove internal stress, electrical safety, luminaire certification, installation compliance, or every performance requirement. Request the applicable process or test evidence and keep the complete fixture boundary clear.
How should hand-blown glass shade variation be accepted?
Define a visual and dimensional range with a physical master sample or controlled reference. State which variation is part of the intended craft character and which variation affects fit, balance, light distribution, or the approved appearance. Inspectors should compare the lot with that agreed range.
What documents should a supplier provide before shipment?
Ask for the inspection report, lot and carton traceability, dimensional results, defect and rework records, fit photos, optical test conditions where applicable, packing photos, and the release signature. Add material, annealing, coating, or third-party reports when the product risk or contract requires them.