Heat Resistance Requirements for Glass Shades in Enclosed Fixtures
A glass shade heat resistance test should evaluate the specified glass component under a defined thermal exposure and, separately, its behavior in the assembled enclosed fixture. Identify the glass grade, light source, operating orientation, ambient conditions, mounting interface and acceptance criteria before testing. A material rating leaves the finished luminaire unqualified until the required assembly tests are completed.
For a production manager, the useful result is a release decision that can be repeated on the next order. For a technician, it is a report that explains what was tested, where temperatures were measured and which changes would invalidate the approval.
This guide addresses engineering and hospitality luminaires with enclosed glass covers. It provides a specification framework for discussion with the responsible engineer and test laboratory; project limits and the applicable safety requirements still have to be established for the actual fixture.
What does heat resistance mean for an enclosed glass shade?
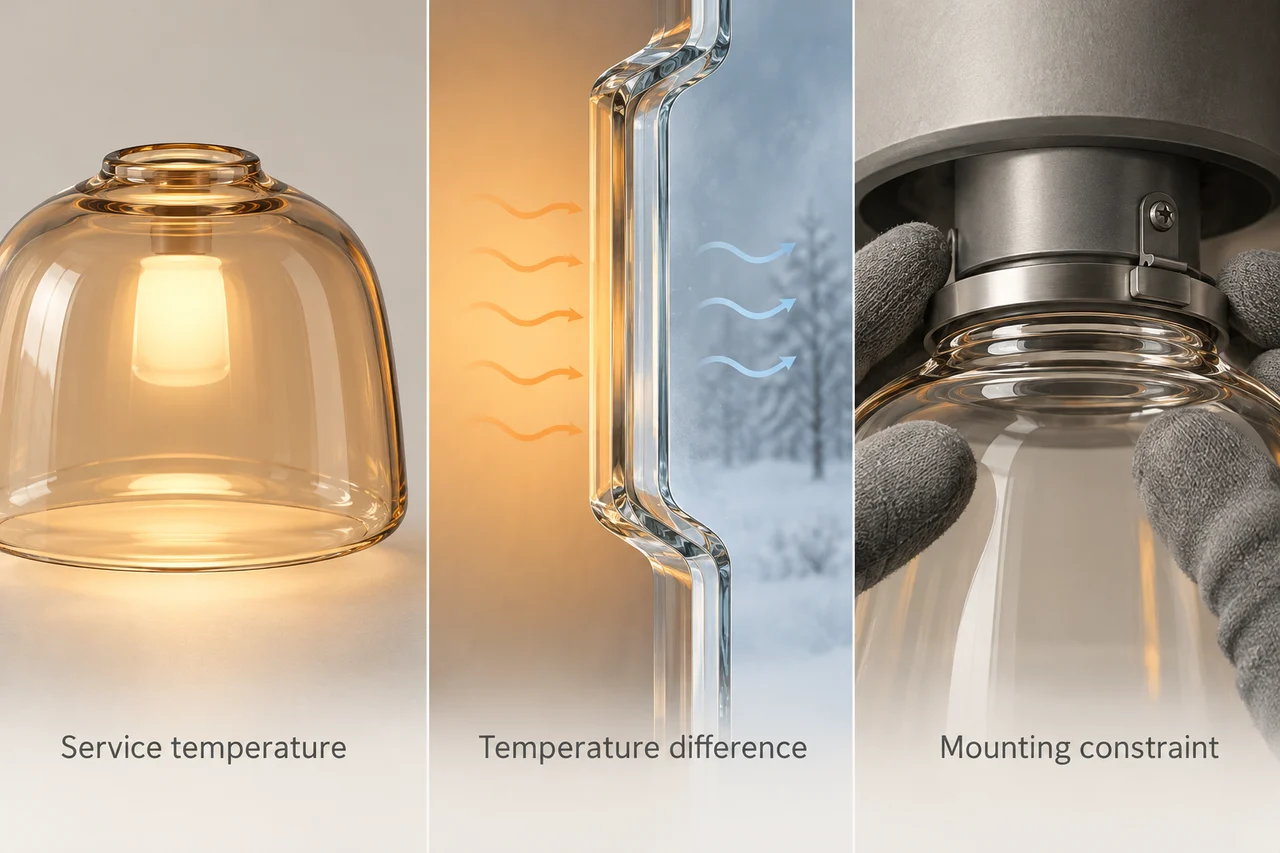
Separate sustained temperature, temperature differences and mounting loads in the specification. A shade can survive a steady exposure yet fail when one region cools quickly or when the holder restrains its movement.
Sustained temperature: identify the maximum component temperature and the duration represented by the material or component evidence.
Temperature difference: define whether the concern is a hot inner surface, a cooler fitter, a rapid ambient change or contact with a cooler medium. A temperature difference in kelvin has the same numerical magnitude as a difference in degrees Celsius, but it is not an absolute operating temperature.
Mounting condition: identify contact points, retaining hardware, gasket construction and the assembly method. These belong in the qualification record because the glass operates as part of an assembly.
The Corning Museum of Glass definition of heat-resistant glass emphasizes resistance to severe temperature changes. For purchasing, ask which property the supplier’s stated rating actually describes. A label such as “heat resistant” is too incomplete to serve as the acceptance criterion.
Start with a defined material, then qualify the finished shade
Request the proposed glass grade or controlled composition, forming route and treatment condition. Also identify any coating, print, adhesive or gasket that will experience the thermal exposure. The base glass does not establish the temperature capability of these additional materials.
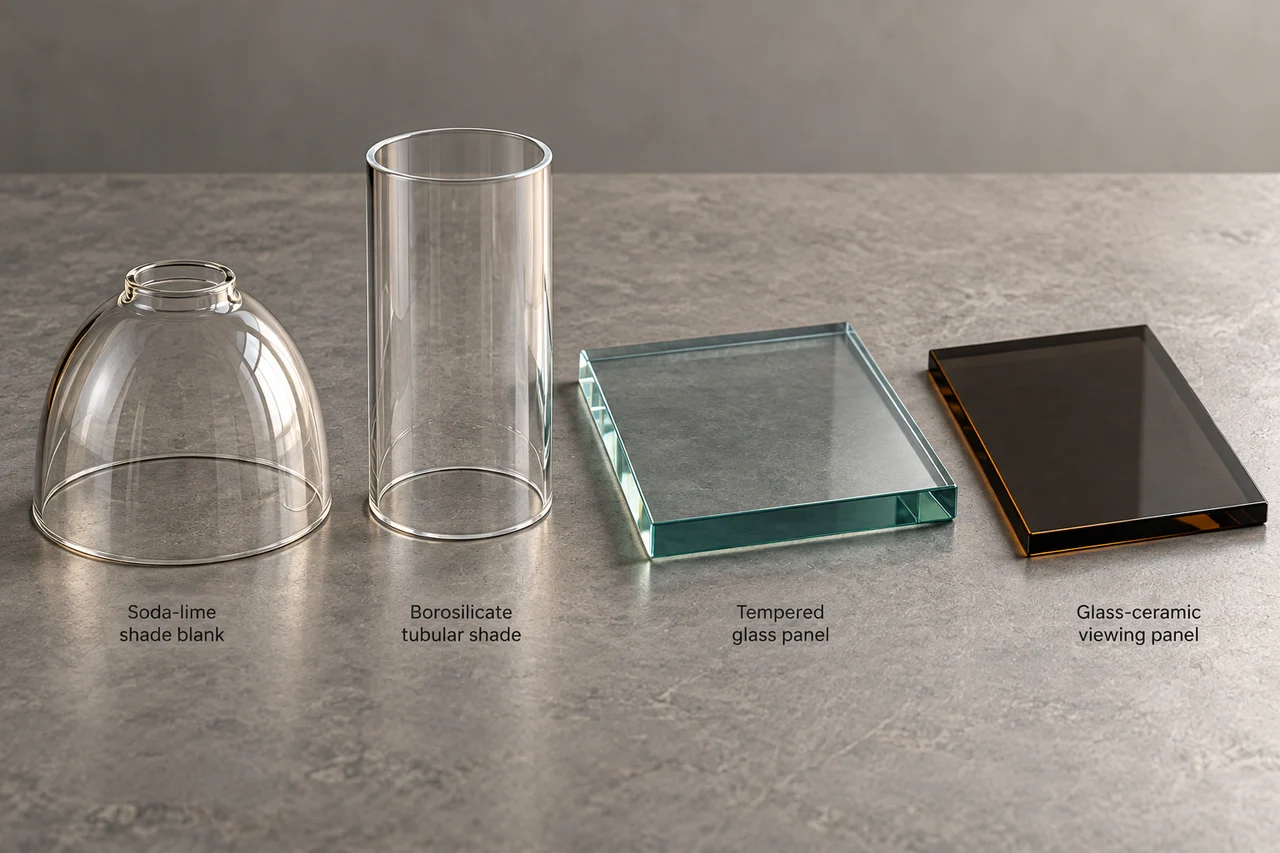
Lower expansion can help with thermal shock, but a material-family name does not predict the performance of every geometry. An open tubular shade, a deep dome and a heavy fitter collar should not inherit one approval merely because their supplier calls them borosilicate.
SCHOTT’s BOROFLOAT 33 technical data distinguishes short-term use below 10 hours at 500°C from long-term use of at least 10 hours at 450°C. SCHOTT presents these as reference data for a particular borosilicate float-glass product. They are not recommended lamp-shade operating temperatures or automatic ratings for a formed shade, finish, gasket or luminaire.
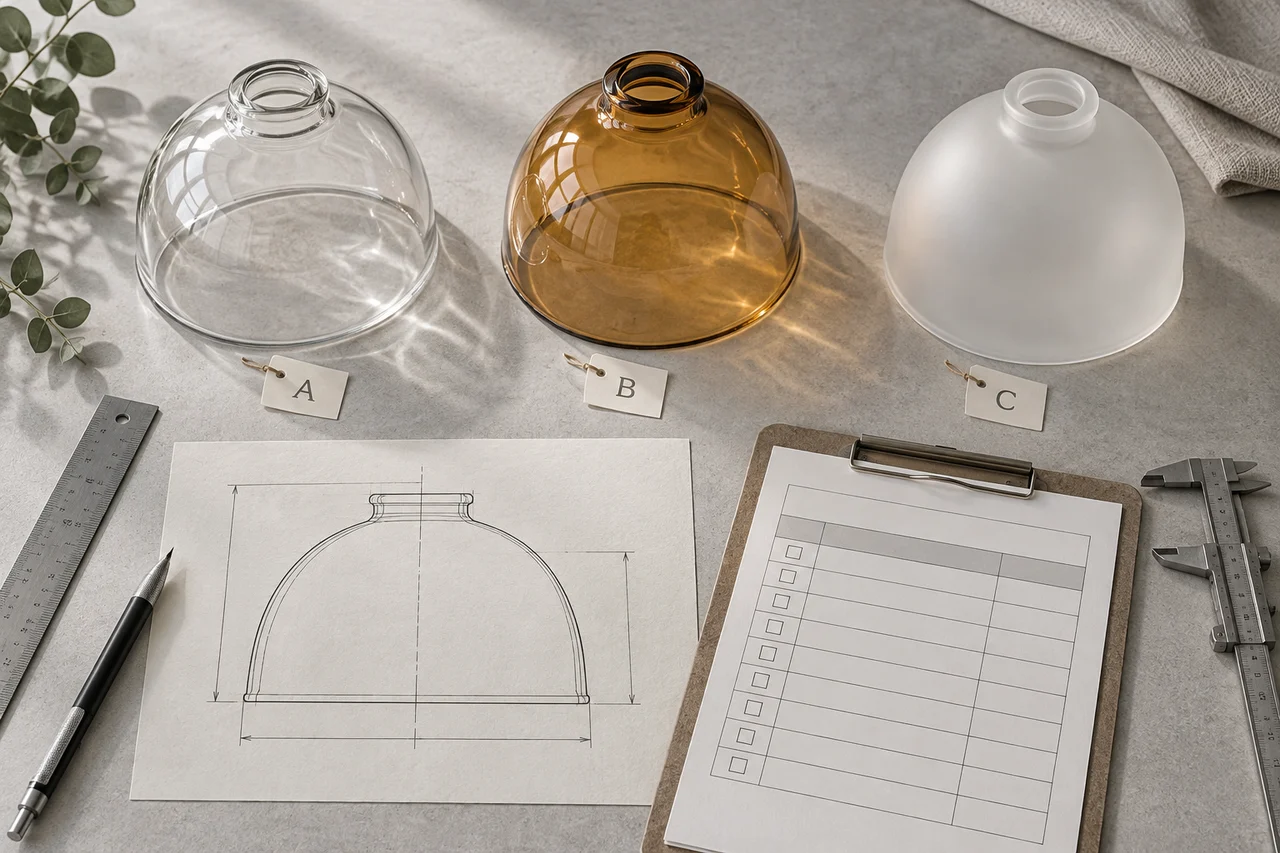
Use the soda-lime versus borosilicate comparison when selecting a material route. For this test plan, record the actual grade and construction being approved. If the material changes after sampling, require a technical review before carrying the result forward.
Which fixture configuration should the laboratory receive?
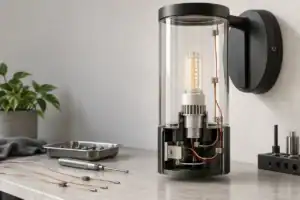
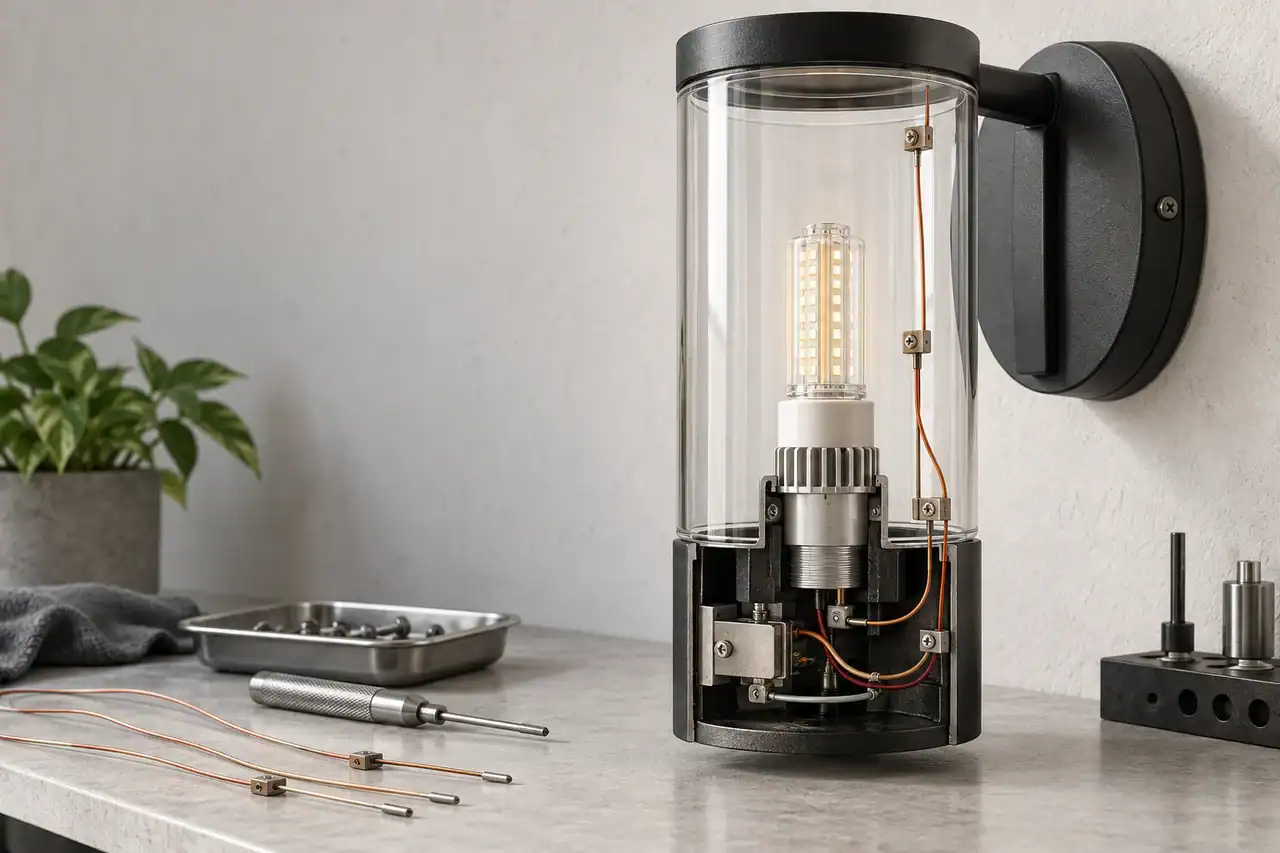
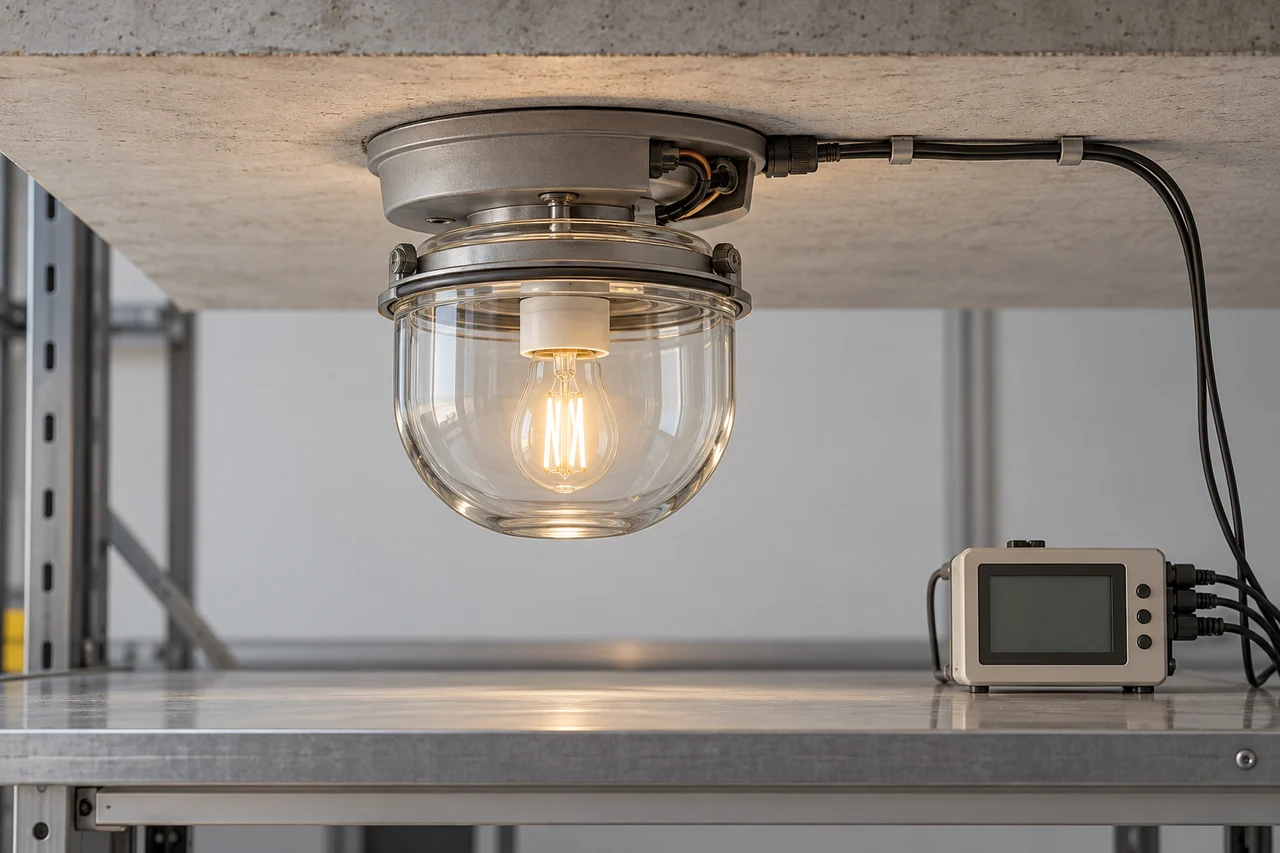
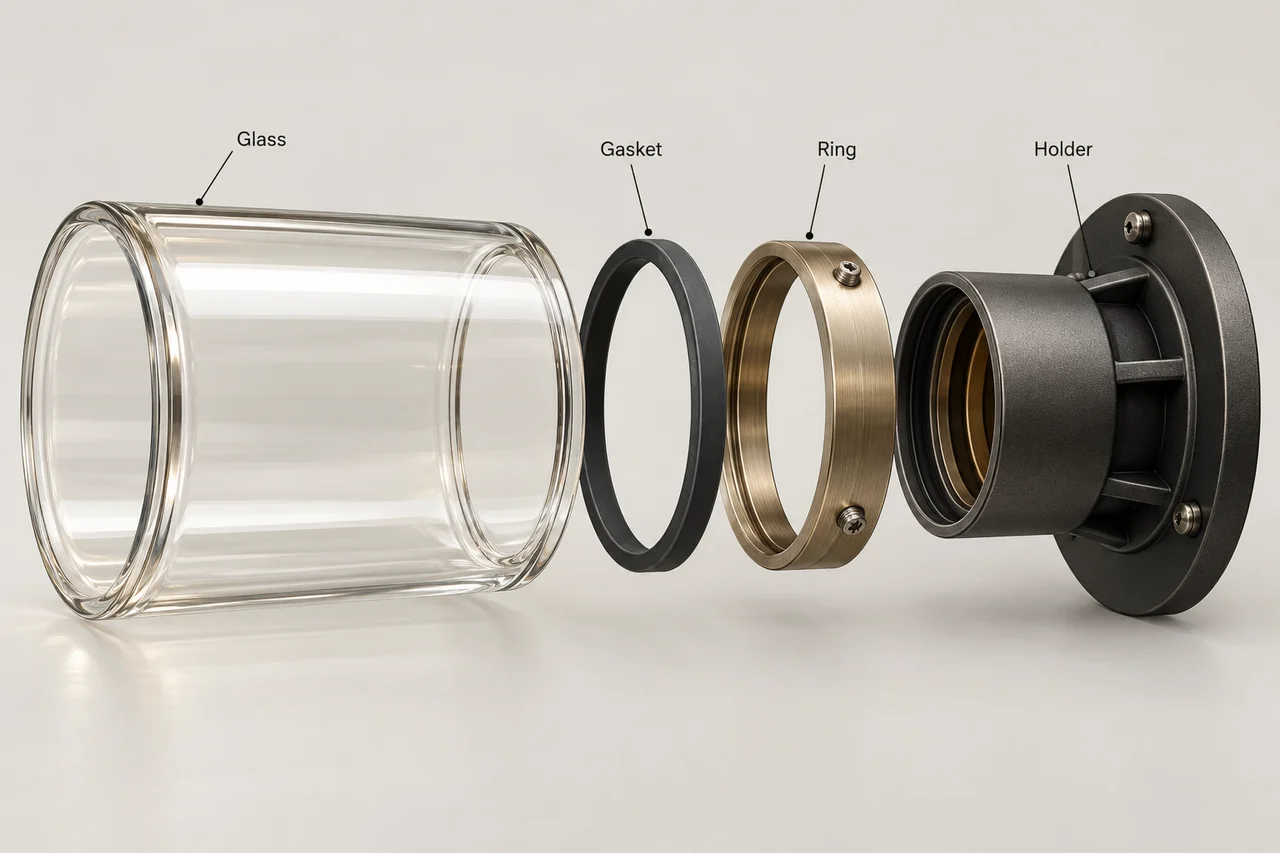
Send the glass with the intended mating hardware and a controlled description of the complete fixture. Testing a loose shade on a bench answers a different question from operating the same shade inside a closed luminaire.
Agree the configuration with the laboratory before samples are made. Record the lamp or LED module model, driver where relevant, permitted source options, supply conditions, orientation, enclosure, ventilation, ambient rating and mounting arrangement. Include the drawing revision and the assembly instructions.
For a hotel project with several decorative versions, identify the variations rather than assuming that one passing fixture covers every size and finish. Ask the laboratory to select the configurations that represent the relevant thermal and mechanical risks. Keep the reason for that selection with the report.
A change in lamp technology deserves review even if the nominal light output looks similar. The LEDVANCE Contractor Series A19 product sheet, for example, explicitly states suitability for enclosed fixtures. Check the instructions for the exact source being specified; an LED label by itself does not establish enclosed-fixture compatibility.
Where should temperatures be measured?
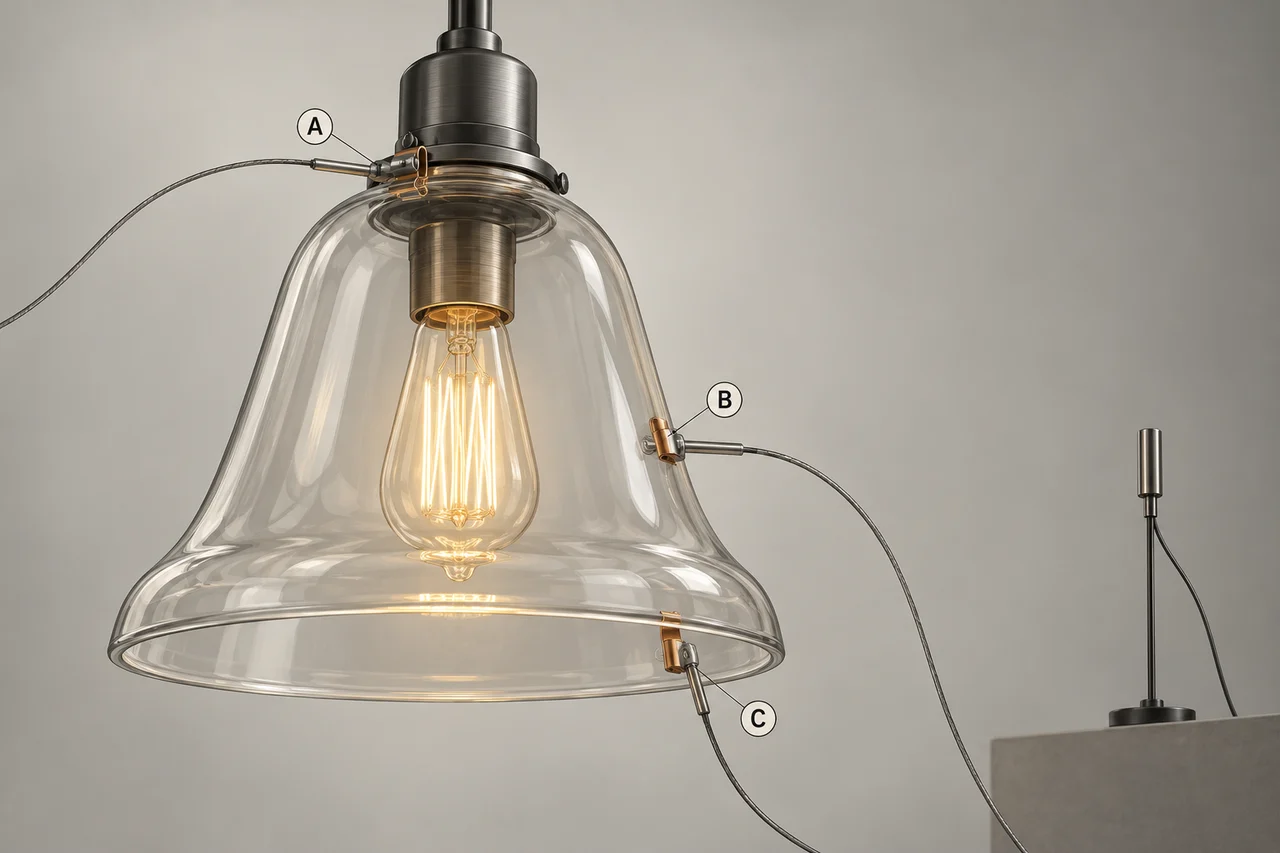
Agree measurement locations on a drawing or marked photograph. Useful locations to investigate include the region nearest the light source, the crown of the shade, a thick transition, the fitter, the retaining hardware and relevant adjacent components. The responsible test team should decide which locations and methods the applicable procedure requires.
Record ambient temperature separately. A single glass-surface reading without its location, time and surrounding conditions gives little basis for comparing two samples.
For development work, a location map makes changes easier to assess. If the fitter temperature changes after a new ring or gasket is installed, the team can compare the same point rather than comparing unrelated spots on two photographs.
Define the stabilization or endpoint requirement through the chosen procedure. Do not copy a universal “run for one hour” rule into the purchase order. Save the temperature history or observations needed to show that the agreed endpoint was reached.
Also record whether the sensors or their attachments could affect the local thermal condition. A technically defensible report explains the measurement arrangement rather than presenting an unexplained maximum reading.
Make the measurement method part of the result
Specify the instrument, sensor type, attachment method, channel identification and calibration or verification status. Preserve enough information for the next laboratory or incoming-inspection team to understand how the result was obtained.
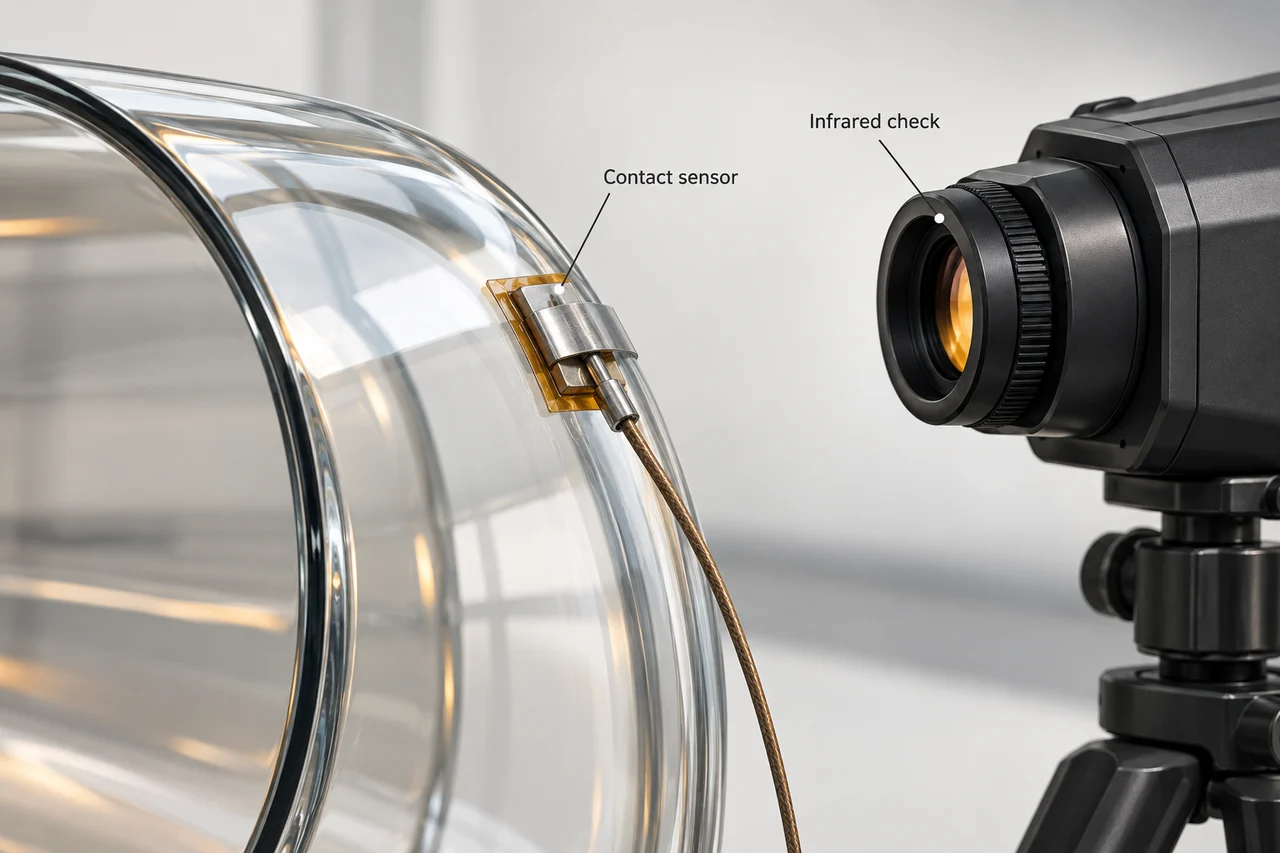
Infrared imaging can help locate areas for investigation, but it needs appropriate measurement settings. FLIR’s thermal-camera guidance identifies emissivity, distance and ambient temperature among the factors that affect measurement accuracy. A colorful thermal image does not explain those settings by itself.
For curved, coated or reflective surfaces, ask the laboratory how it confirms that the reported value represents the intended measurement. If a contact method is used as a cross-check, document its placement and limitations as well. Do not silently treat readings from different methods as interchangeable.
Keep the image, numeric record and location labels linked to one sample ID. A temperature screenshot detached from the drawing revision cannot support a controlled production release.
Why wall thickness and the fitter need separate attention
Put critical wall sections and transitions on the drawing. The nominal body thickness may describe neither the heaviest part of the shade nor the section that contacts the holder.
During qualification, inspect representative extremes within the proposed manufacturing range. Ask the technical team which geometry variations the thermal evidence covers. A small sample set with closely matched walls may not represent the full tolerance band planned for production.
The pressed-glass wall-thickness and tolerance guide helps frame this dimensional review. For the enclosed fixture, connect those measurements to the tested sample identities and mounting arrangement.
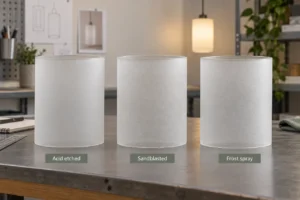
Control the edge condition too. A local chip, unfinished contact edge or uneven seat can complicate an assembly failure investigation. Specify the required glass shade edge finish and record the condition before the thermal test. Otherwise the team may spend time debating a material change when the failed sample already differed at the mounting interface.

Allow for thermal movement without inventing a universal clearance
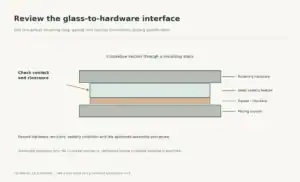
Review the glass and holder as mating parts. Identify which surfaces locate the shade, which retain it and where a gasket distributes contact. Check tolerance accumulation and the different temperatures the parts may reach.
A simplified expansion example
For illustration only, assume an 80 mm interface, a uniform 60 K temperature rise in both parts, a glass expansion coefficient of 3.25 × 10⁻⁶ K-1 and an assumed metal coefficient of 23 × 10-6 K-1. The glass coefficient is the published BOROFLOAT 33 reference value; the metal value is a hypothetical input, not a specification for the buyer’s holder.
Using change in diameter = coefficient × initial diameter × temperature rise, the glass grows about 0.0156 mm and the assumed metal about 0.1104 mm. Their free expansion differs by about 0.0948 mm.
This calculation is a prompt to review the interface, not a clearance recommendation or stress prediction. Actual temperatures, contact geometry, manufacturing tolerances, gasket behavior and retention loads must be considered. The direction and consequence of relative movement depend on how the assembly is constrained.
Approve the tightening or retention method for the actual hardware. Record the setting if one is specified, and include installation and removal in the assembly review.
How is thermal-shock testing different from operating the fixture?
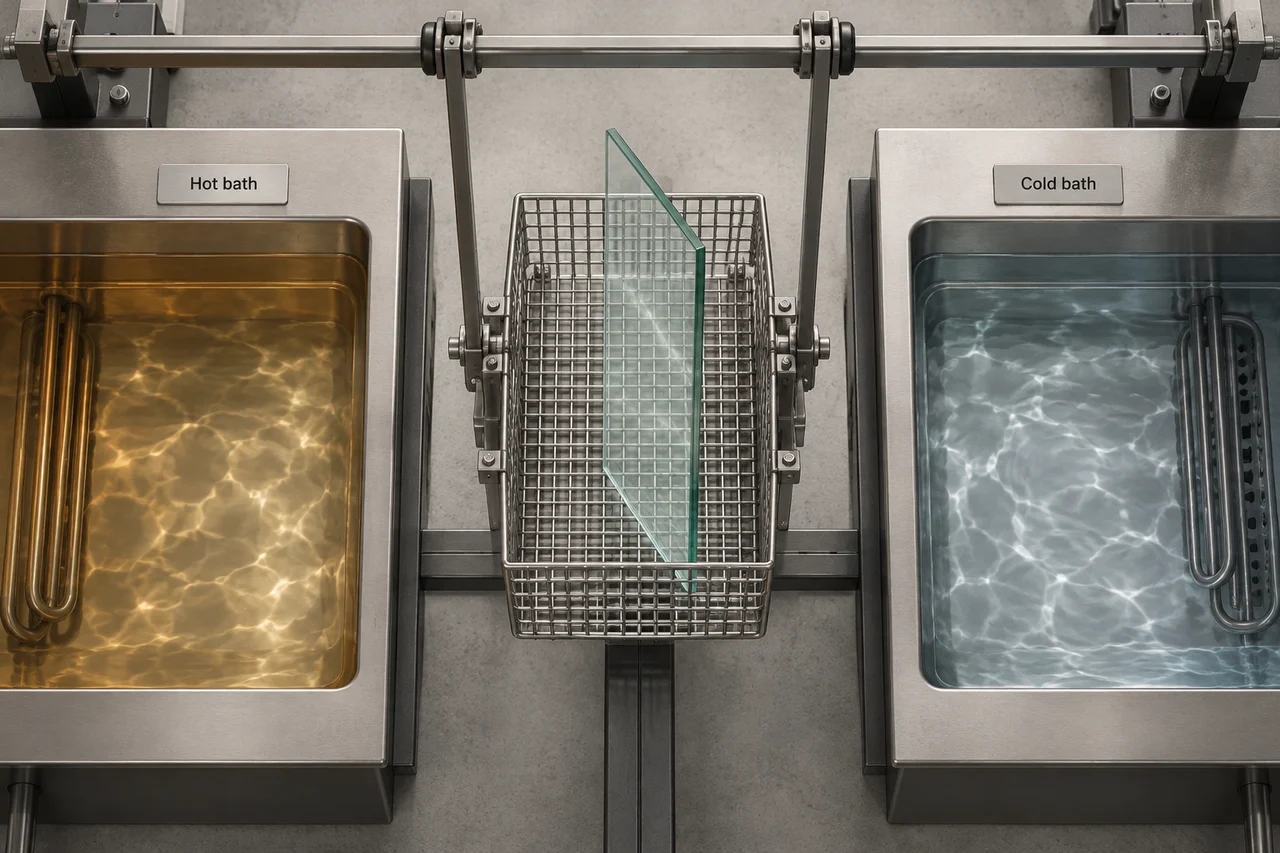
An operating test evaluates the specified assembly under its defined conditions. A component thermal-shock test evaluates its response to a defined temperature change. Neither result automatically replaces the other.
ASTM C149-14(2020) addresses relative thermal-shock resistance of commercial glass containers such as bottles and jars. Its scope should not be relabeled as universal lamp-shade or luminaire certification. If a laboratory proposes adapting a container method, require an explicit applicability review, the agreed deviations and a clear description of what the result establishes.
Agree the exposure medium, starting and final conditions, conditioning period, transfer or transition conditions, support arrangement, cycles, sample selection and failure criteria. Specify how cracks, chips, coating damage or loss of retention will be assessed where relevant to the project.
A reported temperature difference without the procedure is incomplete. A result from a different shape or support arrangement may not justify accepting the shade in the buyer’s fixture. Have qualified personnel perform the chosen test with suitable equipment and controls.
Identify the applicable luminaire requirements before approval
The finished-product requirements depend on the luminaire type, destination market and project. Assign responsibility for identifying the applicable standard, edition, relevant product part, national adoption and any additional project conditions.
IEC 60598-1:2024 sets out general luminaire safety provisions and testing. The IEC identifies it as edition 10. Its publication does not establish that a particular shade or fixture has passed testing, and this guide does not reproduce its detailed test requirements.
Ask the test laboratory to identify the applicable tests and acceptance criteria in the agreed plan. Keep component-supplier evidence and complete-luminaire evidence separately identifiable, then connect them through the controlled bill of materials.
A procurement drawing should not say only “glass to pass IEC 60598.” Specify the component obligations, report scope and review responsibility. The luminaire manufacturer’s approval must address the assembled product and its intended use.
What should be checked after the thermal exposure?
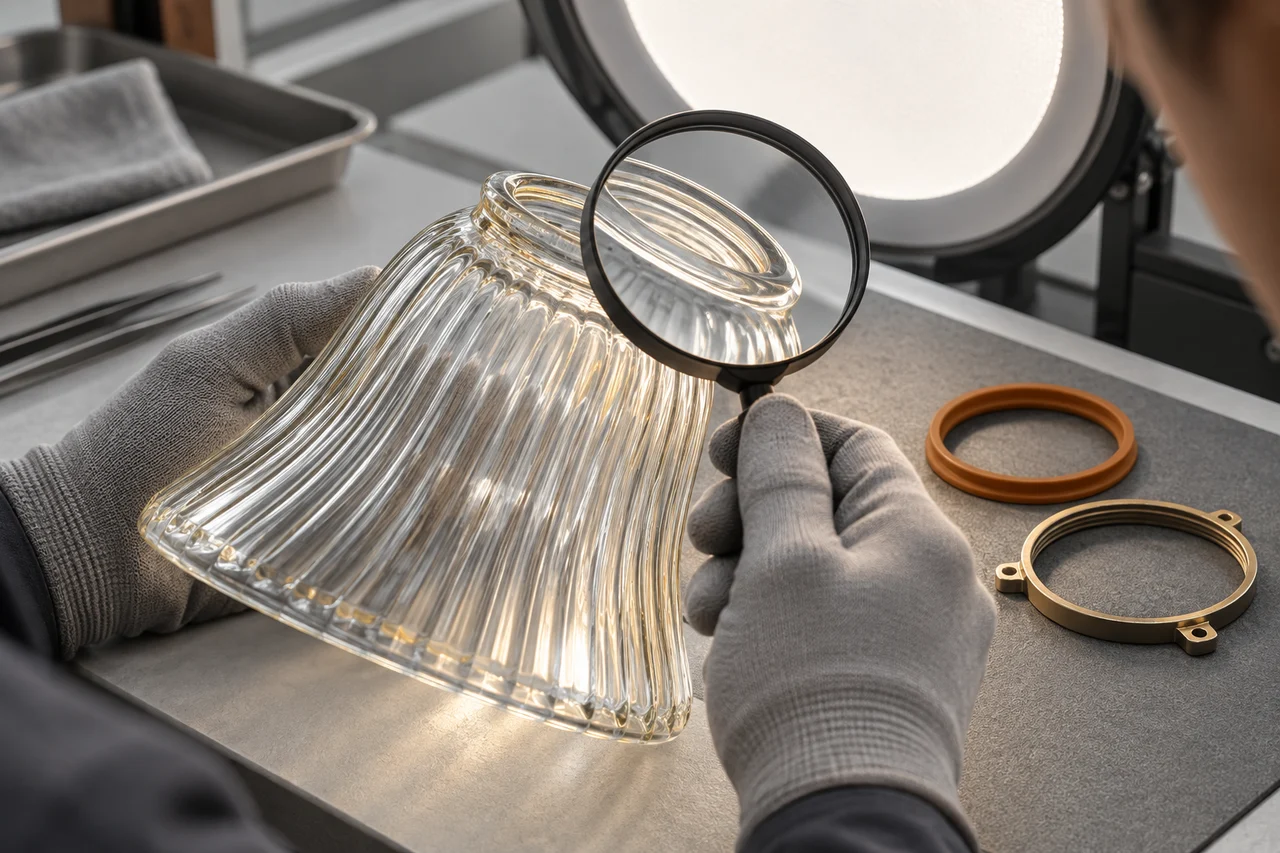
Define the post-test inspection before testing begins. Record the shade’s initial condition so that the reviewer can distinguish a new defect from a pre-existing one.
Depending on the approved plan, the review may include visible cracking, edge condition, permanent deformation, finish changes, gasket condition, retention and the ability to remove and reinstall the shade. Specify the inspection conditions and tools needed to judge the agreed criteria.
Residual-stress examination is another distinct activity. A satisfactory annealing and residual-stress report does not prove thermal-shock performance or mounting compatibility. Likewise, a thermal exposure does not document the original annealing process.
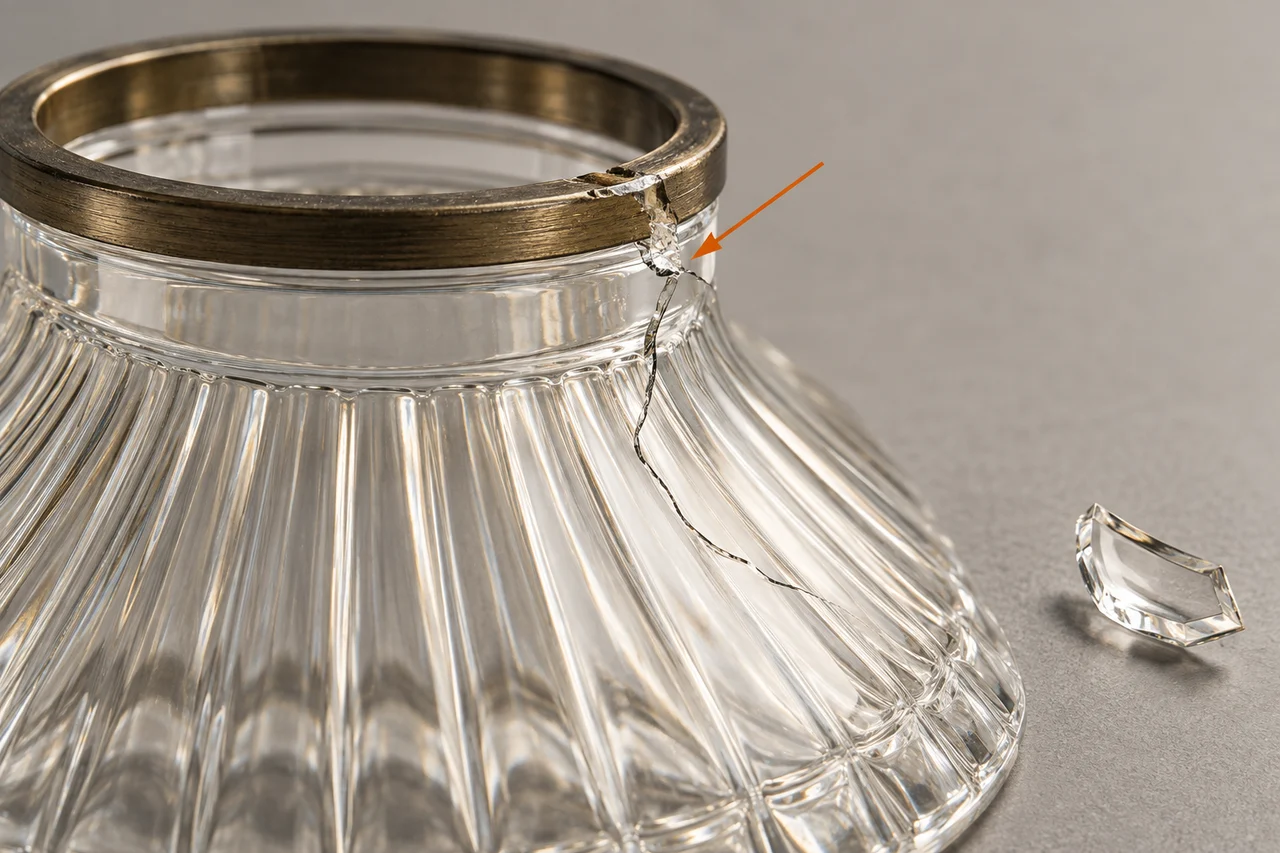
Retain failure photographs with the sample orientation and location. If a specimen breaks, preserve the available evidence before changing hardware or requesting a different material. Record where the damage was first noticed. Establishing the fracture origin and root cause requires further investigation.
Turn a failed test into a controlled engineering decision
Hold the affected qualification or production lot while the responsible team determines the scope of the issue. Keep the original result in the record even if a later sample passes.
First confirm identity: material, drawing, wall profile, finish, hardware and test setup. Then compare the failure location with the initial inspection record and assembly contact pattern. Ask which evidence supports each proposed cause.
A crack near the retaining ring may justify investigating edge damage, dimensional interference, contact loading and thermal conditions. It does not prove that the glass family is wrong. Similarly, a change after thermal exposure may involve a coating or gasket rather than the base glass.
Approve a corrective change against a stated hypothesis and define the repeat testing it requires. Record who accepted the change and which earlier approvals remain valid. Replacing a failed sample without investigating the difference leaves the next order exposed to the same uncertainty.
What belongs in a repeatable heat-test report?
Use the following fields as a review framework. Add the items required by the agreed standard and procedure.
- Part number, sample IDs, production batch and drawing revision.
- Glass grade, forming and treatment condition, wall-profile record and finish.
- Fixture bill of materials, light source, driver if relevant, hardware and gasket revisions.
- Test method, applicable edition, laboratory, date and approved deviations.
- Supply and ambient conditions, orientation, mounting and exposure configuration.
- Instrument identification, verification status, sensor map and measurement method.
- Time and temperature records, transition conditions and cycles as applicable.
- Pre-test and post-test observations, photographs and all failures.
- Acceptance criteria, result, limitations, reviewer and approval scope.
For repeat production, define the batch inspection and change-control plan separately from initial design qualification. Decide which changes to glass, geometry, finish, lamp, gasket or holder trigger review. Set sample quantities and lot-release rules through the relevant risk assessment and specification. The appropriate AQL and cycle count must be agreed for the project.
Track yield by the operation where a defect is detected, then add the confirmed cause when the investigation closes. This allows the team to distinguish forming, finishing, assembly and thermal-test losses without assuming that every broken shade has the same cause.
Questions manufacturers ask about enclosed glass shades
Is there one safe temperature for every glass lamp shade?
No. The approved limit depends on the defined material, geometry, treatment, finish and assembly, as well as the relevant test conditions. Ask for evidence tied to the actual construction rather than a generic maximum temperature.
Does thicker glass always improve heat resistance?
Do not use thickness alone as the selection rule. Review the wall profile, transitions, thermal exposure and mounting conditions. Qualify the drawing range that production will supply.
Can borosilicate glass replace the thermal test?
No. A specified borosilicate grade can support material selection, but the finished shade and luminaire still need the applicable qualification. Material data do not establish the performance of coatings, gaskets or the mounting interface.
Can a passing loose-shade test cover the complete fixture?
Only the conditions within the report scope are supported. Operating the installed luminaire introduces the light source, enclosure, orientation and hardware. Identify the assembled-product evidence that is required separately.
Should a supplier promise zero cracking after a passing test?
A passing test supports the defined samples, conditions and acceptance criteria. It does not establish unlimited service life or zero failures in every installation. Preserve the qualification scope and control production changes.
What should a hotel lighting buyer send before sampling?
Send the shade drawing, fixture and light-source details, mounting hardware, intended orientation, operating environment and required market or project approvals. Include the finish and any cleaning or service conditions that need technical review.
Can the same report cover another color or coating?
Require a change review. The technical team should establish whether the altered construction is covered by existing evidence or needs further testing. Record the decision and the relevant material or finish revision.
Send the fixture conditions with the shade drawing
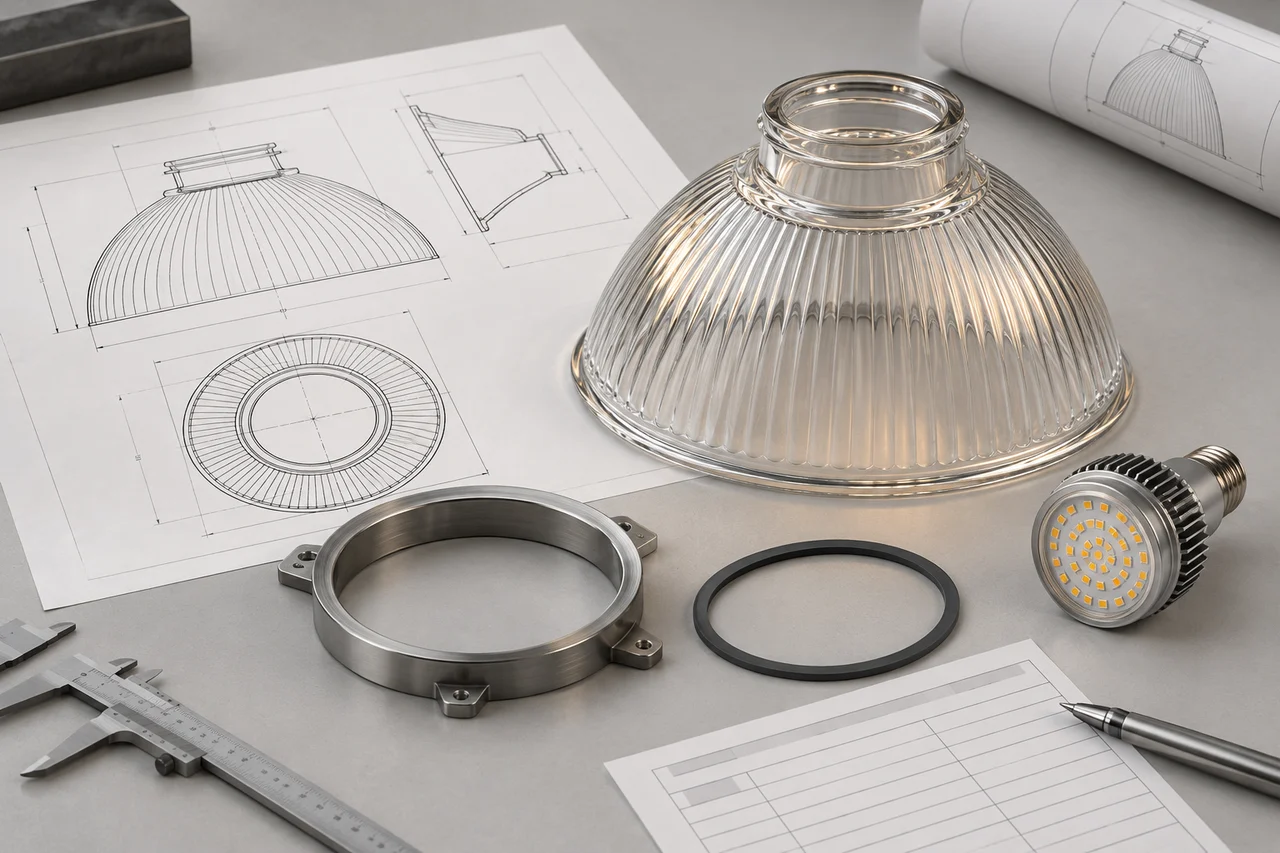
For an engineering glass lamp shade inquiry, send Jingxin Glassware the drawing or sample reference together with the mating hardware and operating brief. Include critical dimensions, wall sections, finish, lamp or module details, enclosure configuration and the test evidence your project requires.
Ask the team to confirm the proposed material and manufacturing route, inspection scope, available documentation and any external laboratory work needed. Test capability, acceptance criteria, sample schedule and commercial terms need confirmation for the specific project.
Before releasing a bulk order, make sure the approved sample, drawing revision and fixture configuration are connected to the report. That connection gives production and incoming inspection the same basis for accepting the next shipment.
Send Your Drawing and Thermal-Test Requirements