
How Glass Mold Design Affects Lamp Shade Quality and Unit Cost
Glass lamp shade mold design affects the profile the glass can form, how the part releases, where tool joins appear, and how much work remains after forming. For a lighting manufacturer, the useful cost measure is the cost of an accepted finished shade: tooling allocated across the agreed quantity, plus forming, finishing, inspection and losses. A cheaper mold can leave a more expensive part if it creates recurring fit corrections or rejects. Evaluate the proposed tool against the fixture interface and production trial, rather than approving it from an exterior rendering alone.
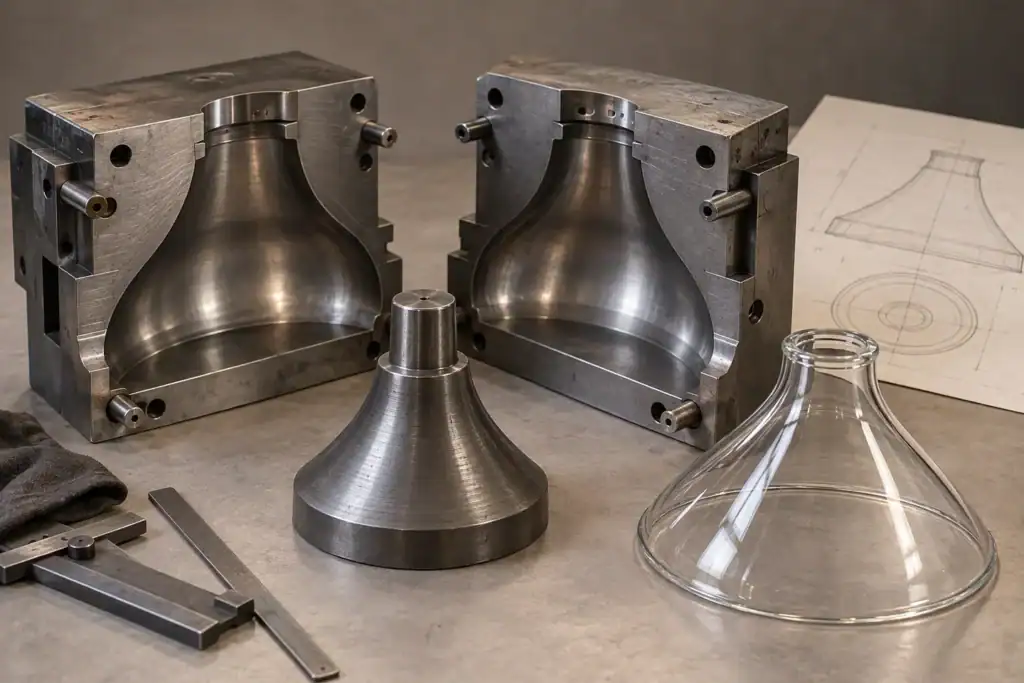
Production managers and technical staff can use this guide to review a proposed tool before approval and compare the resulting cost choices. The calculations are hypothetical planning examples, not JX prices or production results. All images are original AI-generated concept illustrations, not photographs of JX tooling, factory equipment or tested parts.
Start by identifying what the mold controls
The word "molded" does not identify one manufacturing route. A pressing tool, a blowing mold and a slumping form impose different constraints. Do not approve tooling until the supplier has named the proposed route and explained which surfaces it controls.
The Corning Museum of Glass definition of pressed glass describes molten glass shaped in a metal mold with a metal plunger forming the interior. That distinction matters for a shade: reviewing the outside cavity without the inner tool leaves the wall section unresolved. The cavity and plunger must be considered together, alongside the glass and process conditions.
Mold blowing uses inflation against the mold. The Metropolitan Museum’s account of mold-blown glass illustrates the difference between a full-size mold and a pattern mold followed by further inflation. It is historical process context, not a modern lamp-shade capability specification.
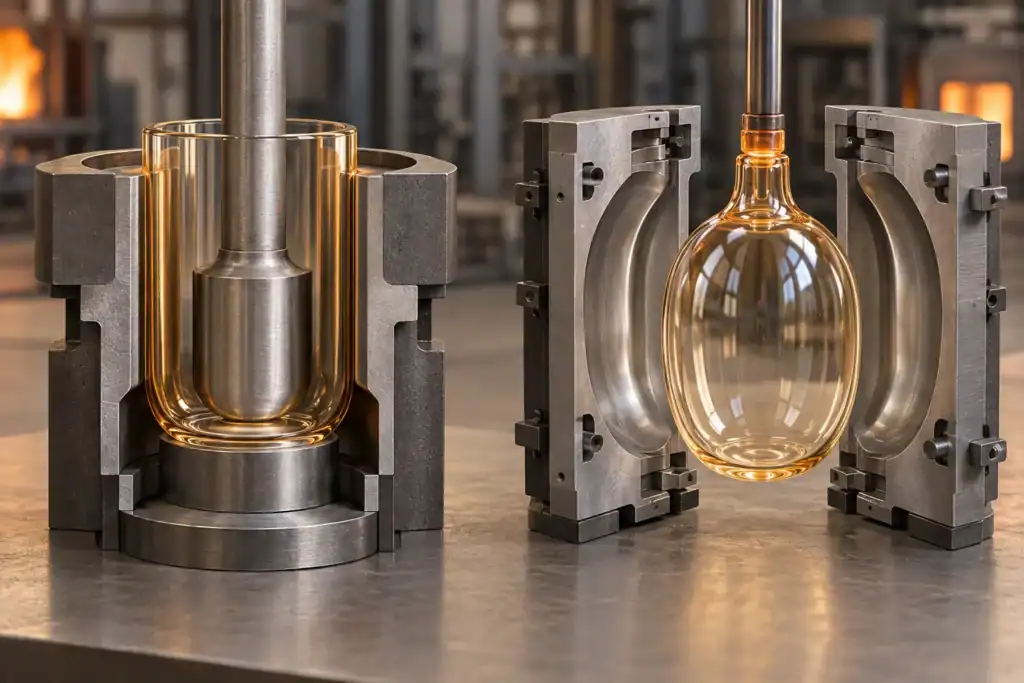
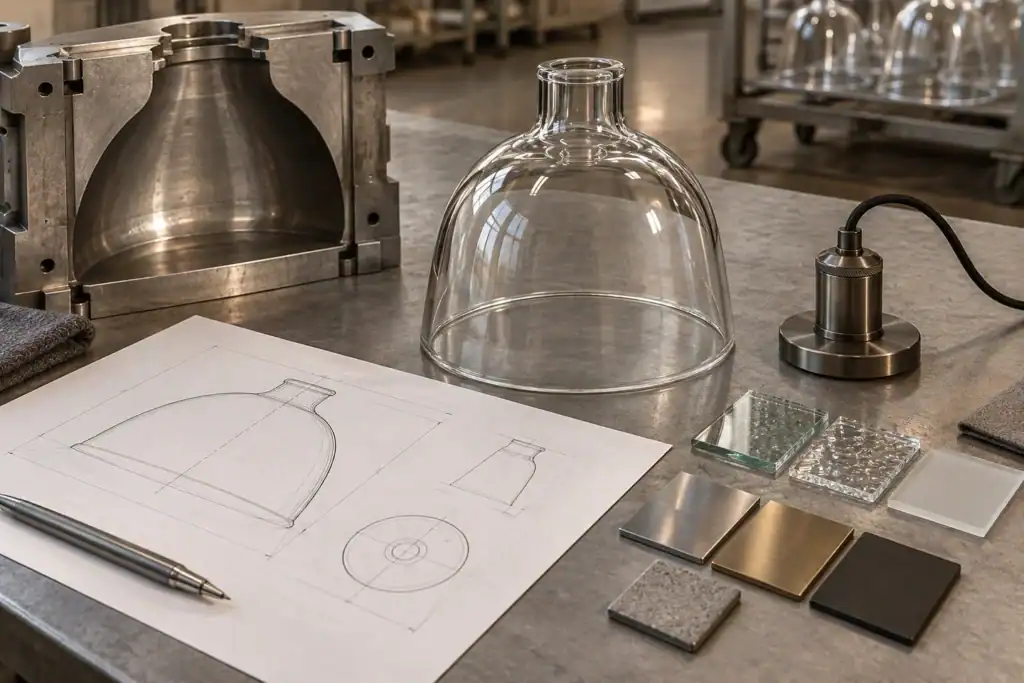
Ask for three views in the review package: the finished shade, a section showing the tool-contact surfaces, and the proposed opening or release sequence. Mark which opening, edge or surface will be produced or corrected later. A finished drawing and a tool drawing should describe the same part revision, but they need not contain identical dimensions because tool compensation and finishing allowances have different purposes.
Use the machine-pressed glass shade product page as a starting point for a process discussion. Ask the supplier to confirm the route for the actual geometry; a catalog example does not establish that every proposed shape is pressable.
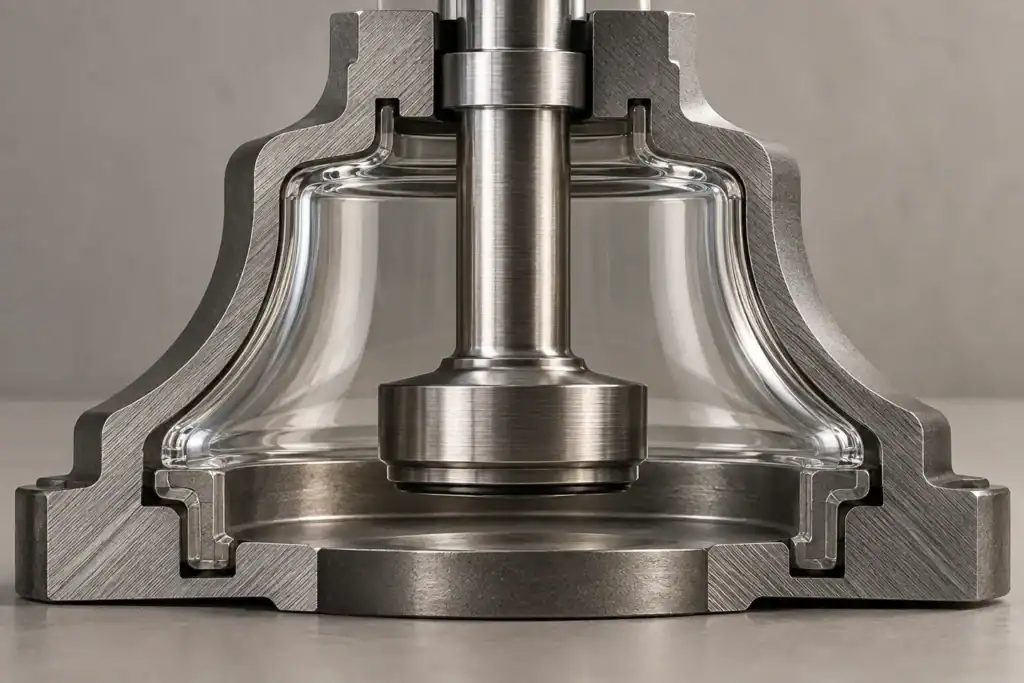
Review the release sequence before adding detail
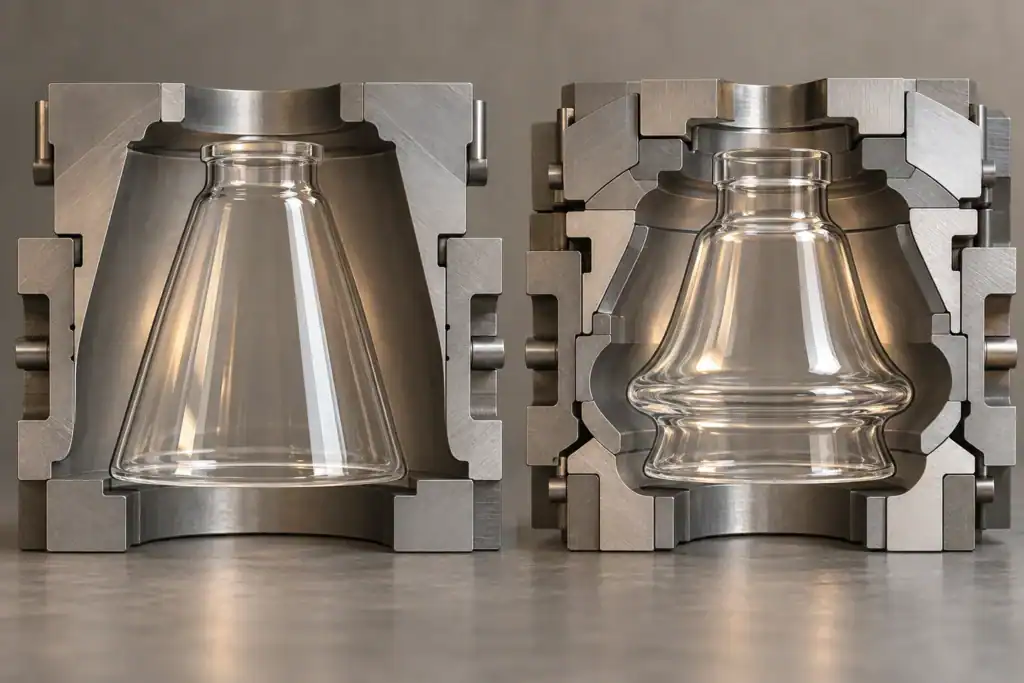
A shape that looks simple in a rendering may be difficult to remove from a rigid tool. A reverse curve, recessed band or projecting feature can obstruct a proposed movement. Review the glass profile against the opening direction of each mold component, including the inner tool where one is used.
Ask the toolmaker to identify release-sensitive surfaces and propose the necessary taper, split or change in profile. Do not copy a universal draft angle from a plastic molding guide. The appropriate arrangement depends on the forming route, tool construction, glass geometry and surface requirements. Any proposal still needs to preserve the installed appearance and mounting interface.
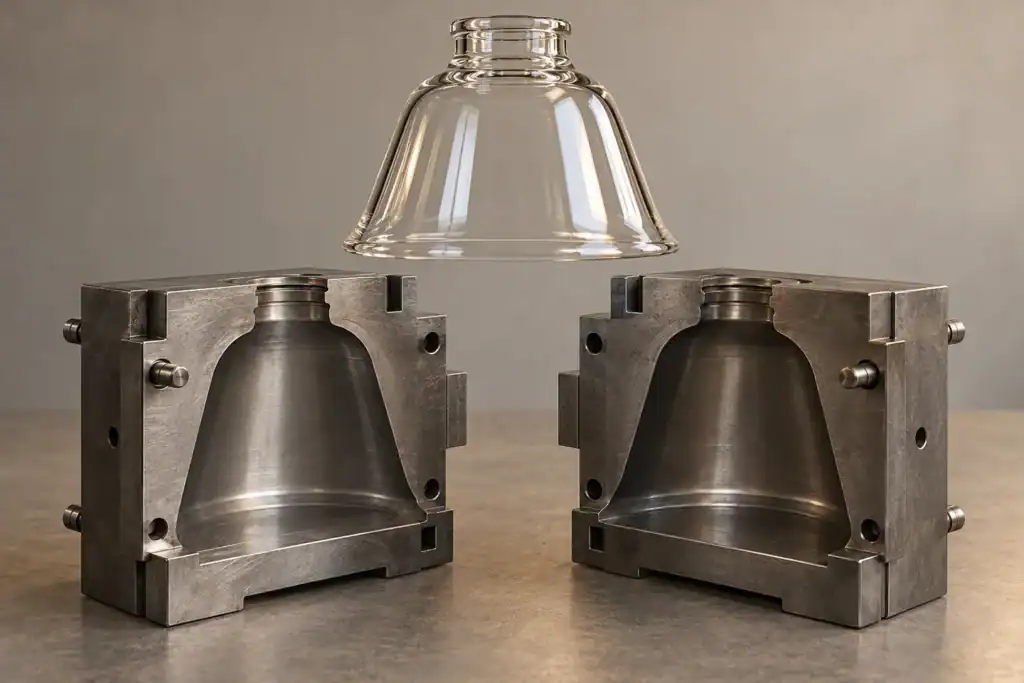
For a re-entrant detail, compare three options before committing: simplify the profile, change the tool architecture, or investigate another forming and finishing route. Each option should return a revised part drawing, a tooling quotation and an explanation of the resulting inspection requirement. Avoid asking the supplier to solve a hidden release problem after the purchase order fixes both the shape and the price.
Separate necessary features from optional styling. A recess required to retain the shade has a different priority from a decorative groove. If the groove creates disproportionate tool complexity, the design team can decide whether it earns its cost. Keep that decision in the revision record so it is not accidentally restored during a later artwork update.
Connect rib detail and tool splits to an acceptance decision
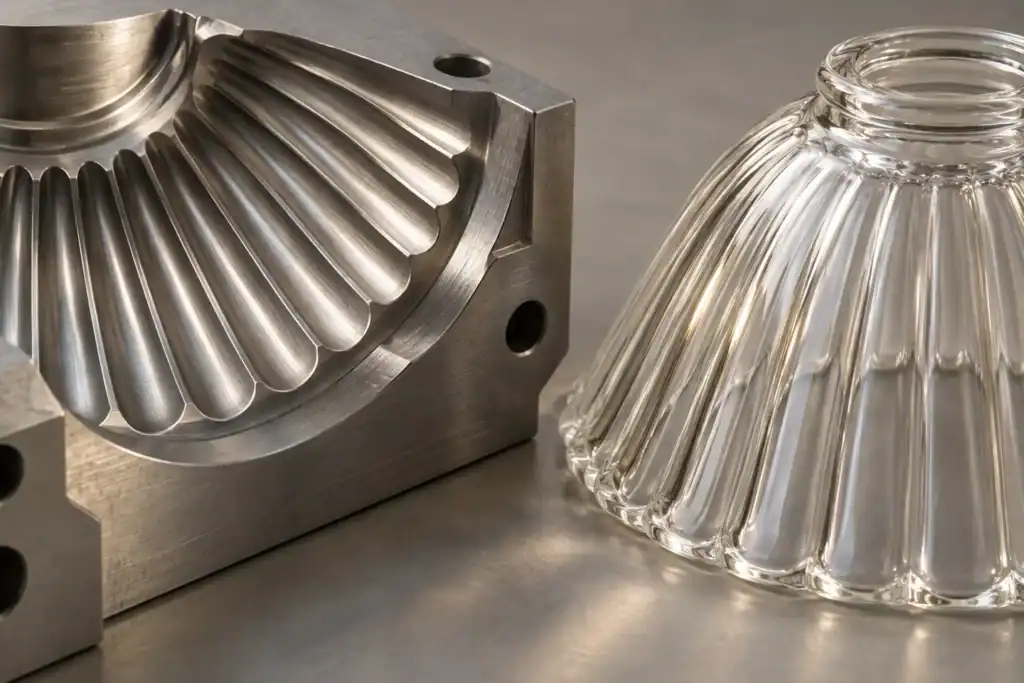
Ribs, facets and relief patterns belong in the tooling review as controlled geometry. Specify the intended profile and its transition to smooth areas. Ask which details the tool can reproduce reliably and which require a trial before the surface is approved.
A visually attractive pattern can create a difficult join between mold components. The review should show where the split crosses the decoration, what alignment matters, and whether the final finish will expose the transition. Avoid an instruction such as "make it seamless" without an agreed location, viewing condition and sample reference.
For detailed seam classification and inspection, use the existing glass lamp shade mold seam guide. Here the design decision is earlier: compare a split that protects the main viewing face with the extra tooling or finishing it may require. Confirm that moving a join does not put it on a mounting seat or another functional contact.
Review the sample unlit and with the intended light source where appearance depends on illumination. Keep the source, orientation, background and final surface treatment consistent between alternatives. One favorable sample photograph cannot establish which concept will produce the approved finish more consistently.
Protect wall sections and fitter geometry together
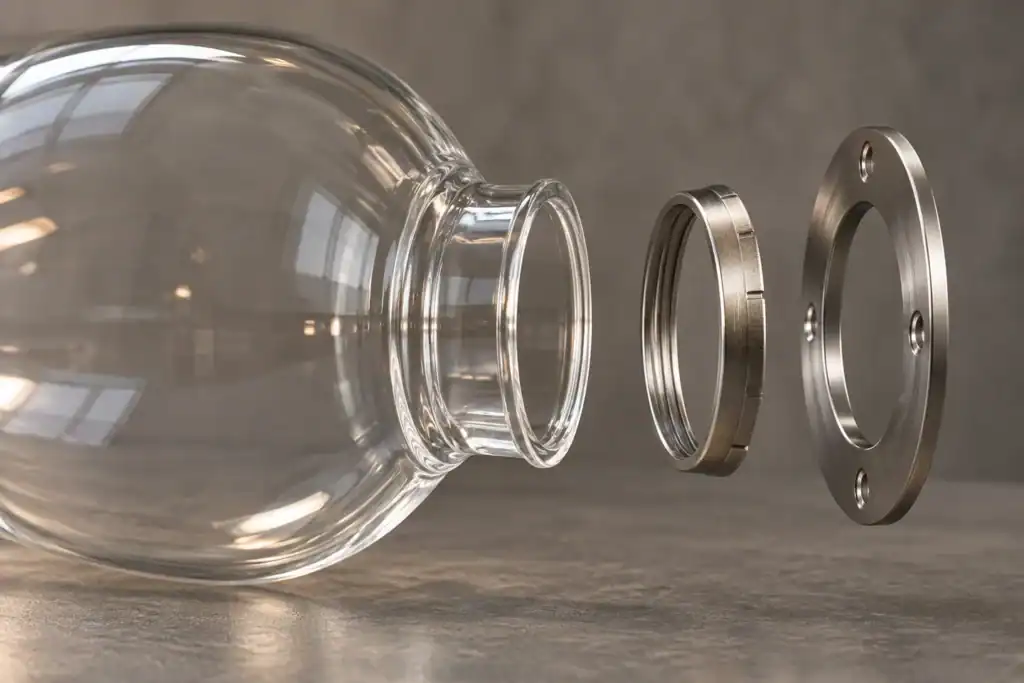
The shade must fit its holder after all specified operations. Establish the mounting reference first: the seating surface, retaining ring, lip, screw contact or other feature that positions the glass. Ask which of these features comes directly from forming and which will be finished afterward.
Then review the nearby wall sections. A thick decorative band, narrow neck and thin body may each need a different section callout. Keep overall dimensions, nominal wall thickness and local wall limits separate. The pressed-glass wall thickness guide explains why a general dimensional tolerance should not be assumed to control every wall location.
Give the supplier production-intent mating hardware or its controlled drawing. Require the sample report to identify the measurement locations and the finished condition. If a rim will be ground, make clear whether the acceptance dimensions apply before or after grinding. If a coating reaches the seat, review the assembly after coating too.
A useful decision rule is to protect the dimensions that locate and retain the shade before tightening a cosmetic body dimension. This is a review priority, not permission to relax a requirement without engineering approval. The fixture designer must resolve support, clearance, loads and any applicable assembly tests.
Send your product details for a quote
Include dimensions, material or finish, quantity, application, and any photos or drawings so the JX team can review the request.
Treat cooling as a process question, not a guaranteed savings claim
Tool geometry alone does not establish a production rate. Ask how the proposed tool will be conditioned and cooled, which operating conditions must be held, and what evidence will support the quoted output.
Bucher Emhart Glass describes mold cooling as important to glass distribution and stability in container production. That source concerns container-forming equipment. It supports asking about thermal control; it does not supply a cooling schedule, throughput improvement or acceptance limit for a lamp shade.
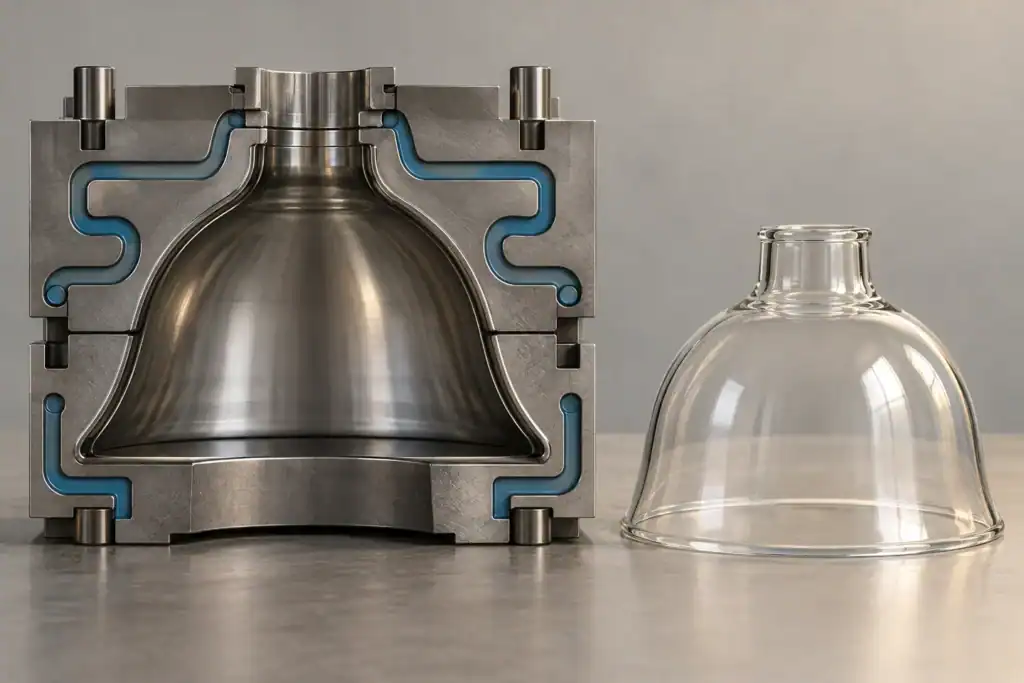
For the shade project, request a trial record that links the tool revision and process conditions to the inspected pieces. Compare accepted output over a stated run, with startup losses, interruptions and finishing included on an agreed basis. A short demonstration at a favorable setting may not represent the quotation’s production assumptions.
Keep forming and annealing evidence separate. A proposed mold-cooling arrangement does not establish that the finished glass has passed the required stress or thermal checks. Ask the responsible supplier and fixture team to define the relevant checks for the material and application. Do not infer safety performance from a tidy tool drawing.
Price the finishing route that delivers the approved shade
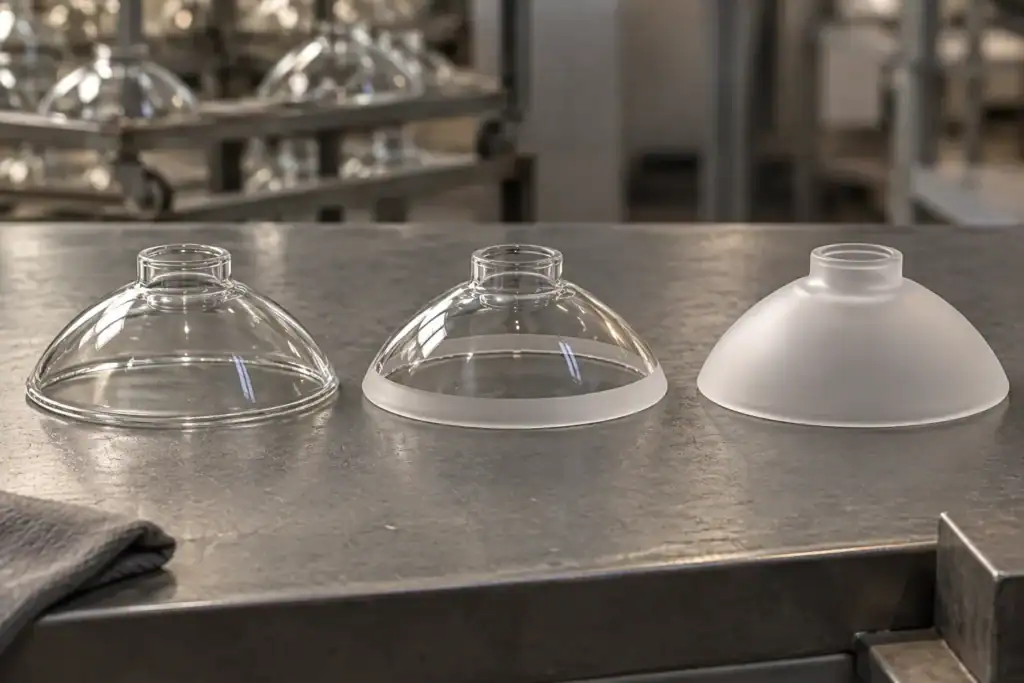
Compare tooling concepts at the same finished condition. One concept may require extra rim work, local seam treatment or surface preparation. Another may cost more initially but avoid an operation. Neither is automatically the better choice until the final dimensions, appearance and recurring costs are comparable.
Ask the supplier to list the operations between release and final inspection, and identify where each controlled feature is created. If an operation corrects geometry, include its effect in the dimensional report. If it changes appearance, approve the sample after that operation rather than on the unfinished glass.
Do not use surface treatment to conceal an unresolved integrity issue. Cosmetic acceptance and the disposition of suspected cracks are different decisions. Likewise, a sample with an attractive finish does not by itself demonstrate fit, wall control or repeatable output.
For commercial comparison, ask whether finishing labor, consumables, expected losses and inspection are already included in the unit price. Record the boundary. Adding a separate yield allowance to a price that already covers those losses would count the same cost twice.
Calculate tooling cost per accepted shade
For an internal comparison, use a consistent cost boundary:
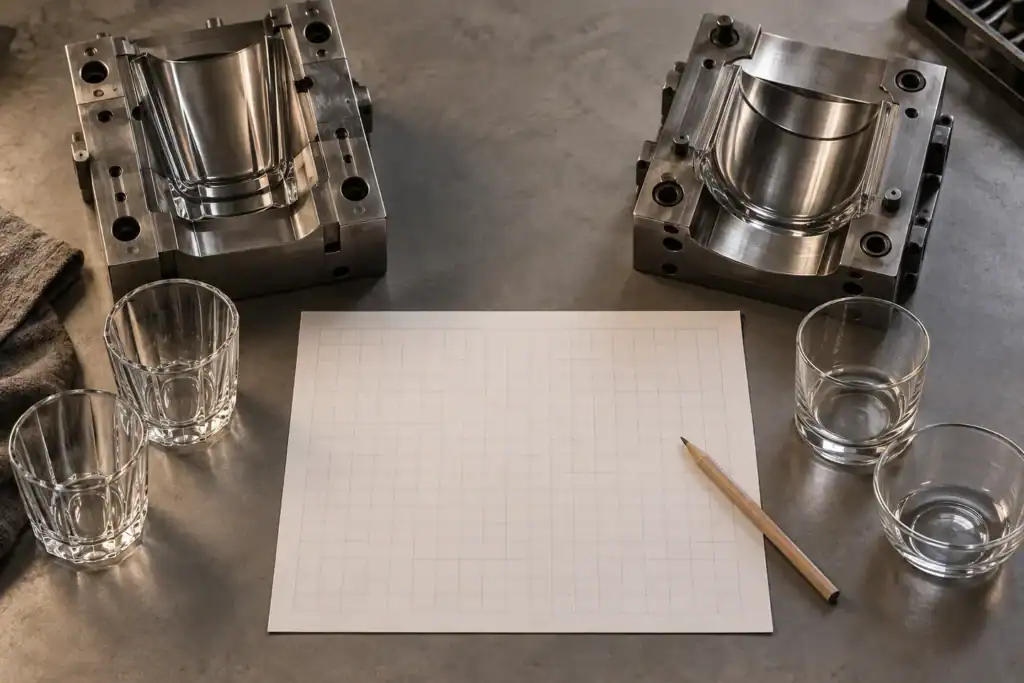
Cost per accepted shade = allocated tooling cost + recurring cost per production attempt divided by final acceptance yield.
In this simplified model, allocated tooling cost is the agreed tooling investment divided by the number of accepted shades over which the buyer plans to recover it. Recurring cost includes the chosen forming, finishing and inspection operations for each attempt. Final acceptance yield is accepted finished pieces divided by attempts on that same basis. This is a planning model; a production costing system may need separate yields and costs for each stage.
The following invented figures compare two tool concepts for the same accepted finished shade. They are not supplier quotes, typical market prices or measured JX yields. Freight, tax, packaging and financing are excluded from both concepts.
| Planning input | Concept A | Concept B |
|---|---|---|
| One-time tooling | $2,400 | $4,000 |
| Cost per attempt | $3.20 | $3.00 |
| Assumed final acceptance yield | 90% | 96% |
| Accepted quantity for allocation | 4,000 | 4,000 |
| Tooling per accepted shade | $0.60 | $1.00 |
| Recurring cost per accepted shade | $3.56 | $3.13 |
| Combined cost per accepted shade | $4.16 | $4.13 |
Using unrounded values, the recurring costs are $3.20 / 0.90 = $3.5556 and $3.00 / 0.96 = $3.1250. Concept B’s extra $1,600 of tooling is recovered after approximately 3,717 accepted shades if these assumptions hold and no additional tool charge arises. The break-even quantity is the extra investment divided by the recurring saving per accepted piece.
At only 1,000 accepted pieces, the same model gives about $5.96 for A and $7.13 for B. The more expensive tool is then the more expensive choice. This is why a volume forecast, approved yield basis and price boundary should accompany the design decision. A small difference at 4,000 pieces also deserves a sensitivity check: minor changes in yield, repair cost or quantity could reverse it.
Use the supplier quote comparison guide for quotation terms and first-order versus reorder totals. Do not insert an assumed production yield into a fixed accepted-piece quotation unless its commercial effect has been explained.
Ask a tool trial to answer specific questions
Before the trial, write down which uncertainty it must resolve. A sample can demonstrate appearance while leaving process stability unknown. A short dimensional report can demonstrate fit while saying little about final finishing losses.
Ask for a review package that contains:
- The sample identity, drawing revision, tool identity and proposed production route.
- Measurements at the agreed mounting and wall locations, in the final specified condition.
- An assembly check using the intended holder or a documented equivalent.
- Appearance review under the agreed unlit and lit conditions, where relevant.
- Attempted and accepted quantities with clearly classified losses, if yield is part of the decision.
- A record of corrections made during the trial and whether another sample is required.
Approve each requirement explicitly. An appearance approval should not silently approve a dimensional deviation. If the tool or process changes to correct a problem, identify which earlier results need checking again. Keep the accepted sample tied to the revision that produced it, and retain a clear record of any agreed exception.
Keep the tooling decision valid on reorders
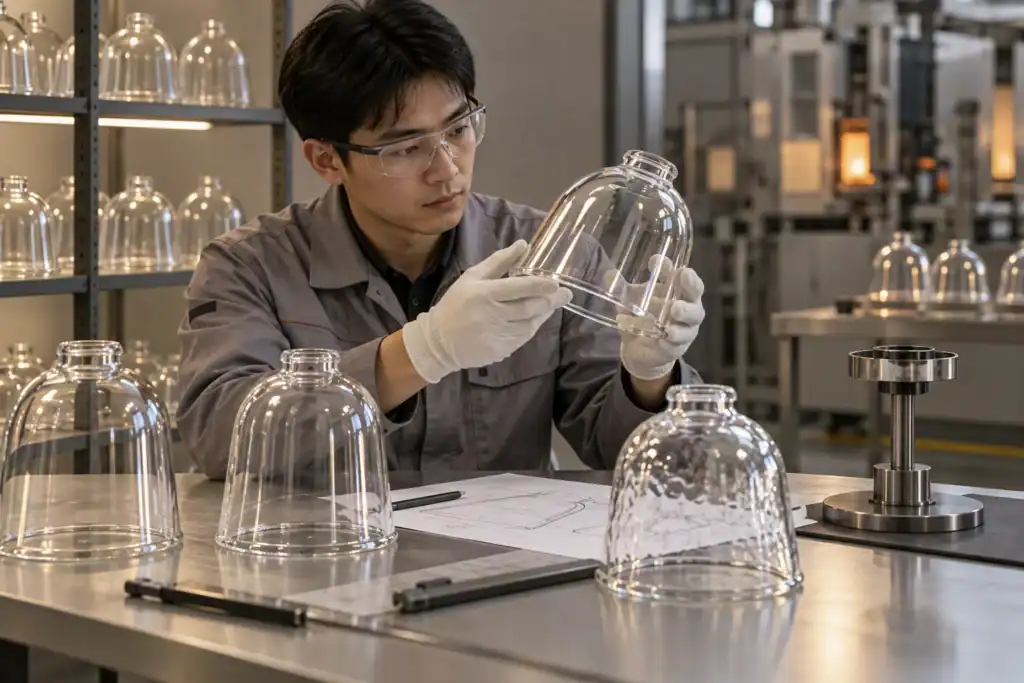
The comparison only holds if the tool is still available and usable when the next order arrives. Confirm ownership, storage, maintenance responsibility, repair authorization and the conditions for replacement or transfer in writing. Paying a tool charge does not explain those terms by itself.
Ask which wear-sensitive surfaces or joins will be checked, how a repaired tool is identified, and when a new first-article review is required. Agree who pays for a buyer design change versus maintenance needed to continue the approved design. Avoid treating an estimated tool life as a guaranteed quantity without a defined contractual basis.
The Blockhead Tools custom mold workflow illustrates design approval before mold cutting and distinguishes its wood and graphite offerings. Its process and material examples are not life guarantees for a metal pressing tool. For this project, ask the proposed toolmaker for the actual material, construction and maintenance basis rather than borrowing another supplier’s figures.
Send a mold review brief with a cost boundary
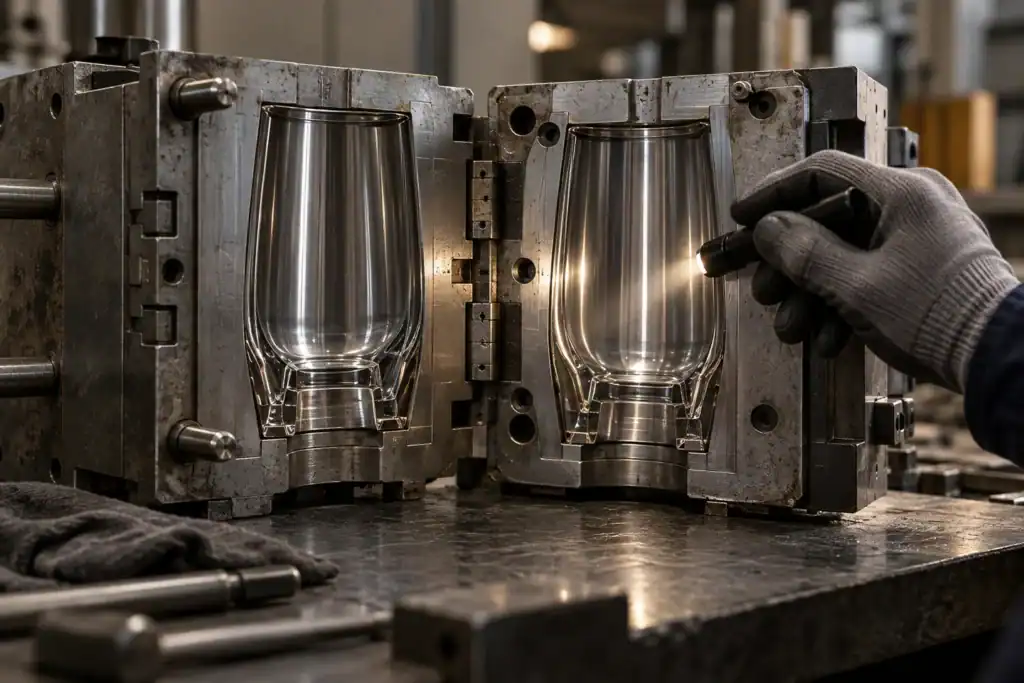
For a JX inquiry, start with the shade and fixture requirements, then ask which tool and process should be evaluated. The live machine-pressed product route is relevant to molded shade projects; current feasibility, tooling price, sampling and production timing need confirmation against the specific drawing.
Send a section drawing, mating hardware reference, glass and finish direction, protected appearance zones, accepted-piece order quantity and realistic reorder forecast. Identify which features are essential and which the toolmaker may propose changing. Include the sample approval method and any application or compliance requirements supplied by the fixture team.
Ask the supplier to return a proposed release arrangement, critical-feature review, finishing sequence and quotation that separates tooling from recurring charges. If the cost decision depends on yield or output, request the basis and a trial plan. The technical drawing checklist helps organize the part information; the custom shade RFQ builder can collect the inquiry inputs.
Questions production teams ask about glass shade tooling
Does a more expensive mold always lower unit cost?
No. The extra investment must be recovered through an agreed recurring saving over a realistic accepted quantity. If the order is small or the saving is unproven, the higher tooling charge may never pay back.
Can one mold produce every color and finish?
Do not assume it. Ask whether the proposed glass, finish sequence and acceptance dimensions can use the same tool without a change. Approve representative finished samples and identify any restrictions in the quotation.
Can changing the plunger solve a wall-thickness problem?
It may be one option for a pressed part, but the supplier must review the cavity, inner tool, glass distribution and operating conditions together. A tool alteration needs a new sample check against the specified wall locations and fixture interface.
Should a buyer specify a standard draft angle?
Ask the toolmaker to propose release geometry for the actual part and process. Approve it against the functional and visual requirements. A generic angle from another material or forming method is not a validated shade requirement.
Is a decorative groove worth adding to the tool?
Compare its visual value with the tool construction, finishing and inspection it requires. Request a simpler alternative when it does not serve the fixture function. The design team can then approve the trade-off before tooling is made.
Does sample approval establish production yield?
An approved sample establishes only the requirements actually reviewed. Yield needs attempted and accepted quantities, a loss definition and representative trial conditions. A few selected good samples cannot establish a recurring acceptance rate.
What should trigger another tooling review?
Review changes to the mounting interface, wall section, release-sensitive profile, protected pattern or finishing route. Tool repair or replacement may also require renewed sample checks. Define the triggers with the supplier before repeat orders.