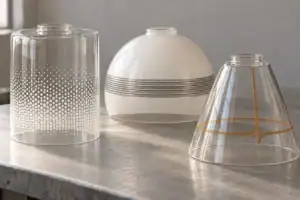
A necked glass shade has a projecting collar at its opening; a neckless shade finishes without that extended collar. Neither shape establishes a faster assembly or a compatible fixture by itself. Compare the complete retaining arrangement, the work needed to support and secure the glass, and the route for later lamp replacement. Approve the combination with the actual holder before using assembly speed to choose between designs.
Lighting OEM buyers need to compare two defined assemblies. A necked bell secured in a gallery and a neckless globe supported by an insert can involve different parts, motions and inspection points. This guide explains how to compare that work for home lighting and how to screen an outdoor proposal without assuming that a decorative mounting system is suitable for a street-light fixture.
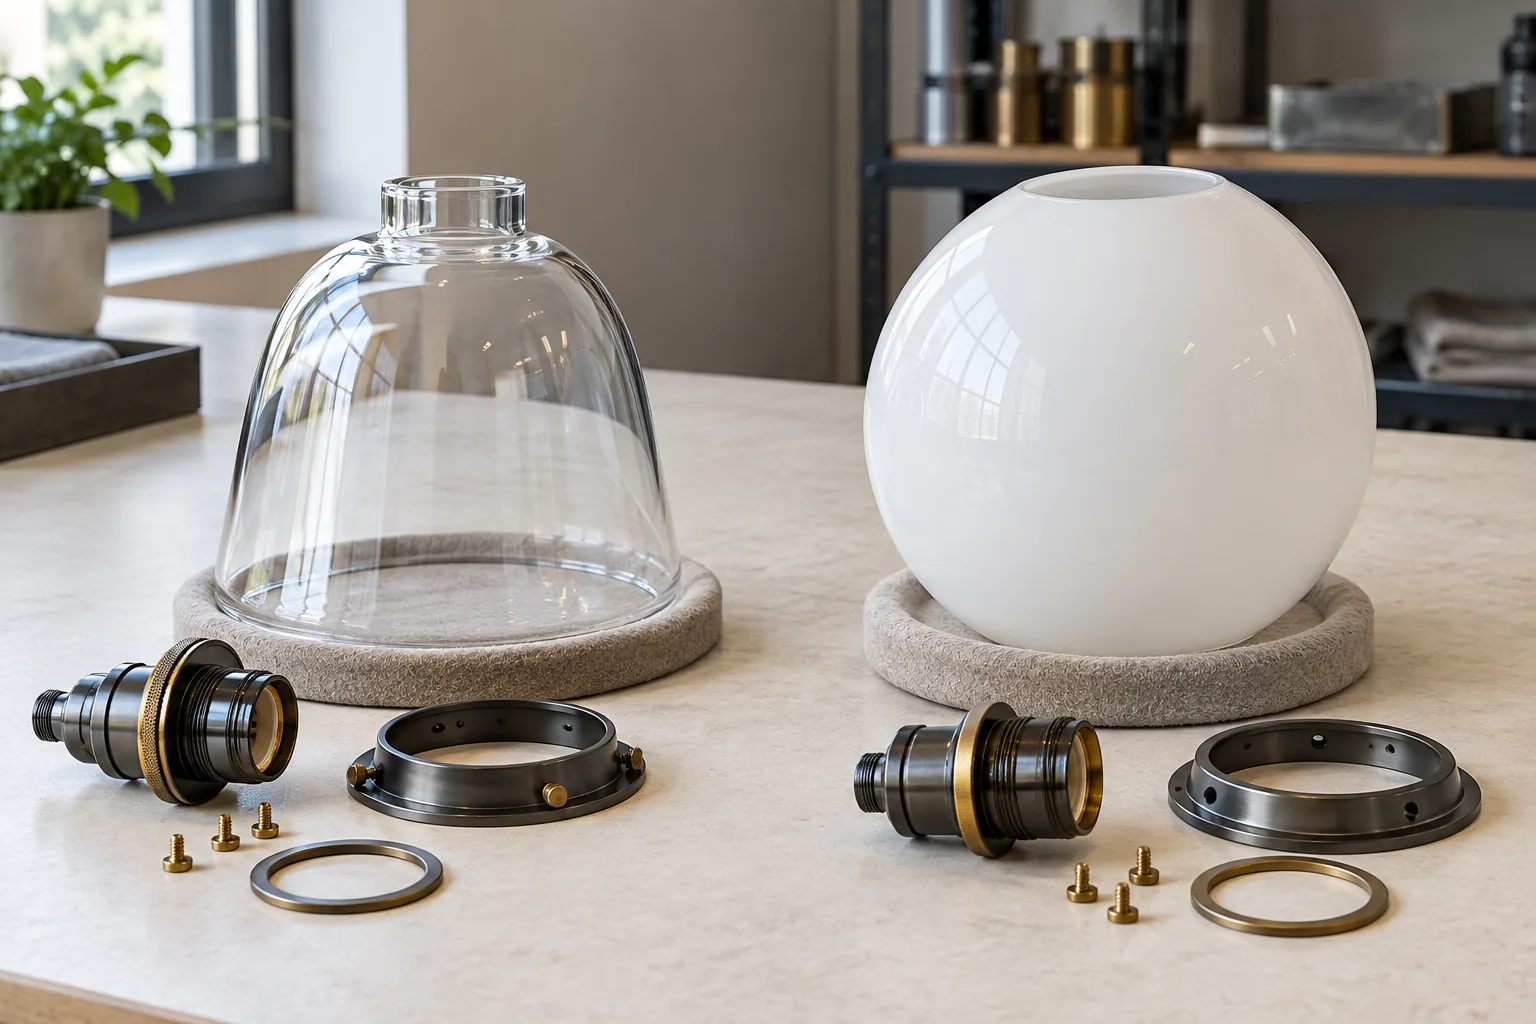
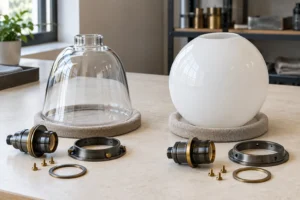
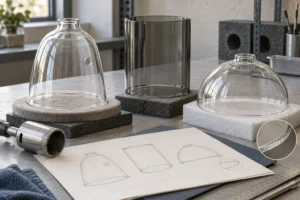
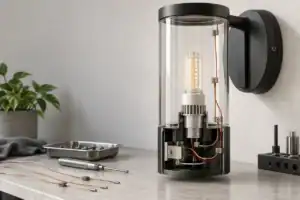
The images are original AI-generated educational concepts. They are not JX factory photographs, approved hardware drawings, installation instructions or measured production results. Component proportions and contact details require project-specific validation.
Define the glass shape and the retaining mechanism separately
A neck is a geometric feature. Retention describes the mechanism that keeps the shade in position. A short glass collar may work with a matching gallery, while another collar may carry a formed thread. A neckless opening may belong to a holder with an internal support, an external cover, a carrier or another specified arrangement. An assembler still needs the holder instructions.
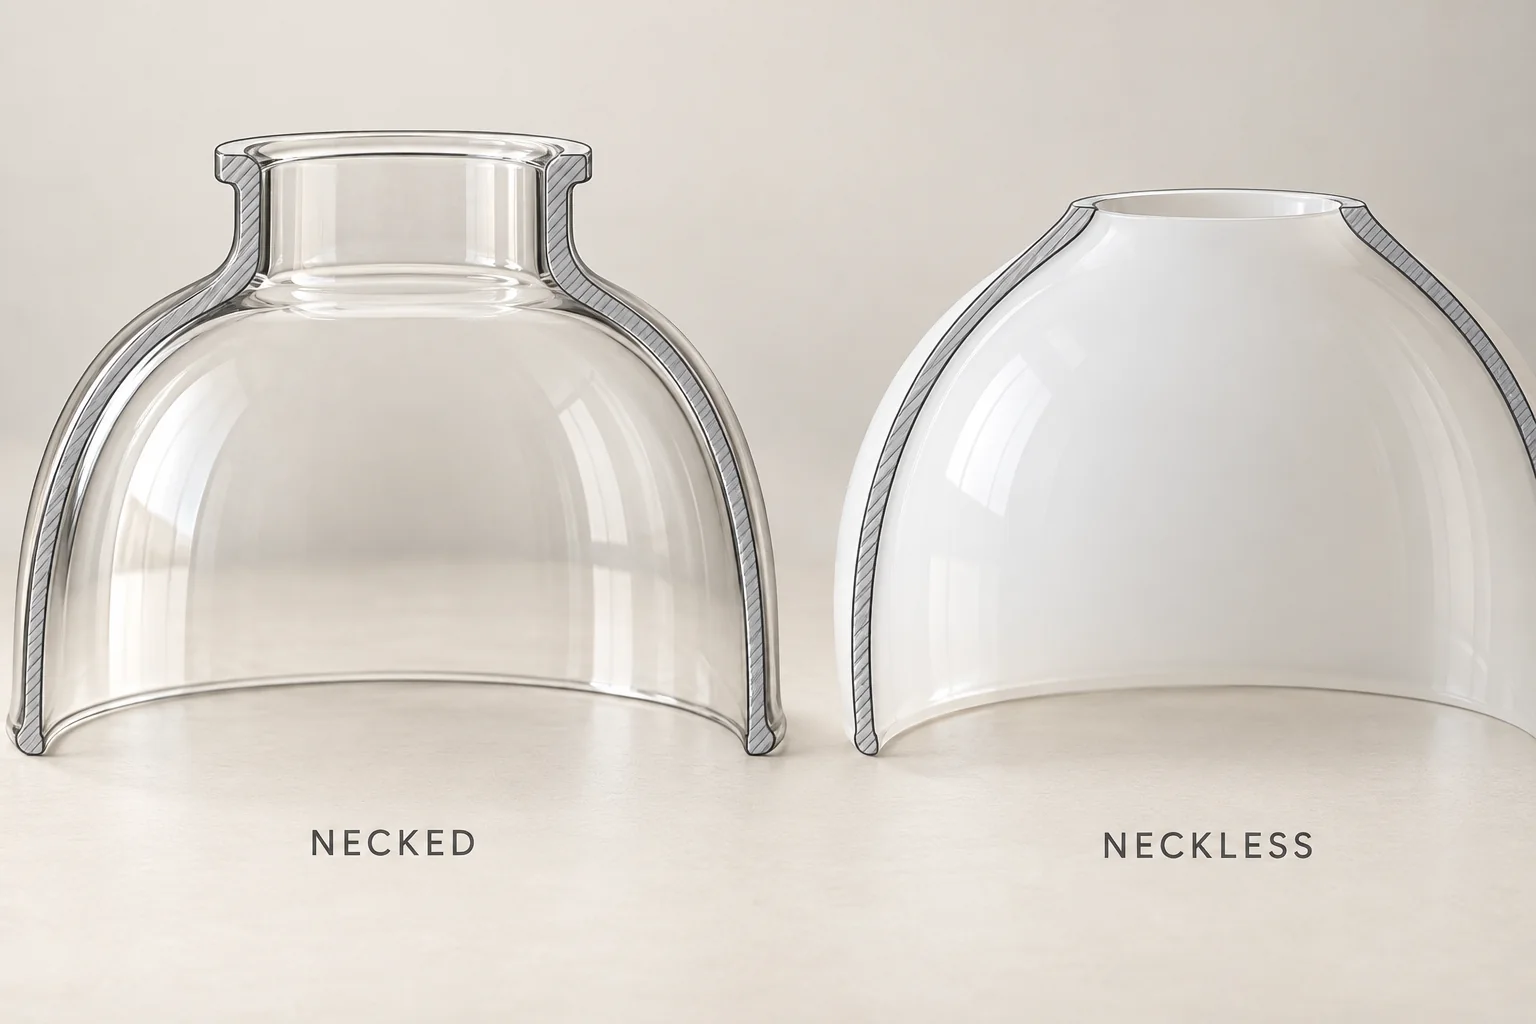
Use two descriptions in the purchasing record: one for the glass opening and another for the complete hardware system. For example, “necked opening with a supplier-defined screw-retained gallery” is a clearer trial description than “standard fitter.” Add the actual holder reference and drawing revision. These descriptions identify the options; they do not certify either assembly.
The existing fitter identification and compatibility checker covers the general mounting families. Use it for initial identification. Here, the decision concerns the work and limitations of two selected glass-and-holder combinations.
Compare named assemblies instead of ranking all necked and neckless shades
A necked shade with a gallery
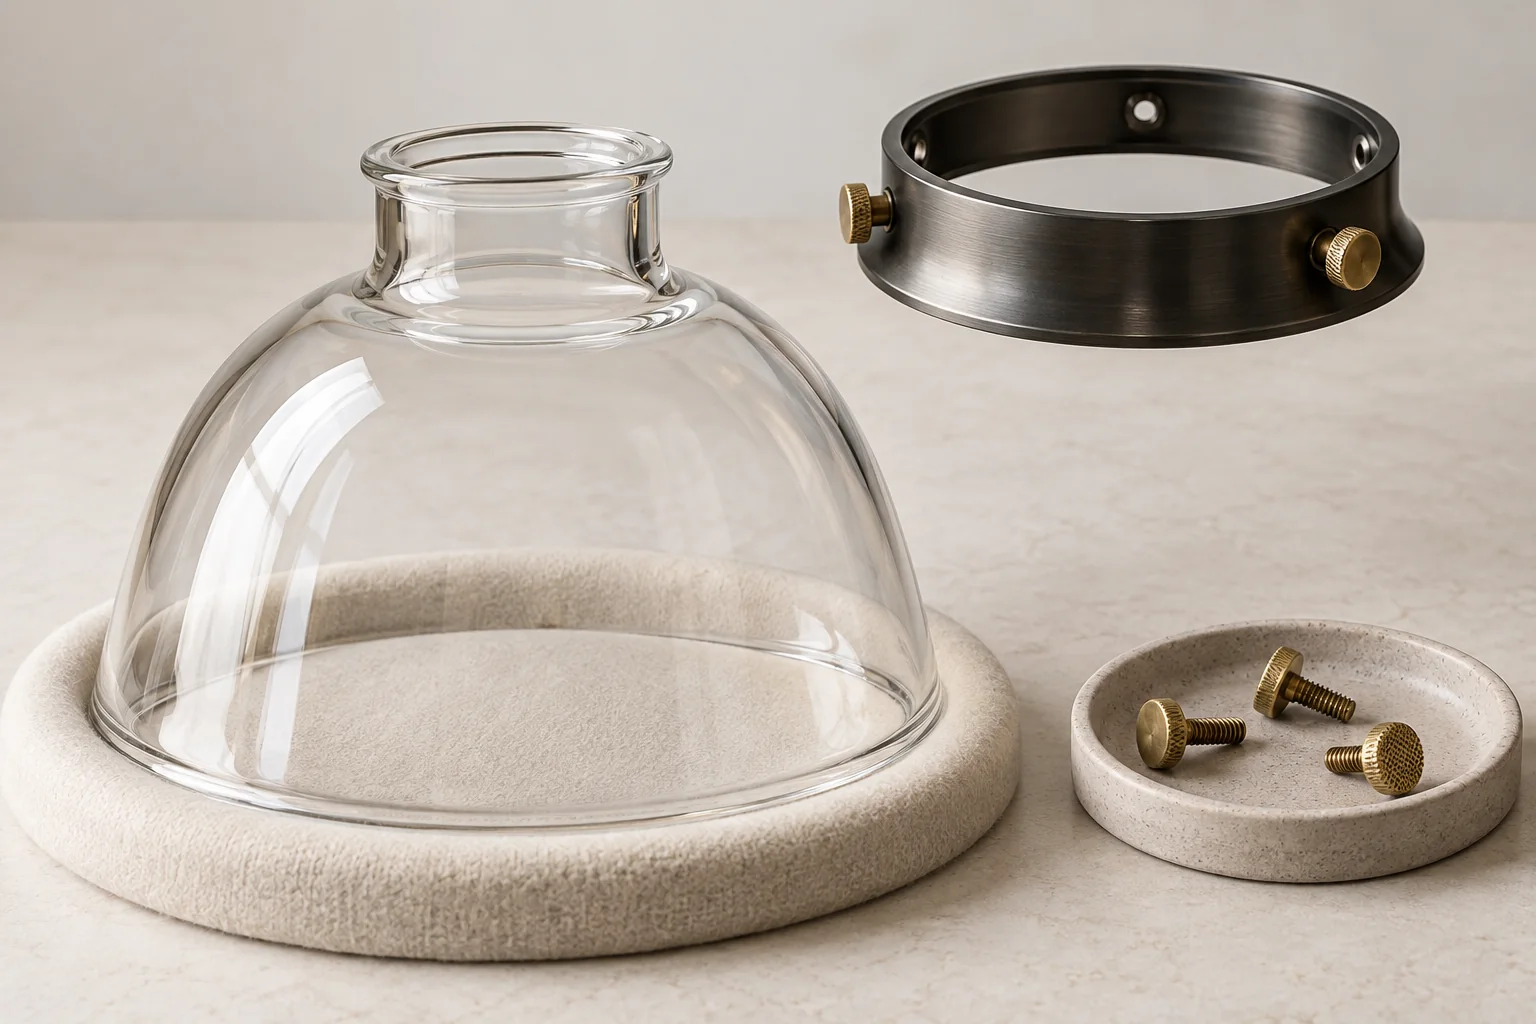
For a gallery-retained proposal, identify how the neck enters the holder, where the glass is supported and which feature prevents withdrawal. The assembler may need to align the collar, support the body and secure several retainers. Access to those retainers can matter more than the length of the neck. A threaded-neck proposal needs a separate comparison because its engagement and removal motions differ.
A neckless globe with an insert and cover
One documented example is the Grand Brass inside-plate and outside-cover arrangement. Its support sits inside the globe, and its cover closes against the glass. The supplier describes a release mechanism that permits access for bulb replacement and specifies vertical use for that arrangement. These are conditions of the described system, not universal rules for every product called neckless.
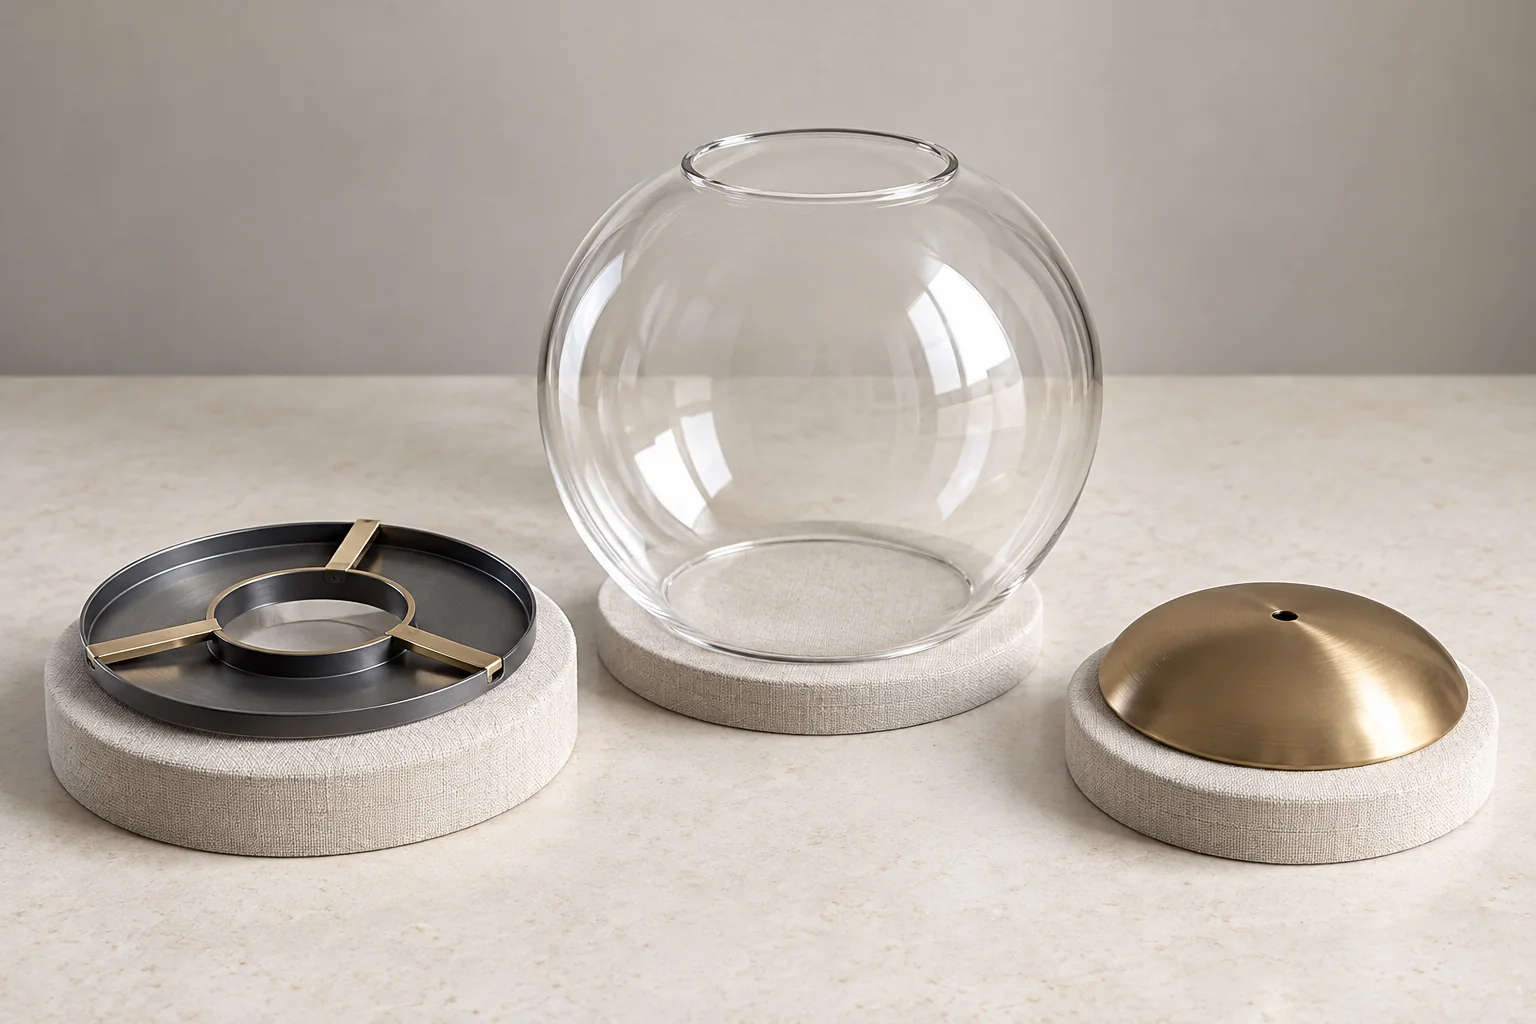
Ask for the intended assembly sequence before comparing quotations. A low visible parts count may conceal an internal component, a locking operation or a difficult release step. Record which components arrive fitted and which remain loose; preassembly moves work between suppliers rather than automatically eliminating it.
Locate the support surface before evaluating ease of assembly
A part that enters the holder easily has passed only an access check. The review must also establish its seated position and the intended retention. On a section drawing, mark the surface that carries the glass, the part that locates it and the feature that limits unwanted movement. They may be different features.
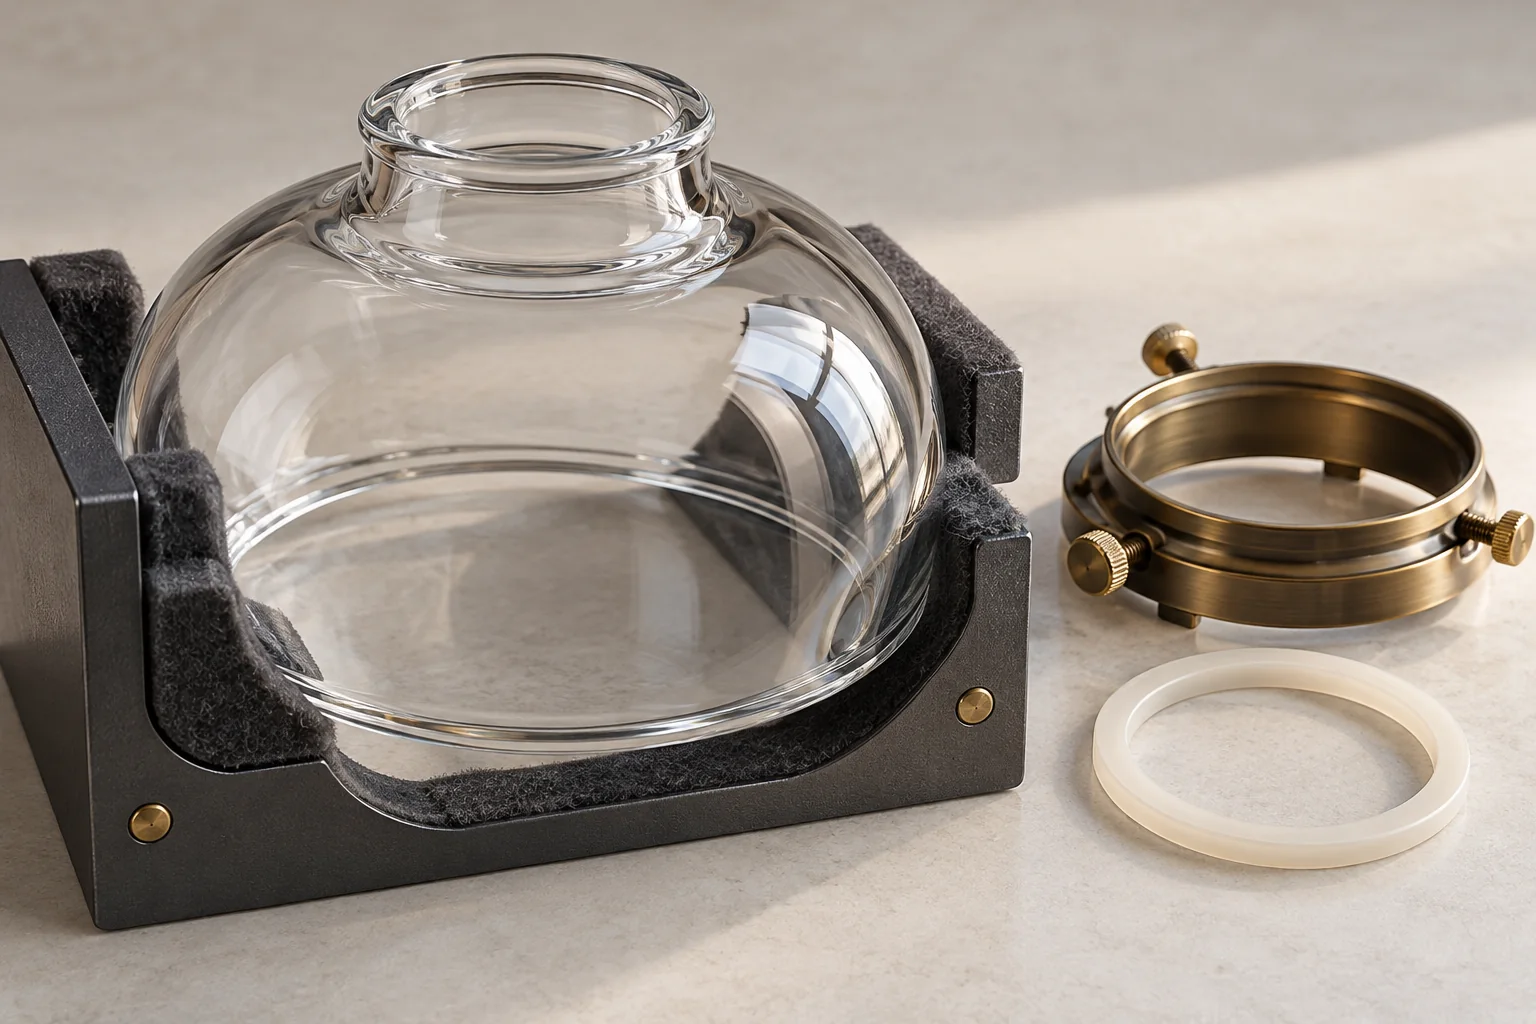
For each candidate, ask the fixture designer to confirm these points:
- Where does the glass rest while the assembler secures the remaining hardware?
- Can the assembler see or otherwise verify the intended seated position?
- Which holder features contact the glass, and are they compatible with the finished edge?
- What keeps the shade retained in the specified orientation after the assembly is complete?
Do not solve an uncertain fit by prescribing extra screw pressure or an improvised packing strip. The appropriate contact, retaining method and tightening instruction belong to the approved hardware design. For the glass-side surface condition, refer to the glass rim finishing guide.
Break initial assembly into handling steps
Compare the sequence at the workstation, not just the final appearance. Lay out each complete kit in its supplied condition and identify operations that require a tool, a change of grip, a second person or a temporary support. Treat packaging removal and component sorting consistently in both trials.
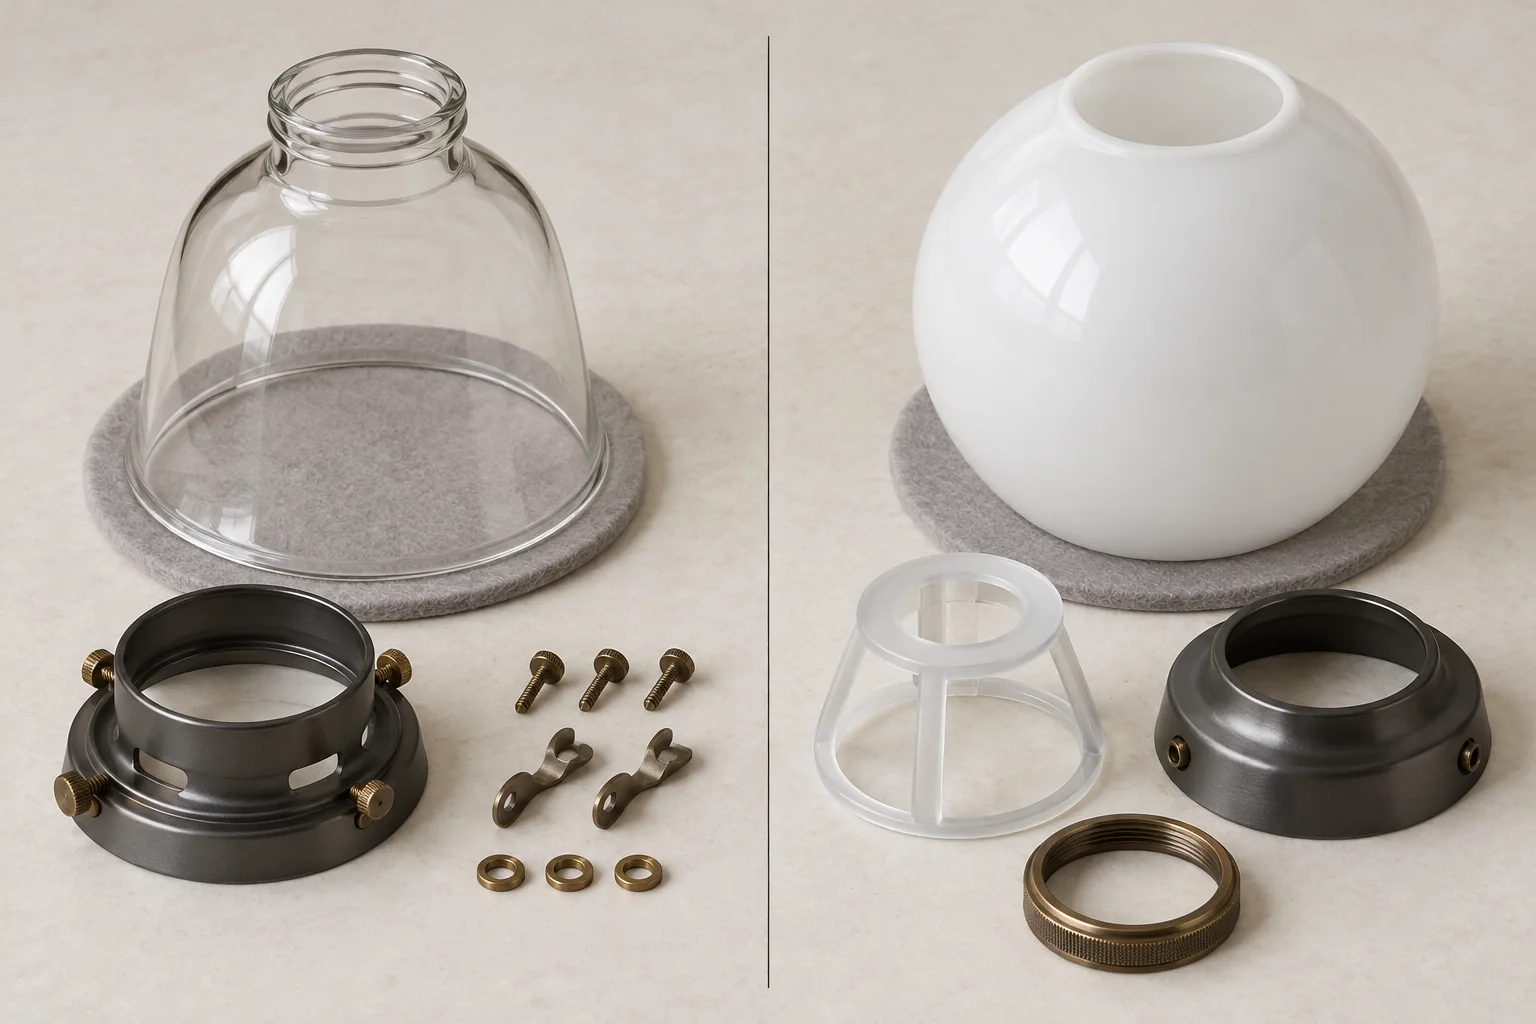
A practical review follows the glass from its protective tray to an accepted assembly:
- Identify the glass and hardware, and inspect the components before use.
- Present the glass to the holder while maintaining the specified support.
- Align the seating and locating features without forcing the opening.
- Complete the prescribed retaining and locking operations.
- Check seating, retention, clearances and visible condition.
This sequence is a proposed comparison framework. It does not replace the fixture manufacturer’s installation procedure. If a candidate needs an undocumented extra operation to work, resolve that discrepancy before timing it as a production option.
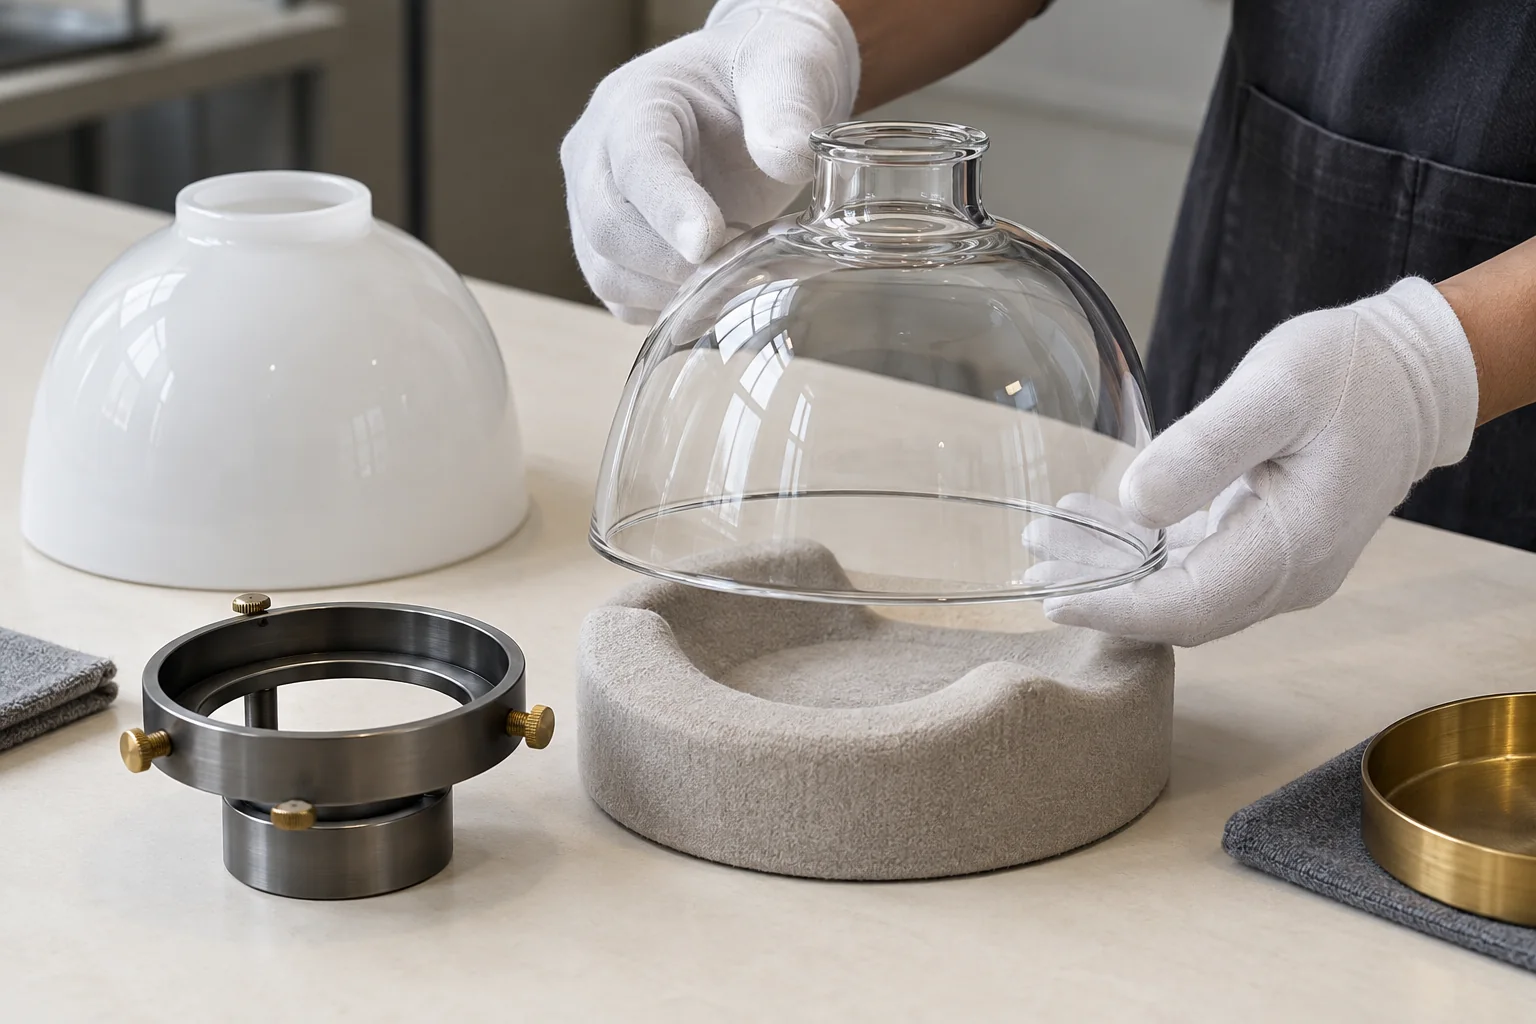
Note the awkward moments. A long reach behind the glass, a retainer hidden by a canopy or a cover that must be held while another component is positioned can change the practical result. Record the observation beside the time rather than reducing the review to a single stopwatch reading.
Review lamp replacement as a second assembly problem
A design can be convenient on an open bench and awkward after installation. Review the service route in the intended fixture position. Establish which parts must move, how the glass remains supported during release, and where the removed parts can be placed. A sealed or integrated light source may require a different maintenance route from a replaceable bulb.
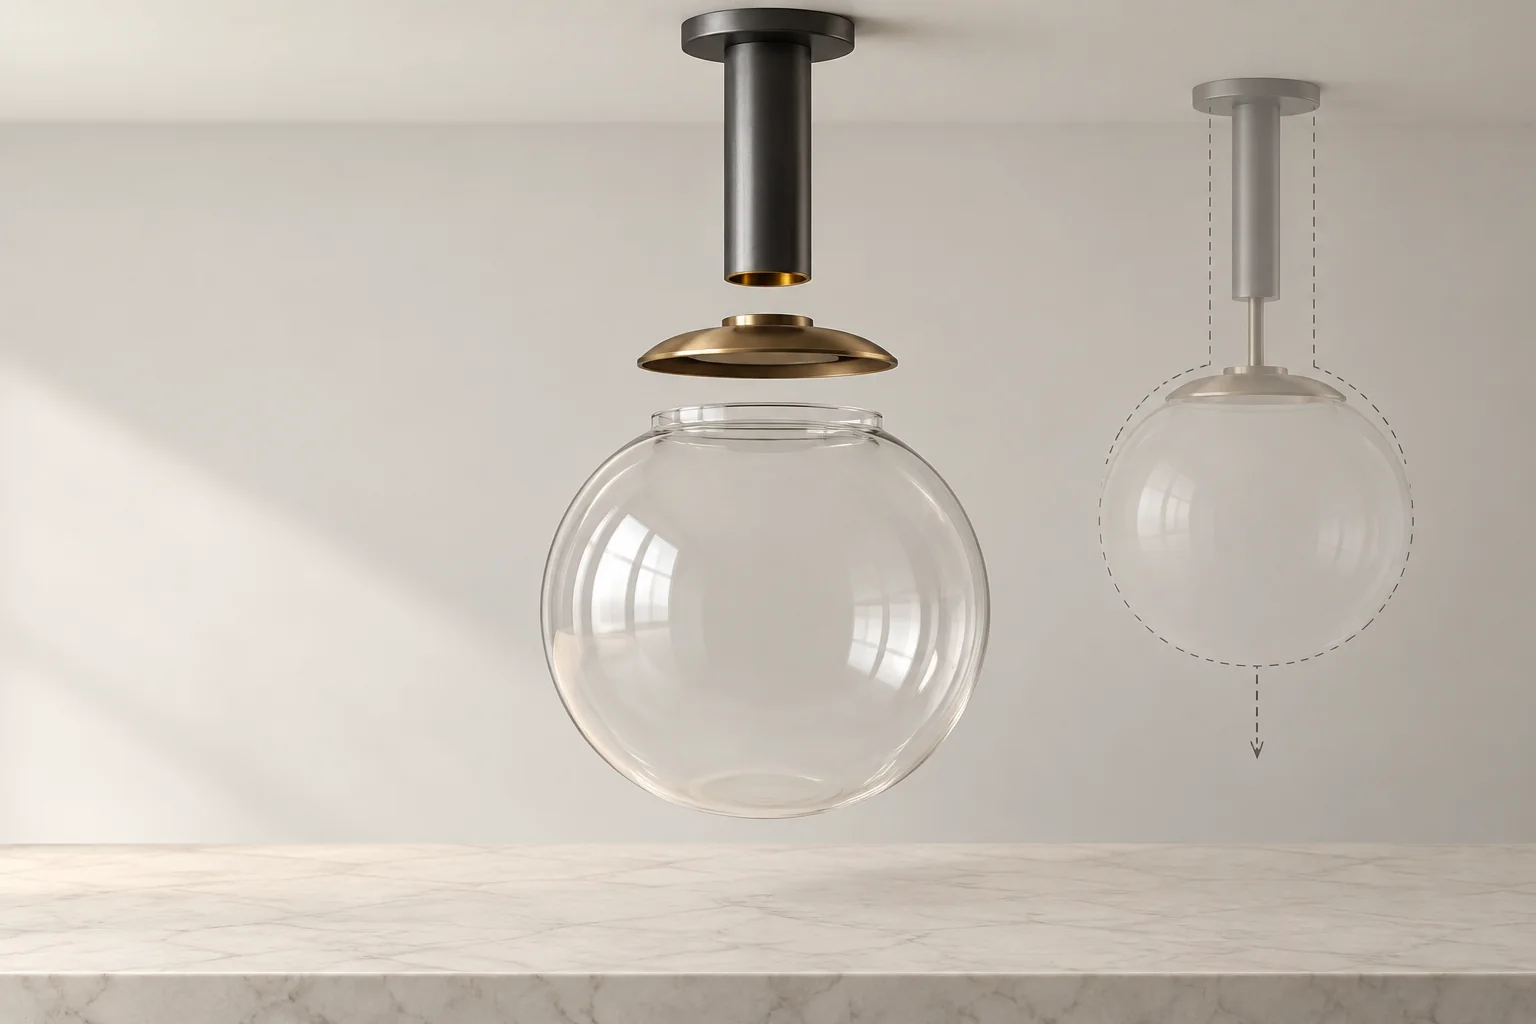
For a neckless cover-and-insert proposal, check the actual movement needed to expose the opening and withdraw the glass. For a gallery or threaded-neck proposal, check access to the retaining features and the available removal path. A nearby wall, adjacent shade or shallow canopy can obstruct an otherwise workable motion.
Ask the buyer’s service team to review a representative arrangement. Include the intended lamp envelope and surrounding clearances. Work on electrical fixtures must follow the fixture instructions and the applicable isolation procedure; this comparison is not a wiring or field-modification guide.
Keep interface parts in the comparison
Gaskets, seating rings, spacers and covers are part of the assembly being evaluated. Their presence can change the final position, the feel of engagement and the number of handling operations. A trial with a convenient substitute ring does not establish that the quoted kit will behave the same way.
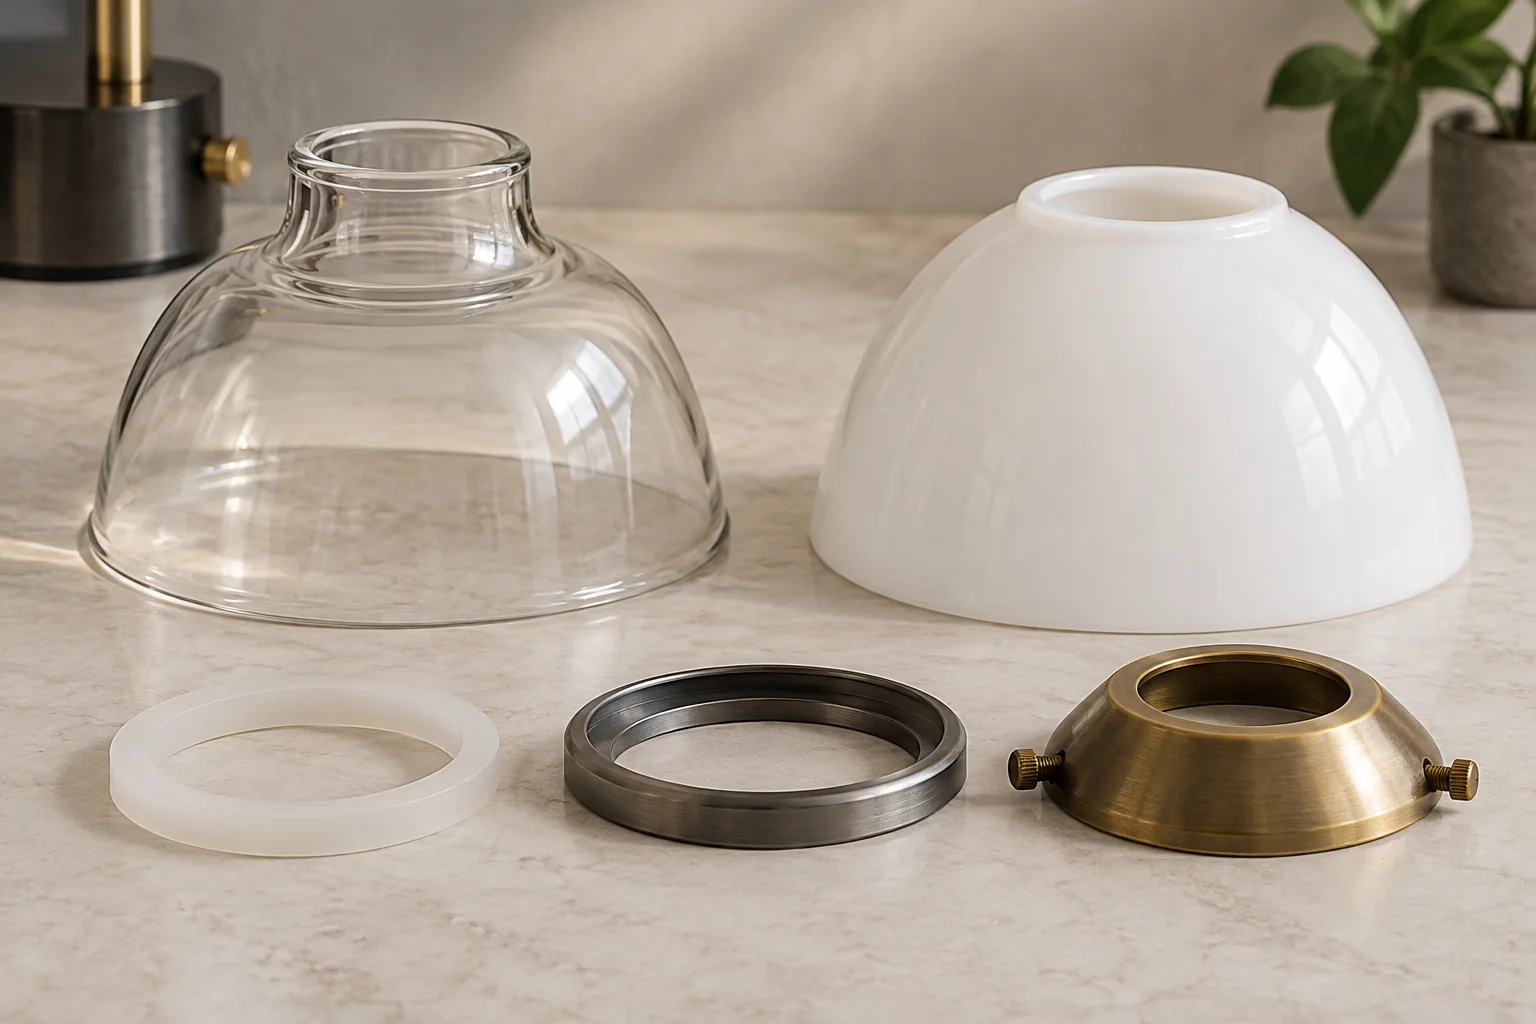
Retain the proposed part references with the trial record. If a gasket is specified, ask the responsible designer to define its material, location and permitted compression in that fixture. Do not add one merely because a glass-to-metal interface appears tight or noisy.
Catalog names also need care. The Grand Brass four-inch holder listing gives the holder designation and glass-opening references separately, but its description contains conflicting opening values. Resolve that discrepancy with the supplier before selecting mating glass. An approved drawing or confirmed sample is a stronger purchasing reference than the nominal product name.
Measure assembly speed with a common start and finish
A useful trial compares accepted outcomes under stated conditions. Agree on what the operator receives at the start and what must be checked before the timer stops. If one kit arrives partly assembled while the other arrives as loose components, disclose that difference instead of attributing the whole time difference to the glass shape.

Use a blank record with the following fields for each attempt:
- Configuration: glass, holder, interface parts, instructions and revision.
- Trial conditions: operator, fixture position, workstation support and tool arrangement.
- Start boundary: the exact supplied condition and first timed action.
- Finish boundary: the completed checks that define an accepted assembly.
- Observed work: preparation, alignment, securing and inspection time where recorded.
- Exceptions: interrupted attempts, rejected components, adjustment and rework.
Give operators comparable familiarity with both instructions. Observe more than one representative attempt, retain the individual records and note the order of the trials. The project team should choose a trial size that suits its decision; this article does not prescribe a universal sample count.
Report successful assembly times alongside the number of attempts and the disposition of exceptions. If setup or sorting is excluded, state that exclusion. A fast best attempt is useful as an observation, but it does not establish the workload expected across a production order.
Use acceptance results to interpret the time
Before the trial, agree on the checks required at the finish. Depending on the fixture, these can include the intended seated position, correct retaining components, light-source clearance and absence of handling damage. Engineering acceptance criteria must come from the project, not from the stopwatch operator.
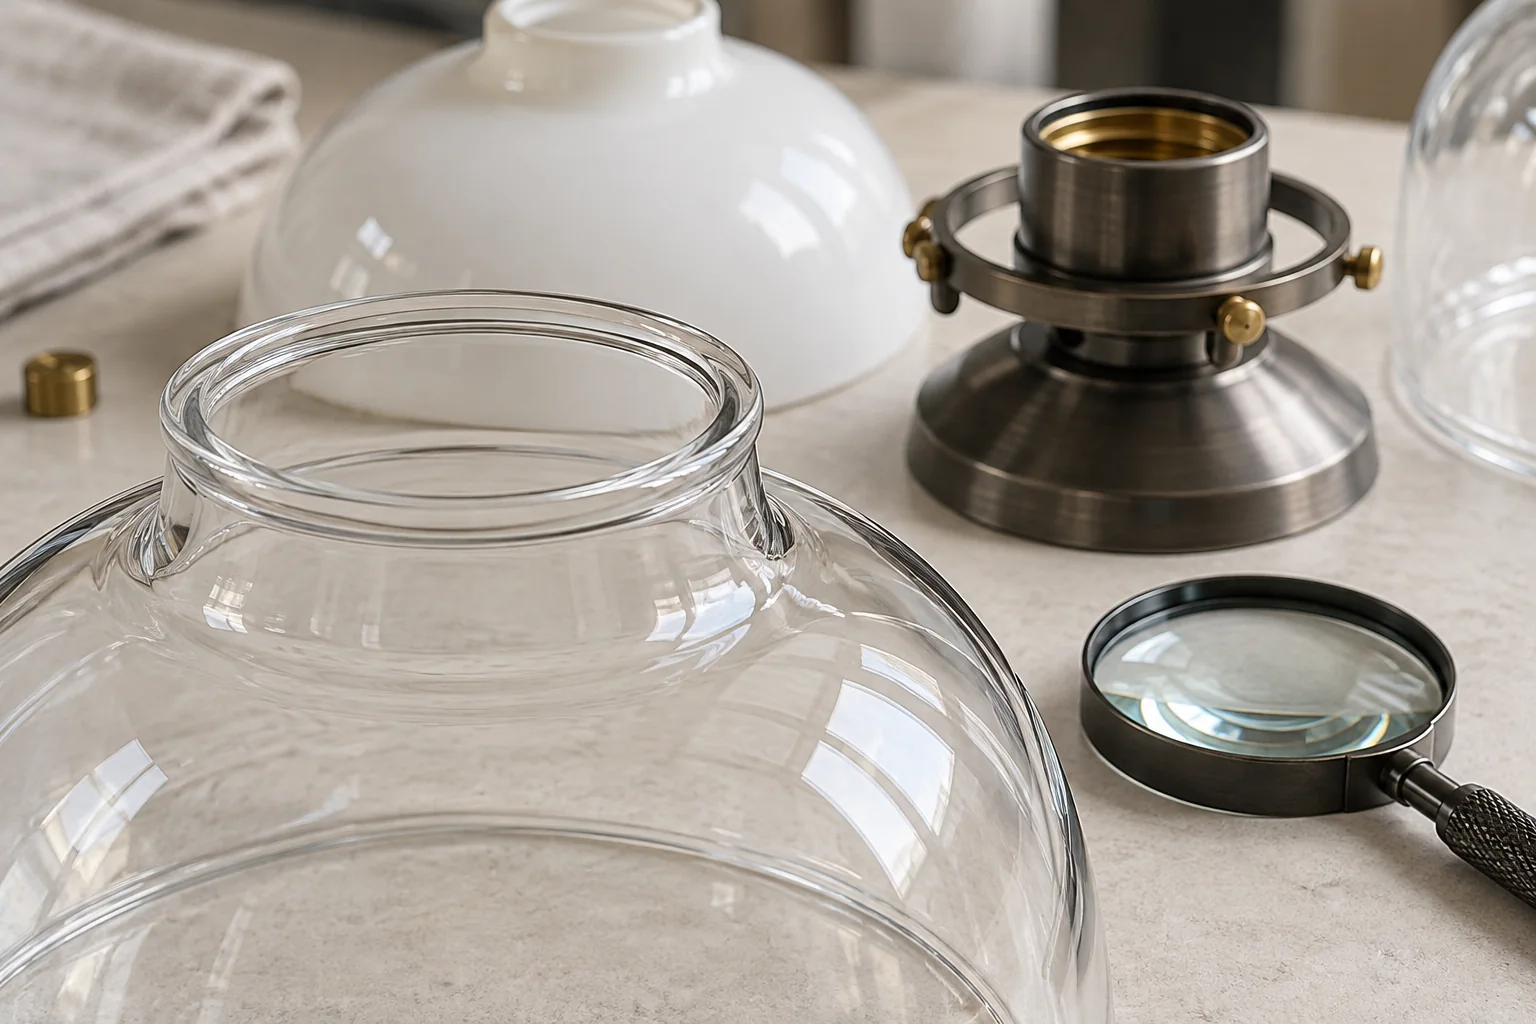
Consider a hypothetical comparison: one arrangement closes quickly but requires frequent reopening to correct a misplaced ring. The other takes longer on the first pass and needs fewer adjustments. Find where the extra work occurs, then review whether the design or work instruction can address it. Do not publish a claimed percentage improvement without the actual trial conditions and results.
Separate a component defect from an assembly-method problem when recording the reason for rejection. Keep rejected attempts visible. Otherwise, the apparently faster option may simply be the one whose incomplete or unsuccessful work was left out of the report.
Apply different review conditions to home and outdoor fixtures
Home, hospitality and decorative lighting
For an indoor pendant, wall light or table fixture, compare appearance and service access alongside the retaining arrangement. A clean neckless outline may support the intended visual design, while an existing necked gallery may preserve a replacement program’s hardware. Neither consideration overrides a confirmed fit and the fixture manufacturer’s requirements.
For repeated rooms or multi-light fittings, review how installers identify the correct parts and keep removed glass protected during service. Consistent kits and clear component references can be a practical purchasing objective even when no measured assembly-time advantage has been established.
Street, pedestrian and other outdoor lighting
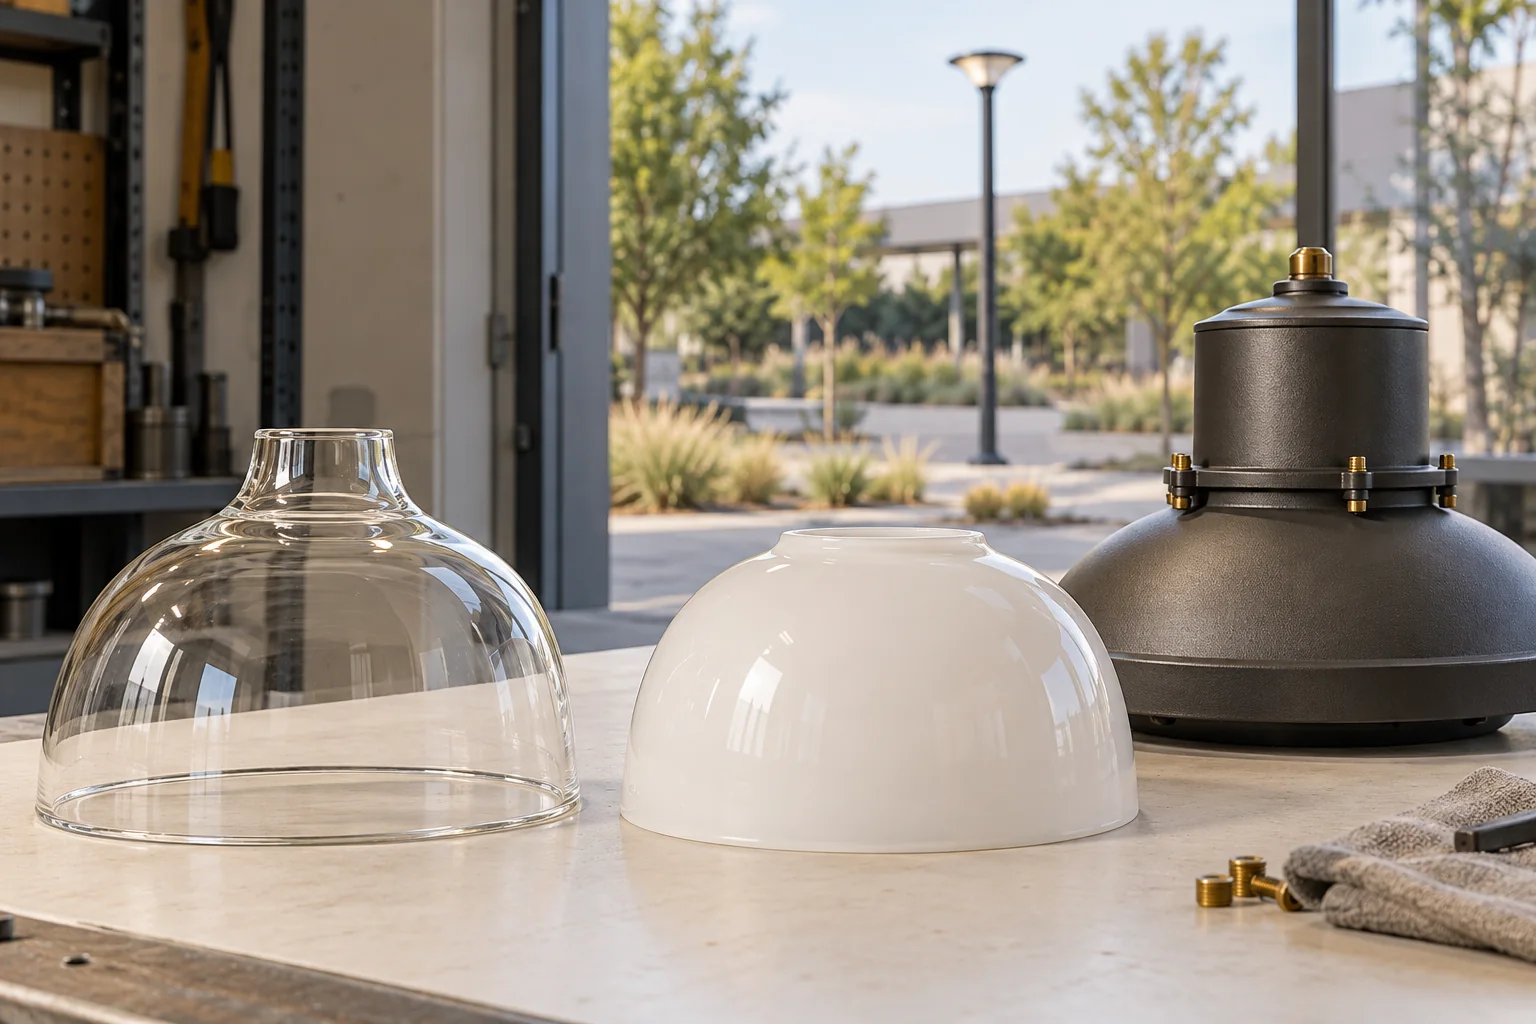
A successful indoor assembly trial does not approve an outdoor fixture. Ask the fixture supplier to identify the intended location, orientation, environmental conditions, mounting requirements and maintenance procedure. Review the complete enclosure, sealing arrangement and retaining design with the appropriate project evidence.
UL Solutions describes outdoor luminaire evaluation in terms of the applicable fixture requirements, including wet-location requirements for line-voltage luminaires. An isolated glass opening does not establish that evaluation. Do not infer street-light suitability, an ingress rating or resistance to outdoor service conditions from the words “necked” or “neckless.”
Approve a repeatable kit for purchasing and maintenance
Once a candidate assembly is accepted, make the order identify the glass and its approved mating components. Record which party supplies the holder, gasket, fasteners and instructions. A glass-only quote should not be mistaken for an offer to supply or certify the complete fixture.
Keep a physical reference assembly or an agreed sample record where practical. For replacements, identify whether a new glass shade can be used with the existing hardware or whether the kit must be changed together. A revised cover, ring or opening can require another assembly review even when the visible shade body is unchanged.
The purchasing decision should state the remaining conditions: sample approval, hardware availability, drawing revision and any fixture-level checks still required. Confirm production tolerances, order quantity, lead time and packing with the supplier for the actual project; those values cannot be derived from the fitter name.
Questions buyers ask about necked and neckless assemblies
Is a neckless glass shade always quicker to assemble?
No universal speed advantage follows from the opening shape. The complete holder, supplied kit condition, handling and acceptance checks determine the work. Compare the proposed combinations with recorded trials.
Can a neckless globe replace a necked shade on the same fixture?
Only when the fixture’s approved hardware and instructions support that replacement. A similar outside diameter does not establish the required support, retention or removal path.
Does a four-inch fitter name mean a four-inch opening?
Check the product definition and drawing. A nominal holder designation can differ from its specified glass opening. Identify the measured feature instead of applying one catalog’s convention to another supplier’s parts.
Are all neckless holders suitable for horizontal use?
No. Orientation depends on the retaining design and its documented limits. The supplier example discussed above is restricted to vertical use; it does not approve a different orientation or another holder.
Can the same comparison be used for street-light glass?
The assembly-work method can inform a review, but outdoor suitability needs separate evidence for the complete fixture. A short bench trial cannot establish its environmental or service performance.
Should bulb replacement be included in assembly time?
Record it as a separate service trial with its own boundaries. Initial production work and later maintenance answer different purchasing questions and should remain identifiable in the report.
What should an OEM send for a neckless glass lamp shade fitter review?
Send the proposed holder or a controlled drawing, glass opening profile, installed orientation, intended light source, supplied-kit contents and service-access requirements. Include samples when dimensions alone leave the contact or release mechanism uncertain.
Choose the assembly that fits the documented job
Start with compatibility and permitted use. Then compare handling, accepted assembly time, service access and purchasing continuity. Keep a candidate out of the final speed comparison while its retaining method or use conditions remain unresolved.
A necked system may suit an existing gallery and service program. A neckless system may better meet the intended appearance and installation needs when its retaining arrangement is approved. The evidence should identify the successful combination and its conditions, rather than award a permanent advantage to one glass shape.
Send the glass and holder requirements for a project review
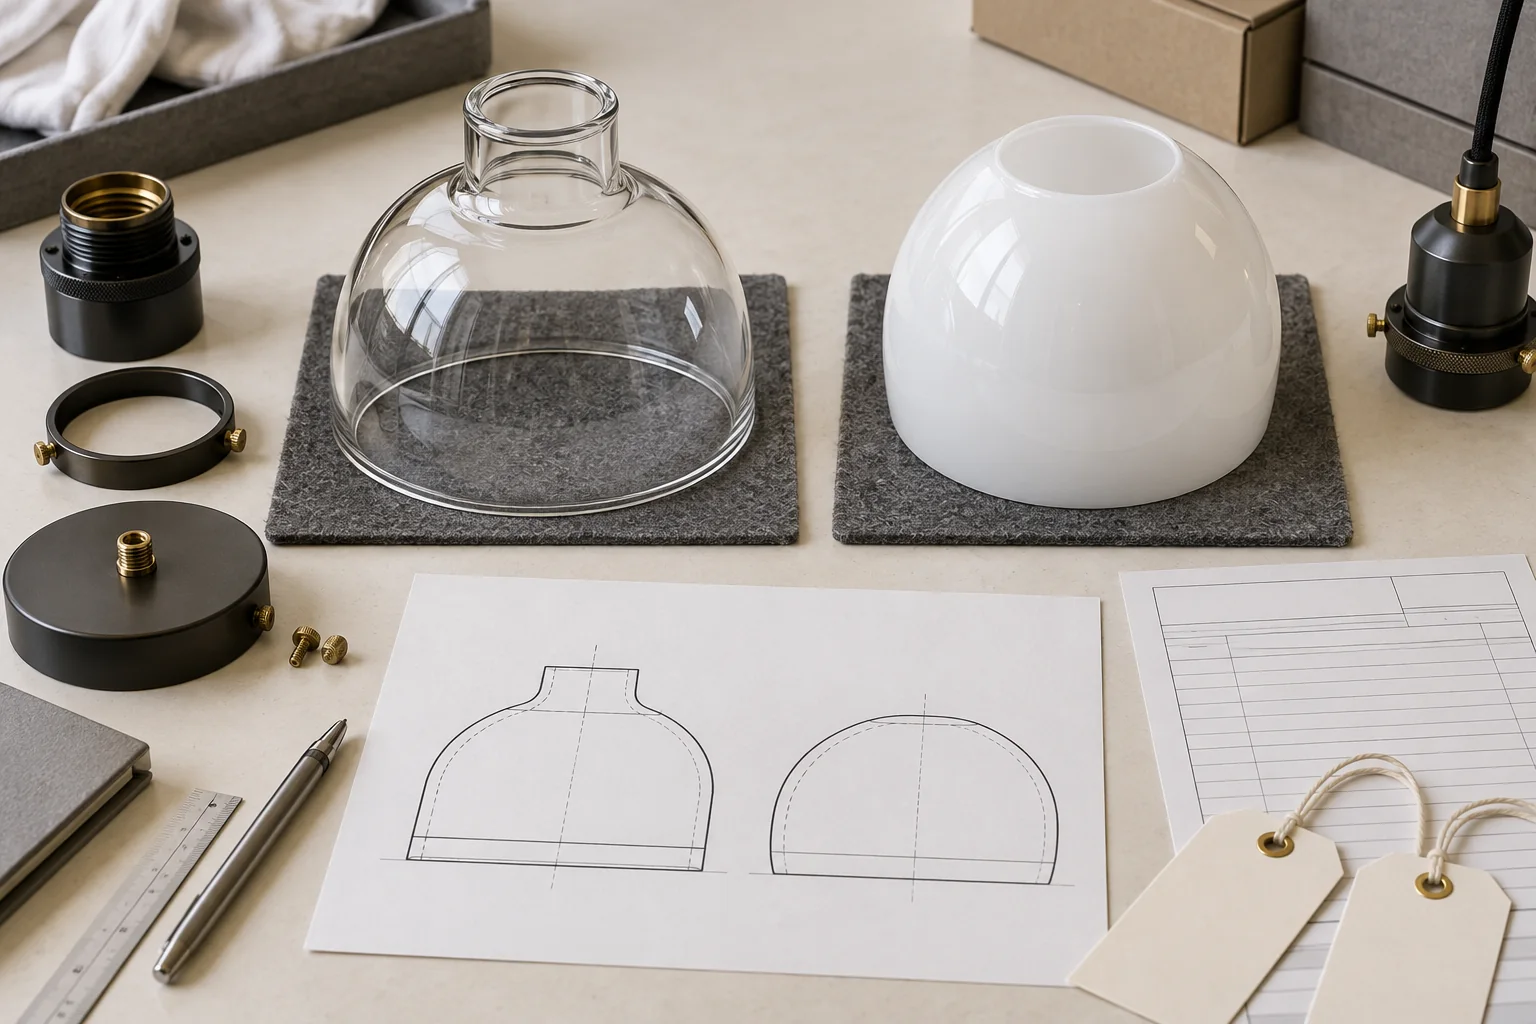
JX’s mouth-blown glass shade range is relevant to decorative profile development. For a necked or neckless proposal, begin with the glass component and the hardware it must meet. Use a controlled technical drawing to identify the opening, contact features and revision rather than relying on a front-view photograph.
Include the complete holder reference, installation orientation, component supply responsibilities, intended application, sample quantity and expected order quantities. Add any recorded assembly difficulty or service-access constraint. Ask for the proposed sample-review route and confirm the scope of glass production, hardware supply and fixture-level approval in the quotation. A compatibility review must precede any claim of faster assembly.