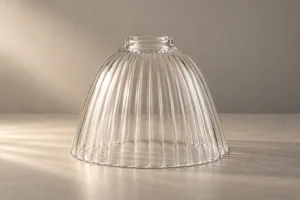
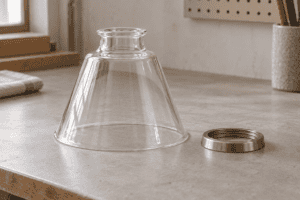
A narrow line on a molded glass lamp shade can be easy to misread. One buyer calls it a crack. Another assumes every visible line is acceptable because the part was pressed. A drawing may not mention the line at all, leaving the factory to place and finish it without knowing which side of the fixture faces the room.
The better approach is to treat a mold seam as a controlled manufacturing and appearance feature. Its location, height, continuity, finish, and visibility can matter, but the acceptance rule must match the forming process, surface treatment, installed orientation, and approved sample. A seam is not automatically a defect, and a smooth surface is not proof that no multi-part mold was used.
This guide explains how glass lamp shade mold seams and parting lines arise, how to describe them without vague language, and how to inspect a sample before an OEM order. It does not set a universal seam limit. The supplier must confirm what its mold, glass, finishing route, and inspection method can hold for the actual design.
Start with the right seam terminology
People use mold seam, parting line, mold line, and seam mark as if they always mean the same thing. They overlap, but a useful inspection record separates the tool location from the mark left on the glass.
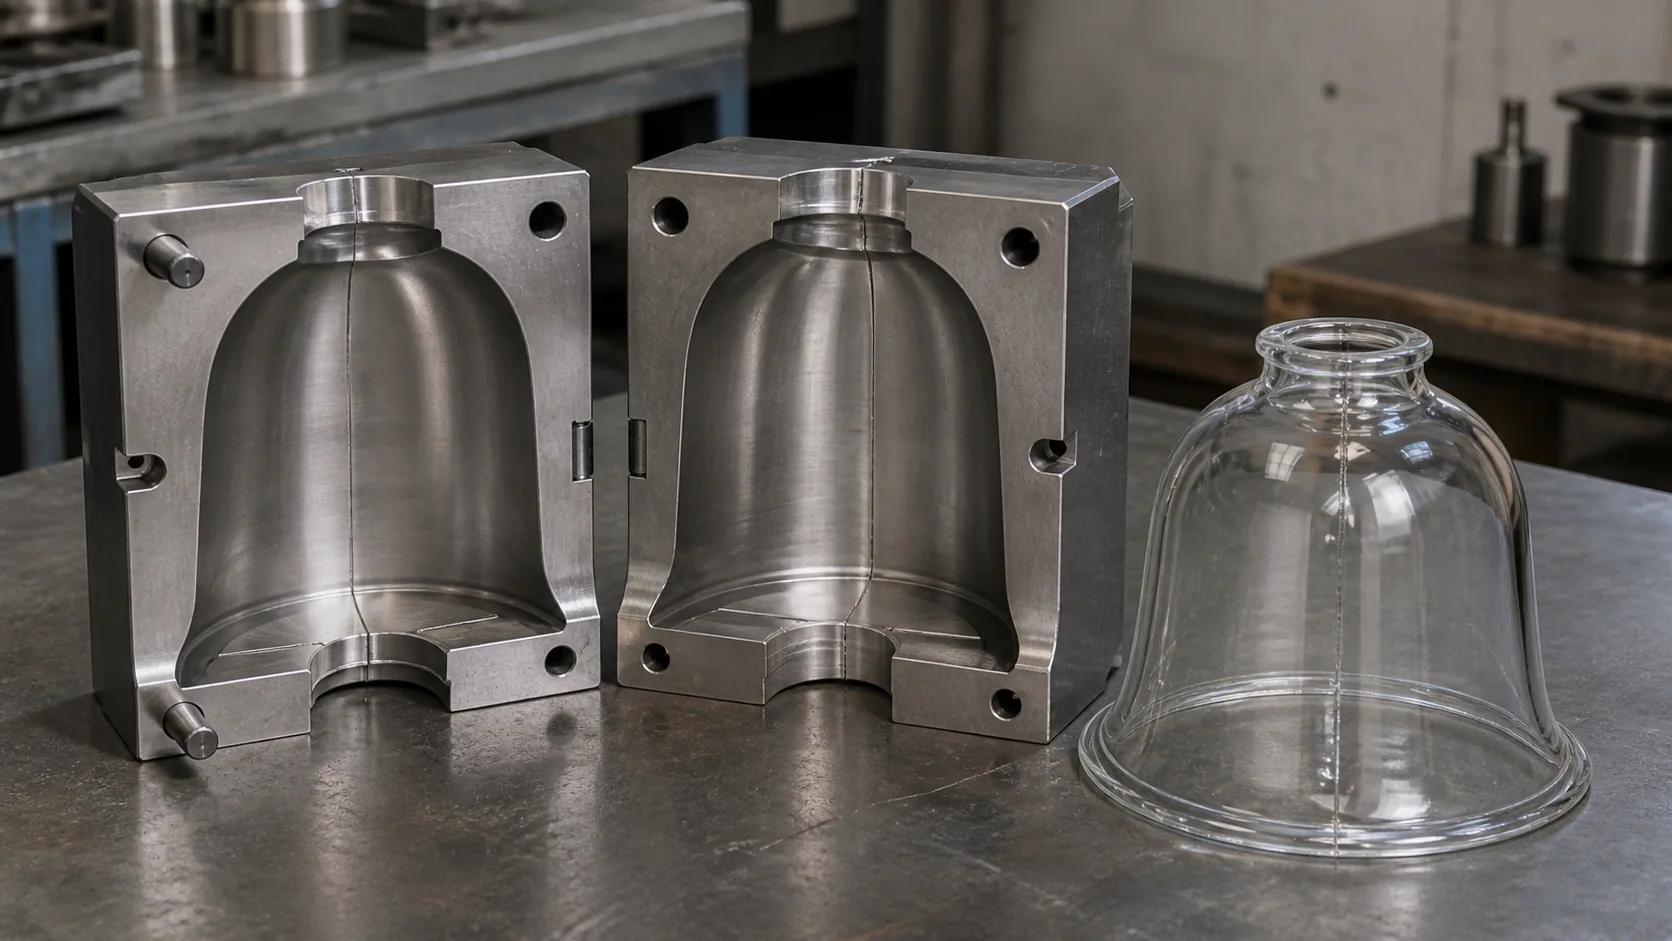
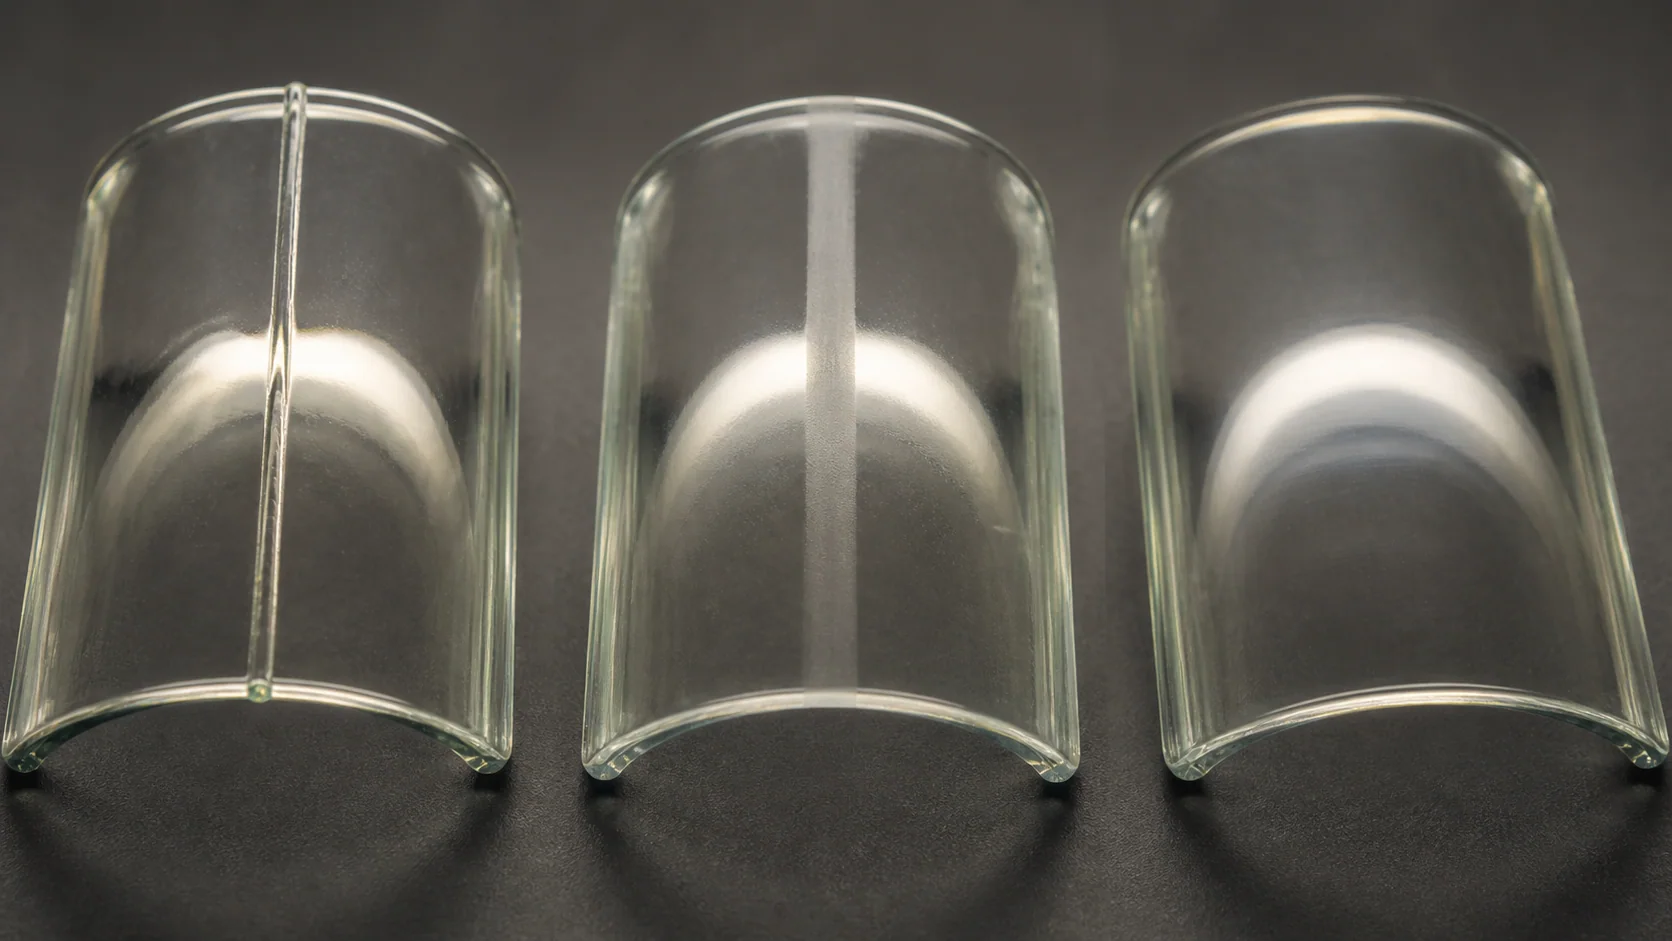
The Corning Museum of Glass definition of a seam mark describes a slight, narrow ridge that indicates mold-made glass. It explains that molten glass can enter small gaps where mold parts join and that grinding or fire polishing may smooth the resulting mark. Corning also notes that a full-size mold commonly has two or more parts that open so the object can be removed.
For a buyer's drawing and quality plan, use the terms this way:
| Term | Practical meaning for a shade project | What to record |
|---|---|---|
| Mold parting line | The intended boundary where mold sections meet | Location around the shade and relationship to features |
| Mold seam or seam mark | The ridge, line, offset, or texture visible on the formed glass | Appearance, continuity, finish, and inspection condition |
| Flash or fin | Thin excess material extending from the join | Whether it is removed and the permitted finished condition |
| Mismatch or offset | A step where the two sides do not align cleanly | Functional and cosmetic limit at the affected zone |
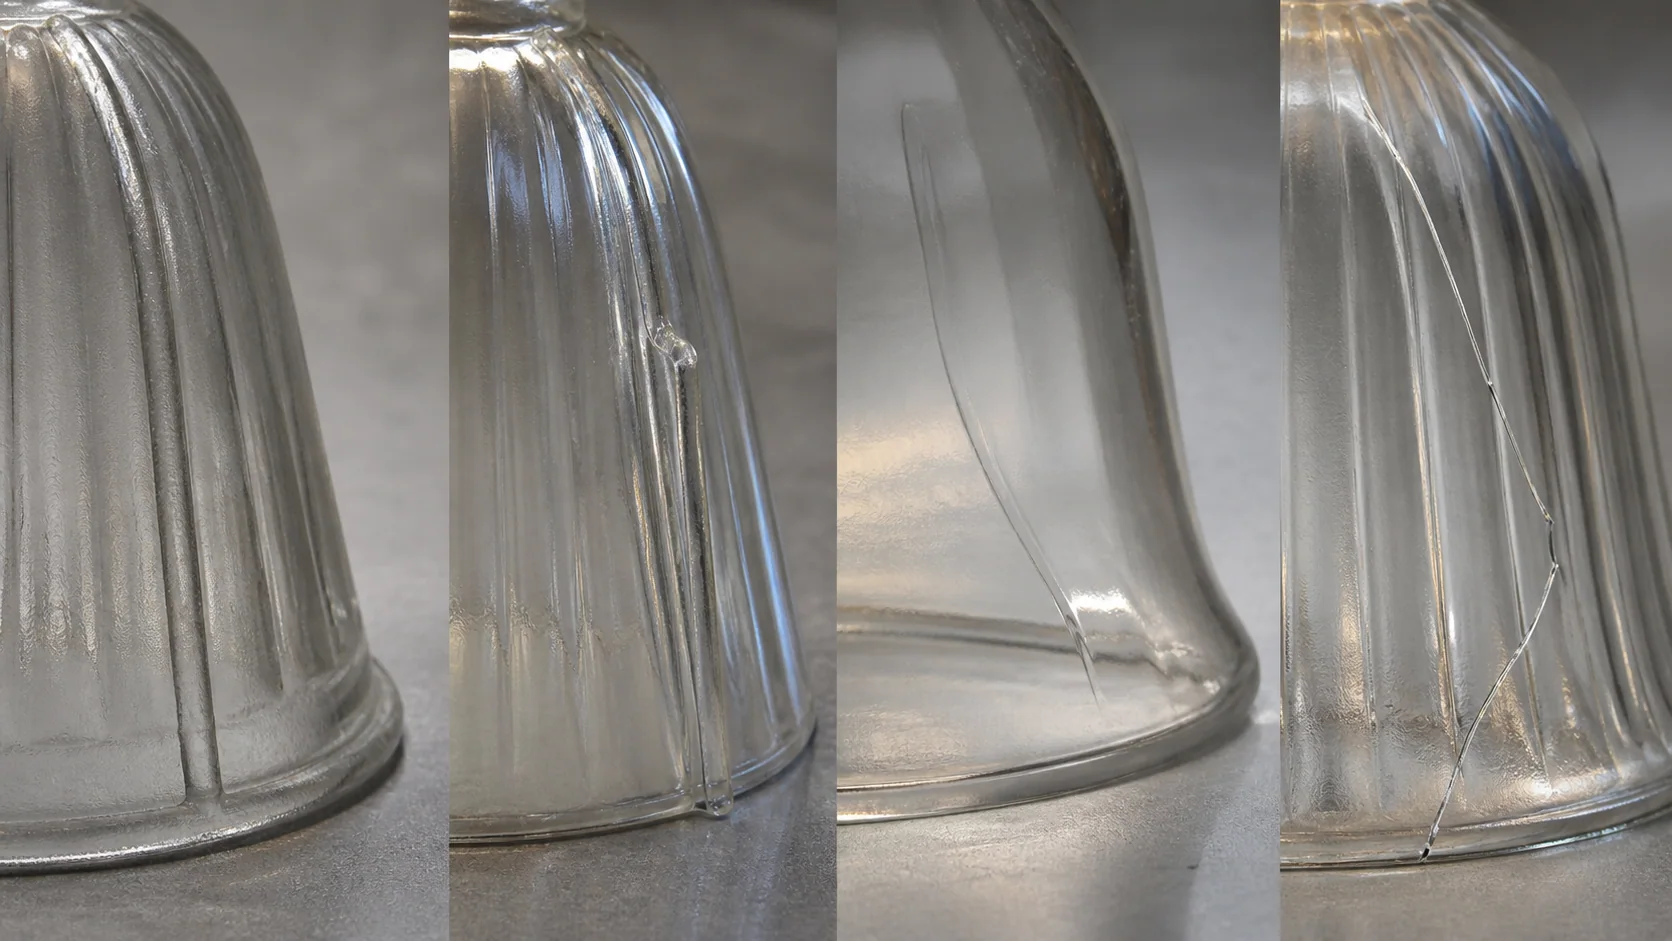
| Flow or chill mark | A surface line produced by glass movement or cooling, not necessarily the mold join | Separate classification and approved reference |
| Crack or check | A fracture that requires a different safety and disposition process | Isolation, technical review, and rejection rule |
Do not label every line a crack from a photograph. Equally, do not relabel a sharp crack as a harmless seam because it lies near a mold join. If the condition cannot be classified under agreed light and magnification, quarantine the piece and have qualified production or quality staff examine it.
Why a mold seam appears on a glass shade
A mold must open or release the formed shade. When two or more tool sections close around hot glass, their joining boundary creates a potential line on the product. Small gaps, wear, contamination, temperature differences, alignment, glass distribution, and forming pressure can all influence what appears at that location.
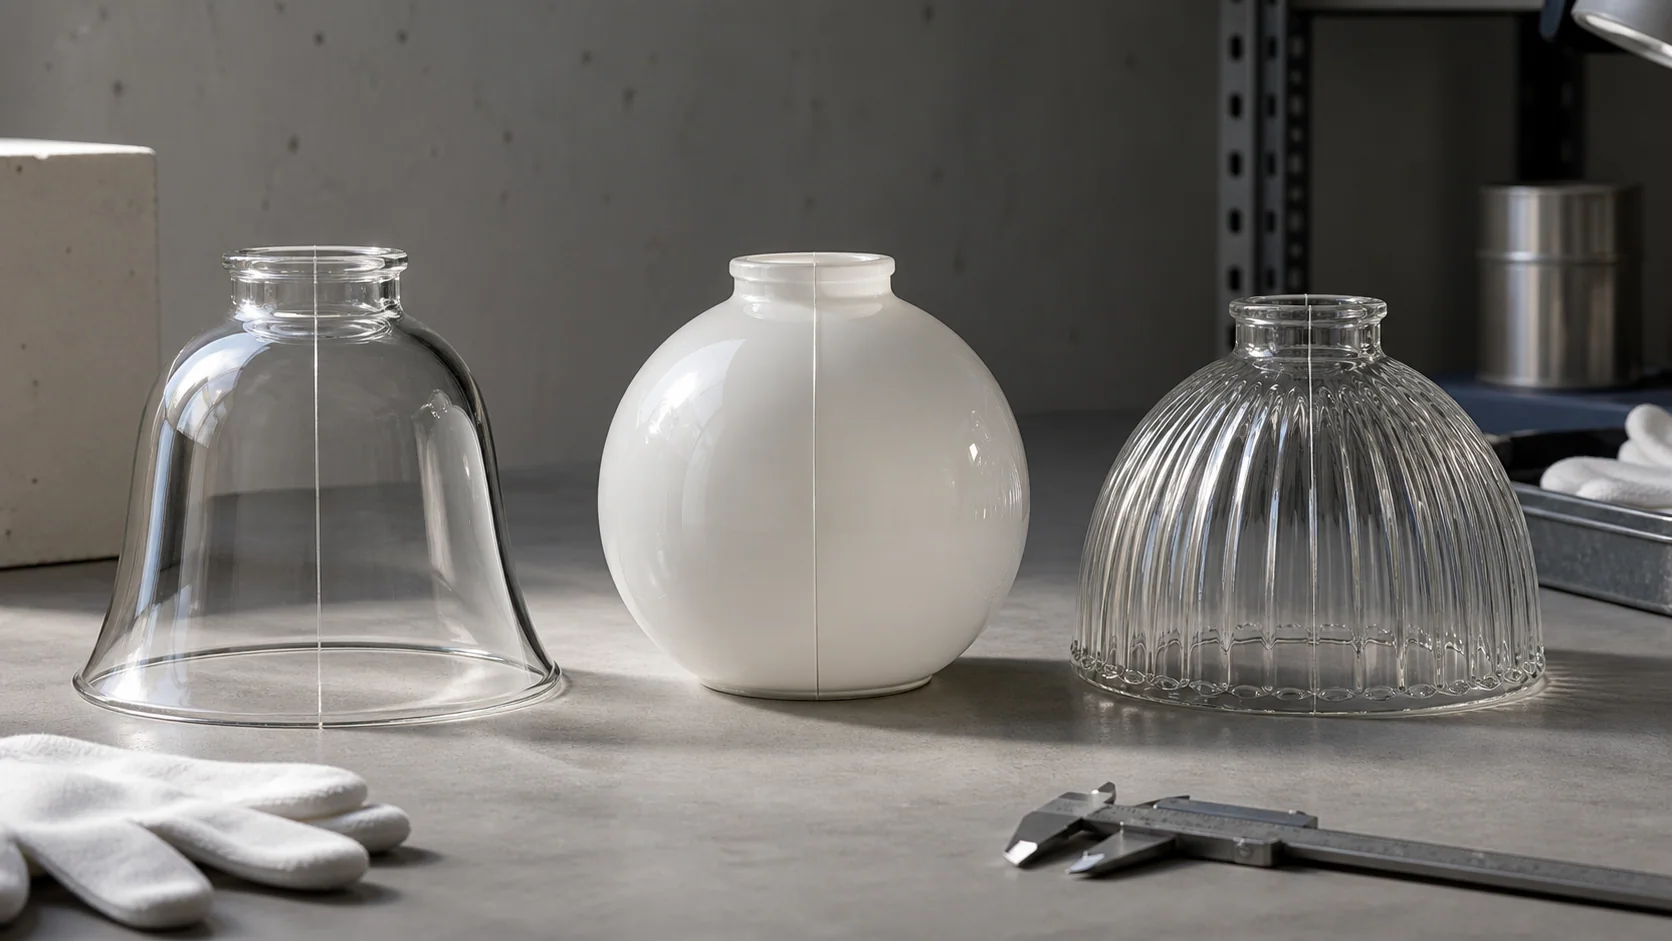
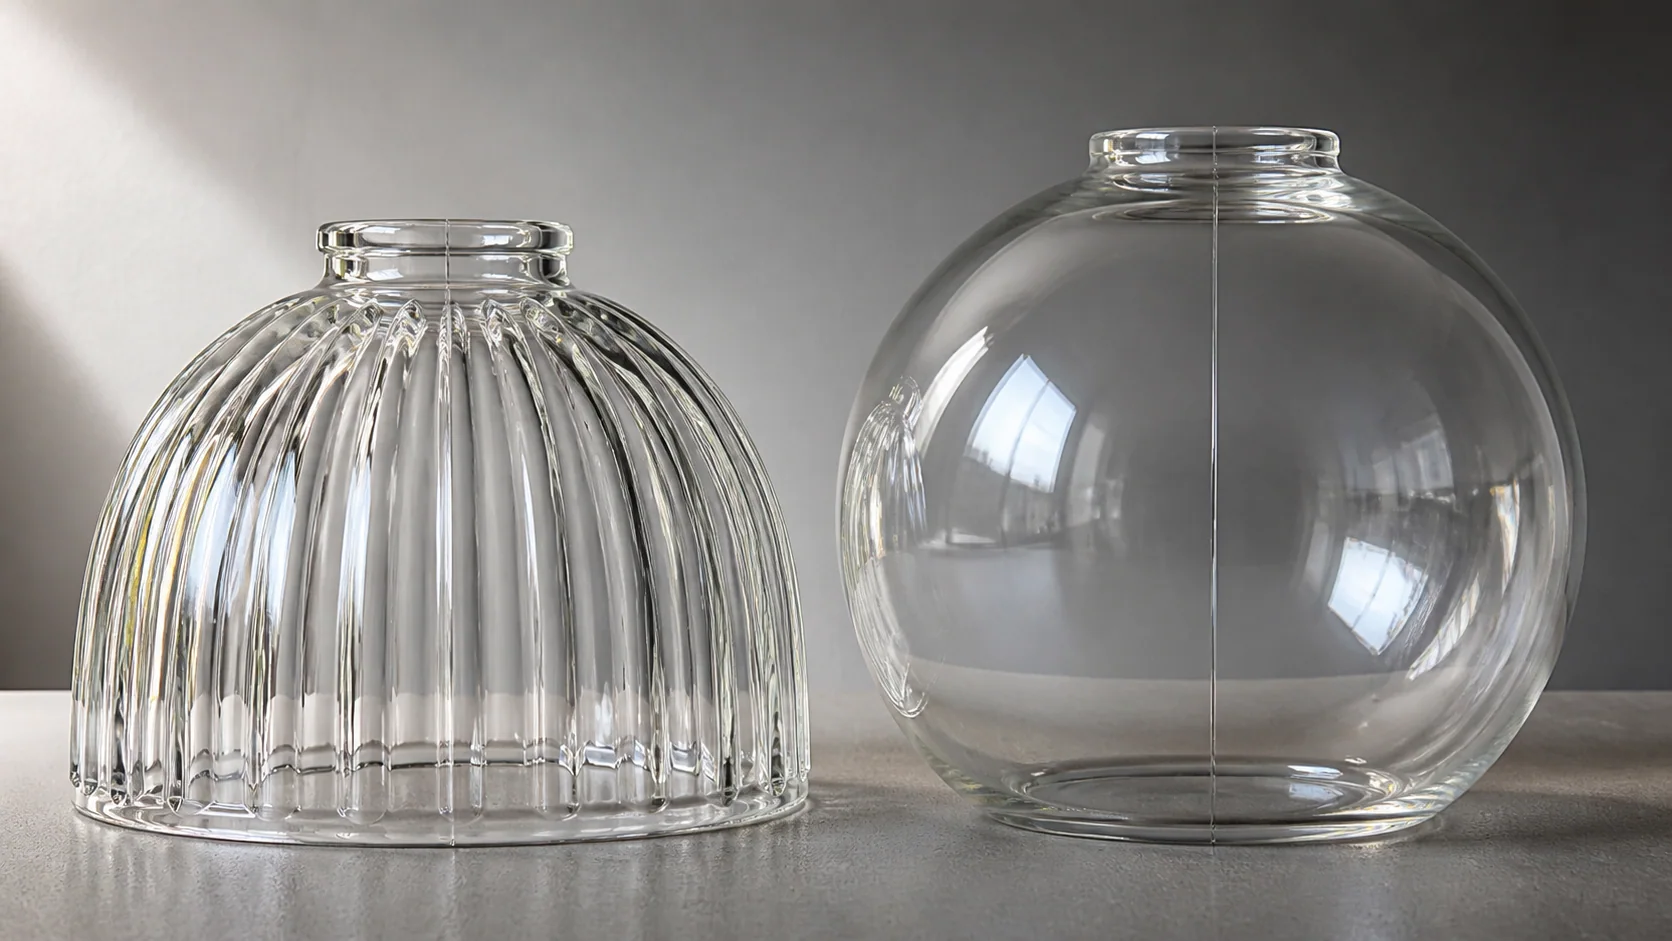
That does not mean the seam will look identical along the whole profile. A bell shade may show a stronger line near a change in curvature. A globe can make the line more visible where transmitted light passes through a thicker local wall. A patterned shade may hide most of it inside ribs but expose it at a smooth neck or rim.
The line seen after forming is also not necessarily the line delivered after finishing. Excess material may be trimmed, ground, polished, or softened with heat. A coating, frosting treatment, or decorative texture can make the remaining transition less visible or, under certain lighting, more obvious.
Molded does not describe one process
Pressed glass and mold-blown glass both use molds, but the glass contacts the tooling and develops its final wall differently. Even within one route, the mold construction, number of sections, pattern depth, glass composition, part geometry, and finishing sequence can change the seam result.
Use the machine-pressed glass lamp shade page when the project needs a process and sourcing overview. For seam control, ask the supplier to identify the exact forming route proposed for the part rather than accepting a broad label such as “molded glass.”
The Bucher Emhart Glass defect guide provides useful manufacturing vocabulary for seams produced where mold equipment joins. Its examples concern glass containers, not lamp shades, so they should not be copied into a shade specification as ready-made defect limits. The transferable lesson is simpler: name the join, define the required standard, and inspect the actual tool and product against that standard.
Decide the seam location before tooling is approved
Parting-line placement is both a release decision and a product-design decision. The mold maker needs a workable split, while the lighting designer needs to protect visible surfaces, optical patterns, mounting interfaces, and decorative alignment.
Mark a seam-location zone on the drawing. A controlled zone is more useful than “hide seam” because it tells the supplier where the line may run and where it must not wander. Review the zone in three contexts:
- The bare shade in the inspection fixture.
- The shade assembled with its holder, cap, screws, and trim.
- The complete fixture in its normal orientation and viewing position.
The visually quiet location may be the rear of a wall light, the side facing a stem, the underside of a low pendant, or a vertical rib. It is not always the shortest or easiest tool split. Ask the mold designer to return the proposed split on the drawing before steel or graphite is cut.
Give rotational products an orientation datum
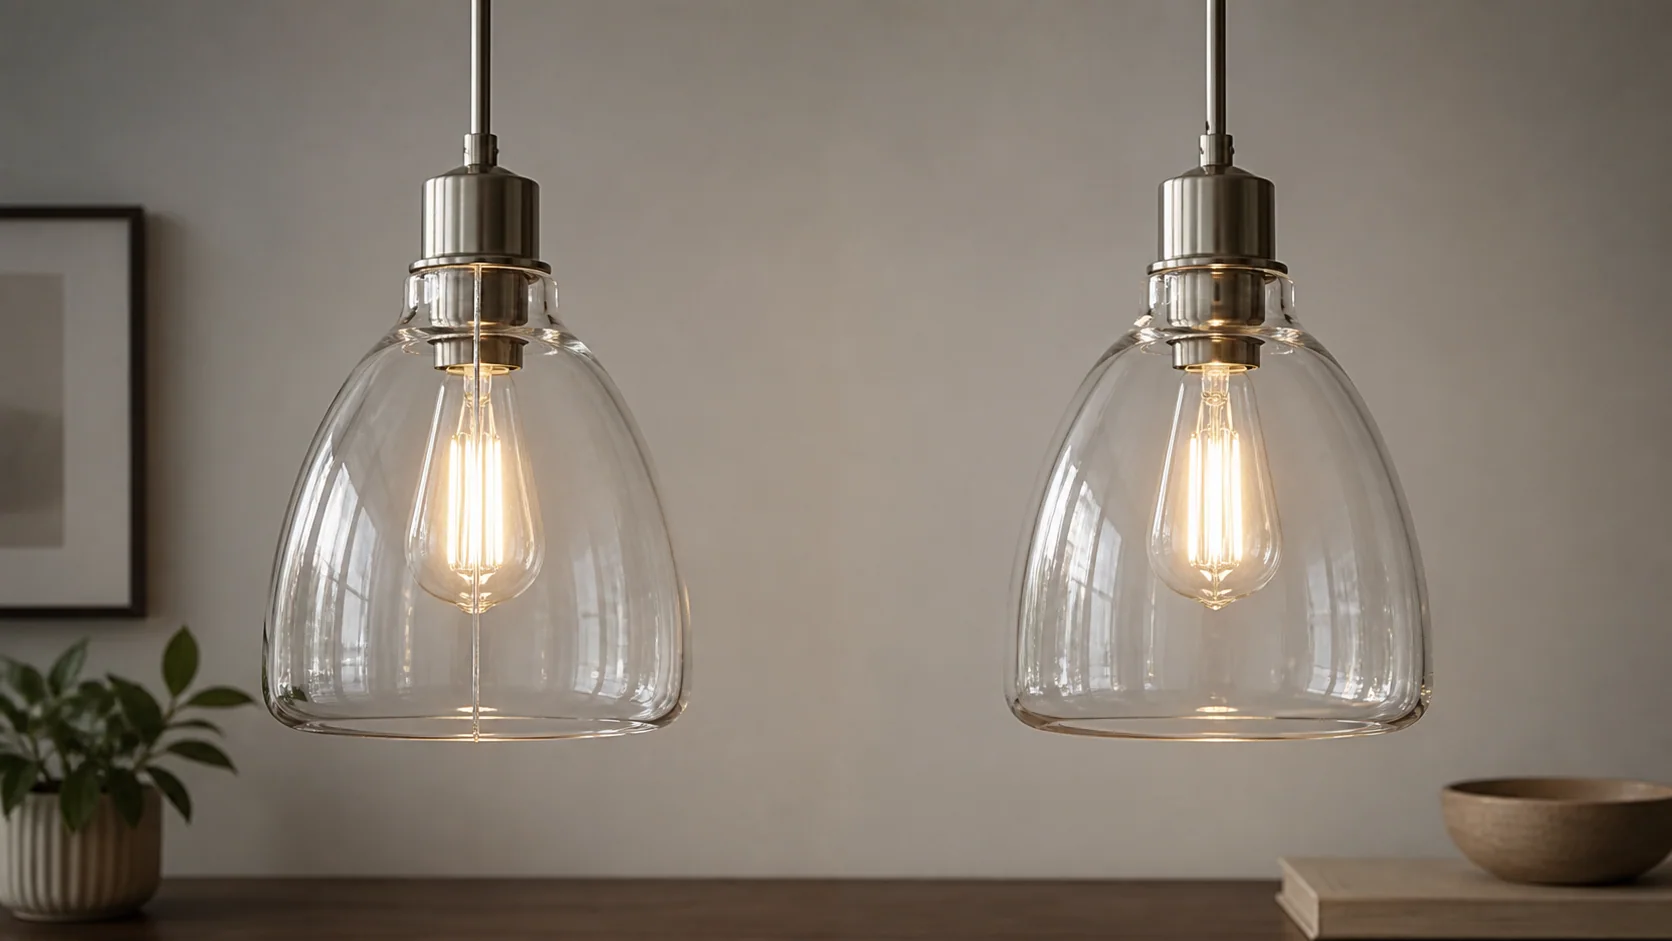
A round shade has no obvious front unless the drawing creates one. Add a datum tied to a mounting hole, cable exit, printed decoration, asymmetric fitter feature, wall plate, or other repeatable reference. Then define the seam angle or permitted zone from that datum.
Without an orientation reference, “put the seam at the back” cannot be inspected. The assembler may rotate the shade, or the shade may seat at a different angle in the production holder. If the final fixture allows free rotation, the seam may need an appearance standard that works at every orientation rather than a hidden-side rule.
Use pattern and geometry deliberately
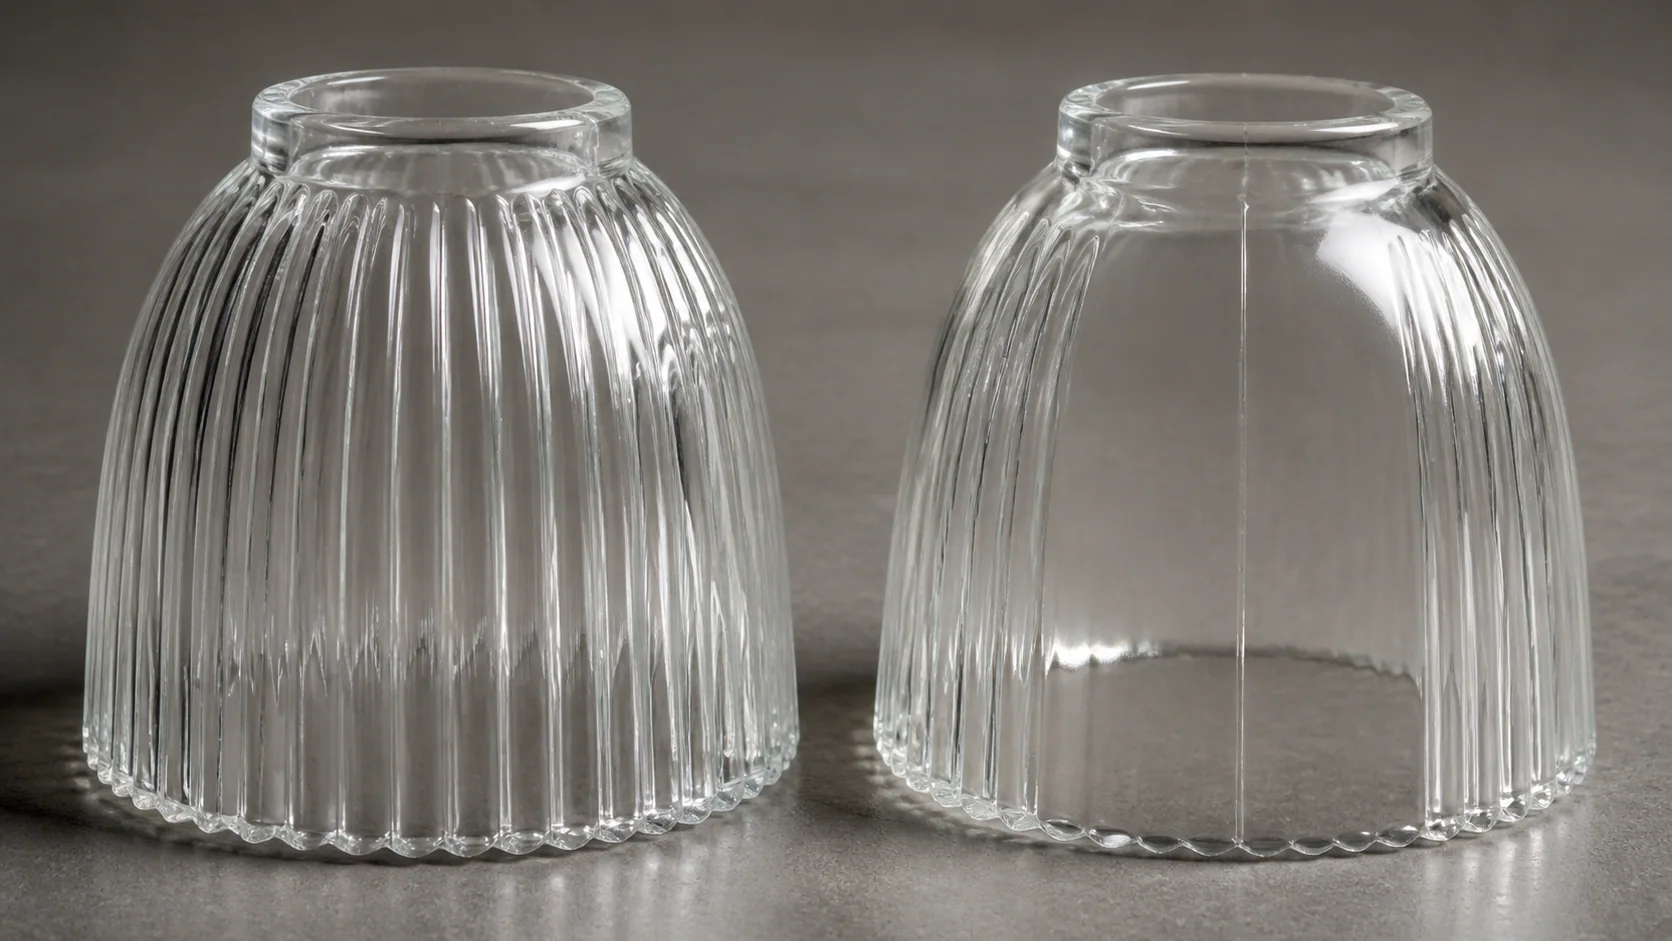
Ribs, flutes, panels, facets, and relief patterns can give a seam a logical path. Aligning the parting line with a vertical rib may reduce visual interruption and make minor finishing variation less conspicuous. Placing it through the center of a smooth optical panel can do the opposite.
Pattern alignment still needs tool review. A seam routed through a deep feature can be harder to trim or polish. A mismatch across a repeating pattern may attract more attention than a narrow line on a plain surface. At the transition between a patterned body and smooth neck, the appearance standard may need two zones.
| Shade zone | Typical concern | Drawing or approval action |
|---|---|---|
| Smooth optical panel | Line visible through reflected or transmitted light | Keep seam outside the panel or define a strict visual sample |
| Vertical rib or flute | Pattern can visually absorb the seam | Align centerline and control rib mismatch |
| Decorative relief | Tool split may interrupt repeated detail | Approve pattern continuity at the join |
| Fitter neck | Holder may conceal the line, but fit still matters | Control flash, offset, and hardware clearance |
| Open rim | Seam may intersect a ground or fire-finished edge | Coordinate seam and rim-finishing sequence |
| Coated or printed area | Surface treatment may reveal a ridge or alignment change | Inspect after the final decorative process |
The glass lamp shade technical drawing checklist covers the wider drawing package. Add seam location, orientation datum, visual zones, and finish callout as controlled notes rather than leaving them in an email.
Judge seam visibility on the actual finish
Clear, opal, frosted, colored, coated, and textured glass do not reveal the same line in the same way. Clear glass can show a ridge through reflection, refraction, or background distortion. Opal glass may hide the tool surface when unlit yet reveal a vertical brightness change when illuminated. A matte finish can soften reflection while making a raised line easier to see under raking light.
Do not approve the seam on a clear sample if production will be opal or coated. Do not approve it before a final frosting, paint, metallization, or decorative application that crosses the parting line. Surface preparation and coating thickness can change how the transition reads.
Color also changes the inspection problem. Smoke glass can conceal a line against a dark bench and reveal it against a bright wall. Amber may look uniform in room light but show a local optical change around an exposed filament lamp. Use the intended finish and representative backgrounds during approval.

Specify the finished condition, not a vague promise
“No mold line,” “seamless,” and “perfect surface” are weak production instructions unless the supplier has confirmed a process that makes the result measurable and repeatable. A better note describes where the seam may occur, what finishing is applied, how it is viewed, and which reference controls acceptance.
Possible finished conditions include:
- as-formed, with an approved seam profile;
- trimmed to remove projecting flash;
- locally ground to reduce the ridge or offset;
- polished after grinding where the surface and process allow it;
- fire-smoothed as part of a validated finishing sequence;
- concealed by fixture hardware, provided fit and clearance remain controlled.
Each option has a tradeoff. Grinding can change local gloss or geometry. Fire finishing can soften detail or alter a nearby surface. A hidden seam can still interfere with a retaining ring or gasket. The supplier should explain the proposed sequence and show the result on the correct glass and finish.
The glass lamp shade edge finishing guide discusses fire-polished, ground, and seamed rims. A body seam is a different feature, but the same discipline applies: state the finished condition and inspect it after the final operation.
Build a repeatable visual inspection setup
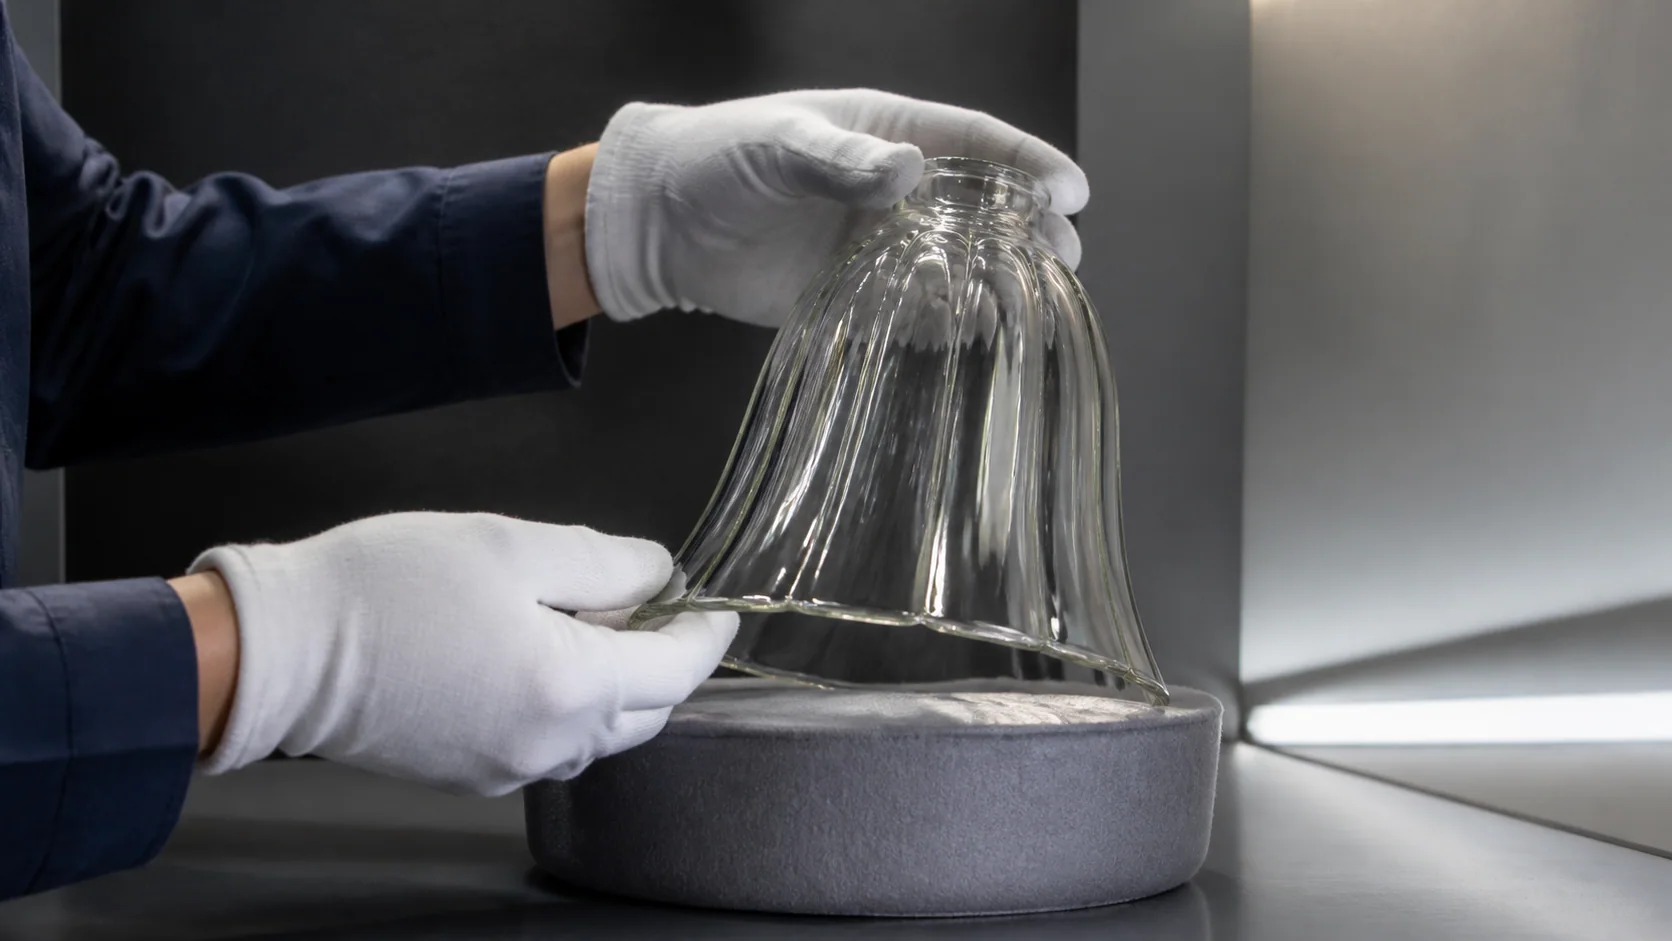
Cosmetic approval fails when one person checks a shade beside a window and another checks it under a bright bench lamp. Define enough of the viewing method that the supplier and buyer can reproduce the decision.
Include:
- the shade orientation and installation direction;
- whether the shade is inspected unlit, lit, or both;
- the light type and direction used to reveal surface relief;
- the viewing background;
- the normal viewing zone or representative fixture position;
- whether raking light is a detection aid or the actual acceptance condition;
- the approved master, limit sample, or controlled photographs;
- the distinction between cosmetic review and crack screening.
Raking light is useful because a low-angle beam makes a small ridge cast a narrow highlight and shadow. It can reveal the seam location and finishing consistency. It can also exaggerate a condition that is invisible in service. Decide whether raking light merely helps classify the feature or whether the product must pass under that demanding view.
Check reflected and transmitted light
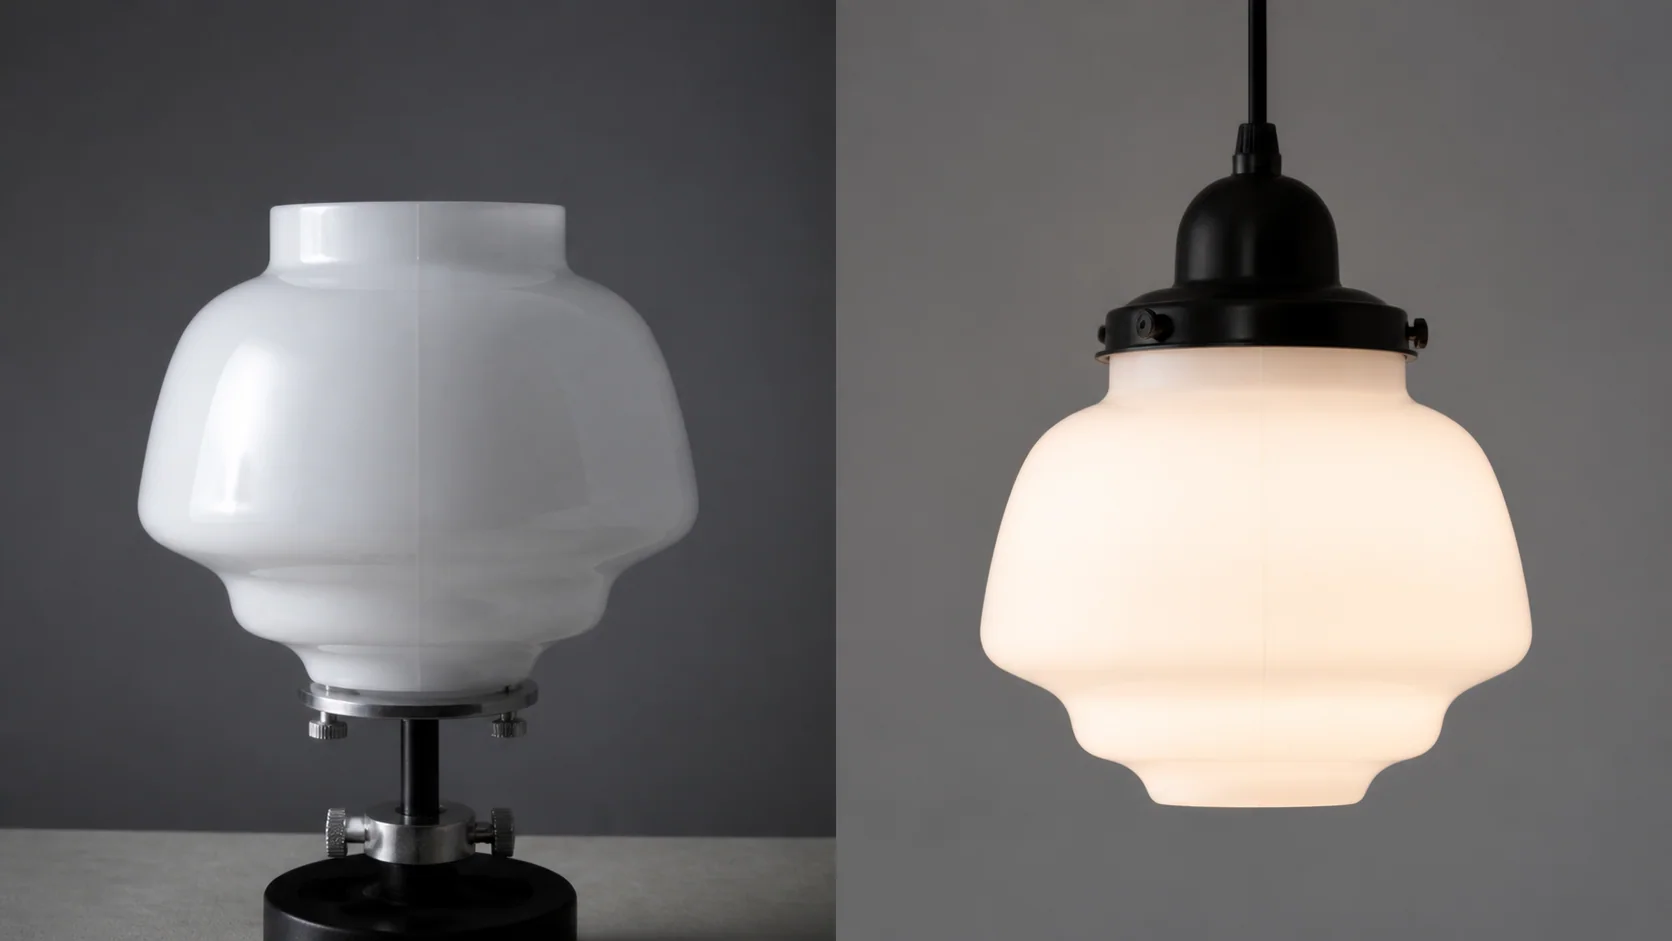
An unlit shade mainly shows surface reflection and background distortion. A lit shade adds transmitted light, internal scattering, and local brightness changes. Both views can matter for a lighting product.
Use production-intent lamp geometry and a safe light source appropriate to the fixture. The goal is not to improvise a thermal test. It is to see whether the seam becomes distracting at the installed angle and whether the decorative finish remains consistent across it.
If the project contains several shades in one chandelier or wall-light row, check them together. A seam that is acceptable on one isolated part may create an obvious vertical rhythm when every shade is installed with the line facing the room. Assembly orientation and batch consistency belong in the approval plan.
Separate cosmetic acceptance from functional acceptance
A seam can be visually acceptable and still interfere with assembly. It can also look pronounced under close inspection while having no effect on fit or normal appearance. Use separate checks so one vague pass/fail decision does not hide the reason for rejection.
| Inspection category | Questions to answer | Example control method |
|---|---|---|
| Location | Is the seam inside the approved zone and aligned to the datum? | Orientation fixture, drawing overlay, or angle gauge |
| Projection and flash | Does material protrude into a contact, handling, or visible area? | Profile reference, tactile check where appropriate, limit sample |
| Tool mismatch | Do features, ribs, or surfaces step across the line? | Raking light, profile fixture, controlled photographs |
| Optical appearance | Is the seam distracting unlit or lit in the intended fixture? | Approved viewing setup and finish-specific sample |
| Hardware fit | Does the line interfere with holder, gasket, cap, screw, or seat? | Assembly with production-intent components |
| Integrity screening | Is the observed line a stable surface feature or a fracture condition? | Qualified visual review and the supplier's technical procedure |
Do not turn a cosmetic seam limit into an unsupported safety statement. Likewise, do not accept a suspected fracture because the cosmetic line is within the approved zone. Define who has authority to classify and disposition unclear conditions.
Approve a master and useful limit samples
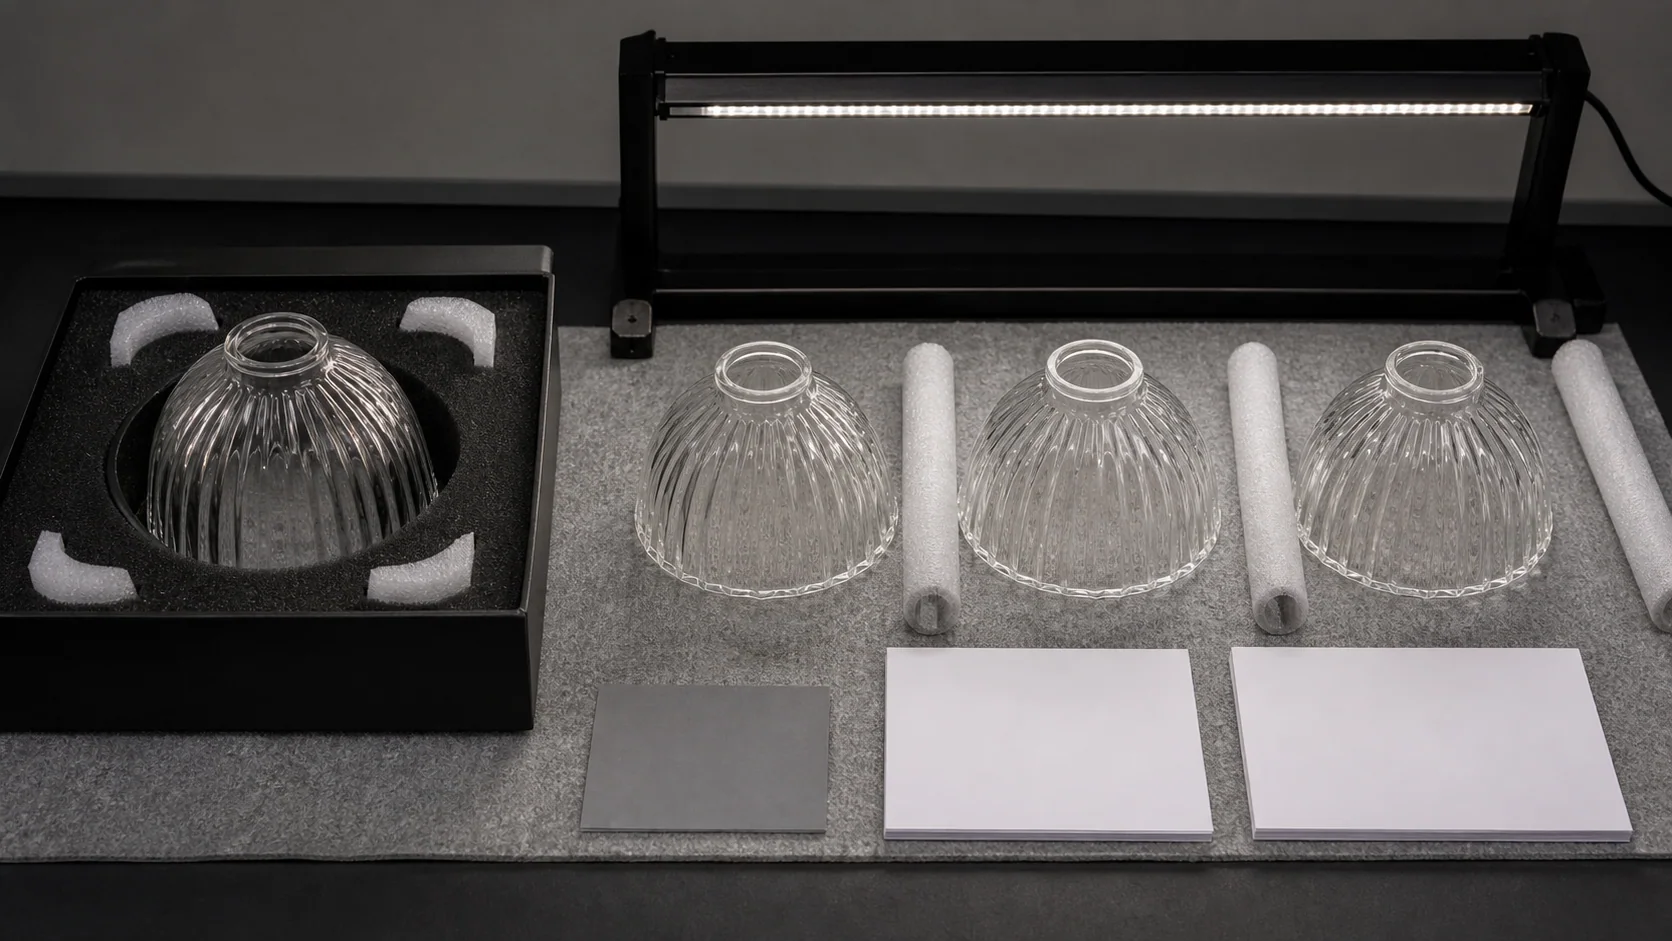
One “golden sample” can be too perfect to describe normal production, while one marginal sample may be misunderstood as the target. A practical set can include an approved target, an acceptable upper visual limit, and clear rejected examples for specific conditions such as projecting flash, pattern mismatch, or incorrect orientation.
Identify exactly what each sample controls. A seam sample does not automatically approve color, dimensions, wall distribution, coating, rim finish, or packaging. Keep those requirements on the drawing and inspection plan.
Record the sample part number, tool or cavity if relevant, material, finish, date, drawing revision, inspection lighting, and photographs. Store glass so the reference surface is protected. If the master is scratched or chipped later, retire it rather than allowing accidental damage to become the new acceptance standard.
Common buyer mistakes
Asking for “no seam” after the mold is built
The parting strategy should be reviewed before tooling approval. Late requests may require new tooling, added finishing, a changed design, or a different forming route.
Hiding the line without checking the hardware
Moving a seam toward the fitter can reduce room-side visibility but create flash or offset where a gasket, retaining ring, or cap needs a clean seat. Inspect the full assembly.
Using one finish to approve every SKU
Clear and opal versions of the same shape can show a seam differently. A coating or texture can alter the result again. Approve representative production finishes.
Copying a numeric limit from another glass product
A container, flat panel, tableware item, and curved lamp shade use different tools, geometry, inspection conditions, and end use. Convert outside references into questions for the supplier, not automatic shade tolerances.
Treating absence of a visible seam as proof of hand work
Finishing can reduce a seam, and some molds use configurations that do not leave an obvious line in the expected place. Manufacturing route should come from process records and supplier disclosure, not one visual clue.
Inspecting only under extreme side light
Raking light is excellent for finding a ridge, but it may not represent the installed view. Use it for detection and classification, then apply the agreed acceptance condition.
Send a seam-ready RFQ package
Include the seam requirement before the supplier quotes tooling and sample work. A useful handoff contains:
- shade drawing, part number, revision, units, and order quantity;
- proposed glass family, forming route, color, and final surface finish;
- installed orientation and photographs or rendering of the complete fixture;
- seam-location zone tied to a repeatable datum;
- protected optical, decorative, mounting, and handling zones;
- rib, flute, panel, print, or coating alignment at the parting line;
- requested finished condition and surfaces that must remain untouched;
- hardware, gasket, cap, holder, and assembly clearances near the seam;
- unlit and lit visual-inspection requirements;
- approved master and limit-sample plan;
- separate functional, cosmetic, and integrity checks;
- request for the supplier's proposed mold split, finishing route, tooling effect, sample plan, and achievable acceptance method.
Use the custom lamp shade RFQ builder to collect the project information, then attach the controlled drawing and fixture references. Ask the supplier to mark the intended parting line directly on the returned drawing rather than confirming it only in a message.
Frequently asked questions
Is a mold seam on a glass lamp shade a defect?
Not automatically. A seam is a normal possible result of multi-part mold construction. It becomes an acceptance issue when its location, projection, mismatch, finish, optical appearance, or effect on hardware falls outside the agreed drawing and approved samples. A suspected crack must be classified separately.
Can mold seams be completely removed?
Some seam marks can be reduced by trimming, grinding, polishing, or fire finishing, but the feasible result depends on glass, shape, pattern, wall, tool, and surface finish. Finishing can introduce its own local appearance or geometry change. Ask the supplier to demonstrate the proposed result on the production-intent sample.
Where should the parting line be placed on a lamp shade?
Choose a mold-feasible zone that protects the normal viewing face, optical panels, decoration, mounting contacts, and critical geometry. A rear orientation, rib, flute, or hardware-covered zone can be useful, but the choice must be tied to a repeatable assembly datum and reviewed before tooling.
How should a buyer inspect seam visibility?
Inspect the final finish in its defined orientation, first unlit and then under representative installed lighting when relevant. Use a consistent background and light direction. Low-angle raking light can help locate and classify the line, while the agreed normal-view condition should control cosmetic acceptance unless the specification says otherwise.
Does no visible seam mean the shade is hand blown?
No. A seam may have been removed or reduced, a different mold construction may have been used, or the line may be concealed by pattern and finish. Confirm the forming route through supplier documentation and process review rather than relying on one visual clue.
What should be approved before mass production?
Approve the mold split and seam zone on the drawing, then review production-intent samples for orientation, flash, mismatch, finish, unlit and lit appearance, hardware fit, and classification of any crack-like condition. Record which sample controls each requirement and retain the drawing revision with the approval.
Put the parting line on the drawing
The most useful seam requirement is decided before tooling, tied to the installed fixture, and checked on the final finish. Mark the location zone, identify the orientation datum, define the finished condition, and separate cosmetic review from assembly and integrity checks.
For a custom molded shade, send your seam requirement for review with the drawing, finish, hardware, installed view, quantity, and sample expectations.