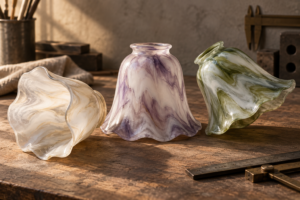
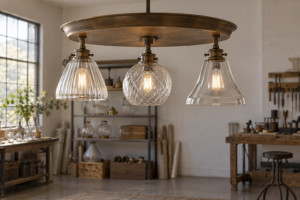
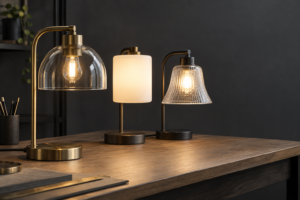
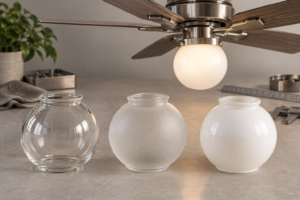
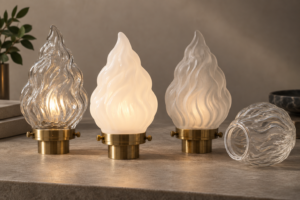
A slag glass lamp shade is usually a decorative glass shade with cloudy, marbled or stone-like color movement through the body. The name does not define one universal fitter, profile, glass recipe or value. For a replacement, identify the visual material separately from the fixture interface: record the shade opening, seating plane, height, widest diameter, rim and retaining hardware before asking a supplier to match the appearance.
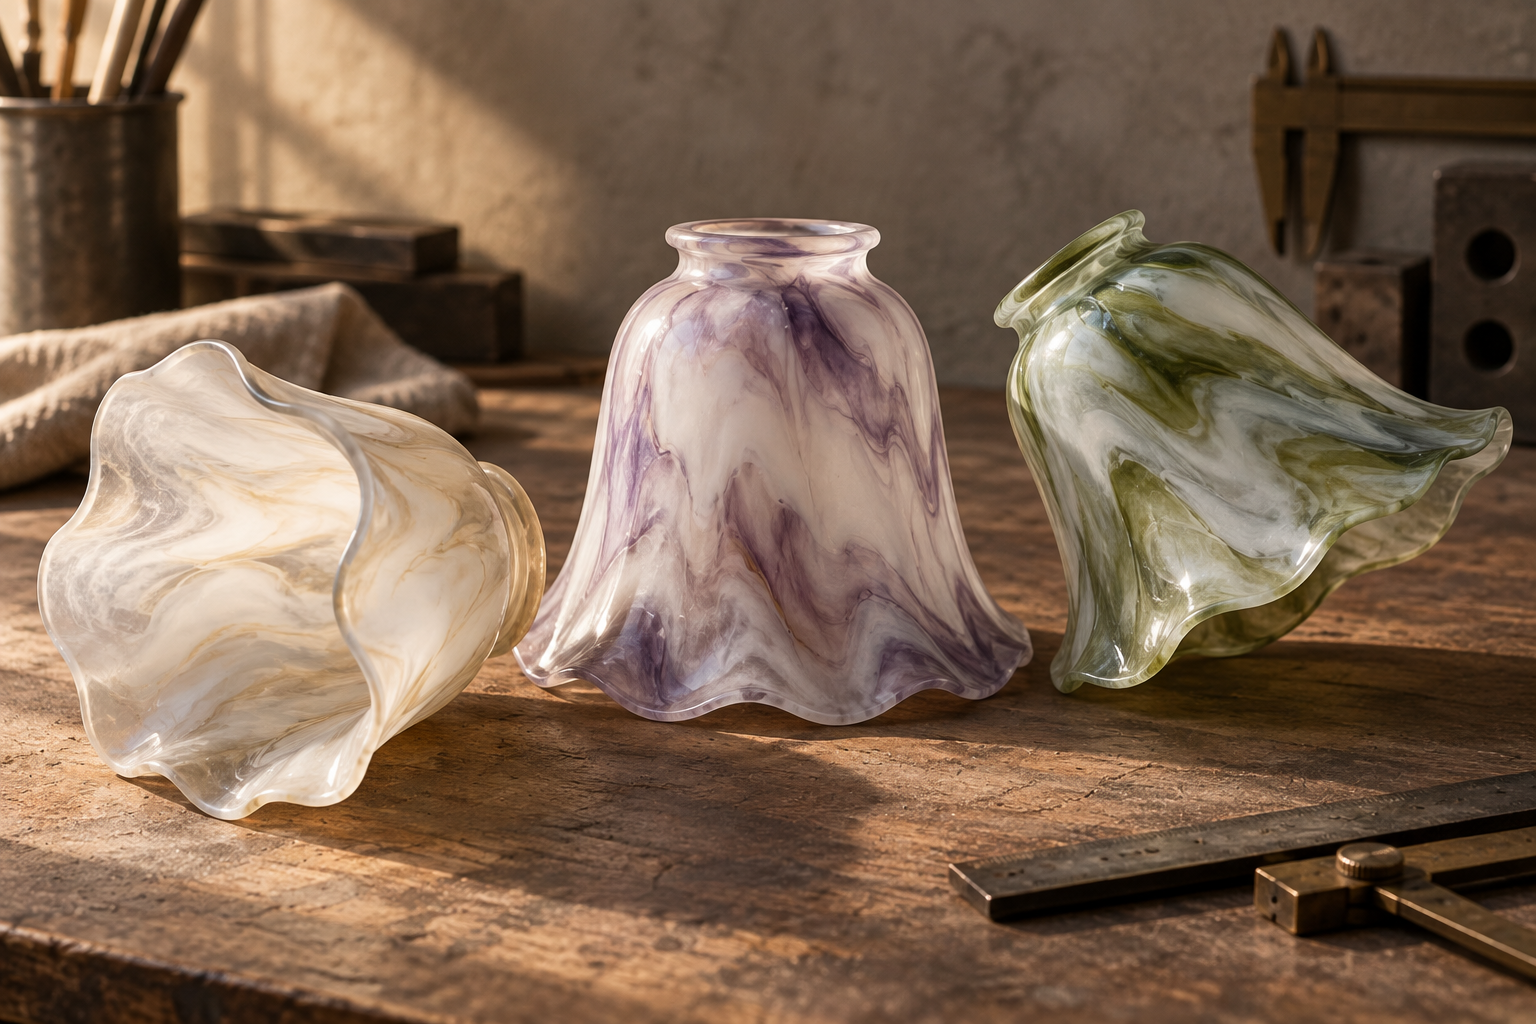
What is a slag glass lamp shade?
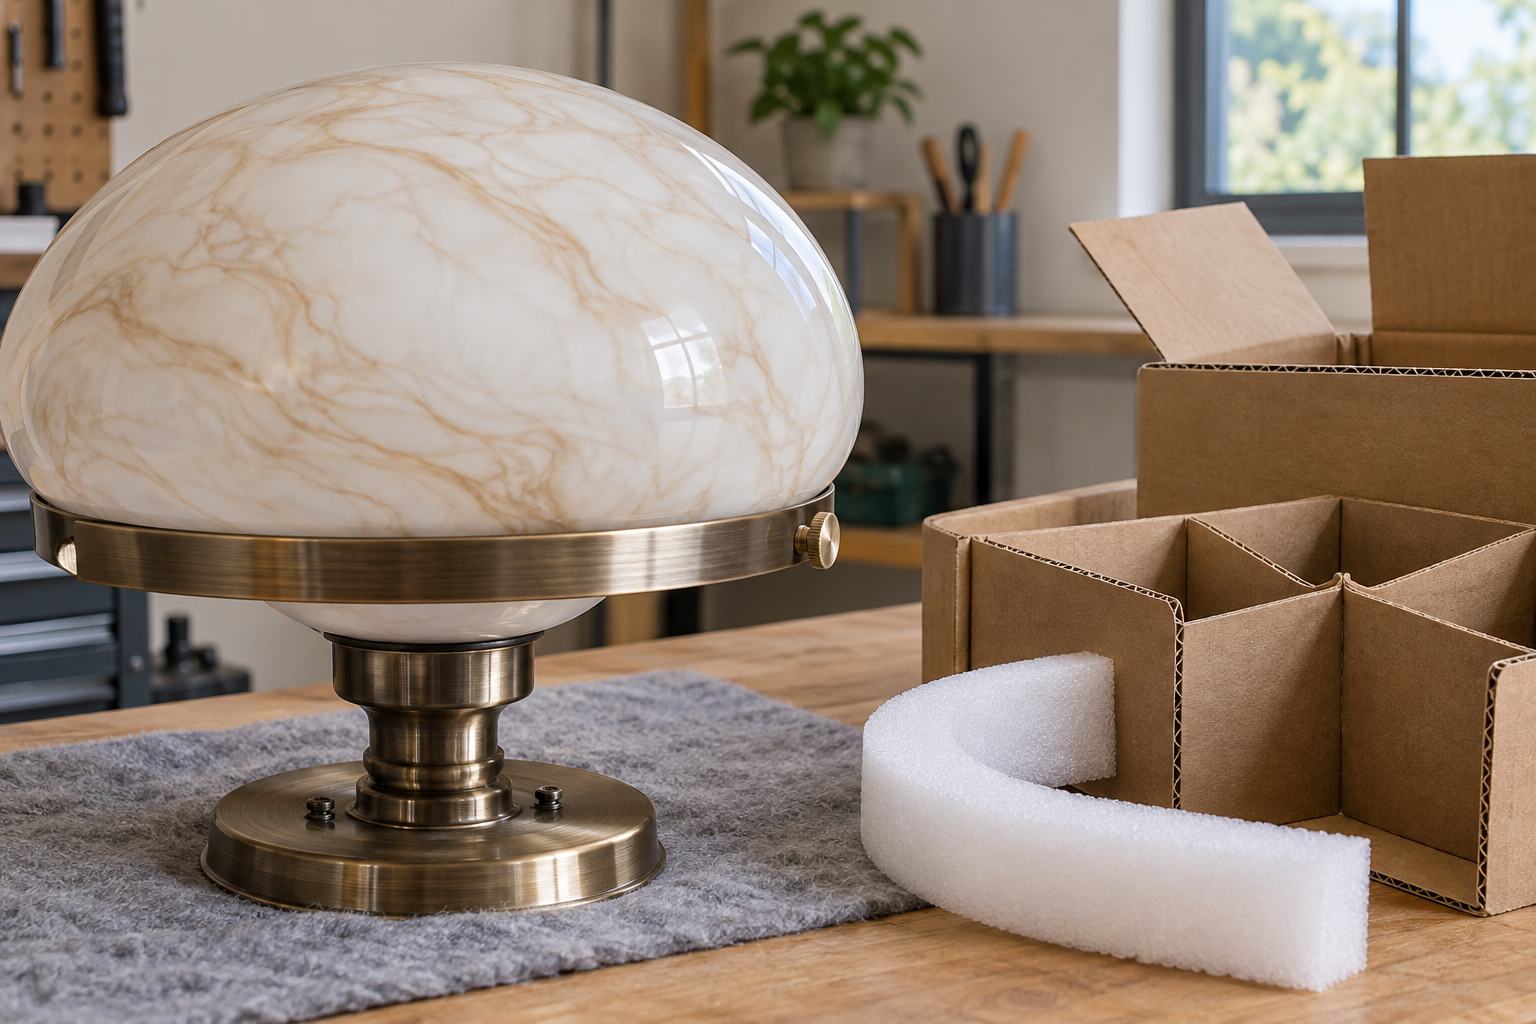
Slag glass is a historical glass term used for opaque or semi-opaque glass with irregular color movement that can resemble marble, stone or clouds. The Corning Museum of Glass pocket dictionary cross-references slag glass with marbled glass. In lighting listings, the phrase is used for shades and panels with a colored body and contrasting swirls, not for one fixed lamp-shade shape.
For a buyer, that distinction matters. A listing can call a shade slag glass because of its marbled appearance even when the supplier has not confirmed a historical recipe. Another supplier may describe a visually similar part as marbled glass, cloud glass, malachite-style glass or opalescent glass. Those labels help discovery, but they do not confirm compatibility, light transmission, wall thickness or production route.
The useful working definition is therefore visual and functional:
- The glass body has visible color movement, clouding or stone-like variation rather than a flat solid color.
- The color is generally within the glass body or a formed glass layer, not only a printed sticker on the surface.
- The shade is still a lighting component that must be specified by profile, fitter, clearance and edge condition.
- A historical description should not be treated as proof of age, maker, rarity or resale value without separate documentation.

Is slag glass the same as industrial slag?
Not in the way a lighting buyer should interpret a lamp-shade listing. Industrial slag is a by-product of a metal-making process. Slag glass is a glassware term that the Corning reference indexes under marbled glass. In the antiques market, the phrase can also be used broadly for opaque or semi-opaque marbled glass objects from different makers and production periods.
This is one reason identification needs restraint. A color pattern can support a description such as cloudy marbled glass, but a photograph alone cannot prove the date, maker, formula or original fixture. If the project is a restoration, preserve the evidence that came with the part: maker marks, surviving hardware, old catalog references, fixture provenance and dimensions. If the project is a new OEM shade, define the desired appearance and performance instead of making an unverified historical claim.
The same rule applies to a replacement request. A new shade may reproduce the color direction and silhouette without being an antique original. That can be the right commercial solution when the goal is safe fit, repeatability and a consistent replacement program.
| Term in a listing | What it may describe | What it does not prove |
|---|---|---|
| Slag glass | Cloudy or marbled colored glass with stone-like movement | A universal glass recipe, age or maker |
| Marbled glass | Streaks or patches of two or more colors | The fitter or fixture compatibility |
| Malachite-style glass | Green and contrasting movement inspired by stone | Natural mineral content or antique origin |
| Opalescent glass | A milky, changing or softly translucent appearance | That the body has slag-style marbling |
| Reproduction slag-style shade | A new shade made to echo an older look | That it matches the original mold or hardware |
Slag glass colors and light behavior
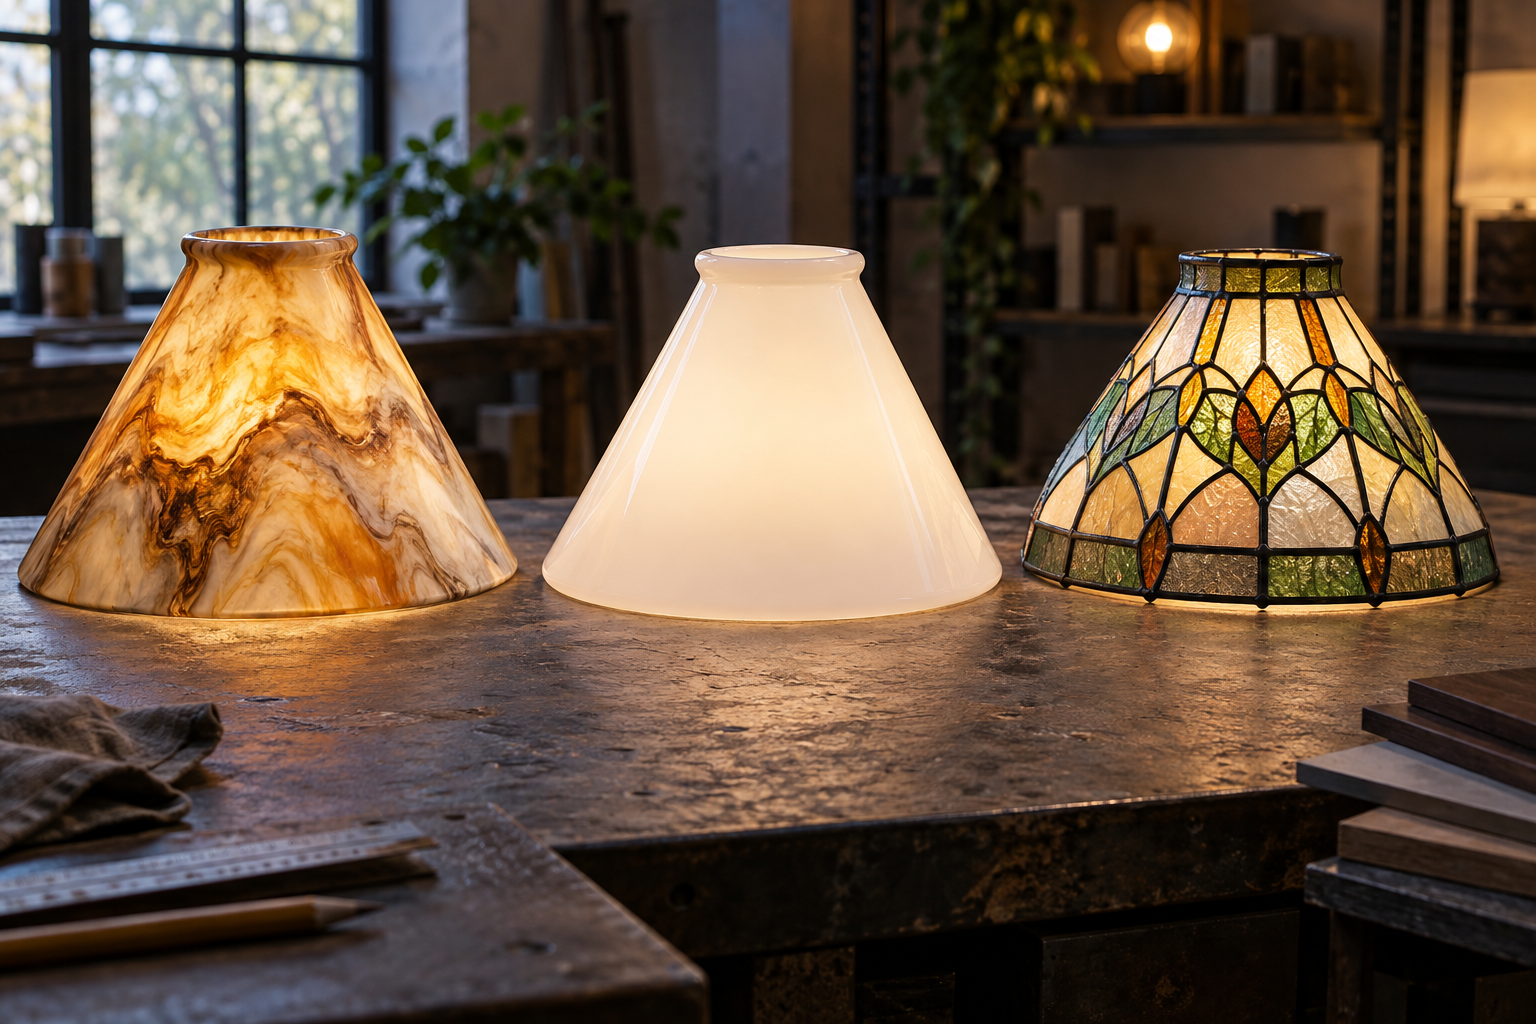
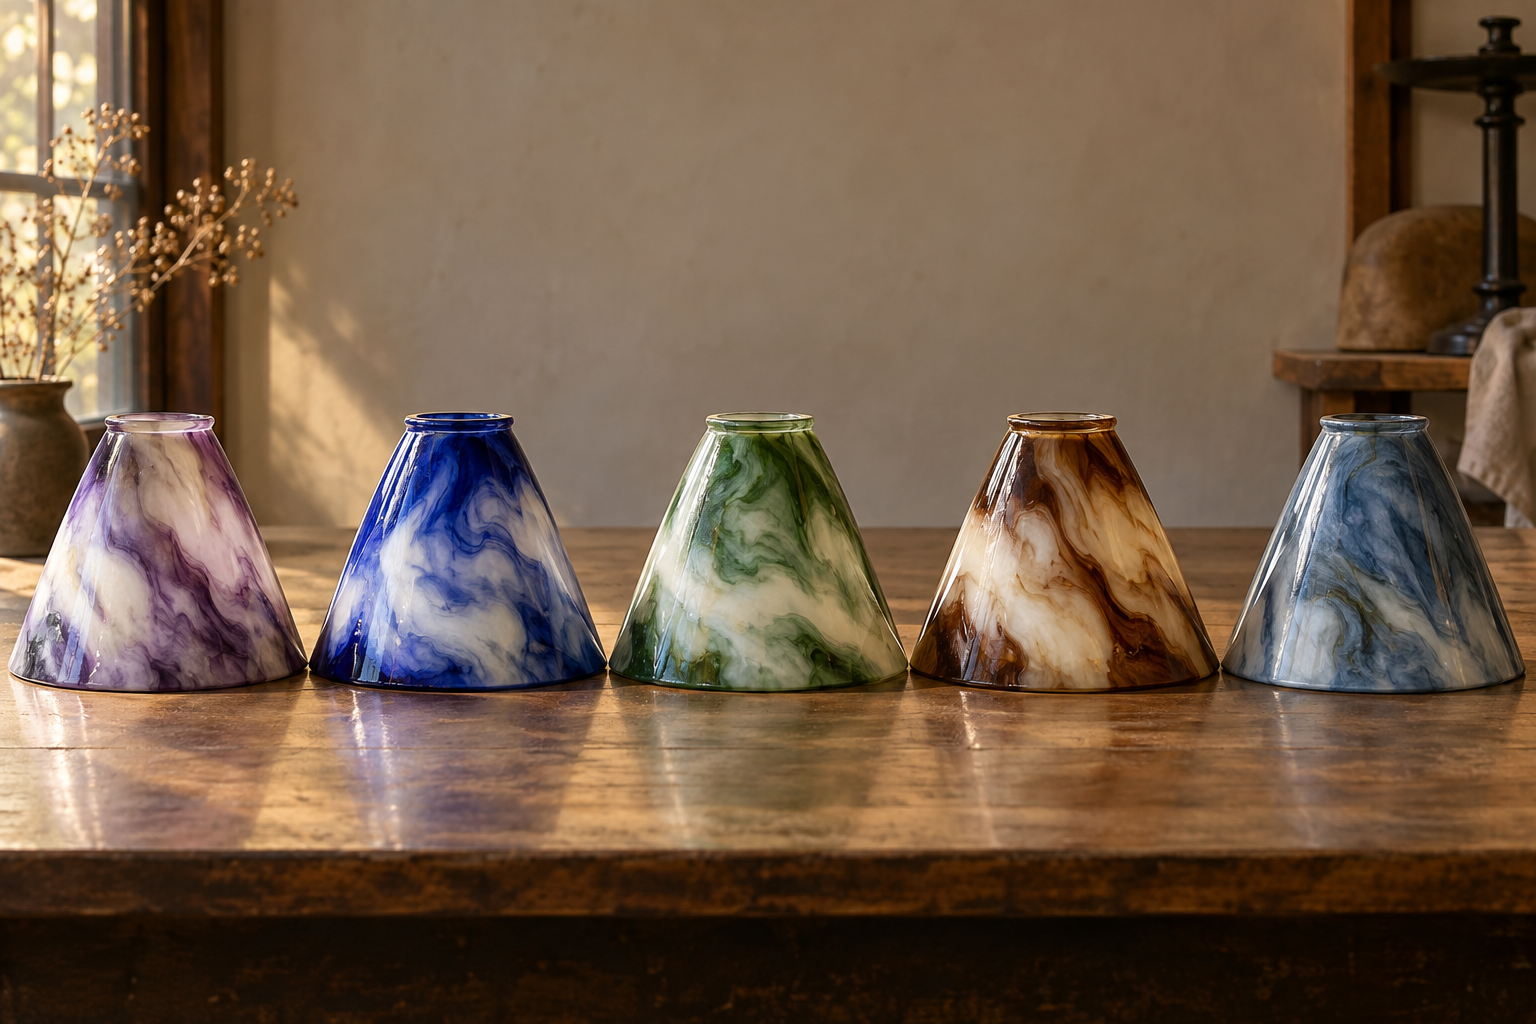
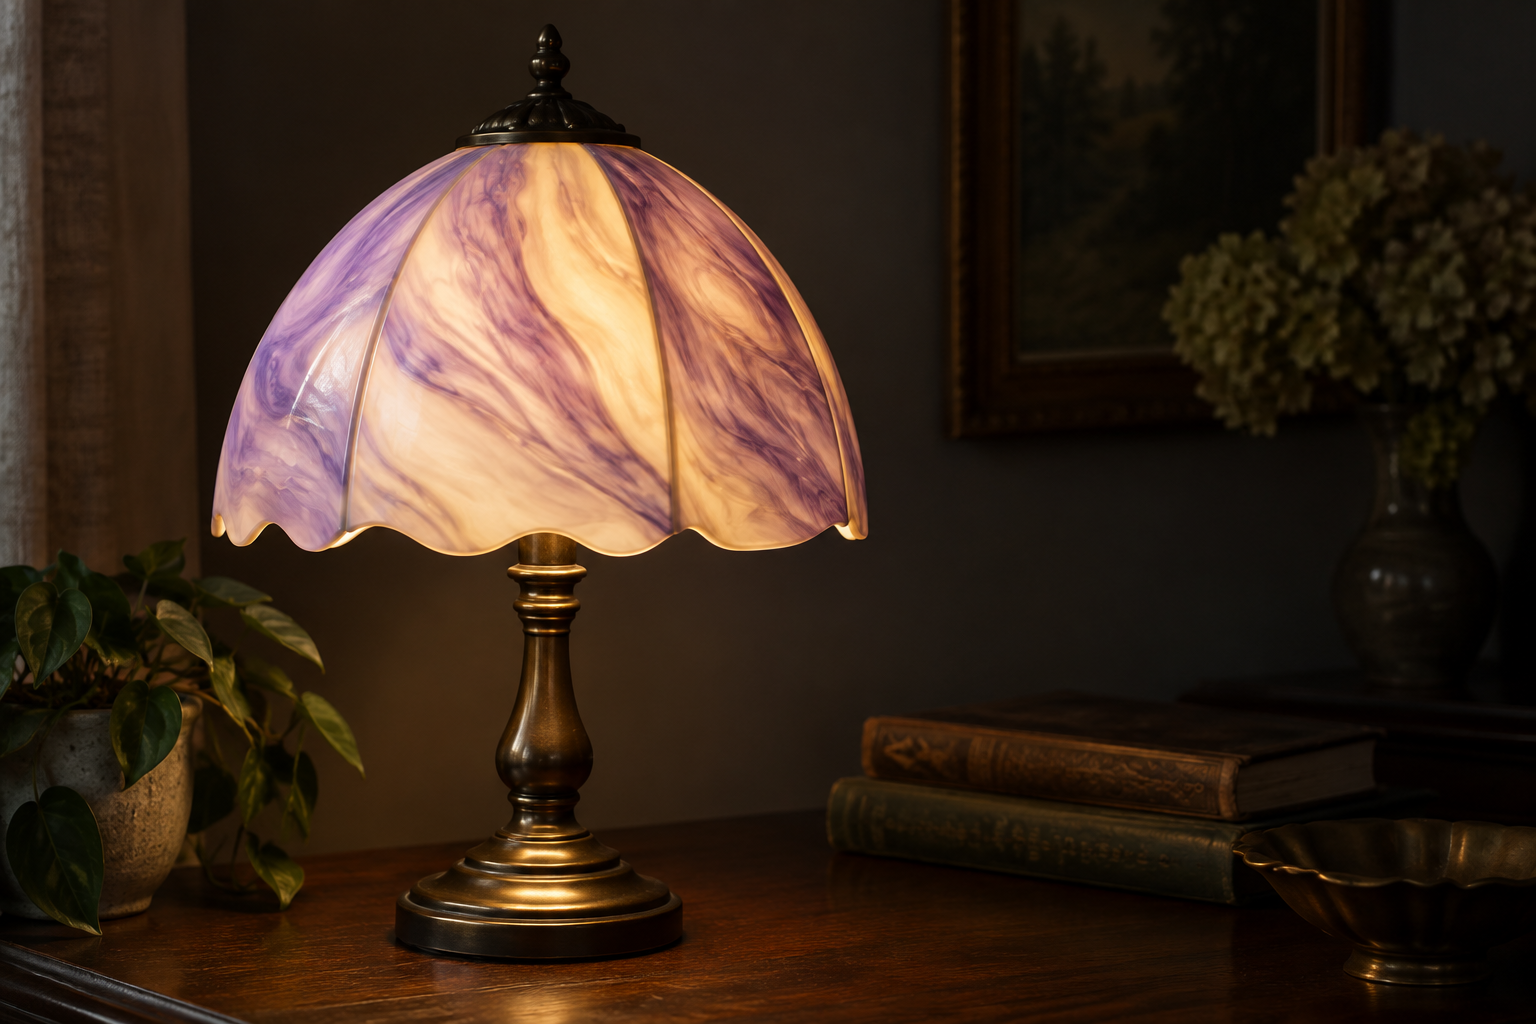
Common visual directions include white and violet, ivory and green, blue and white, brown and cream, and deep green with lighter movement. These are descriptions of appearance, not guaranteed industry color standards. A supplier should review a physical reference or an approved color sample when the shade is part of a coordinated collection.
The same color can look very different when the lamp is off and when it is illuminated. A mostly opaque body can hide the lamp and create a soft pool of light. A thinner or more translucent body can show brighter color movement and reveal the lamp position. The viewing angle, bulb, camera exposure and surrounding wall color can all change the impression.
For a lighting brand or distributor, specify the intended light behavior in addition to a color name. Useful language includes target opacity, visible lamp preference, approximate light transmission, hot-spot tolerance, surface gloss, and whether the shade must match a previous sample under a defined lamp.
| Appearance direction | Likely visual effect | Buyer specification to add |
|---|---|---|
| White and violet movement | Cool contrast with a cloudy, decorative look | Base tone, contrast strength and acceptable variation |
| Green and ivory movement | Stone-like depth and a warmer heritage character | Green direction, opacity and sample reference |
| Blue and white movement | Cooler appearance with visible color bands | Blue saturation, backlight behavior and viewing distance |
| Brown and cream movement | Traditional, warm and more opaque appearance | Brown tone, surface gloss and bulb type |
| Deep green marbling | Strong pattern at low light levels | Dark-area detail, wall thickness and sample lighting |
| Light marbling on a clear body | More visible lamp and stronger highlights | Clear-area limit, glare expectation and finish |
Slag glass lamp shade profiles to compare
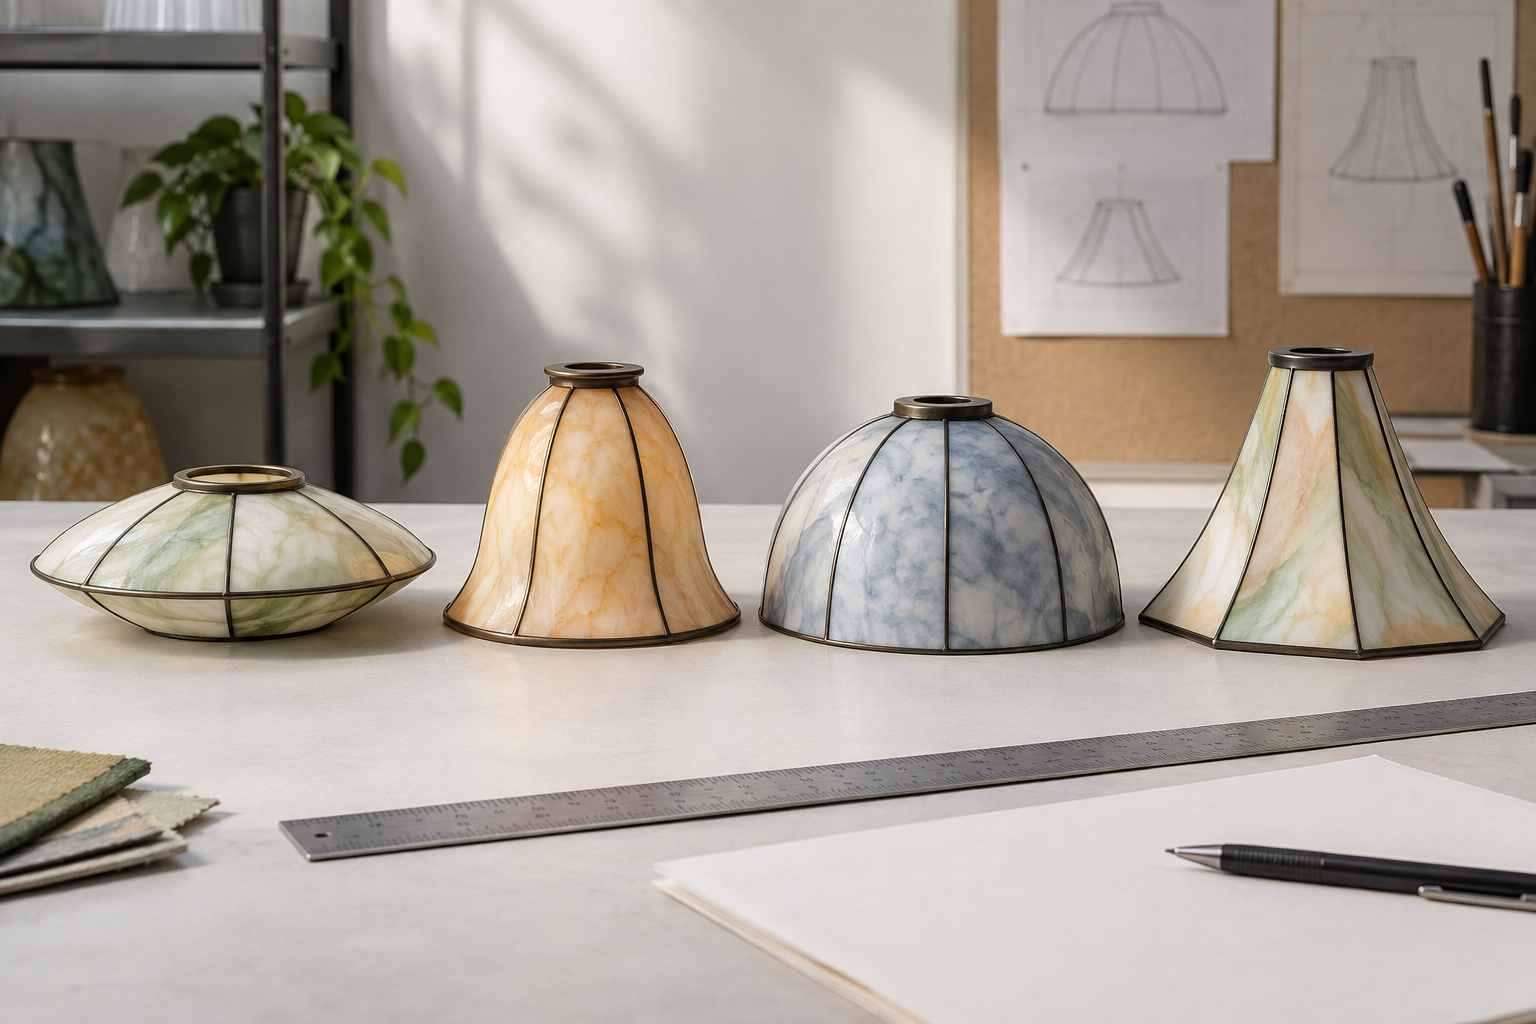
Slag glass describes the visual body, while the fixture determines the profile. A replacement may be a shallow bowl, bell, dome, globe, flared panel, cylinder or a custom contour. A new project may use the same marbled appearance on a profile that was never used in the original fixture.
Compare the profile from the side and from the opening. The side view shows the height, shoulder and widest point. The opening view shows whether the fitter is round, oval, threaded, stepped or shaped for a ring. A front photograph alone often hides the dimension that controls fit.
For a multi-shade fixture, compare a group rather than one sample. Small differences in height, marbling direction or rim thickness can become obvious when three or more pieces are installed together. If the pattern is expected to be random, define the acceptable range instead of asking for an impossible identical match.
| Profile | Where it may be used | Fit and light questions |
|---|---|---|
| Shallow bowl | Pan fixtures, ceiling lights and broad decorative fittings | Does the rim sit flat, and is the bulb below the deepest point? |
| Bell or flared shade | Pendants, sconces and period-style fixtures | Does the neck match the holder and does the lower rim clear the hardware? |
| Dome or globe | Ceiling, pendant, wall and table fixtures | Is the opening at the top, bottom or on a separate ring? |
| Cylindrical shade | Wall lights, vanity fixtures and compact lamps | Does the cylinder need a threaded base or a retaining clip? |
| Flat or bent panel | Decorative panels and restoration work | How is the panel supported, and where does the curve begin? |
| Custom contour | New collections and difficult replacement programs | Which dimensions are functional and which are visual targets? |
How to identify a slag glass lamp shade without overclaiming
Identification should answer two different questions: what does the glass look like, and what part is it? Start with the body, then inspect the construction and finally document the fixture interface. Do not turn a color impression into an age or value claim.
Look for color movement that continues through the body or is visible at a broken edge. A surface coating may change the appearance only on the outside. A painted, printed or sprayed finish can still be a valid modern design, but it should be specified as a surface treatment rather than assumed to be slag glass.
Use light from both directions when possible. Backlighting can reveal whether the body is mostly opaque, softly translucent or clear with a surface effect. A single phone flash is not a reliable measurement of transmission. Record the lamp type, camera position and whether the shade was photographed installed or removed.
Then inspect the physical clues:
- Check whether the pattern is continuous through the rim or stops at the surface.
- Look for a mold seam, hand-formed variation, pressed texture or secondary finishing.
- Record the rim, neck, opening and any maker mark before cleaning or polishing.
- Photograph the complete fixture so the shade can be connected to its hardware.
- Separate confirmed observations from interpretation in the sourcing brief.
If the purpose is valuation or antique authentication, use a qualified specialist and supporting provenance. A glass shade manufacturer can review the part for reproduction, fit and production feasibility, but that review is not an appraisal.
Measure the shade before asking for replacement glass
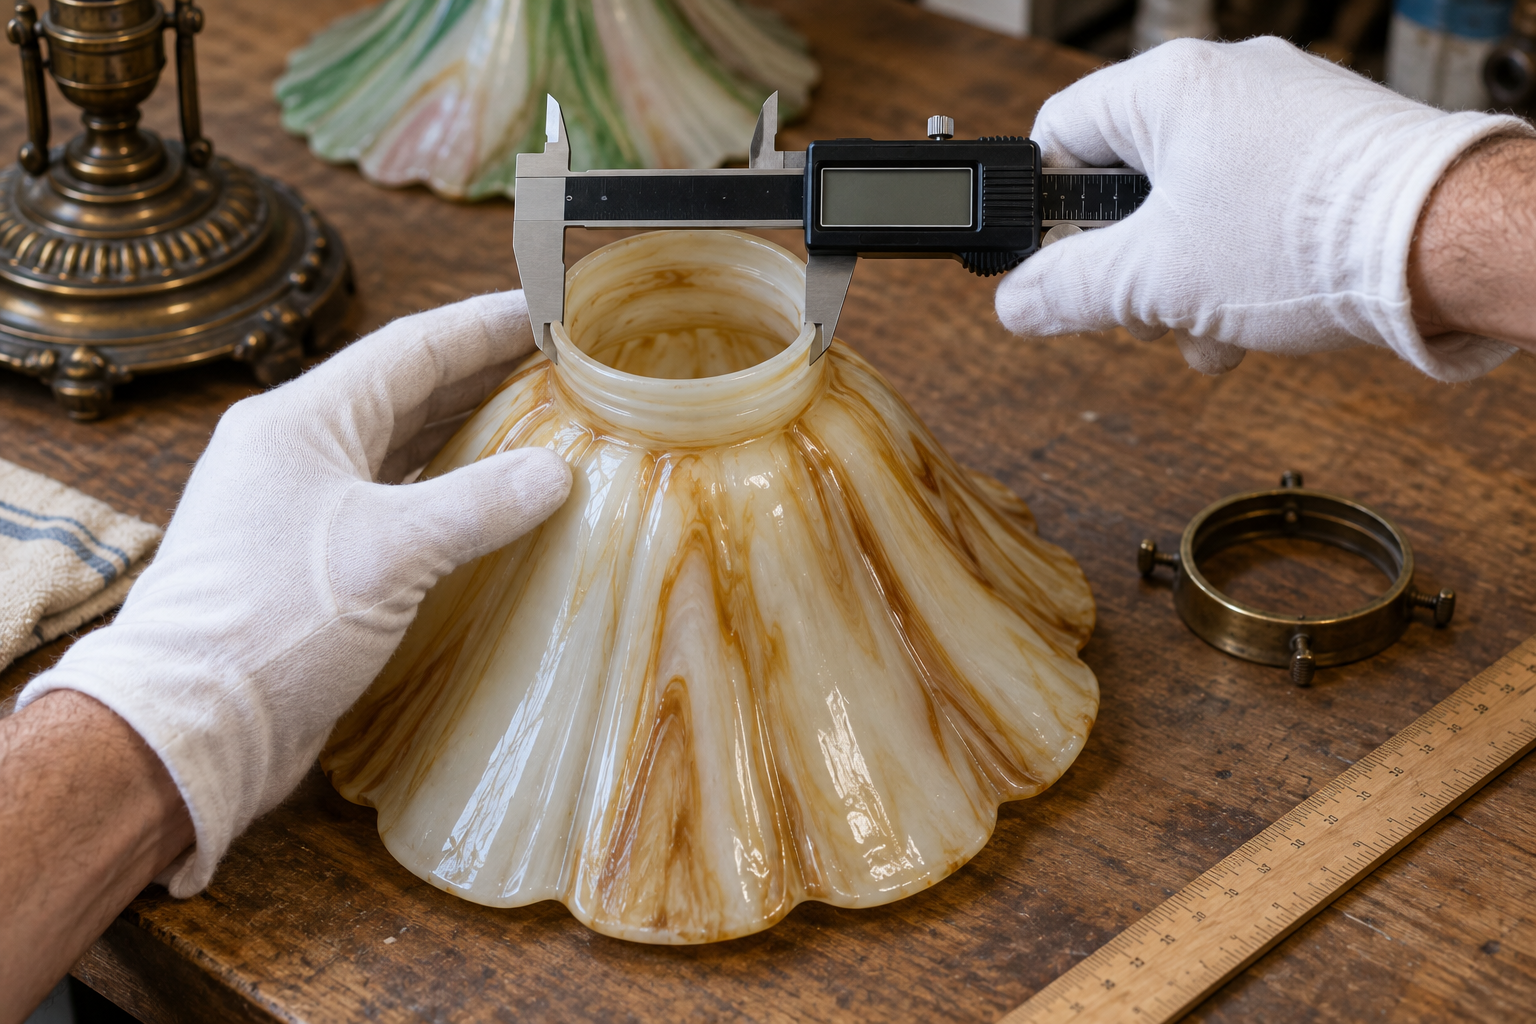
The most attractive shade is still the wrong replacement if it does not seat correctly. Measure the original shade when it is intact. If the glass is broken or missing, measure the holder, retaining ring and surviving fixture, then state which values are estimated.
Record every dimension with its reference point. Inside diameter, outside diameter and contact diameter are not interchangeable. Height can be measured from the seating plane to the lowest point, or from a different datum if the original drawing uses one. Write the datum on the sketch.
| Measurement | What to record | Why it controls the order |
|---|---|---|
| Fitter opening | Inside diameter at the actual seating plane | Determines whether the shade can pass over or sit on the holder |
| Contact diameter | Outside diameter where the ring, gallery or gasket touches | Controls the mechanical support |
| Opening length | Straight or tapered length of the neck or lip | Prevents a shoulder from bottoming out too early |
| Overall height | Seating plane to lowest point | Controls bulb clearance and the visible proportion |
| Maximum diameter | Widest part of the body | Controls adjacent shade and fixture clearance |
| Rim condition | Thickness, bead, groove, cut or fire-polished edge | Affects stable seating and handling |
| Retaining hardware | Ring, screws, clips, gasket or spring | Defines how load is transferred to the glass |
| Quantity | Number of pieces and matching requirement | Determines whether one sample is enough |
JX has a separate guide to glass lamp shade fitter types. Use it to name the interface, but confirm the actual hardware and measurements on the fixture. A nominal fitter label is a starting point, not a fit guarantee.
Check the fitter, rim and clearance together
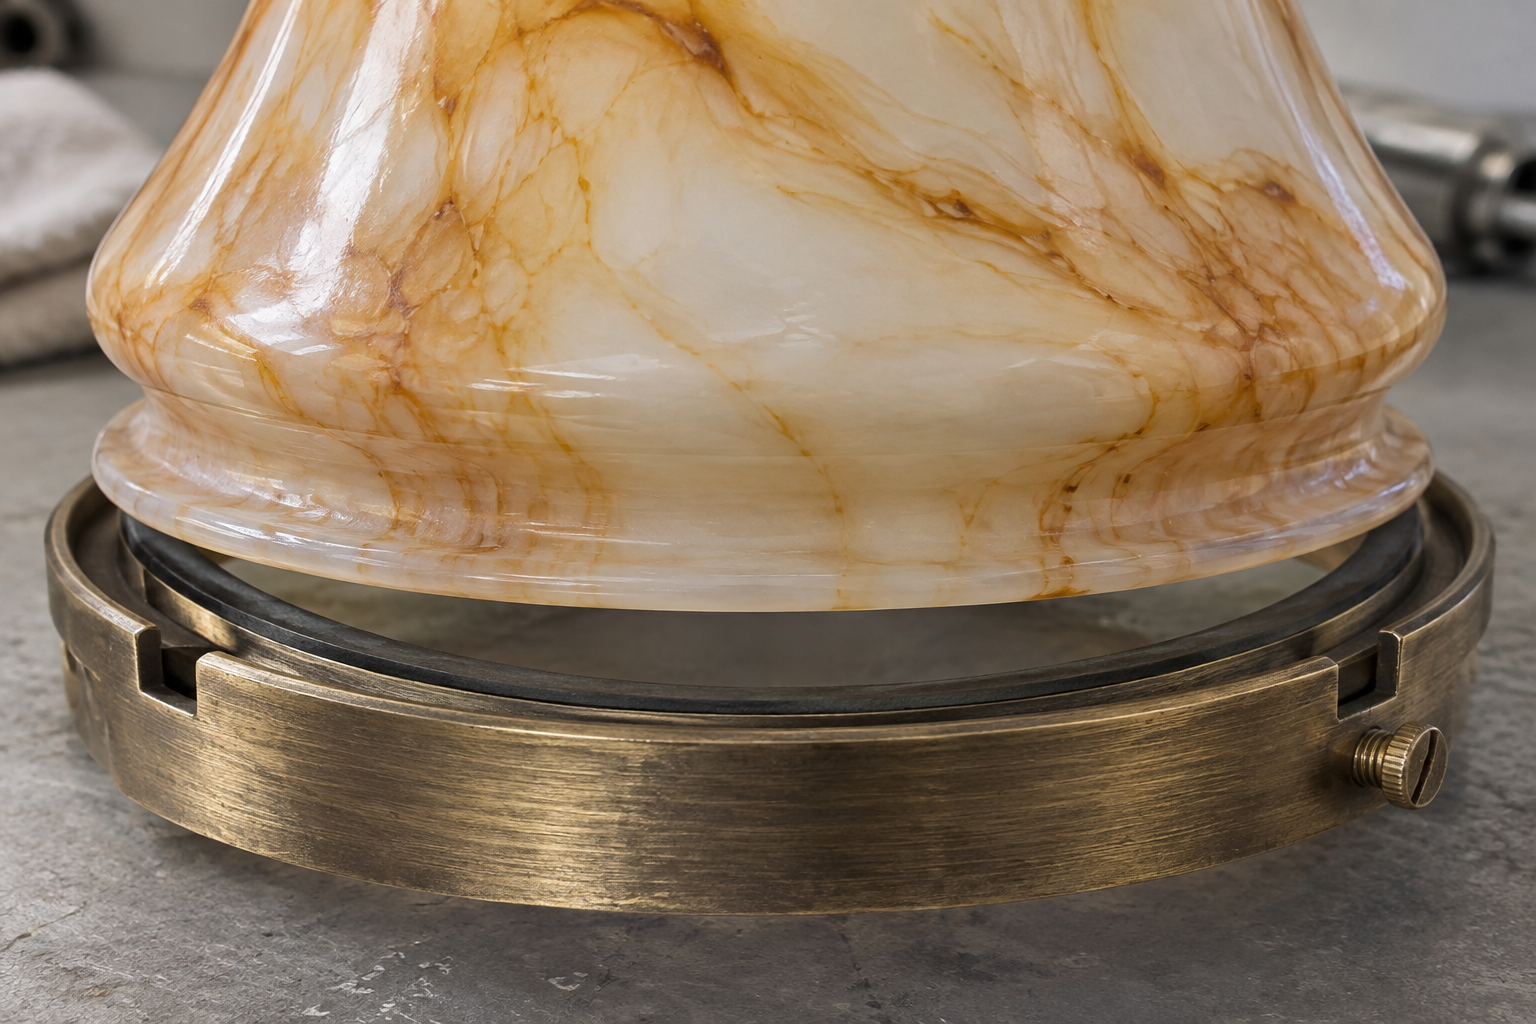
The fitter is the interface between the shade and the fixture. It can be a neck, rim, gallery opening, threaded section, retaining ring or a custom seat. The rim can be load-bearing even when it looks like a decorative edge. If the glass touches at only one point, a replacement can rock or create concentrated force.
Review the shade in three positions: fully seated, during installation, and held by the final retaining hardware. Check the distance to the bulb, socket, arm, canopy, wall and neighboring shade. A correct opening with an incorrect body depth can still cause contact.
Do not tighten hardware against the glass to make a loose fit look correct. The responsible fixture designer or qualified electrician must assess the complete electrical assembly, lamp, heat, support and market requirements. A glass shade component does not provide electrical certification for the finished luminaire.
| Fit review | Evidence to send | Decision to make |
|---|---|---|
| Shade opening | Caliper photo and dimensioned opening view | Can the part pass over and sit at the intended plane? |
| Contact surface | Rim close-up and ring or gasket photo | Is the load spread without point contact? |
| Retention | Screw, clip, thread or spring detail | Does the hardware secure the shade without force? |
| Body clearance | Side photo with bulb and fixture | Does the body clear during installation and use? |
| Group matching | Photo or mockup of all shade positions | Is the visual variation acceptable as an installed set? |
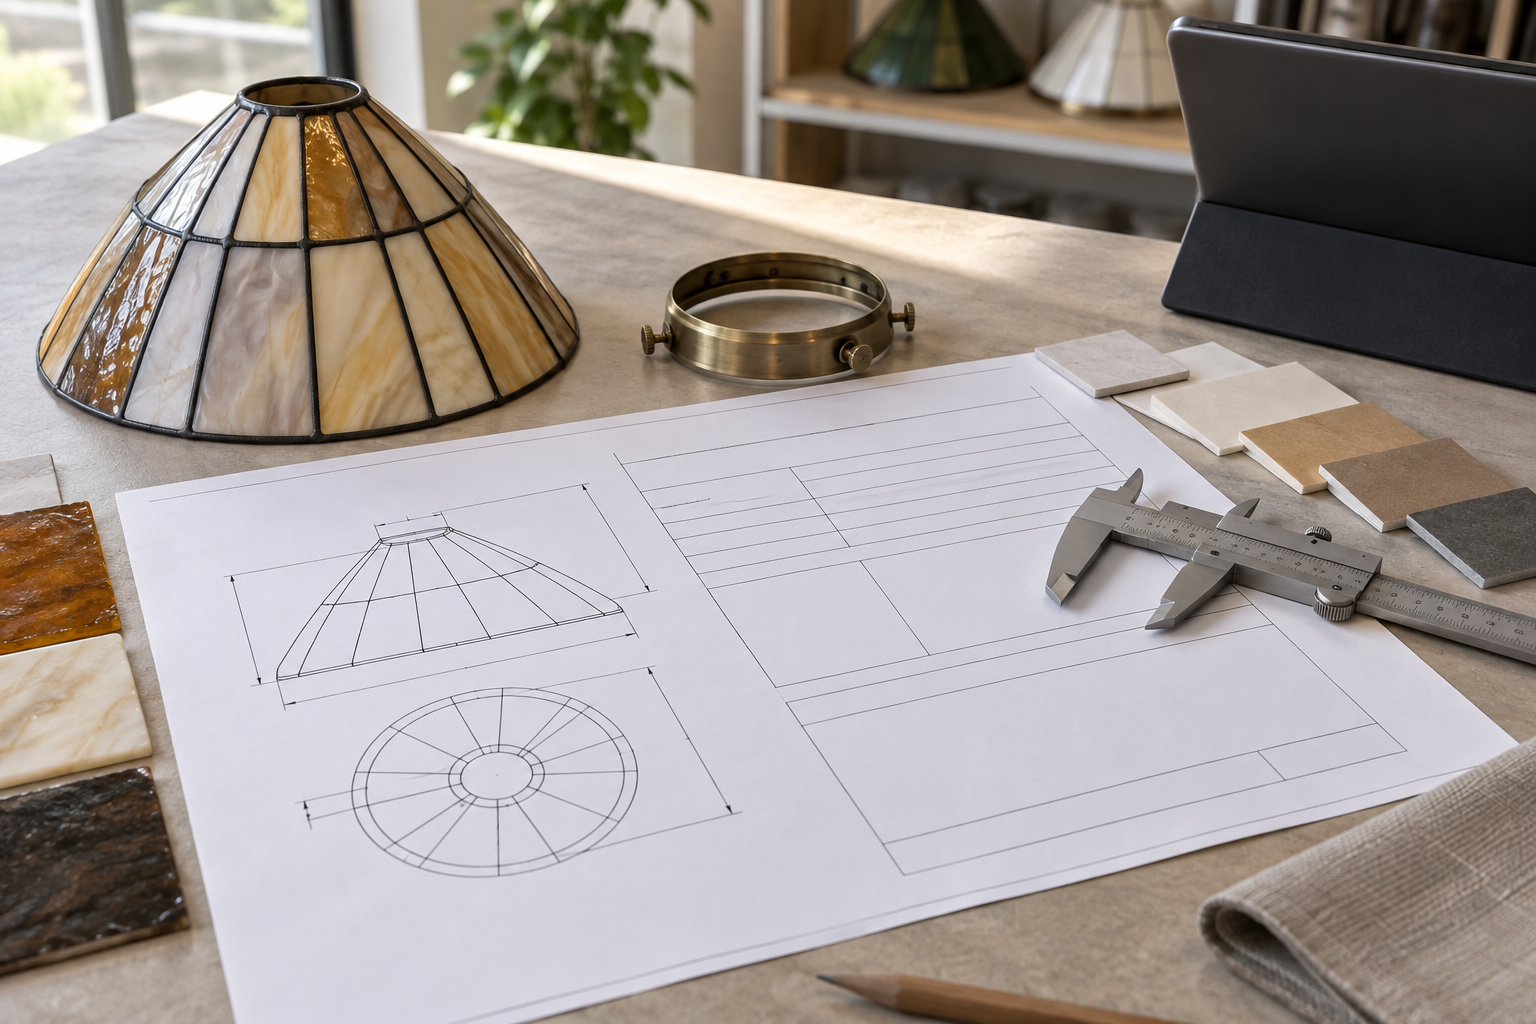
For a drawing-led project, add a side profile, opening view and section through the fitter. The glass lamp shade technical drawing checklist helps separate interface dimensions from appearance targets.
Replacement glass versus a new OEM slag-style shade
A replacement project begins with an existing fixture. The supplier needs to understand which hardware stays, which shade dimensions are non-negotiable, and which visual differences can be accepted. A reproduction can follow the original profile while using a current glass process and a new sample approval.
A new OEM project starts from the fixture design or product brief. The buyer can choose the profile, color movement, opacity, rim finish, fitter and process together. This makes it possible to design a shade for repeatability rather than forcing a historical replacement into a new fixture.
Both routes need a sample. For a replacement, fit the sample to the surviving holder. For an OEM program, fit it to the representative socket, ring or fixture mockup. Approve the sample under the intended lamp and viewing distance. Record the visual variation that is acceptable for natural marbling.
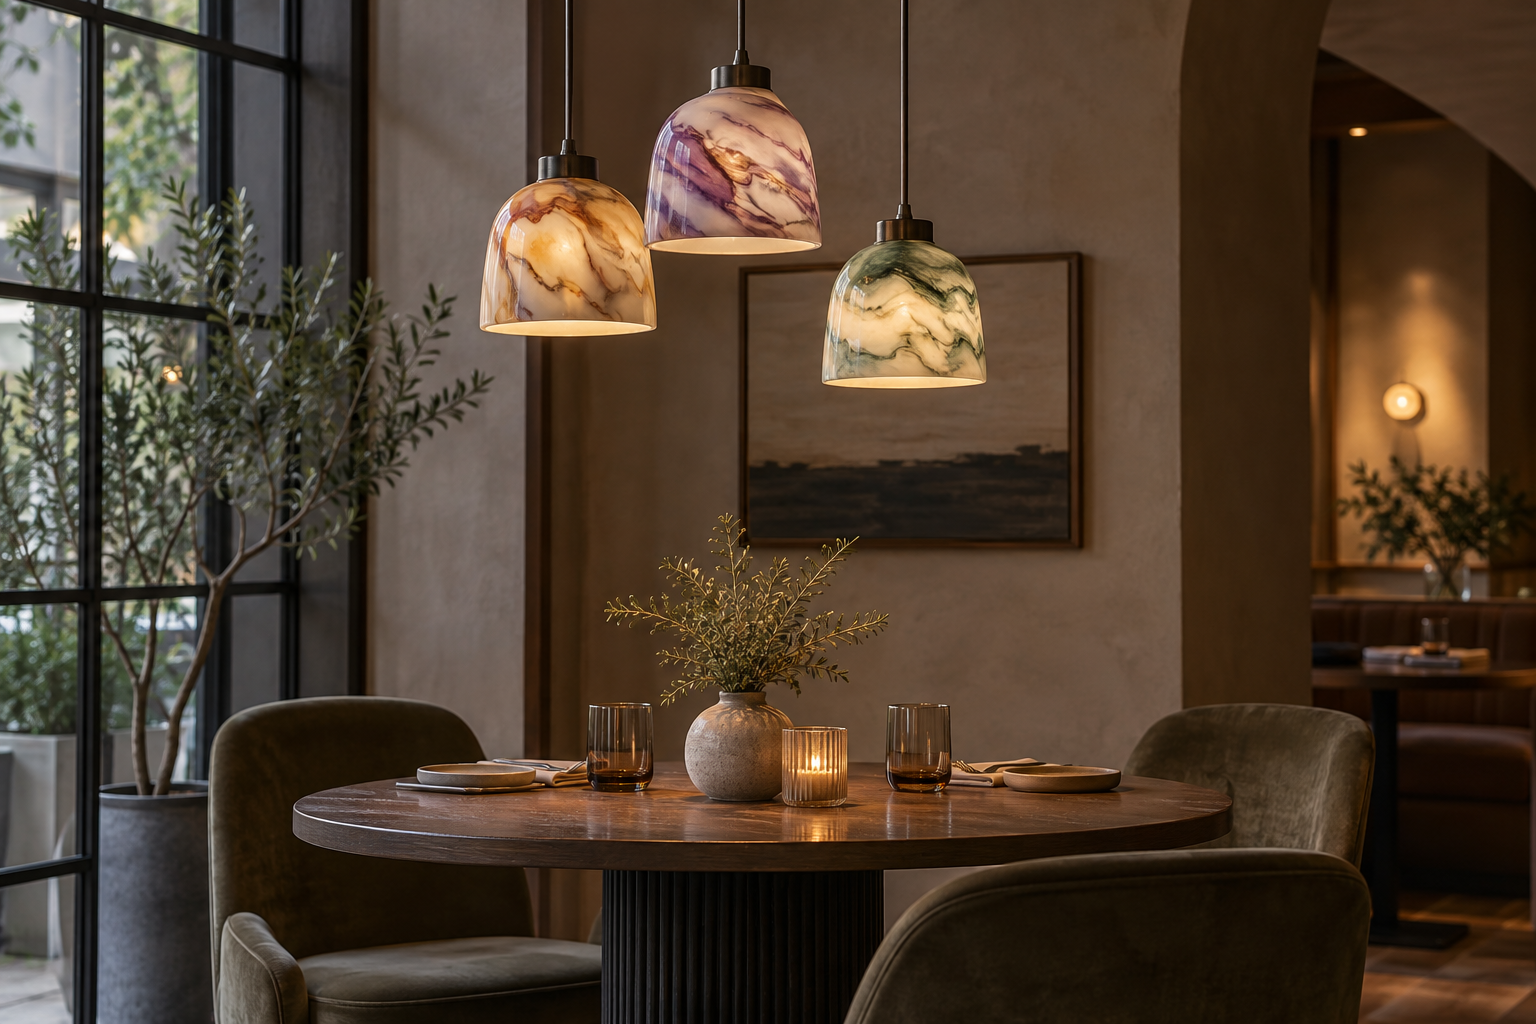
Forming and finishing choices for marbled glass shades
The glass process should follow the profile, target quantity, tolerance, pattern direction and development budget. Pressed glass can support repeatable molded geometry and repeated texture after a suitable mold is developed. Blown or hand-formed glass can support fluid contours and some small-batch development paths. Neither process is automatically better for every slag-style shade.
Ask the supplier to explain where the appearance is created. Is the color mixed into the glass batch, layered during forming, added as a second glass layer, or applied as a surface finish? The answer affects edge appearance, repeatability, cleaning, scratch risk and the way the shade changes when it is illuminated.
The rim and opening may need a secondary operation. Ground, seamed or fire-polished edges have different visual and handling results. The correct edge treatment depends on the holder and on the approved sample. Do not accept an unspecified edge simply because the body color looks close.
| Process question | Why it matters | Evidence to request |
|---|---|---|
| Where is the color created? | Predicts edge appearance and surface durability | Process explanation and sample edge photo |
| How is the profile formed? | Affects repeatability and tooling | Process route, mold or forming review |
| How is the rim finished? | Controls seating, safety and visual edge quality | Close-up sample and agreed edge target |
| How is the piece annealed? | Supports internal stress control in the finished glass | Supplier process description and inspection plan |
| How is variation controlled? | Marbling is decorative but fit still needs control | Dimensional checks and approved visual range |
| How is the surface cleaned? | Some finishes are more sensitive than others | Care instruction and finish acceptance method |
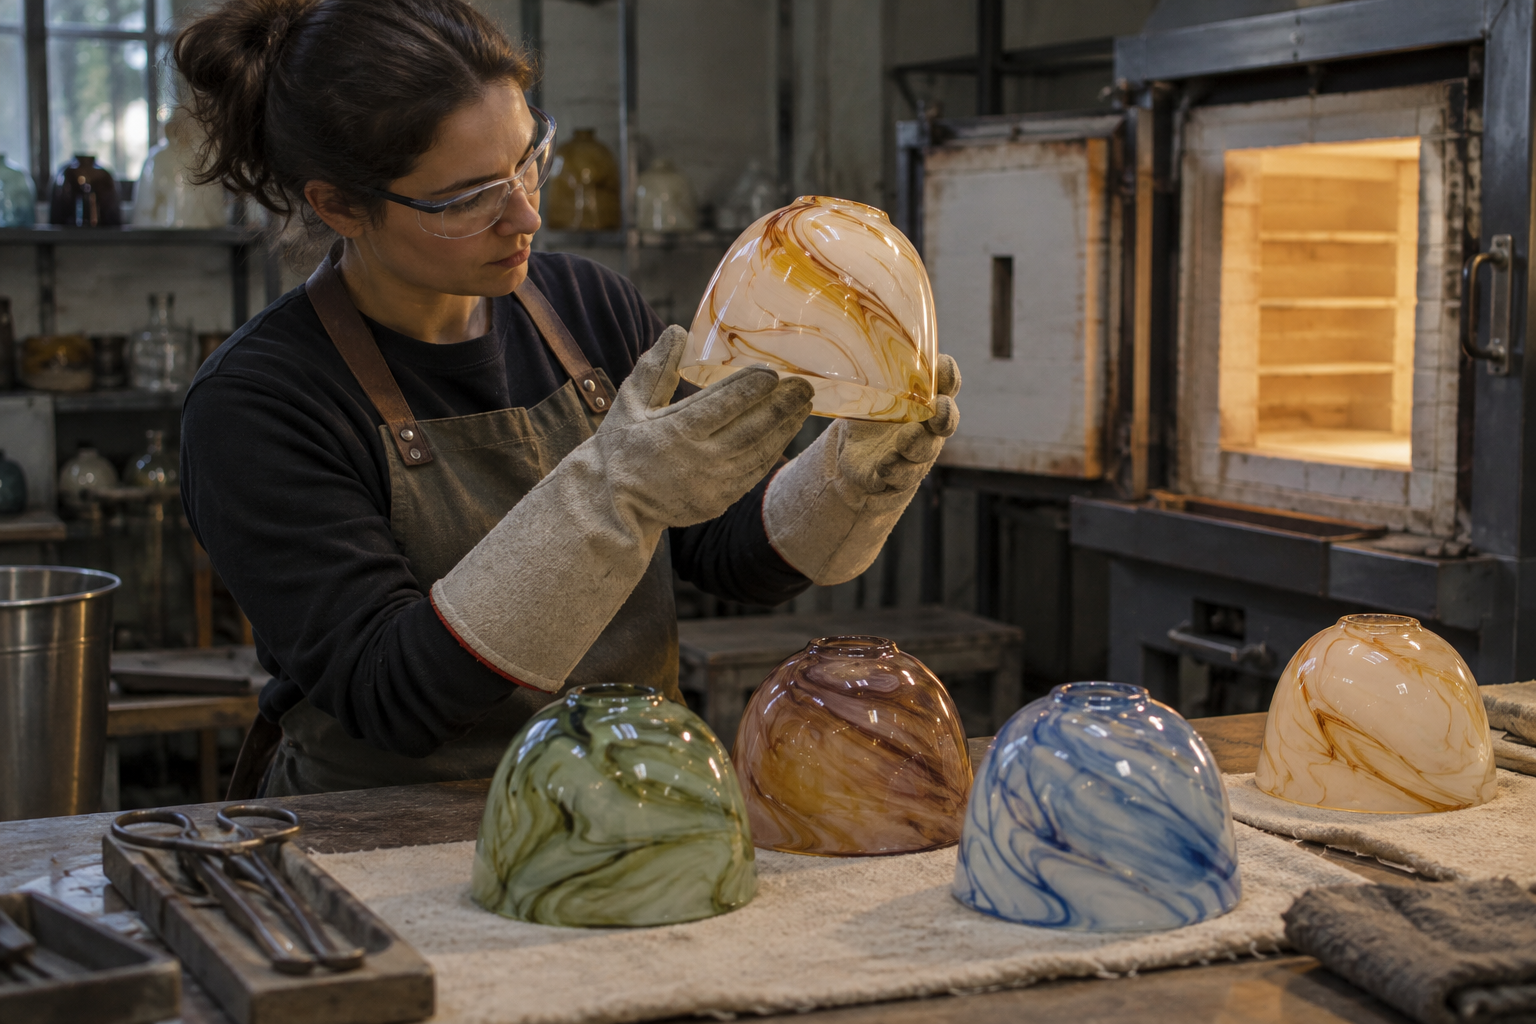
Sample approval for color and fit
Sample approval should have two tracks. The dimensional track checks the opening, seating plane, height, widest diameter, rim and clearance. The visual track checks base tone, marbling direction, opacity, gloss, surface texture and the way the shade looks with the intended lamp.
Do not approve color from a screen image alone. Photograph the sample under a consistent setup, but use the physical sample as the decision reference. If the pattern is intentionally variable, define a range with representative examples. If a collection needs close matching, state that requirement before the quote and discuss whether the process can support it.
Record comments by location. For example, “opening too small at the seating plane” is actionable. “Looks different” is not enough for a repeat order. Add the sample date, reference number, measured values, open points and final approval owner to the project file.
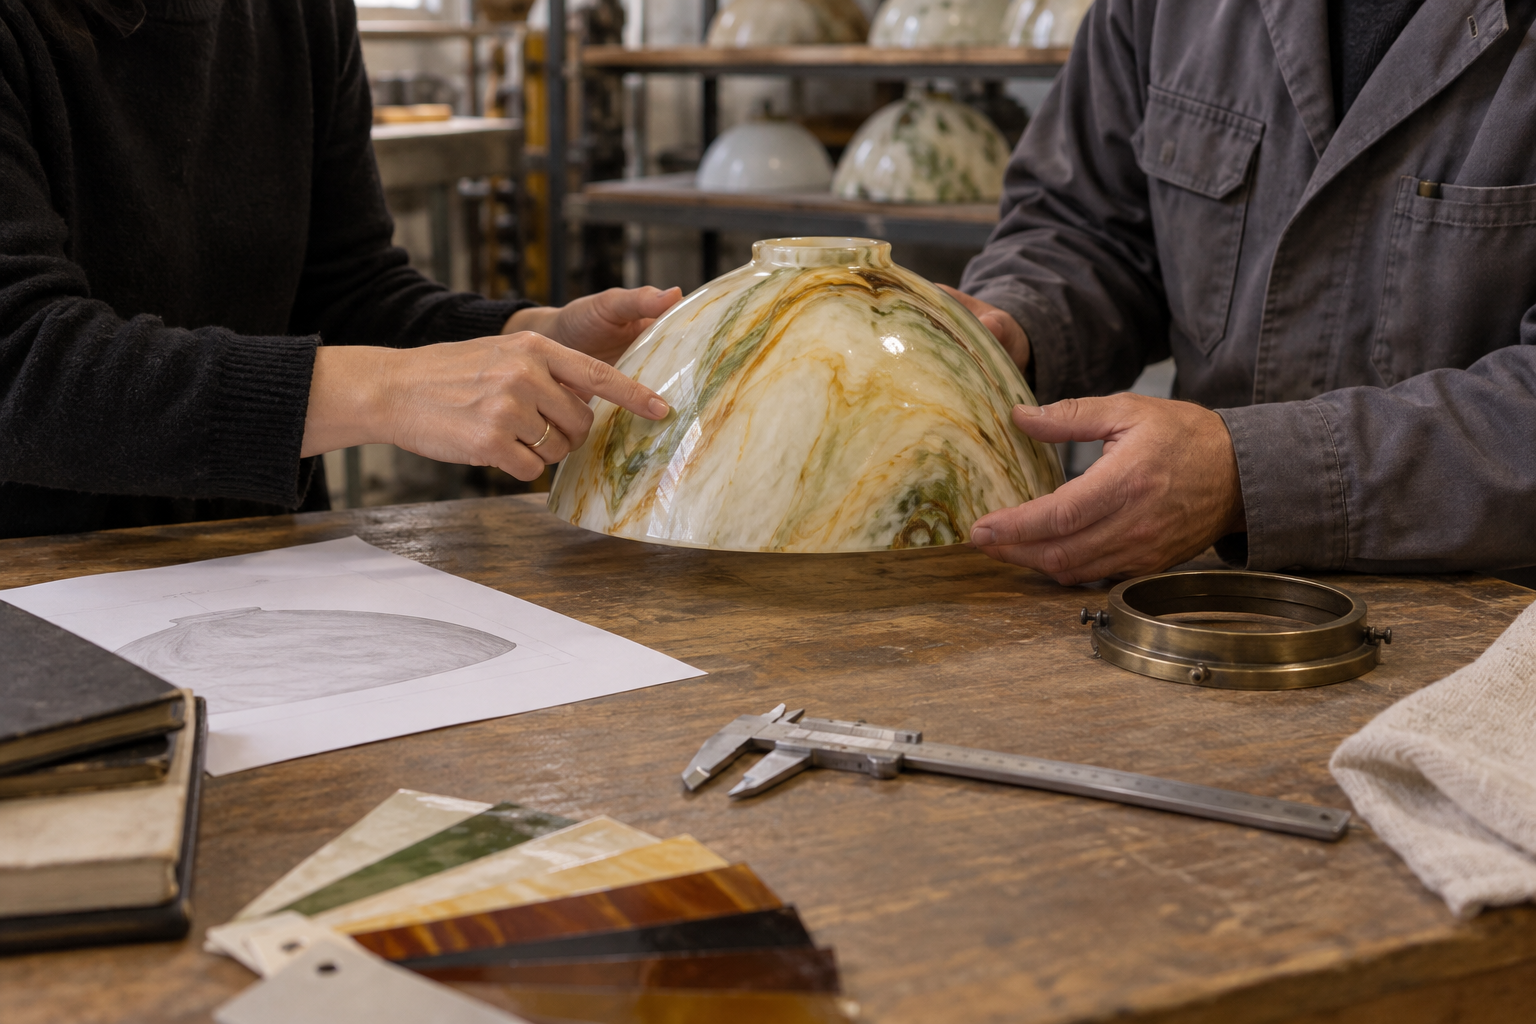
Quality inspection before shipment
Inspection should reflect the part risk. Check the fitter and rim first because those areas control compatibility and handling. Then review the profile, height, maximum diameter, surface condition, color direction, visible defects and group matching. The exact acceptance limits must be agreed for the project.
Separate acceptable variation from damage. Natural or designed marbling can vary from piece to piece. A chip at the seating edge, a crack, a sharp rim, a severe bubble at a load point or a profile outside the drawing can create a functional problem even when the color is attractive.
Use controlled lighting for visual checks and a repeatable measurement method for dimensions. Keep a group photo for multi-piece orders. If the buyer needs a specific inspection report, define the fields before production rather than asking for generic quality language after the shipment is ready.
| Inspection area | Example check | Buyer record |
|---|---|---|
| Opening and rim | Inside diameter, contact diameter, edge condition | Measurement sheet and close photo |
| Profile | Height, widest point, contour and symmetry | Profile gauge or drawing comparison |
| Surface | Cracks, chips, scratches, unacceptable marks | Controlled-light inspection record |
| Marbling | Base tone, contrast, opacity and agreed variation | Sample comparison and group photo |
| Hardware fit | Ring, gasket, screw or holder interaction | Fit trial or representative fixture check |
| Packing | Edge protection, separation and carton condition | Packing photo and unpacking record |
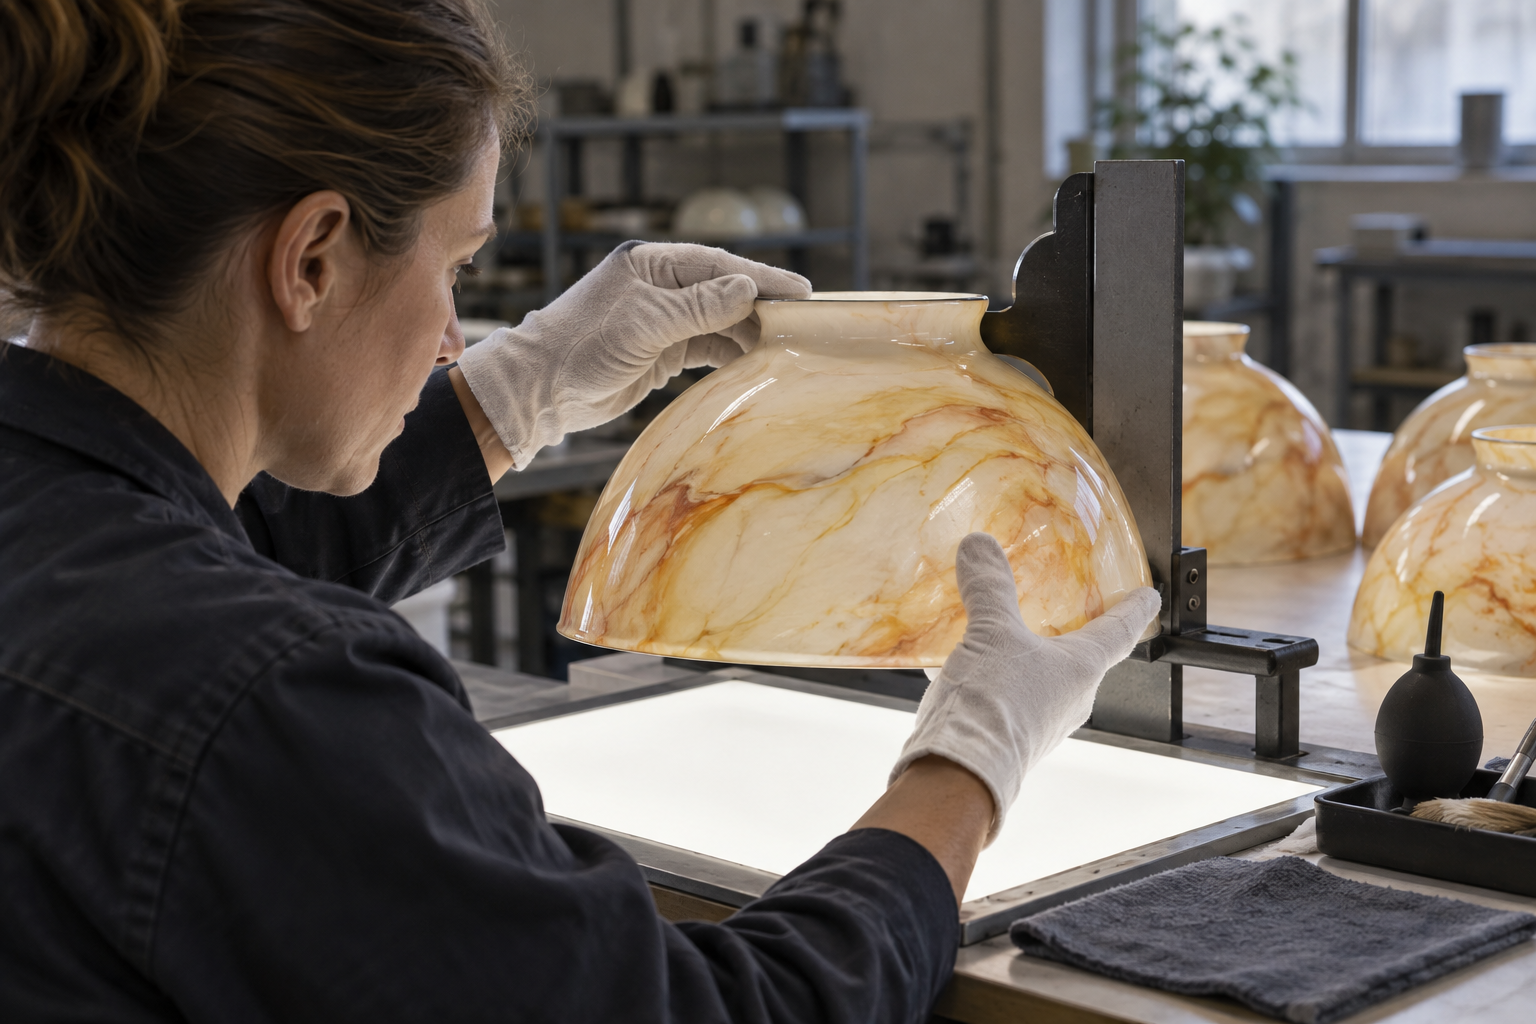
JX also maintains a glass lamp shade quality inspection checklist. Use the checklist to plan evidence, then agree the project-specific limits with the supplier and buyer.
Packaging and export handling
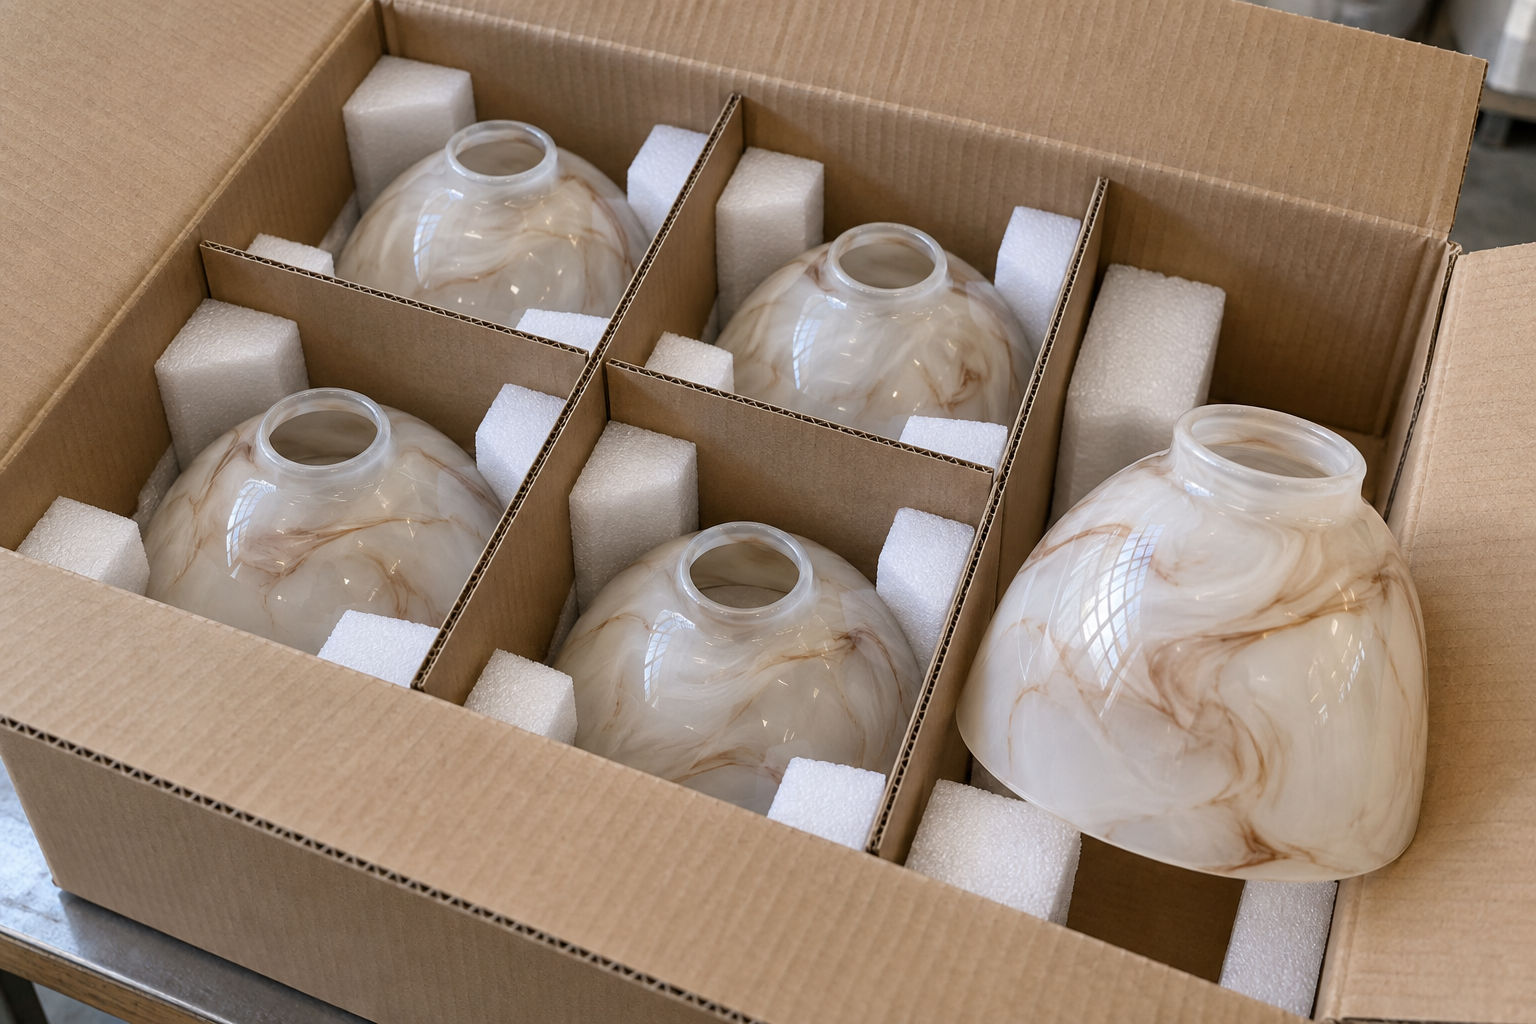
Marbled glass shades need protection at the rim, fitter and widest body area. The packing design should prevent direct contact between pieces and should stop the part from moving inside the carton. A carton that looks full can still be unsafe if the edge is carrying the load or if the divider does not match the profile.
For a repeat program, request a packing sample or clear packing photographs before the full shipment. Record the number of pieces per carton, separator material, orientation, edge guards, outer carton marks and any spare-piece plan. The correct arrangement depends on the shape and route, so packaging should be treated as part of the specification.
What to include in a slag glass lamp shade RFQ
An inquiry becomes quote-ready when it distinguishes known dimensions from open design choices. Send the complete fixture or holder context, not only a cropped product photo. If a historical shade is being reproduced, state whether the goal is an appearance match, a dimensional match, a functional replacement or a close reproduction with modern production control.
Include:
- A side view, opening view and complete fixture photo.
- Inside and outside fitter dimensions, seating plane, height, widest diameter and rim condition.
- A glass appearance brief covering base tone, marbling colors, opacity, gloss and acceptable variation.
- The profile drawing or a physical sample, with functional dimensions marked separately from visual targets.
- Lamp type, bulb position, clearance concerns and hardware that remains unchanged.
- Sample quantity, first production quantity, expected repeat pattern and group matching requirement.
- Forming and finishing questions, including color creation, edge treatment and sample route.
- Inspection evidence, packing expectations, destination market and requested commercial terms.
The custom lampshade RFQ builder can help organize the request. JX also offers a custom glass lamp shades manufacturer path for projects that need profile, material, finish and sample discussion. If several offers are being compared, the glass lamp shade supplier quote comparison guide keeps tooling, samples, inspection, packing and reorder questions visible.
Common slag glass shade sourcing mistakes
The following mistakes create avoidable rework:
- Treating slag glass as a universal material specification instead of defining appearance, opacity and process.
- Using an antique or vintage label as proof of age, maker or value.
- Ordering by the widest diameter while leaving the fitter, seating plane and rim unspecified.
- Approving a screen image without checking a physical sample under the intended lamp.
- Assuming a similar marbled shade will fit an existing gallery ring or retaining system.
- Asking for identical random marbling without defining a realistic visual range.
- Approving one shade when the fixture uses a matched group.
- Leaving edge finishing and packaging out of the quotation request.
- Treating the glass component as the electrical approval for the finished luminaire.
Buyer questions
What is slag glass?
Slag glass is a glass term commonly used for opaque or semi-opaque marbled glass with contrasting color movement. The Corning Museum of Glass pocket dictionary cross-references slag glass with marbled glass. In a lamp-shade project, the term describes an appearance family rather than one universal recipe, profile or fitter.
What colors are common in slag glass lamp shades?
White and violet, green and ivory, blue and white, brown and cream, and deep green combinations are common visual directions. They are not universal color standards. A buyer should provide a physical sample or approved color reference, plus opacity and lighting conditions, when the shade must match a collection.
How can I tell whether a lamp shade is slag glass?
Start with the visible color movement and check whether it appears through the body or only on the surface. Inspect the rim, seams, texture and any marks, then photograph the complete fixture. These observations can support a material description, but they do not prove age, maker, historical origin or value.
Can slag glass lamp shades be replaced?
Yes, a replacement can be developed when the supplier has enough evidence to review the profile and interface. Send the fitter opening, seating plane, height, widest diameter, rim, retaining hardware, fixture clearance and a finish reference. A new shade may reproduce the visual direction without being an antique original.
Is slag glass the same as stained glass?
No. Slag glass usually describes a single marbled or cloudy glass body. Stained glass is normally assembled from separate pieces joined by copper foil, lead came or another framework. A listing can use decorative language loosely, so inspect the construction and state what the supplier is expected to reproduce.
Is slag glass the same as milk glass?
No. Milk glass usually describes a white or softly opaque appearance. Slag glass usually adds contrasting marbled or stone-like color movement. A shade can look milky and marbled at the same time, but the two terms describe different aspects of the visual specification.
What measurements matter for a replacement shade?
Record the fitter opening at the seating plane, contact diameter, opening length, overall height, maximum body diameter, rim condition, retaining hardware and fixture clearance. Mark each value as inside, outside or centerline to centerline. A photo alone rarely confirms all of these dimensions.
How do I source slag glass shades for an OEM lighting program?
Send a profile drawing or sample, fixture interface dimensions, color and opacity direction, target quantities, matching requirement, lamp and clearance information, sample expectations, inspection points and export packing needs. Separate functional dimensions from visual targets so the supplier can discuss a realistic forming and approval route.
The shortest path to a quote-ready slag glass shade
For a replacement, identify the marbled appearance without overclaiming its history, then measure the surviving interface and clearance. For an OEM program, define the profile, fitter, opacity, color movement, edge treatment, sample route, inspection plan and packing configuration together. That gives a glass shade manufacturer a usable basis for process and quotation review.
JX can review a fixture photo, sample or drawing for a custom glass lamp shade project. Start with the specification and fit evidence, then request a sample that can be checked under the intended lamp and in the final hardware.