Quick answer
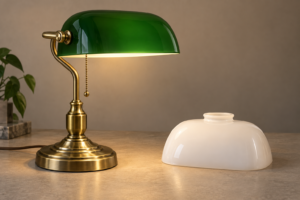
A bridge lamp glass shade is the removable glass cover used on a bridge-arm or downbridge table or floor lamp. The right replacement is matched by the shade holder and fitter, not by the visible diameter alone. Many older bridge fixtures use a 2 1/4-inch fitter, but that size is common rather than universal. The shade lip, holder thread, seat depth, body diameter, height, socket clearance and finish all need to agree.
For a replacement project, photograph the complete fixture, measure the metal holder and surviving glass, and record each measurement as inside, outside or contact diameter. For a lighting brand, restoration supplier or distributor, send a drawing or sample together with the glass type, finish, target quantity, packaging requirement and intended repeat schedule. JX can review the component with the engineering team and confirm the sample and quotation route based on the drawing, glass type and production method.

This guide is written for lighting manufacturers, lighting brands, restoration suppliers, wholesalers, product designers and procurement teams. It covers fixture identification, fitter checks, sizing, glass diffusion, production choices, inspection, packaging and the information needed for a useful OEM or replacement quotation.
What is a bridge lamp glass shade?
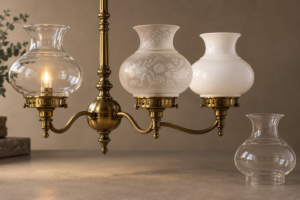
A bridge lamp has an arm that reaches over the working area, usually from a floor-lamp or table-lamp body to a socket positioned above or beside the user. Older examples are often called bridge arm lamps, downbridge lamps or bridge floor lamps. Their shades may be glass, fabric, metal or mica. This article focuses on replaceable glass shades and glass components made for those fixtures.
The shade has two jobs. It must stay securely on the holder, and it must produce the intended visual and optical result. A small mismatch at the fitter can make a shade rock, rattle, sit at an angle or fail to engage the holder. A correct fitter with the wrong depth can push into the socket cover or leave the bulb too exposed. For a production buyer, the glass profile is also part of the fixture identity, so repeatability matters as much as the first sample.
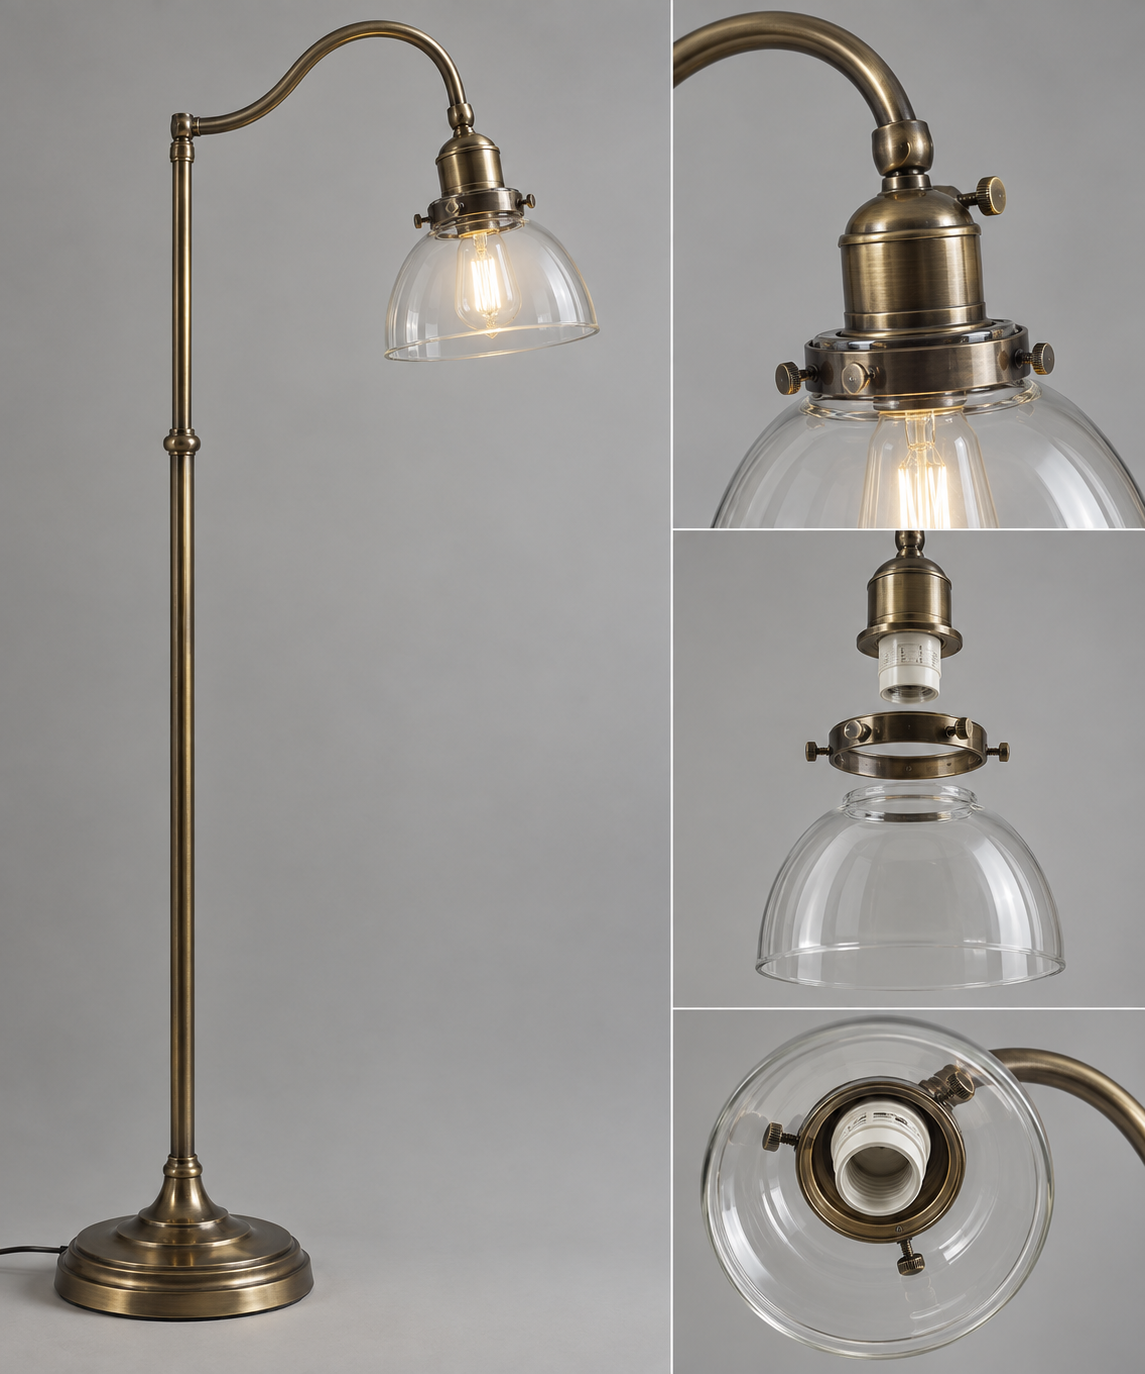
Bridge lamp shade terminology is not perfectly consistent across retailers. A listing may say bridge lamp shade, bridge arm glass shade, downbridge shade or replacement glass for a floor lamp. Use the fixture photograph and the holder dimensions to confirm the part behind the search phrase.
How to identify a bridge-arm or downbridge fixture
Start with the arm, not the shade. A conventional floor lamp often places the socket above the base on a vertical stem. A bridge lamp uses a horizontal or curved arm to move the socket over a reading chair, table or other target area. The socket may point downward, forward or slightly outward. A table version uses the same idea on a shorter base.
Look for these clues:
- The socket is offset from the main stem by a curved or angled arm.
- The glass sits in a holder at the end of the arm rather than on a standard harp.
- The shade opening faces the holder and has a lip, thread or ring contact.
- The fixture is being restored as a complete assembly, not just fitted with a fabric shade.
Downbridge is an application description, not a guaranteed fitter specification. Two lamps can look similar from the front and use different holders. Before ordering a replacement glass shade, take a side photograph that shows the arm, socket direction and holder. Then take a close photograph of the fitter end.
Bridge lamps are common in restoration and period-style lighting, but the same shade logic applies to small custom collections. If a lighting brand wants a bridge-arm profile in several finishes, the holder section and the visible silhouette should be controlled as separate parts of the product drawing.
Bridge lamp glass shade fitters and attachment checks
The fitter is the part of the glass that meets the metal holder. On many early bridge fixtures, a 2 1/4-inch fitter is the first size to check. In practical terms, the number describes a nominal opening or mating diameter, but listings can use the term differently. Confirm whether the stated dimension is the glass lip, the holder thread, the holder inside diameter or another contact feature.
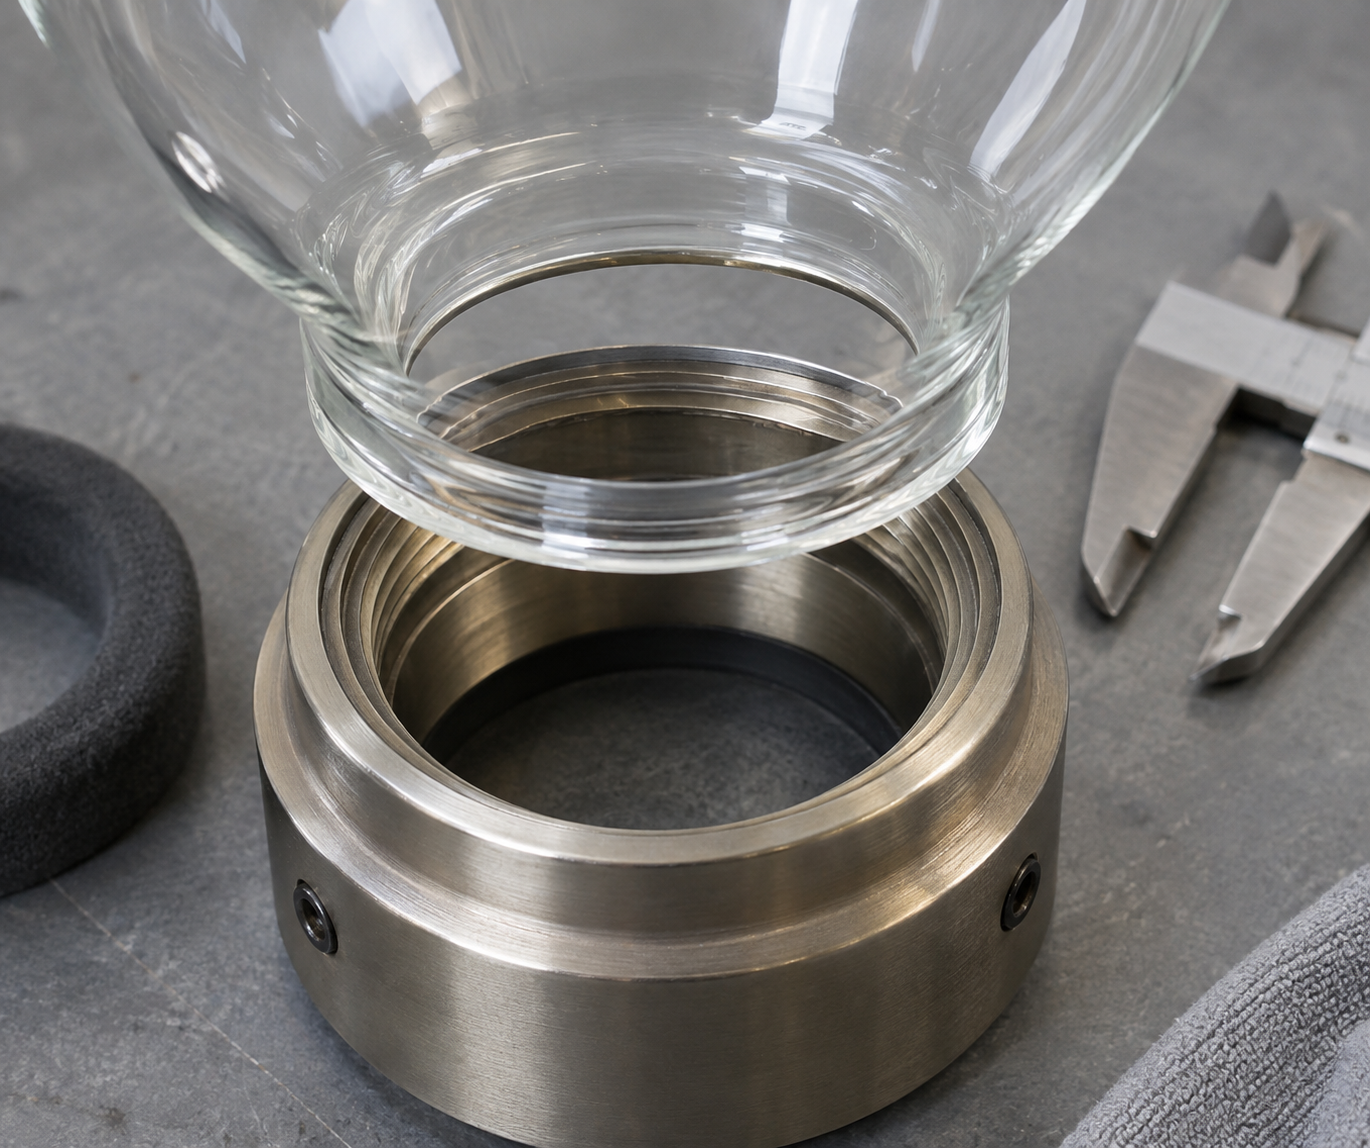
Do not treat a 2 1/4-inch fitter as a universal bridge lamp standard. Check the actual holder, including the thread or retaining ring, the contact surface, the seat depth and the amount of clearance around the socket. A shade can have the right nominal diameter and still be wrong because the lip is too thick or the thread starts at a different position.
For a wider explanation of fitter terminology and compatibility questions, see the existing lamp shade fitter compatibility guide. The bridge lamp guide below adds the fixture-specific checks that a general fitter list cannot answer.
| Attachment description | What the buyer should verify | Typical bridge-lamp risk | Best evidence for a quote |
|---|---|---|---|
| Nominal 2 1/4-inch fitter | Which two surfaces create the nominal size, lip thickness and seat depth | The listing size matches the holder name but not the glass contact surface | Glass sample plus holder photograph and section sketch |
| Threaded or screw-on glass interface | Thread form, start position, engagement length and rotation stop | The shade begins to cross-thread or stops before the shoulder seats | Thread detail, mating metal part and controlled diameter |
| Ring or gallery seated lip | Lip outside diameter, holder inside diameter, support width and gasket | The glass rocks because the lip is narrow or the ring is uneven | Holder ID, glass lip OD, seat depth and rim photograph |
| Clamp or retaining screw arrangement | Number and position of screws, contact height and clearance | A screw touches the glass edge or creates a point load | Complete holder, hole or contact layout and sample |
| Custom or uncertain interface | All contact surfaces and the direction of insertion | A shape looks correct but cannot be installed without forcing it | Complete fixture mockup or the original metal holder |
If the shade holder is threaded, do not use a caliper reading as the only thread specification. The engineering team may need the mating component or a thread section. If the holder is ring retained, the important dimensions may be the contact seat and lip rather than the largest visible diameter.
Bridge lamp glass shade size chart
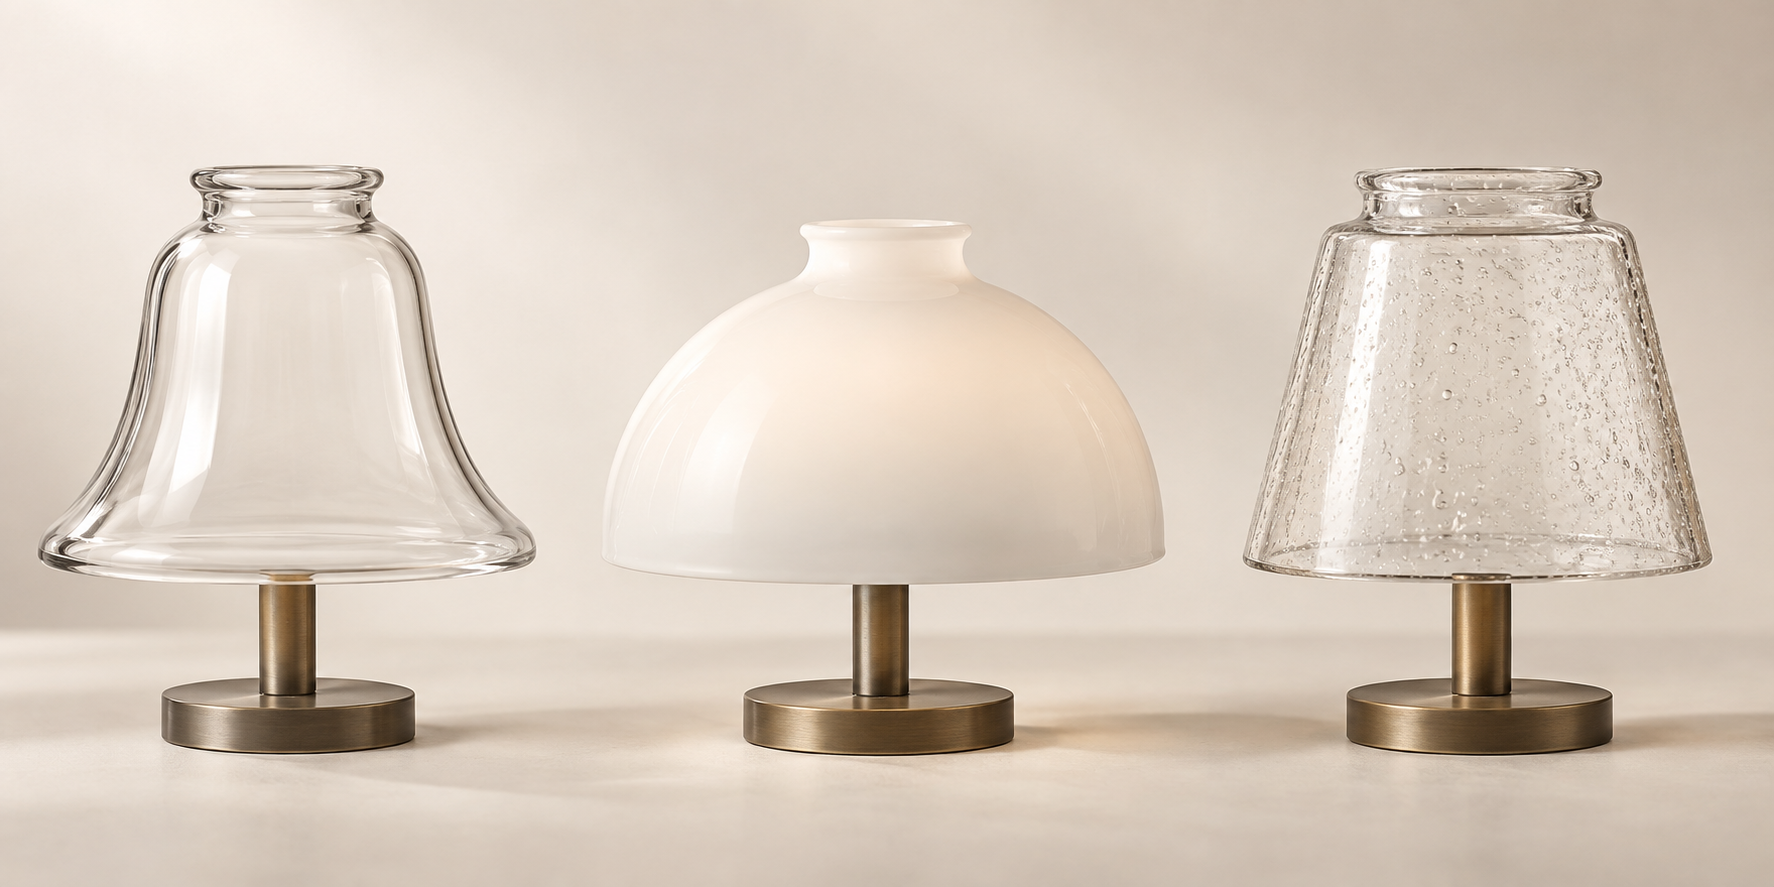
There is no single bridge lamp shade diameter that fits every fixture. The useful size record combines the fitter with the body profile and the clearance around the socket. The ranges below are planning groups for discussion, not a promise of a standard catalog size.
| Planning group | Useful design description | Dimensions to control | Where the fit can fail |
|---|---|---|---|
| Compact shade | Short bell or shallow dome for a small table bridge lamp | Fitter, body diameter, total height and socket clearance | The arm or socket becomes visually heavy if the body is too small |
| Medium shade | Balanced bridge-arm replacement with a visible shoulder | Fitter, widest diameter, shoulder position, height and rim | The body clears the holder but touches the socket cover |
| Tall shade | Deeper bell or elongated profile for a longer arm | Fitter, maximum diameter, height, bulb position and lower opening | Excess depth changes the light distribution or reduces clearance |
| Relief or ribbed shade | Pressed or textured surface used as a period-style detail | Pattern repeat, wall thickness, fitter, profile and edge finish | Pattern shrinkage or mold mismatch changes the visual rhythm |
| OEM family | Several profiles that share a holder strategy | Controlled drawing for every size, common interface and pack plan | A single approved sample does not prove consistency across the family |
For a replacement, measure the surviving shade if it is safe to handle. For a new collection, start from the complete fixture drawing and show the fitter section, maximum body diameter, overall height, shoulder location and bulb envelope. If the size is still under discussion, send a simple mockup or paper profile so the glass maker can flag clearance problems before mold work begins.
How to measure a bridge lamp glass shade replacement
Measure the interface first. A front photo is useful for identifying the style, but it cannot establish production dimensions. A supplier needs to know which surface supports the glass and which surface is only decorative.
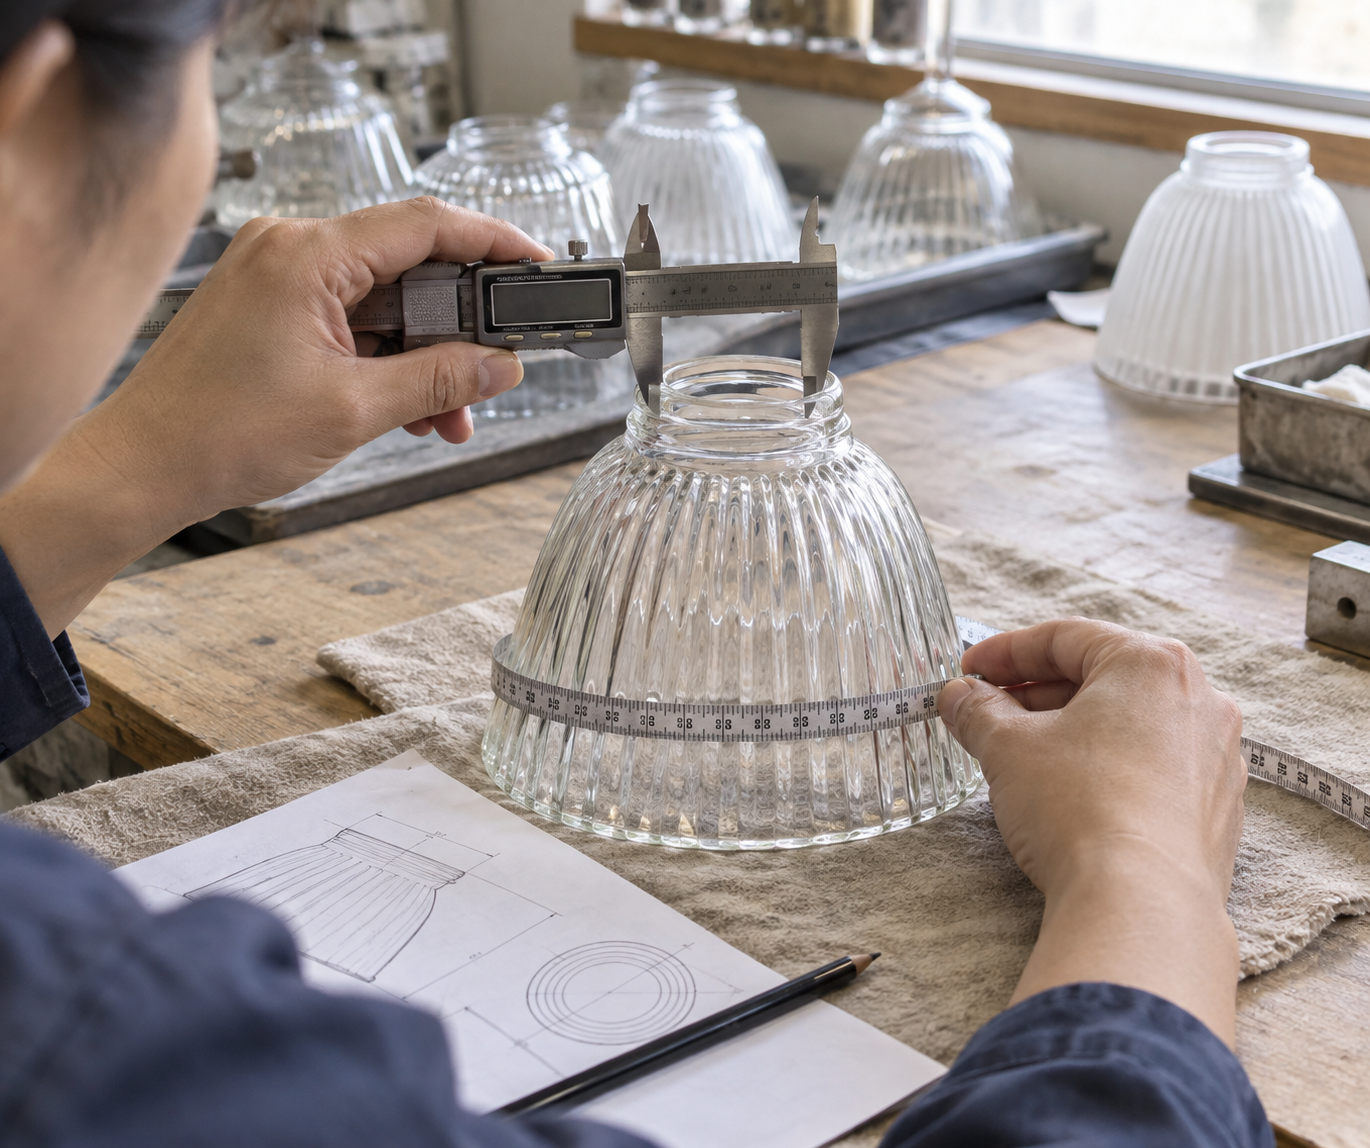
Use this sequence:
- Make the fixture safe. Switch off power at the appropriate isolation point and let the lamp cool. If electrical parts must be disconnected, use a qualified person. The glass supplier usually needs the detached shade and mechanical evidence, not a live fixture.
- Photograph the assembly. Take front, side, underside and fitter-end photographs. Put a ruler beside the part for scale, but do not turn the photograph into the only dimension.
- Measure the fitter. Record the glass opening, lip outside diameter, holder inside diameter or thread area. Write inside diameter, outside diameter or contact diameter beside every value.
- Record the seating depth. Measure from the holder seat to the shoulder that limits insertion. A fitter can match in plan view and still bottom out too early.
- Measure the glass profile. Record the widest outside diameter, overall height, shoulder position and lower opening. Measure from the actual seating line, not from a decorative metal edge.
- Check clearance. Note the distance to the socket cover, bulb, arm, finial and nearby metalwork. Include the intended bulb envelope for a new design.
- Inspect the rim. Record chips, grinding, seam visibility, waviness or heat marks. Photograph the rim before packing a fragile sample.
- Send evidence together. A surviving shade, holder, profile template or complete mockup can resolve ambiguity faster than a list of approximate numbers.
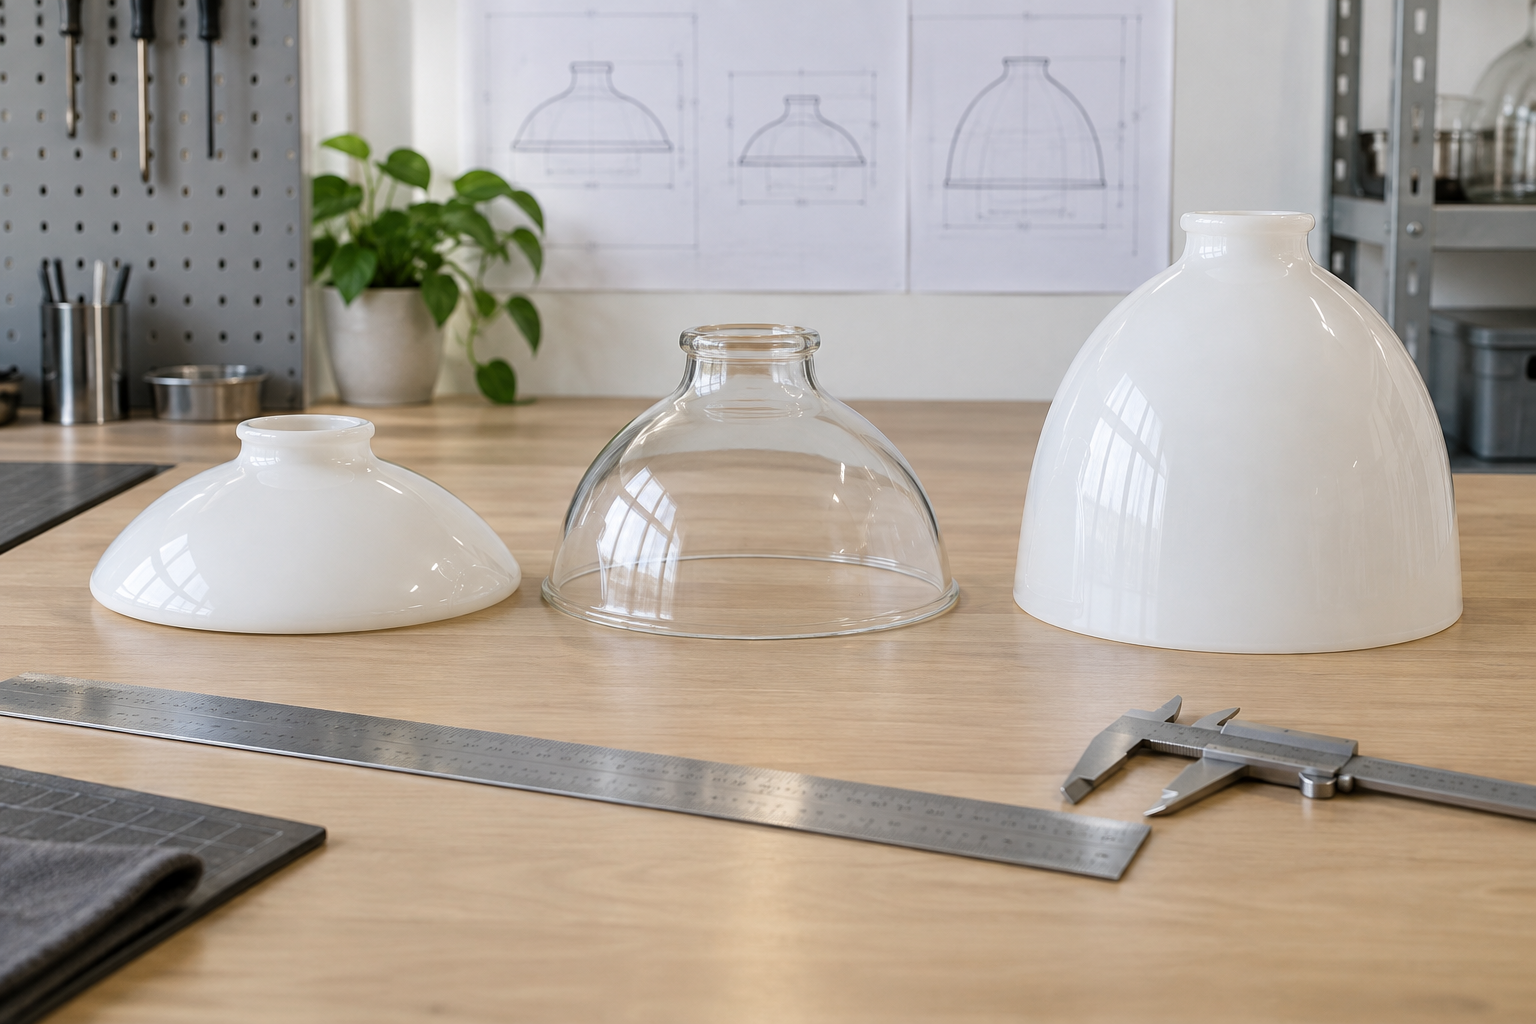
Do not press hard with calipers against a thin or damaged rim. Wrap a broken sample before shipment and ask the supplier for a packing recommendation. If only a photograph remains, mark the image as reference evidence and expect a sample approval step before mass production.
Glass finishes and light diffusion for bridge lamps
The shade finish changes both the appearance of the fixture and the comfort of the light. Choose the finish with the bulb position, desired glare level, cleaning expectation and brand look in mind.
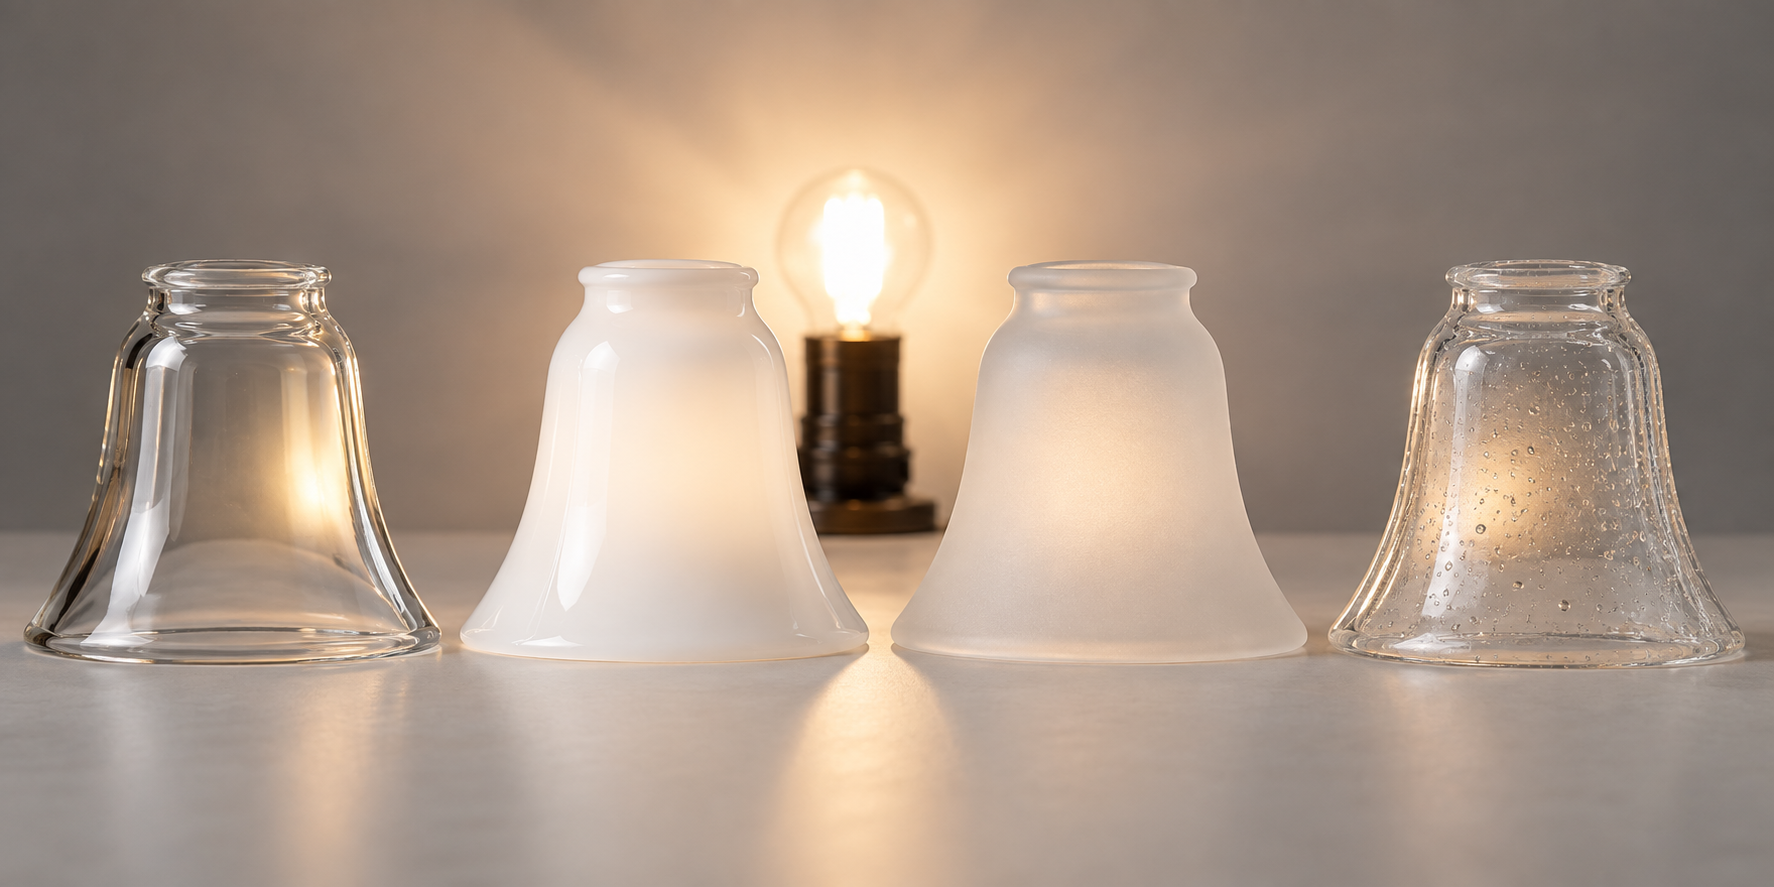
| Glass option | Light behavior | Visual result | Procurement notes |
|---|---|---|---|
| Clear glass | Highest direct transmission and the clearest view of the lamp source | Shows the bulb and any pattern or edge detail | Useful when sparkle or a visible filament is part of the design, but glare needs review |
| Opal or milk glass | Broad, soft diffusion with less visible source detail | Even white or warm glow depending on the glass and lamp | Confirm opacity, color consistency and whether the surface is glossy or satin |
| Satin or frosted glass | Diffuses the source and reduces sharp reflections | Quiet, low-glare appearance with a soft surface | Confirm whether frosting is acid etched, blasted, coated or another process |
| Seeded glass | Adds small bubbles or texture that scatter some light | Decorative, varied surface with a handmade feel | Define acceptable variation and keep bubbles away from critical fitter areas |
| Pressed relief glass | Uses a repeat pattern to break and redirect light | Period or decorative texture with stronger surface identity | Control mold wear, pattern registration, wall thickness and cleaning access |
Color should be specified separately from finish. A white opal shade, a warm milk shade and a satin clear shade can produce different results even when the retailer uses the same word for all three. If a lighting brand needs multiple sizes, approve a reference sample and define how color and opacity will be compared during repeat production.
Pressed glass versus mouth-blown production
The production method should follow the quantity, shape, pattern and repeatability requirement. It is not a simple quality ranking.
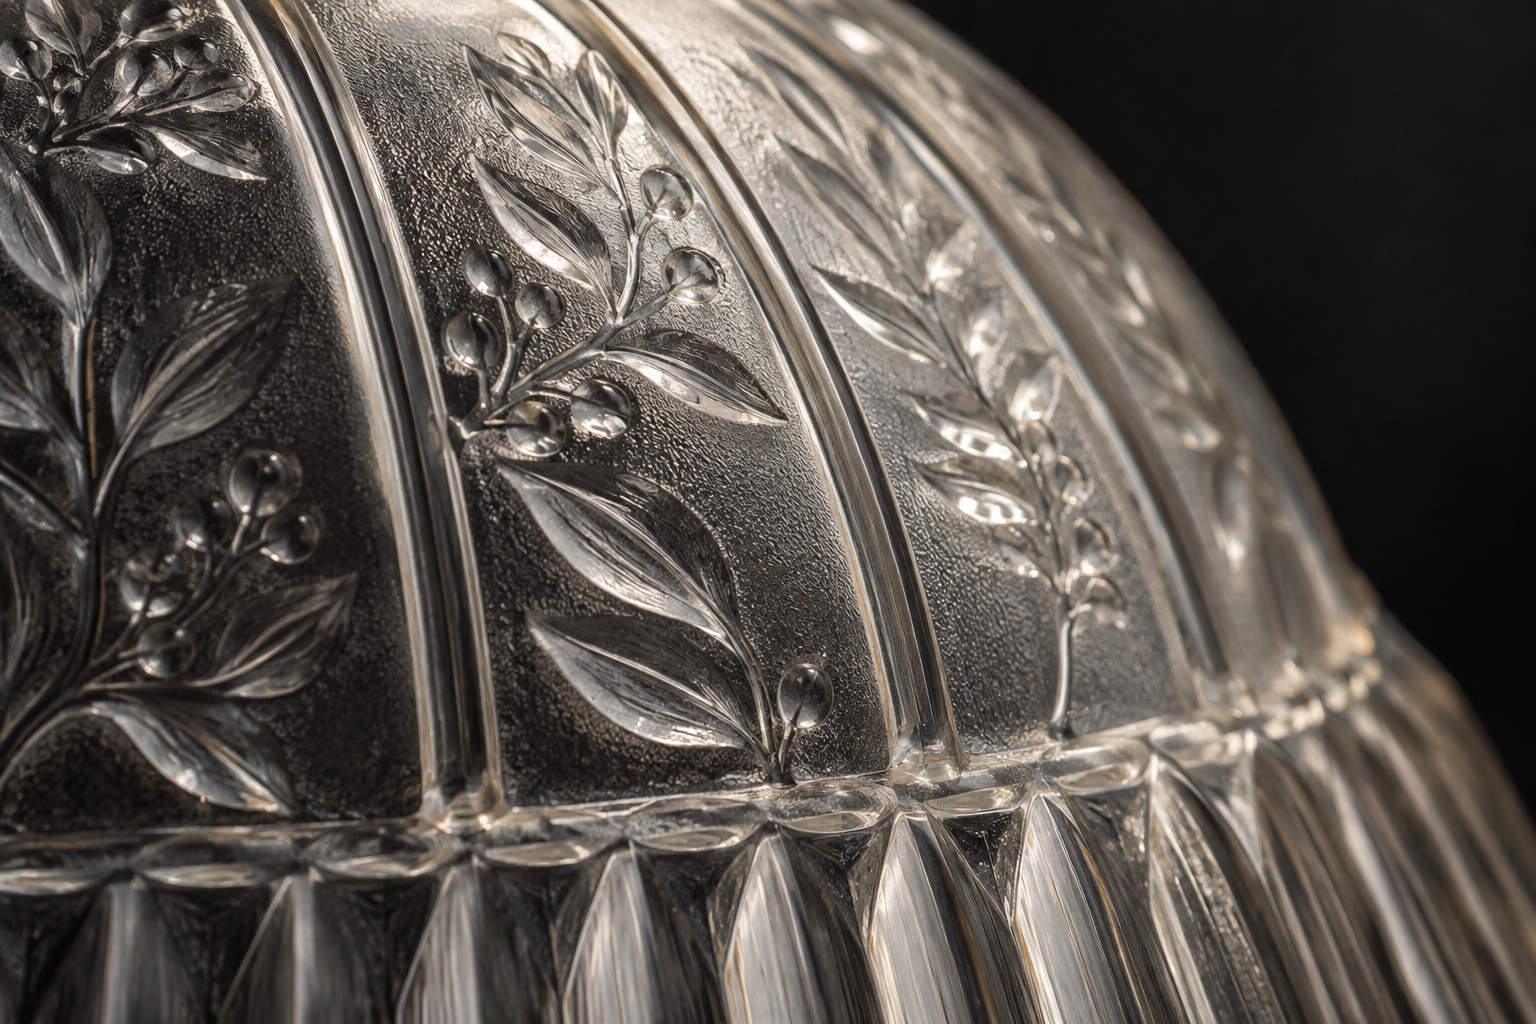
Machine-pressed glass
Pressed glass uses a mold and a pressing operation to create a repeatable profile or relief pattern. It is often a practical route for a lighting brand that needs consistent dimensions and a repeatable decorative surface. The mold design must account for shrinkage, parting lines, draft, release and the areas that will later be ground or finished.

The buyer should ask where the mold seam appears, how the fitter is finished, what variation is expected after cooling and how the first article will be compared with the drawing. A pressed shade can still have handmade variation in color, cooling behavior or surface quality, so production method alone does not replace inspection.
Mouth-blown glass
Mouth-blown glass can suit a custom profile, a smaller run, a softer silhouette or a design that benefits from natural variation. The supplier must still control the fitter, critical dimensions, rim safety and approved visual range. Handmade does not mean that every dimension is open ended.
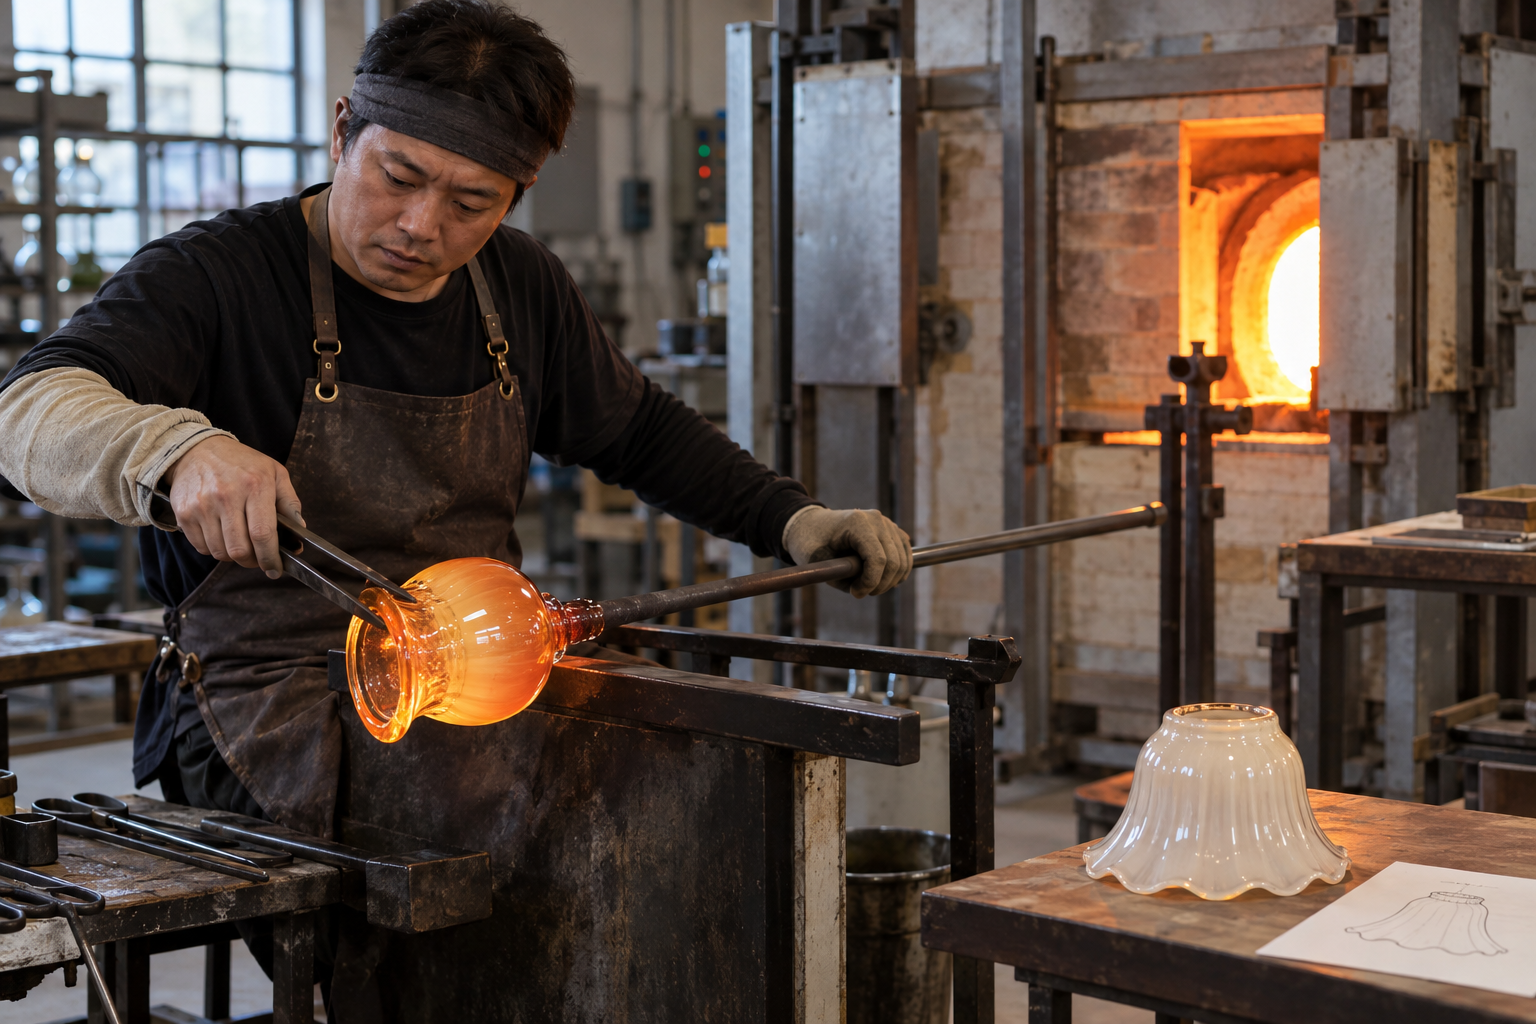
For a replacement shade, ask which dimensions are controlled and which visual features may vary. For an OEM program, decide whether the design language calls for a pressed pattern, a blown profile or a combination such as a formed body with a separately finished fitter.
Custom mold development and dimensional control
Custom mold work should begin only after the shade interface and design intent are stable. A clear development package normally includes:
- A side profile with named dimensions and a section through the fitter.
- The intended glass type, finish, color and surface pattern.
- The holder or fixture reference, including clearance information.
- The quantity plan, sample count and approval method.
- The areas where a seam, parting line or finish transition is acceptable.
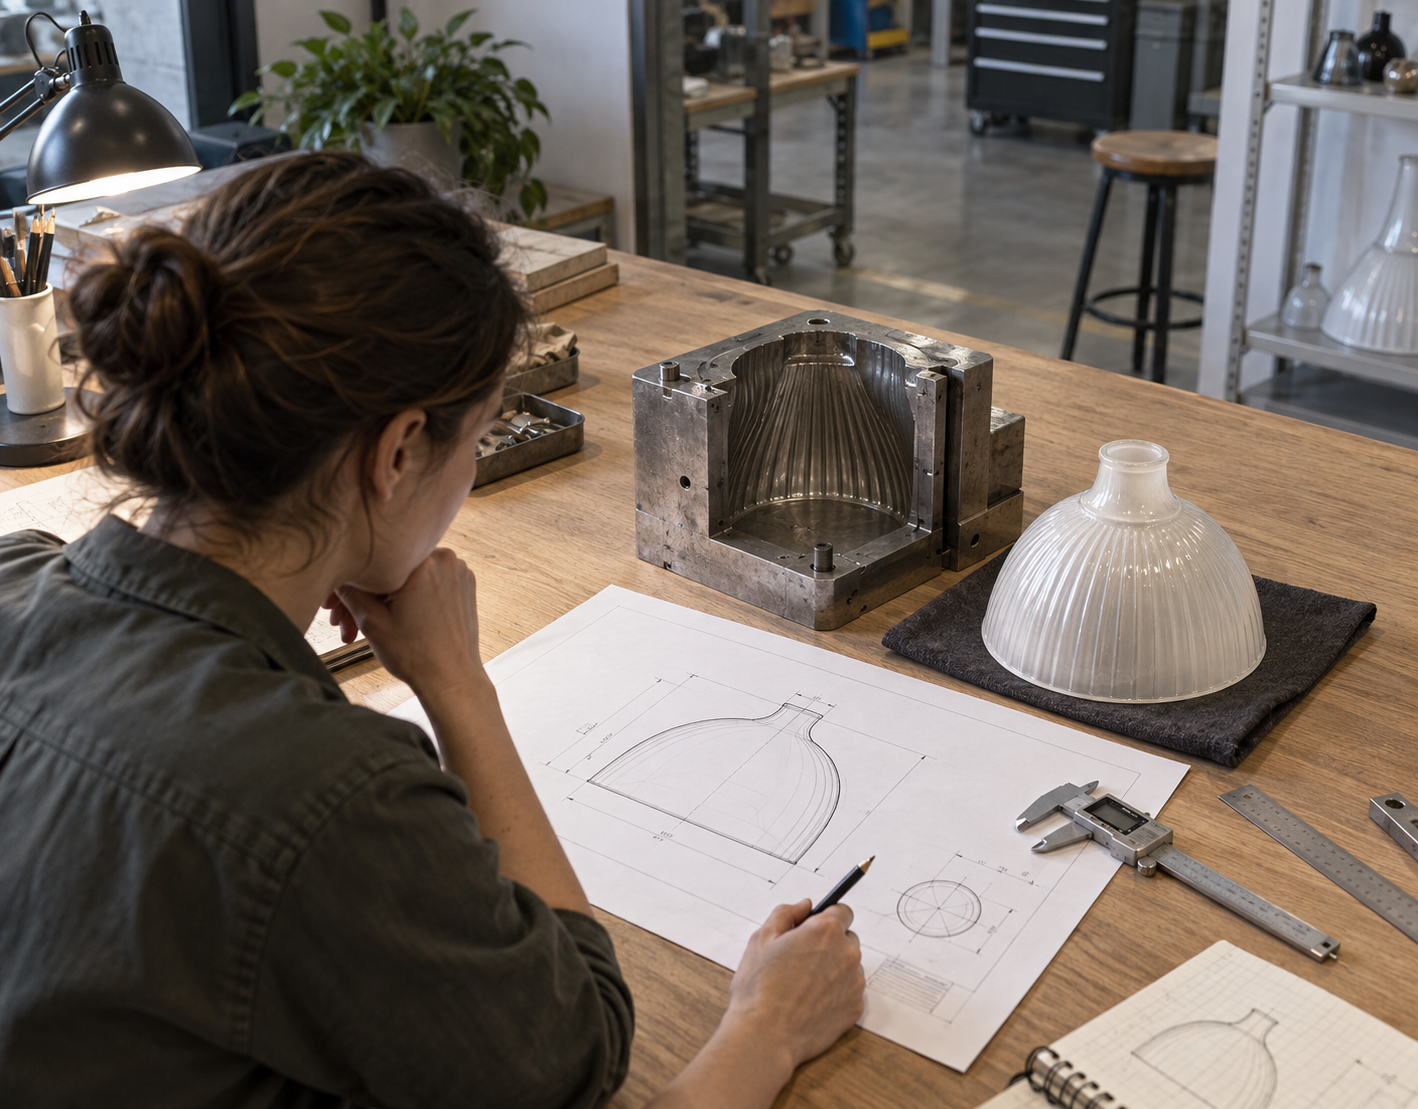
Do not treat a nominal size as a complete drawing. State the tolerance for the fitter, the body diameter, the height, the shoulder and any hole or thread feature. The practical tolerance depends on the glass type, production method, mold geometry and inspection method. Confirm with our engineering team based on the drawing, glass type and production method.
Glass thickness also needs context. A uniform wall is not always possible in a curved or pressed shade, and the fitter edge may require a different local condition from the body. Instead of asking for a single thickness number without a drawing, identify the areas that affect strength, weight, light transmission and fit. The final recommendation should be confirmed against the approved sample and the completed fixture.
Edge finishing, inspection and packaging
The fitter edge is a functional surface. It can be fire polished, ground, seamed or finished through another controlled process. The correct choice depends on the holder, the required feel at installation, the visible rim and the production method.
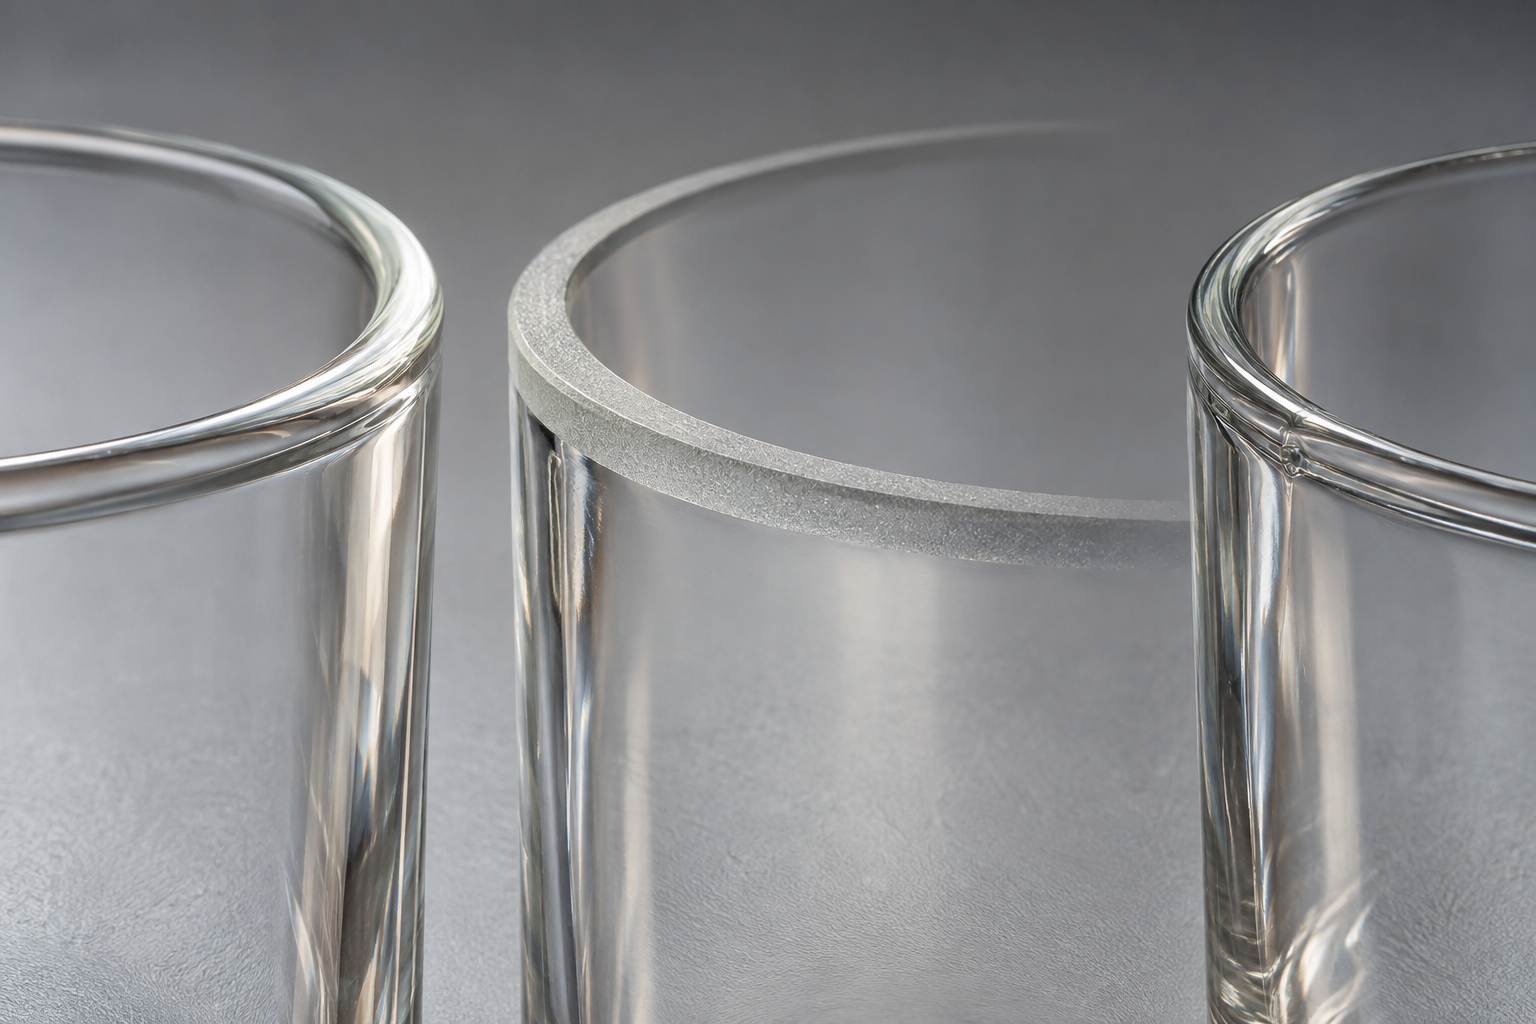
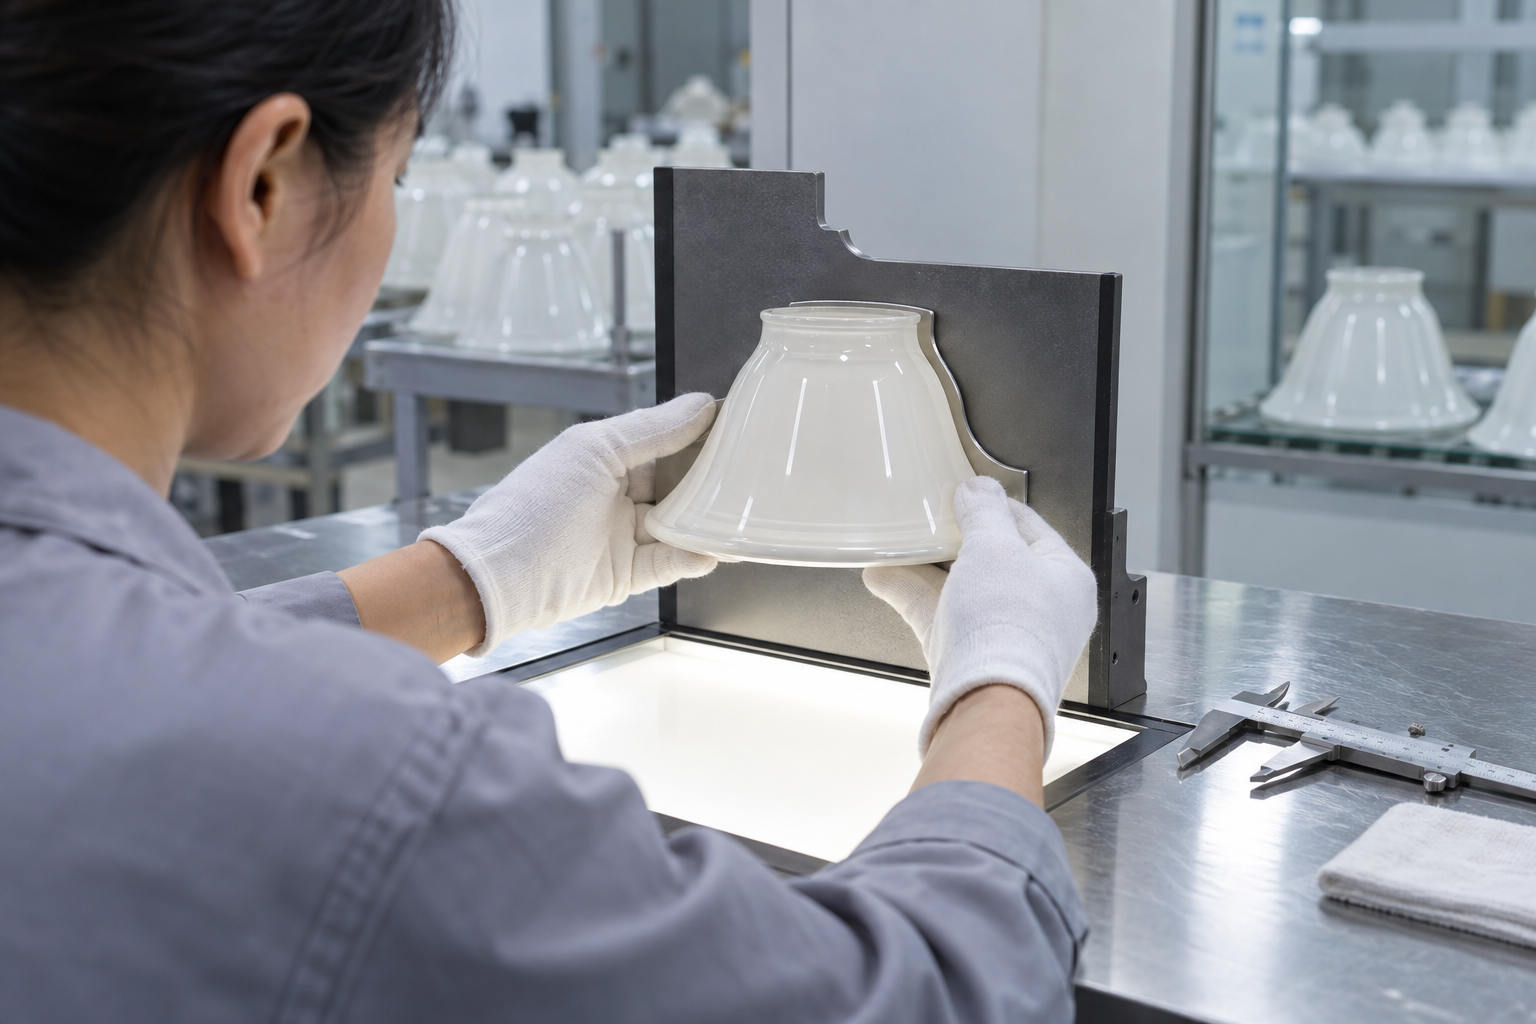
At minimum, a bridge lamp glass shade inspection plan should address:
- Fitter diameter and seating condition.
- Overall height, maximum diameter and profile against the drawing.
- Rim integrity, chips, cracks, sharp points and visible damage.
- Surface defects, pattern registration, bubbles or seeds within the agreed range.
- Color, opacity and finish consistency against the approved sample.
- Cleanliness and protection of the contact area before packing.
Packaging needs to protect the fitter as well as the widest body. Individual sleeves, dividers, molded supports, edge protection and a strong outer carton may all be needed. The best pack is not chosen from the shade photo alone. It depends on the glass profile, weight, number of pieces per carton, transport route and whether the order contains matched sets.
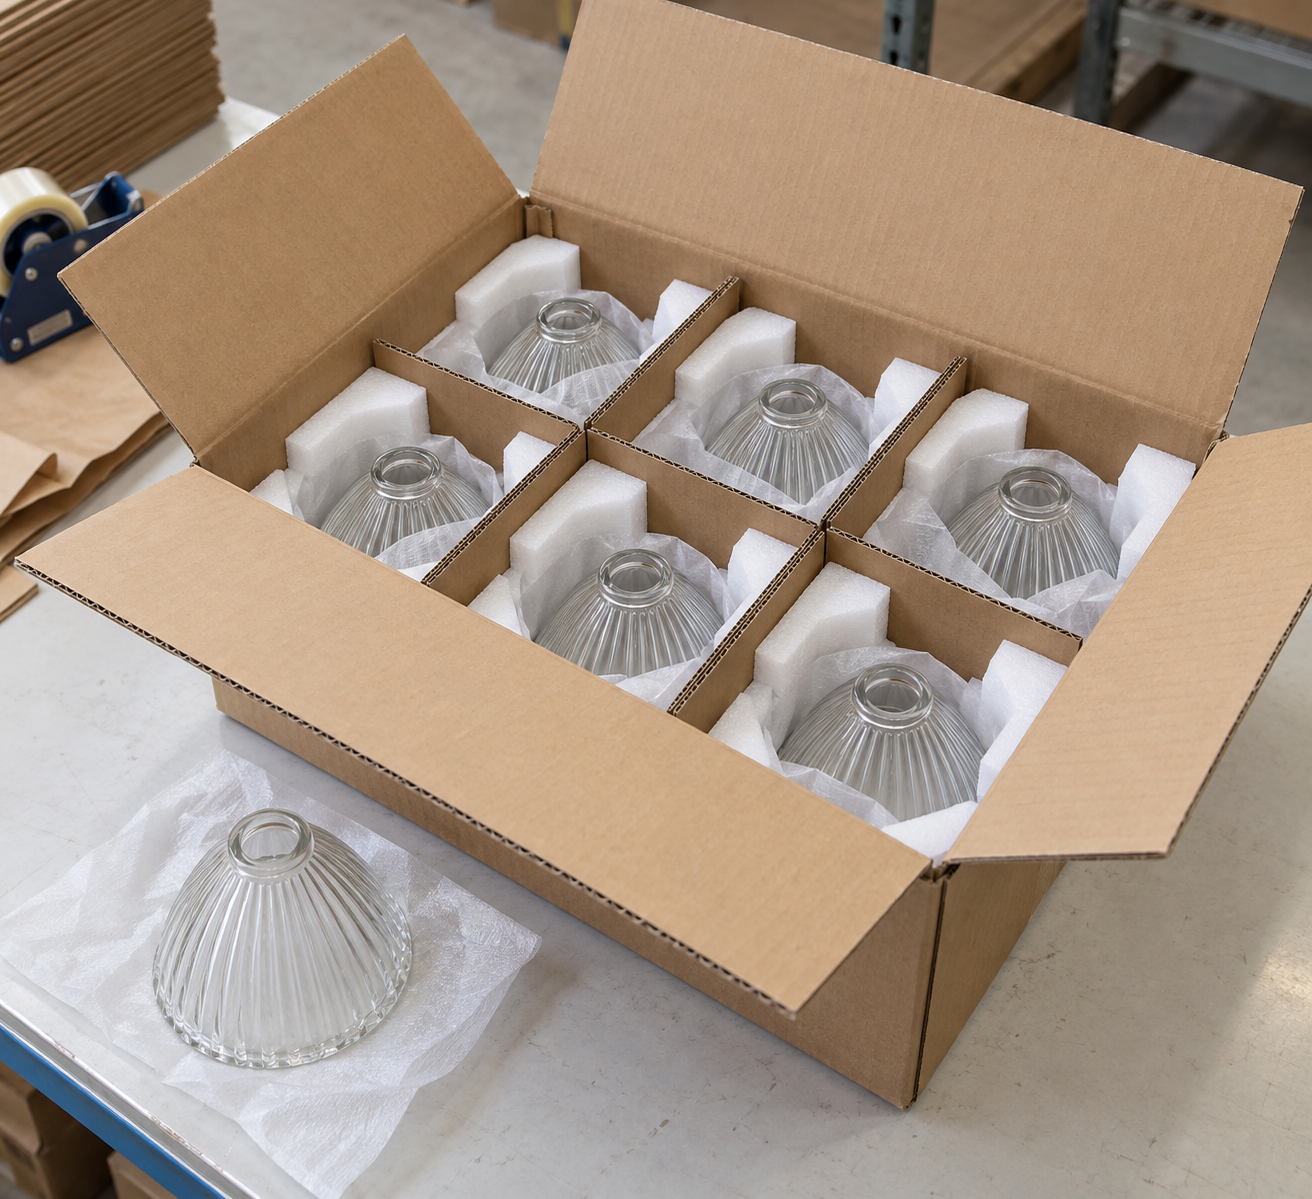
If the shipment is a replacement project, label the inner packs by fixture or room when that reduces installation mistakes. If it is a new OEM program, agree on pack quantity, spare policy, carton marks and reorder identification before mass production. Confirm all packaging details with the project team rather than assuming a standard carton is suitable.
Replacement project versus new OEM project
The two project types can use similar glass, but the information and approval path are different.
| Project type | Main buyer question | Recommended starting evidence | Approval focus | Commercial next step |
|---|---|---|---|---|
| One-off restoration | Can this shade fit the existing bridge lamp? | Holder, surviving glass, photographs and measurements | Fitter engagement, clearance, profile and finish match | Sample or replacement quotation |
| Distributor replacement range | Can several common fixtures be covered with repeatable references? | Product family list, sample set and target sizes | SKU separation, labeling, carton protection and reorder control | Assortment and wholesale quotation |
| Lighting brand refresh | Can the existing bridge fixture receive a new glass look? | Fixture drawing, visual reference and design intent | Sample appearance, interface and installation test | Development sample and tooling review |
| New OEM collection | Can multiple shades share a controlled product family? | Drawings, quantity forecast, finish brief and packaging plan | Mold approval, first article, dimensional record and production sample | Tooling, sampling and mass-production plan |
For any project, the engineering team should confirm the fit from the actual drawing, sample or holder. Do not promise a fixed MOQ, tolerance or lead time before the glass type, process, tooling and order quantity are reviewed.
Buyer RFQ checklist for bridge lamp glass shades
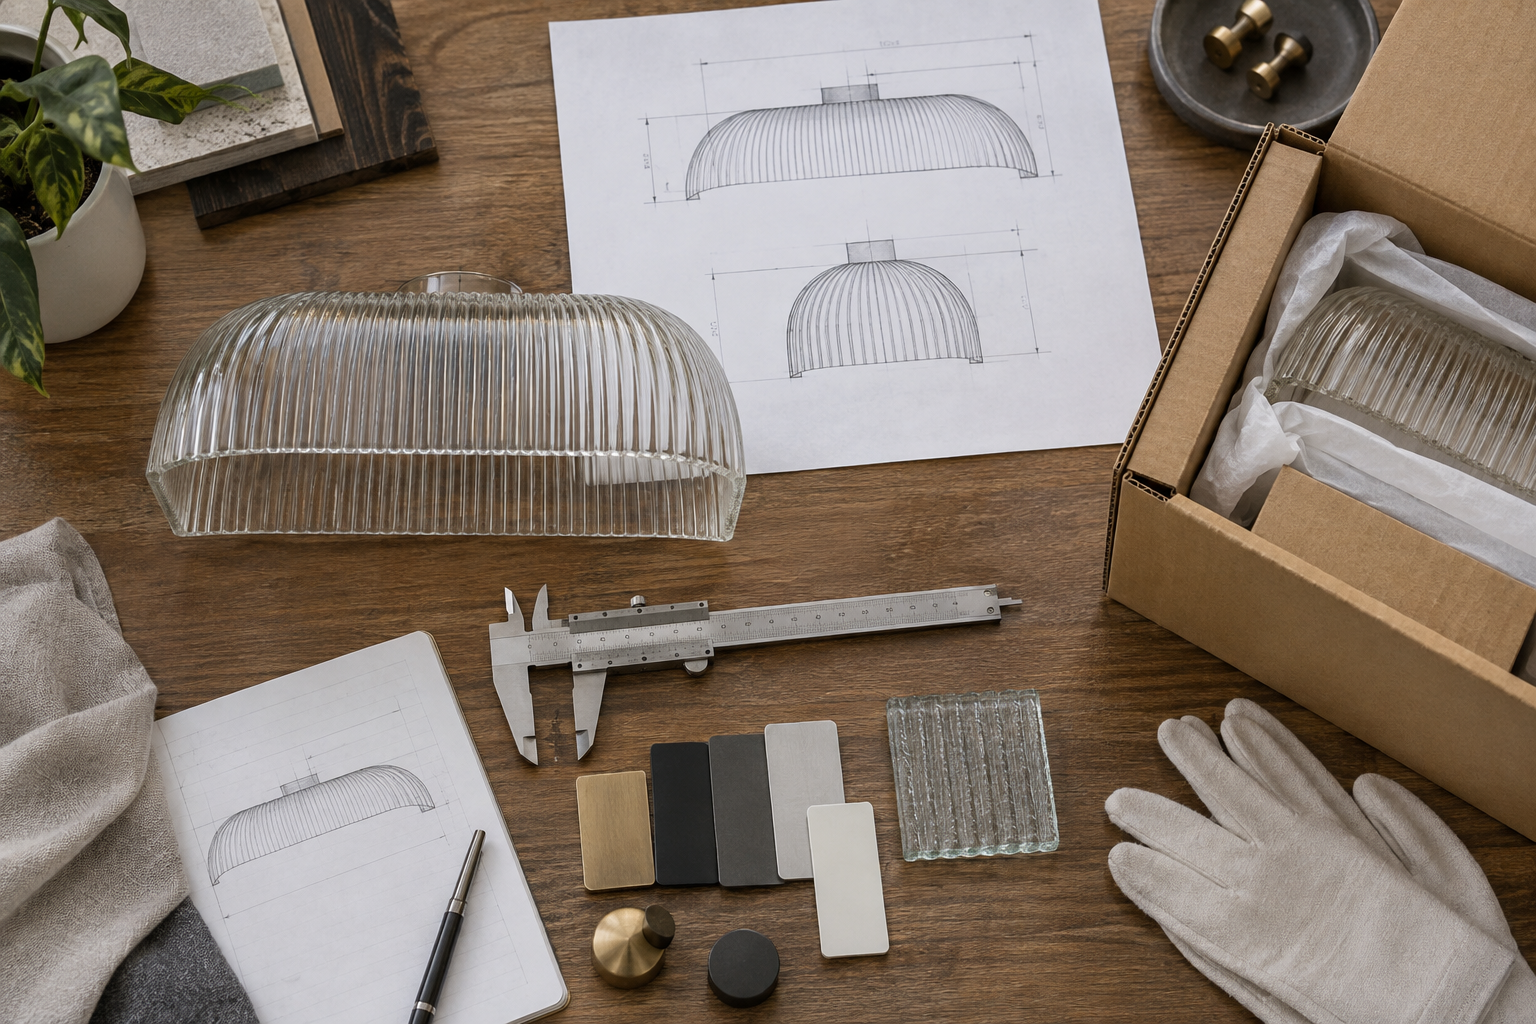
Send the following information when requesting a quotation:
| RFQ item | What to provide | Why it matters |
|---|---|---|
| Fixture and application | Bridge arm, downbridge, table lamp or floor lamp; new or replacement | Confirms the use case and clearance assumptions |
| Fitter evidence | Holder photograph, glass opening, lip or thread dimensions and section sketch | Separates a real interface match from a visual match |
| Glass profile | Overall height, maximum diameter, shoulder and lower opening | Allows the shape and mold route to be reviewed |
| Material and finish | Clear, opal, milk, satin, frosted, seeded, pressed relief or another brief | Connects appearance with diffusion and processing |
| Quantity | Sample count, first order quantity and expected repeat quantity | Helps compare hand-made, pressed and tooling routes |
| Quality requirements | Critical dimensions, visual limits, rim condition and sample approval method | Turns a general request into an inspection plan |
| Packaging and delivery | Individual protection, pack quantity, destination and labeling needs | Allows a practical export packing recommendation |
If exact dimensions are missing, send the part and explain what is known. A complete holder or one surviving shade is often more valuable than a long description using uncertain terms. For a new design, a dimensioned drawing is the fastest way to start a meaningful engineering review.
Frequently asked questions
What size glass shade fits a bridge lamp?
Many vintage bridge lamps use a 2 1/4-inch fitter, but there is no universal bridge lamp shade size. Confirm the glass lip, holder, seat depth, body diameter and height on the actual fixture before ordering.
Are bridge lamp glass shades universal?
No. Similar bridge-arm silhouettes can use different lips, threads, rings, retaining screws and clearances. A universal description is useful for browsing, not for final fit approval.
Can I replace a fabric bridge lamp shade with glass?
Sometimes, if the socket and holder can support the glass interface and the bulb clearance is acceptable. The metal holder, heat conditions, weight and intended visual position should be reviewed before changing materials.
How do I measure a bridge lamp glass shade replacement?
Measure the actual fitter and seating surfaces first, then record the widest diameter, height, shoulder, lower opening and socket clearance. Mark every measurement as inside, outside or contact diameter and send photographs or a sample.
What glass finish is best for a bridge lamp?
Opal, milk or satin frosted glass is often chosen when a softer light is wanted. Clear glass shows more of the source, while seeded or pressed glass adds texture. The best choice depends on glare, bulb position, cleaning and the product design.
Is pressed glass better than mouth-blown glass?
Neither method is automatically better. Pressed glass can suit repeatable profiles and relief patterns, while mouth-blown glass can suit custom forms or smaller runs. The choice should follow the dimensions, quantity, appearance and approval requirements.
Can a glass manufacturer reproduce an antique bridge lamp shade?
The supplier can review a surviving shade, fixture holder, drawing or profile template and advise whether a reproduction route is practical. A visual match still needs a fitter, clearance and edge review before production.
What should I send for a bridge lamp shade quote?
Send the fixture type, photographs, fitter and holder measurements, shade profile, glass finish, sample or drawing, quantity, destination and packaging requirements. State which dimensions are critical and which visual variations are acceptable.
Can JX develop a custom bridge lamp glass shade?
JX can review a custom bridge lamp shade request for a suitable glass and production route. Confirm the engineering details, sample method, tooling, dimensional tolerances, quantity, packaging and lead time with our team based on the drawing, glass type and production method.
A practical route to a bridge lamp glass shade quotation
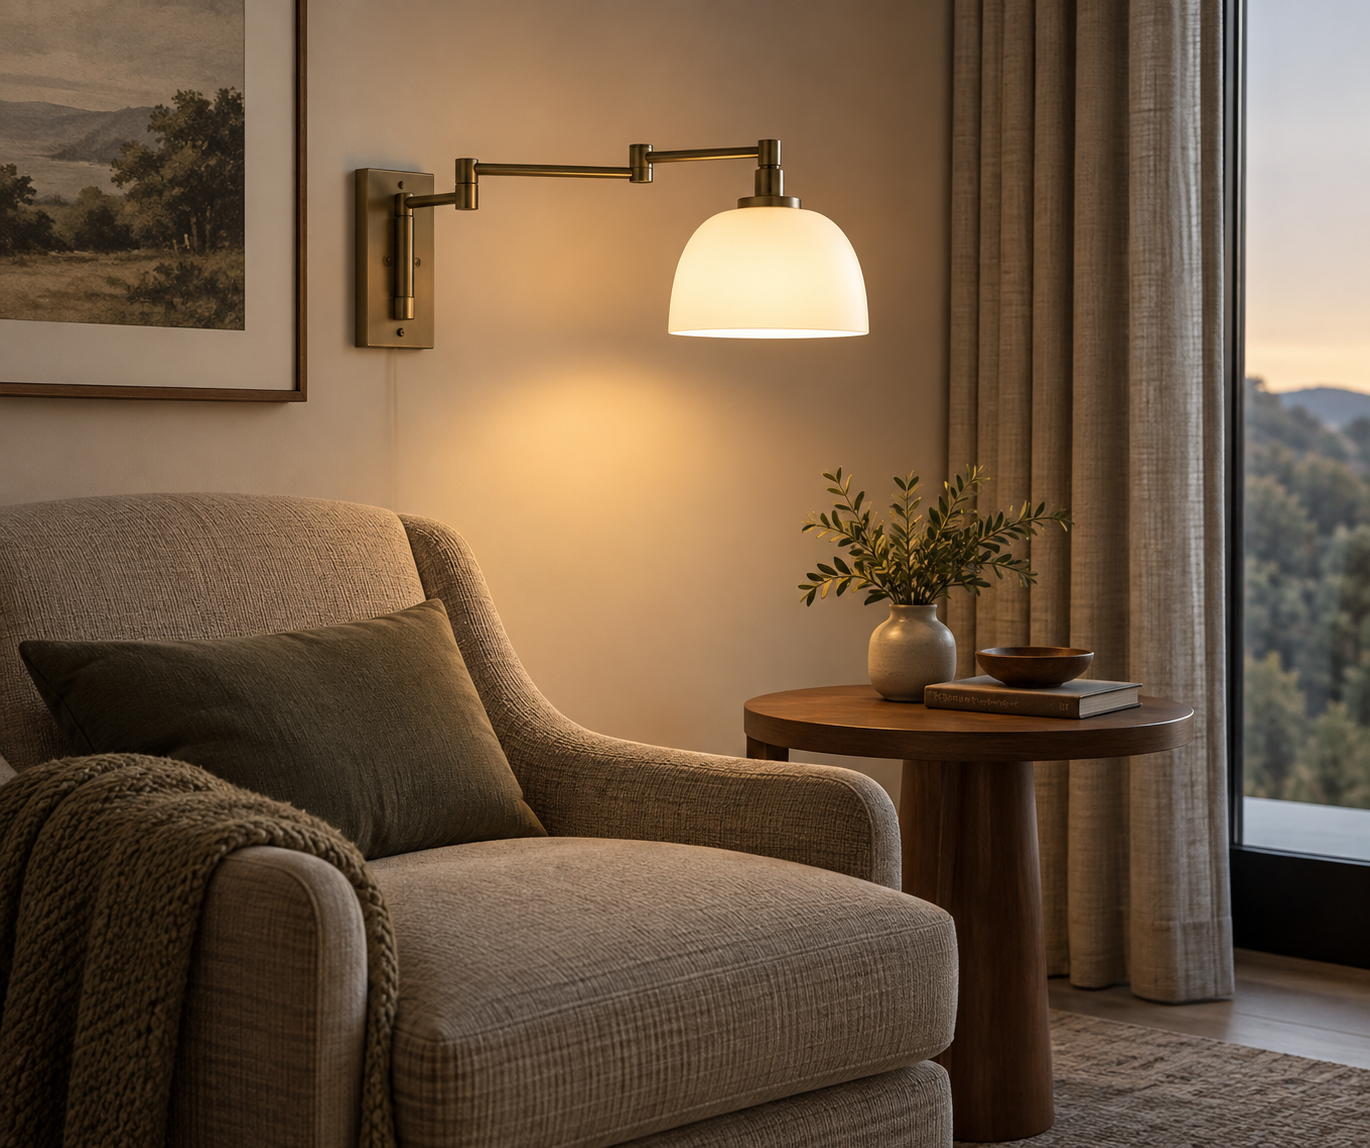
The most useful first step is not choosing a style name. It is sending enough evidence to separate the fitter from the decorative profile. Once the holder, critical dimensions and finish are clear, a glass supplier can compare a standard reference with a custom route, identify the need for a mold, plan the sample and recommend protection for shipment.
For replacement work, send the surviving glass or holder whenever possible. For an OEM program, send the drawing, sample, quantity plan and packaging brief together. JX can then review the request for a bridge lamp glass shade and return the next quotation questions, sample path and manufacturing recommendation.
Related bridge lamp glass shade resources
| Glass Lamp Shades | Lamp Shade Fitter Compatibility Guide | Glass Lamp Shades for Floor Lamps |
| Glass Shade for Table Lamp | Glass Lamp Shade Technical Drawing Checklist | Custom Glass Lamp Shades Manufacturer |