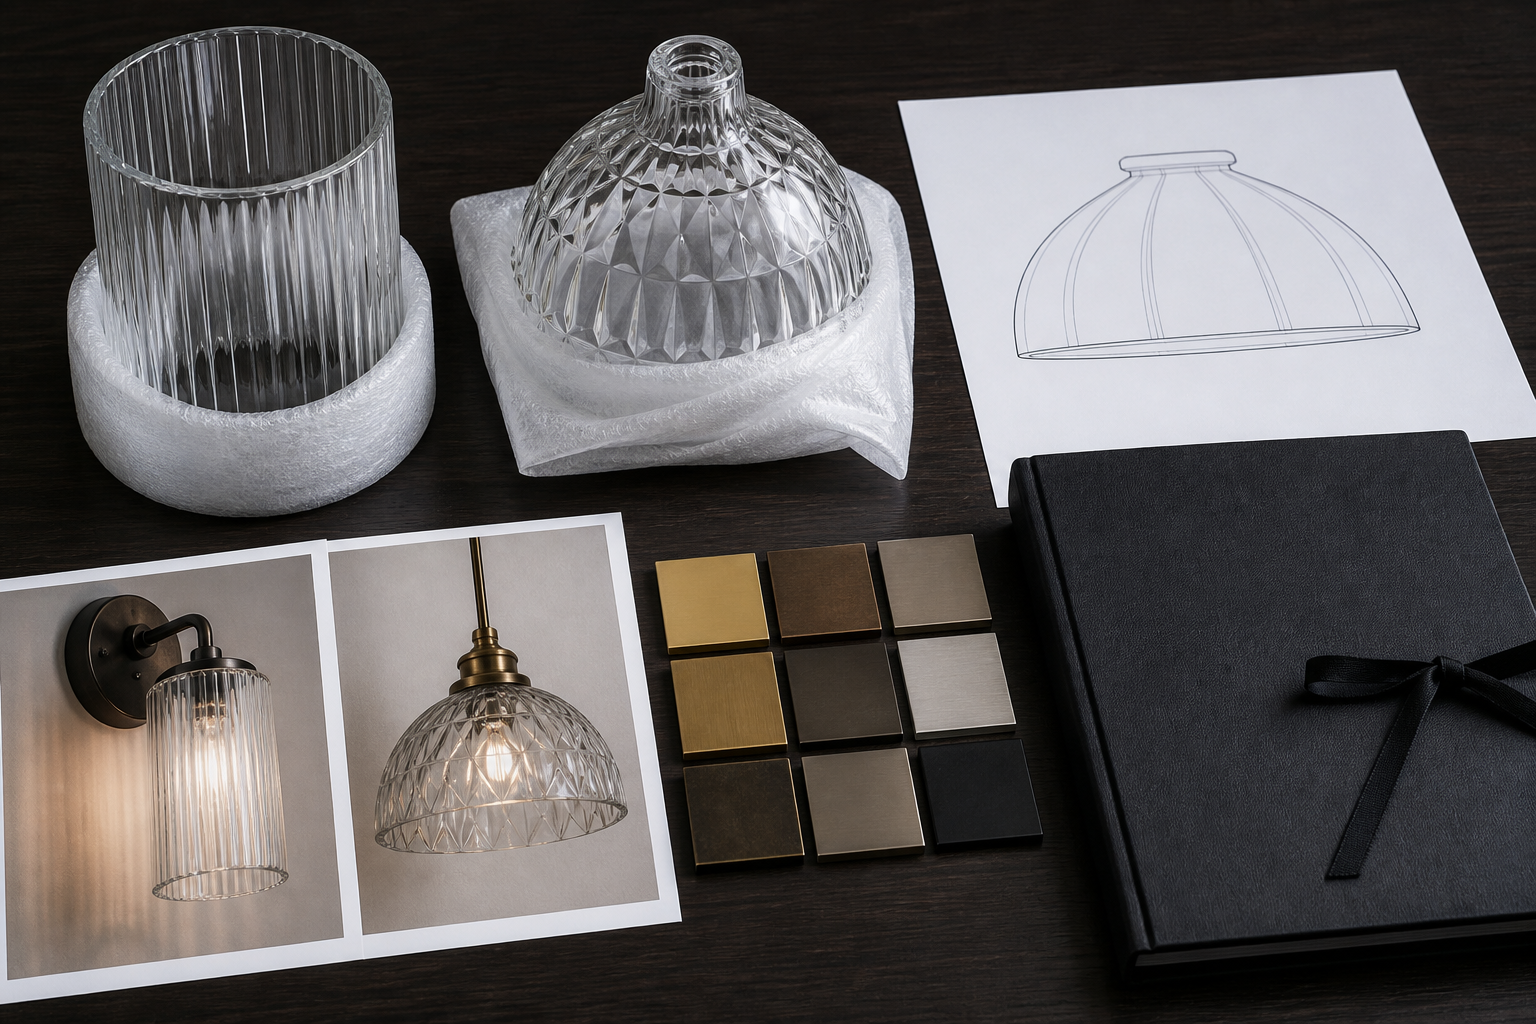
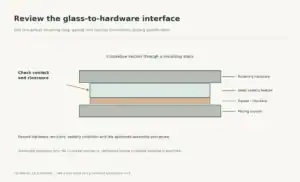
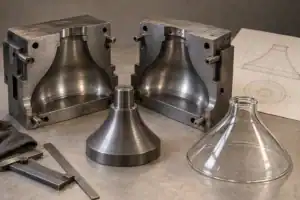
A prismatic light shade has two fit decisions: the surface pattern that shapes the visible light, and the fitter that connects the glass to the fixture. A shade can look right in a product photo and still fail because the gallery opening, retaining ring, height, or pattern orientation does not match the assembly.
The intended reader is a lighting brand, distributor, hospitality buyer, restoration supplier, or project team preparing a repeatable glass part. The focus is the path from prismatic pattern selection to dimensions, sampling, packing, and an OEM quote.
Choose the pattern and interface together
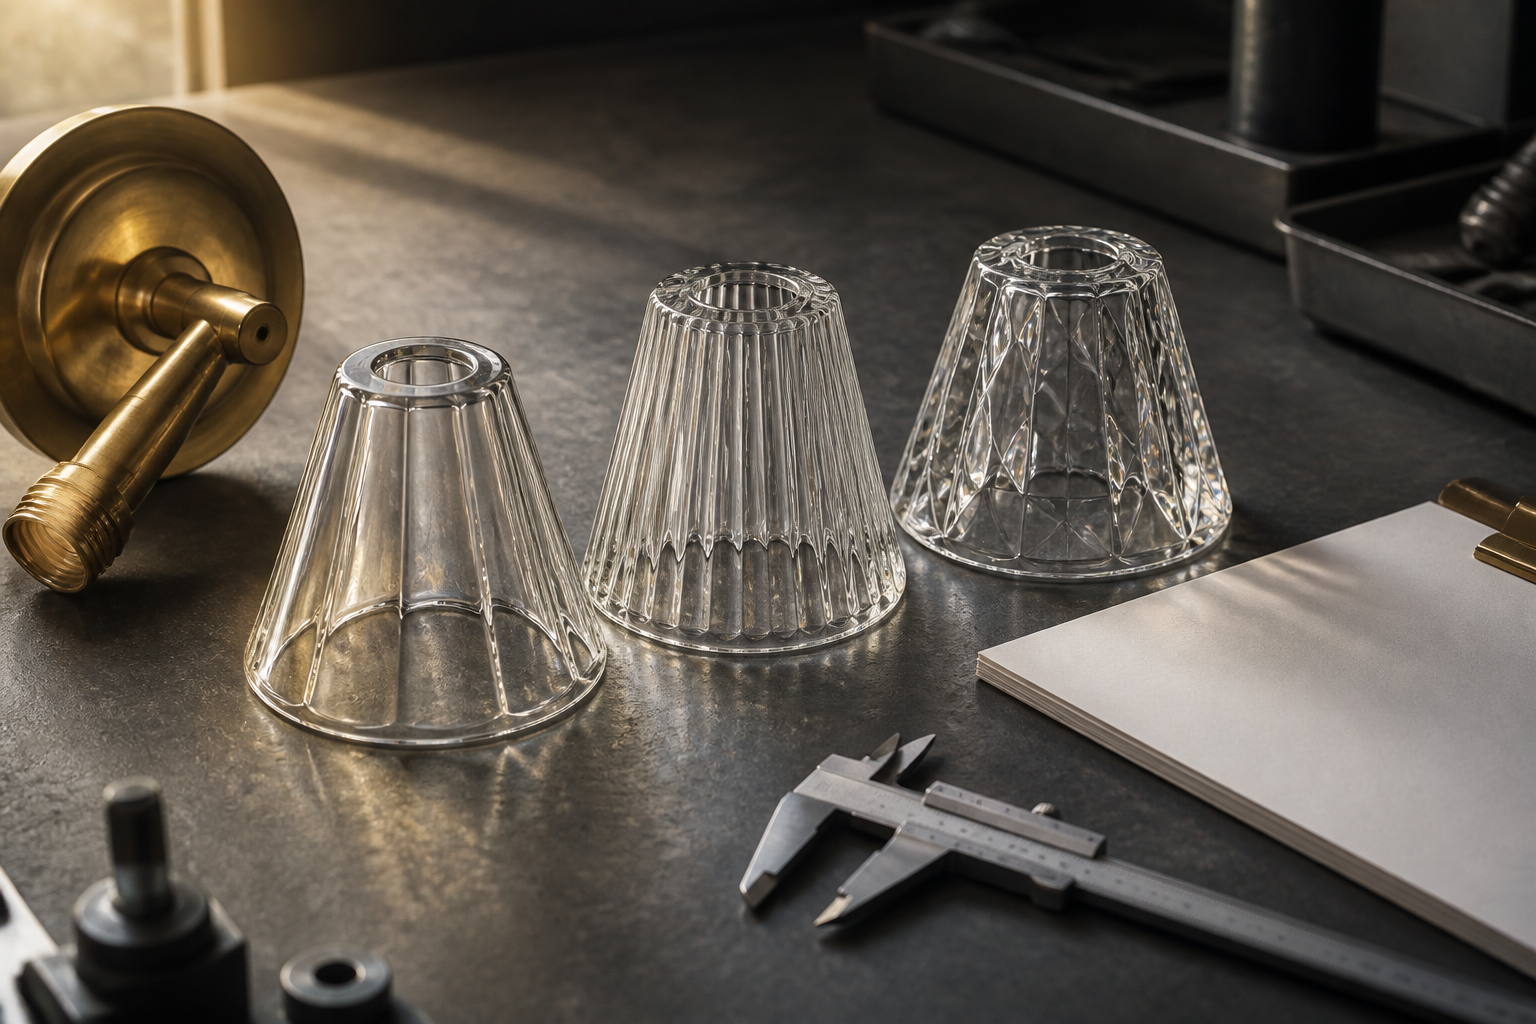
Start with the fixture, not the word "prismatic." Send a photo of the complete assembly, identify the retaining method, and record the opening that seats against the holder. Then describe the pattern, shape, finish, and light effect you want.
| Field | What to specify | Why it matters |
|---|---|---|
| Fixture interface | Gallery, retaining ring, thread, clip, set screw, neck, or custom holder | The interface decides whether the shade seats, stays secure, and can be serviced |
| Glass form | Cone, dome, bell, cylinder, globe, or custom profile | Form changes the viewing angle, pattern stretch, clearance, and tooling route |
| Prismatic pattern | Vertical ribs, diamond, waffle, radial, faceted, or custom relief | The mold geometry controls highlights, shadow rhythm, and cleaning behavior |
| Finish | Clear, frosted, opal, tinted, polished, or satin | Finish changes the relationship between the pattern and the lamp source |
| Critical dimensions | Fitter bore, seating height, widest point, wall target, rim, and working clearance | A visible outside diameter does not prove that the part will fit |
| Quantity and evidence | Sample count, first order, annual demand, photos, drawing, and revision | Volume and evidence affect tooling, inspection, packing, and reorder control |
For a repeatable molded component, review JX's custom machine pressed glass lamp shade page as a possible route. If the design is still open, send the full brief through the custom lampshade RFQ builder so the supplier can assess the fixture and glass together.
What a prismatic light shade actually changes
Prismatic glass uses repeated ribs, facets, or internal geometry to redirect highlights instead of leaving a smooth light field. It may make the light look sharper, more textured, or more directional than a plain clear shade. "Prismatic" still does not identify one pattern or promise a particular lumen output.
Keep three observations separate:
- Surface appearance: What the ribs, facets, or cells look like when the lamp is off.
- Visible light effect: How the pattern changes highlights, shadows, and the apparent brightness around the fixture.
- Measured performance: What a photometric test says about distribution, glare, efficiency, and uniformity on the completed luminaire.
Review the first two with a physical sample under the intended bulb. The third belongs to the complete fixture and its test method. A glass pattern is not a photometric claim without test data. The UL Solutions indoor and decorative lighting service describes testing and certification for complete lighting products. The applicable market, luminaire, and standard all matter.
The pattern also changes practical handling. Deep relief can collect more dust than a smooth cylinder. Fine facets can show a fingerprint or polishing mark more readily under a point source. A strong pattern can hide small variations when the lamp is off but make them visible when the bulb is on. These are sample-approval questions, not reasons to reject prismatic glass before seeing it on the fixture.
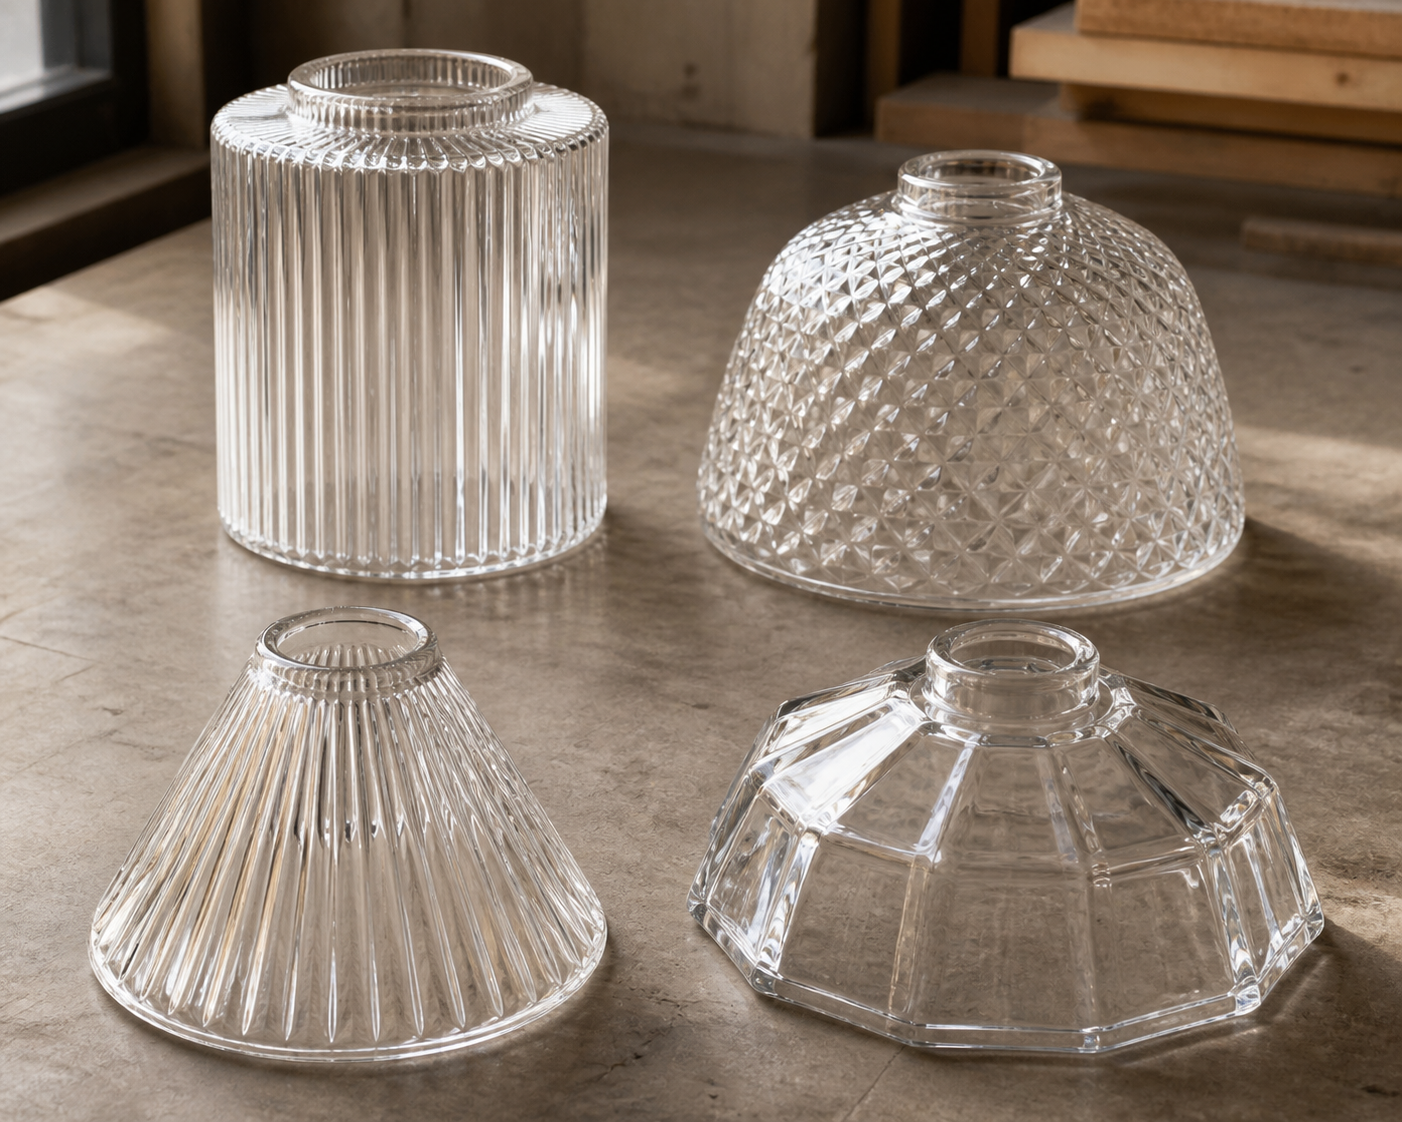
Compare prismatic pattern families before choosing a mold
Suppliers do not always use pattern names consistently. Add a side profile, a reference photo, or a simple sketch to the RFQ. These categories are useful starting points, not universal industry standards.
| Pattern family | Typical visual character | Buyer checks before approval |
|---|---|---|
| Vertical ribs | Tall repeated lines that keep the shade visually directional | Rib pitch, depth, orientation, rim termination, and whether the lines remain straight after forming |
| Diamond or waffle | Intersecting facets with a stronger sparkle and many small highlights | Cell size, corner sharpness, cleaning access, and how the pattern scales across the curve |
| Radial or sunburst | Lines or facets that spread from a center or opening | Center alignment, pattern run-out, symmetry, and the relationship to the fitter |
| Faceted panel | Broader planes that create distinct light and dark transitions | Panel count, edge definition, wall thickness at corners, and silhouette from the side |
| Soft prism or fine relief | Smaller, less dramatic texture that gives a controlled surface rhythm | Texture depth, opacity, touch feel, and whether the surface remains readable at the target distance |
Pattern choice depends on the job. A hospitality brand may want a recognizable surface that repeats across many fixtures. A restoration supplier may need to match the surviving shade rather than create a new effect. A residential pendant can accept more variation when handmade character is part of the design. A distributor selling a repeatable SKU usually needs the pattern, rim, and fitter to stay stable from one production lot to the next.
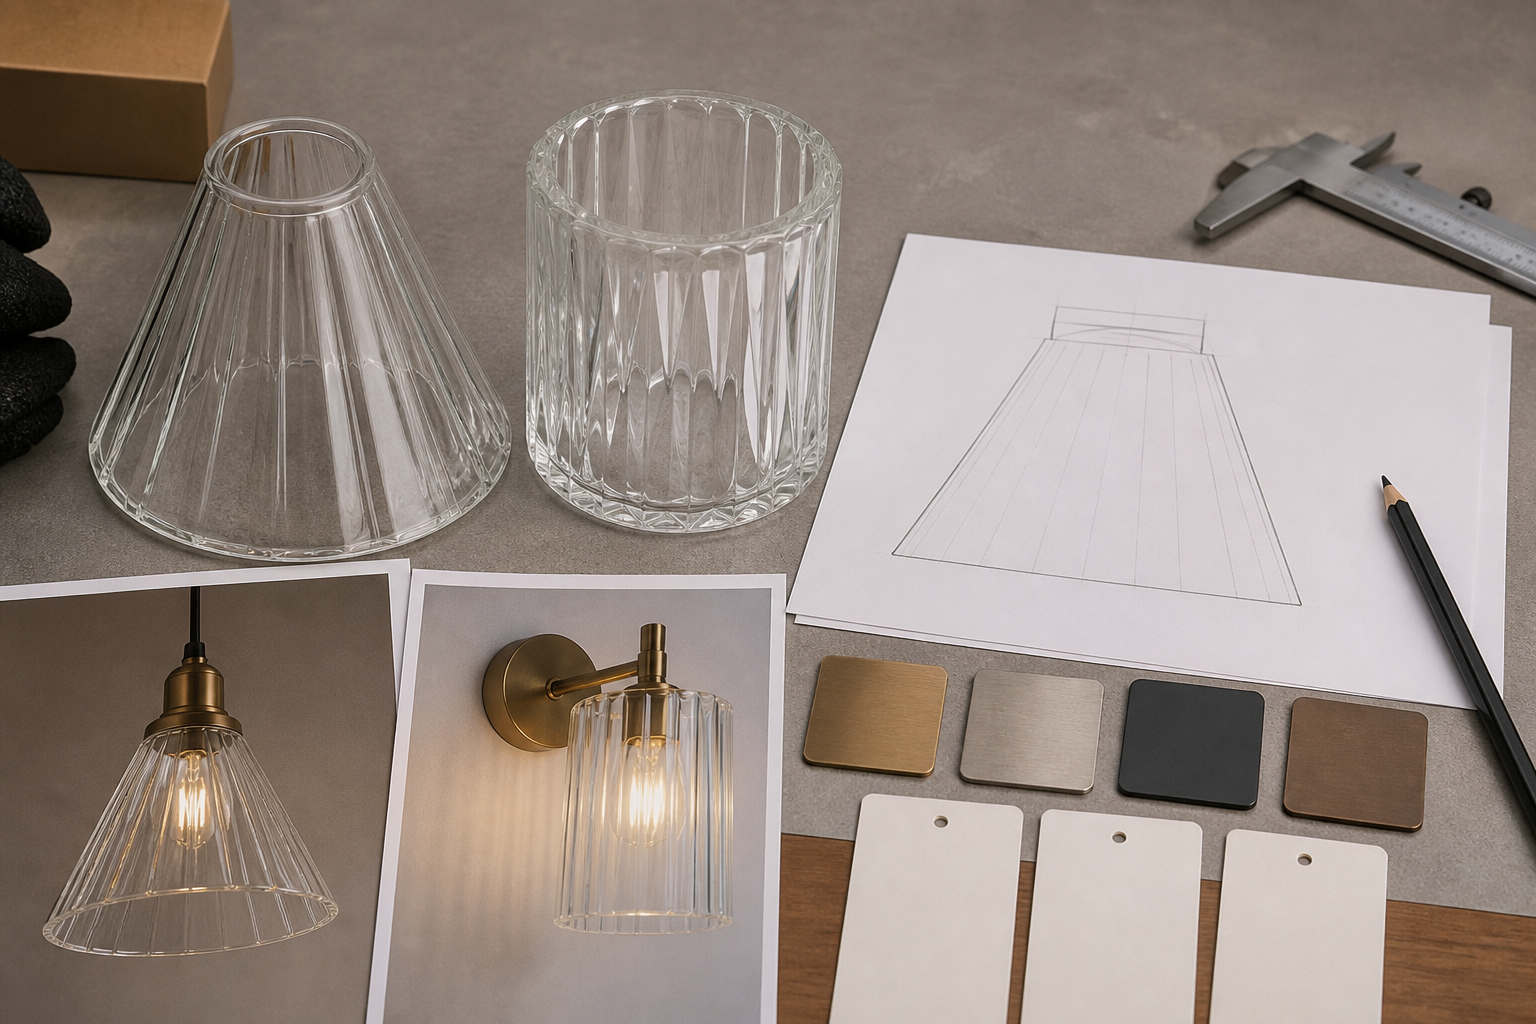
Do not choose a mold from a front-facing photograph alone. Ask for a side view, a view from the fitter, and one image with the lamp switched on. If the pattern is directional, note whether the fixture requires a particular orientation after installation.
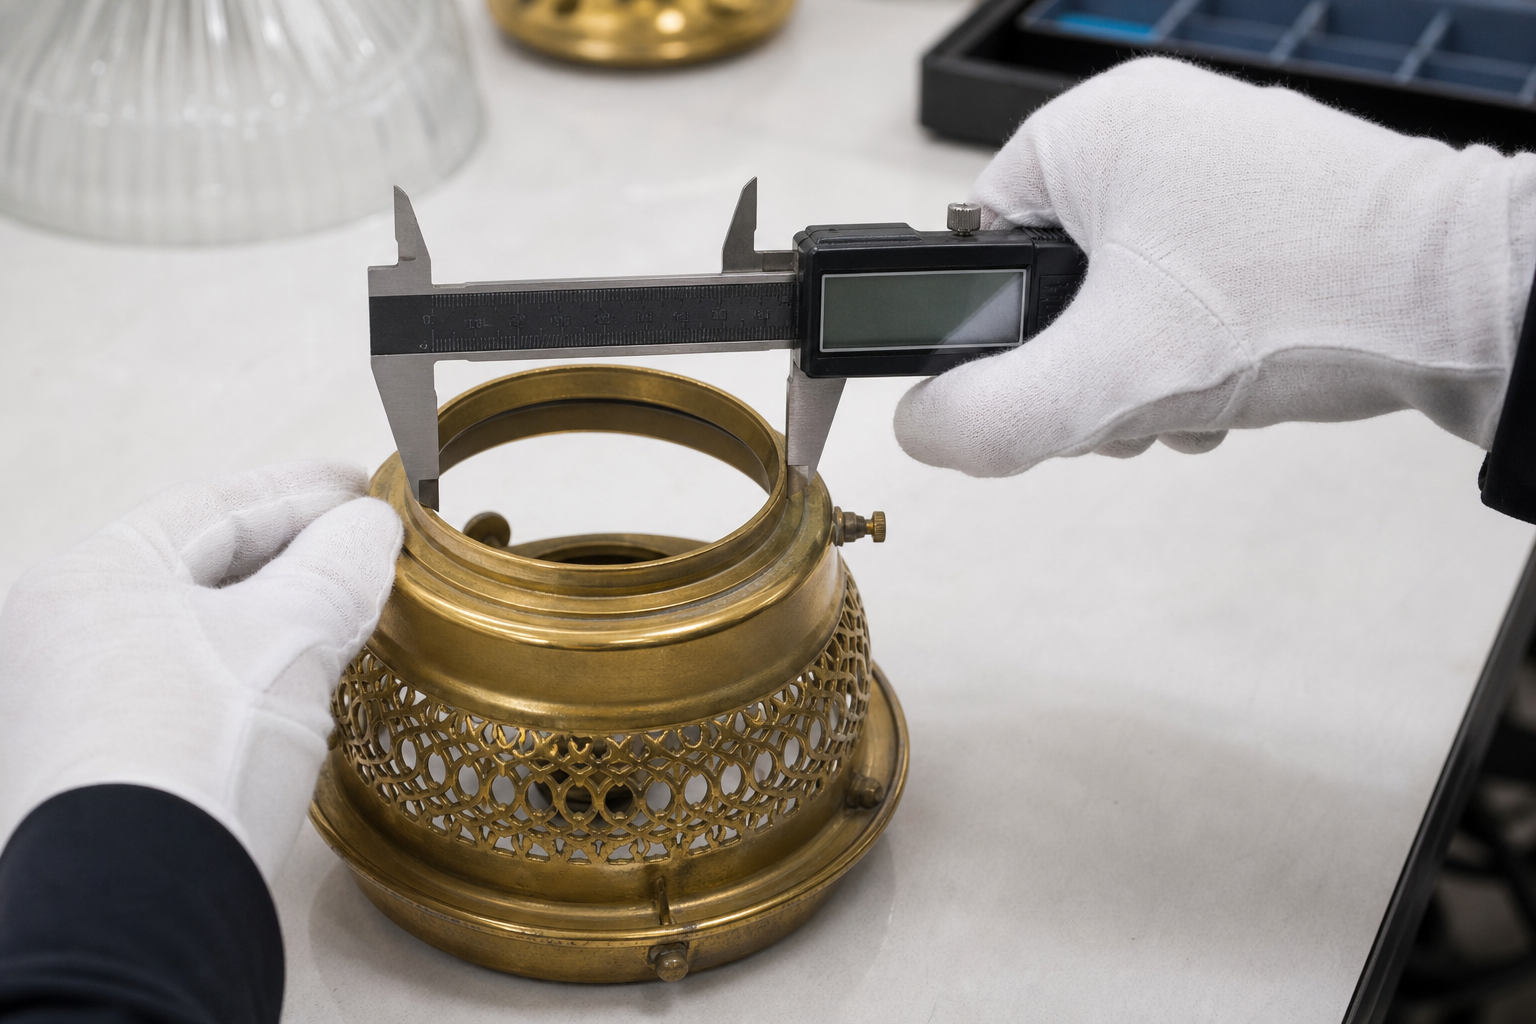
Dimensions and fitter details that control installation
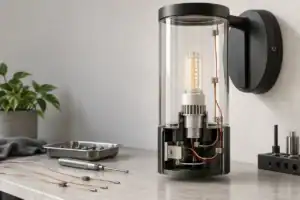
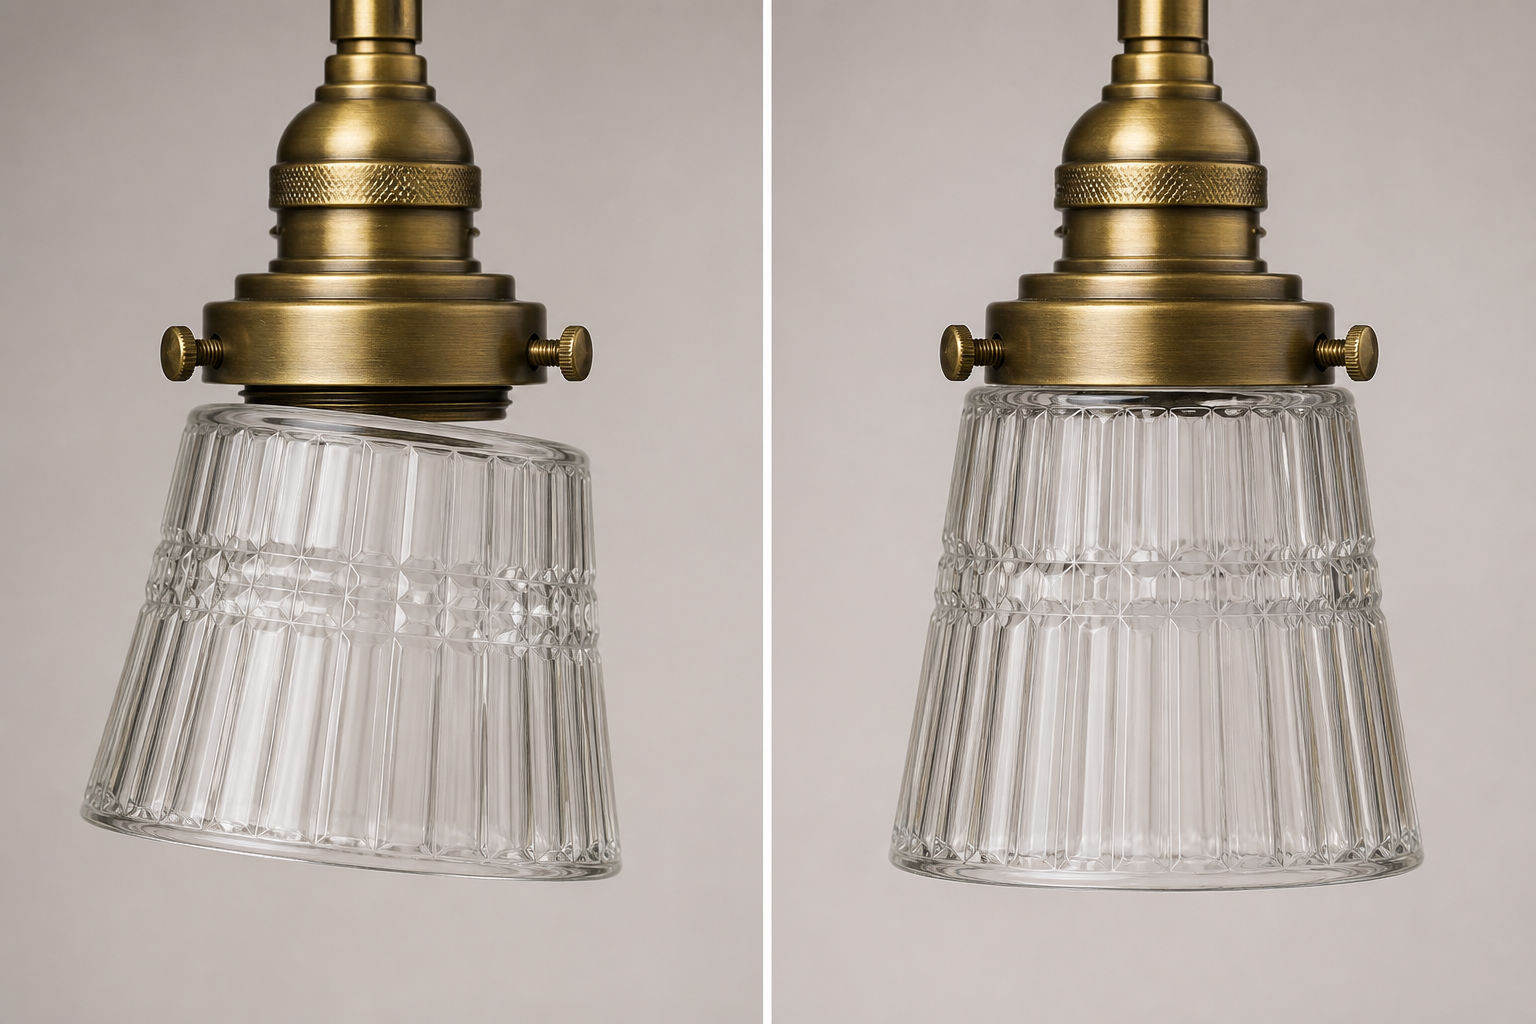
The fitter is the part of the shade that meets the fixture. It may be a lip that sits in a gallery, an opening captured by a retaining ring, a threaded neck, a clip area, or a drilled and reinforced mounting feature. A prismatic profile can be visually correct and mechanically wrong if this interface is missing from the drawing.
Record these dimensions from the actual holder or surviving shade:
- fitter inside diameter and outside diameter where both are relevant;
- seating depth, lip thickness, and the contact surface for a gallery or ring;
- thread size and pitch when the glass is part of a threaded assembly;
- height measured from the seating plane to the lower rim;
- maximum outside diameter and the location of the widest point;
- wall thickness or a target range if weight and heat are important;
- rim shape, edge finish, and any clearance around the bulb or hardware;
- pattern start and end points relative to the fitter and rim.
Use calipers for the opening and a simple profile sketch for the body. Photograph the measuring tool in place so the supplier can distinguish an inside measurement from an outside measurement. Before the first inquiry, refer to JX's technical drawing checklist for glass lamp shades while assembling the drawing.
For a multi-light chandelier or a row of wall fixtures, record the gap between neighboring shades. Repeated relief can make small height or orientation differences easy to see because the highlights land at different points.
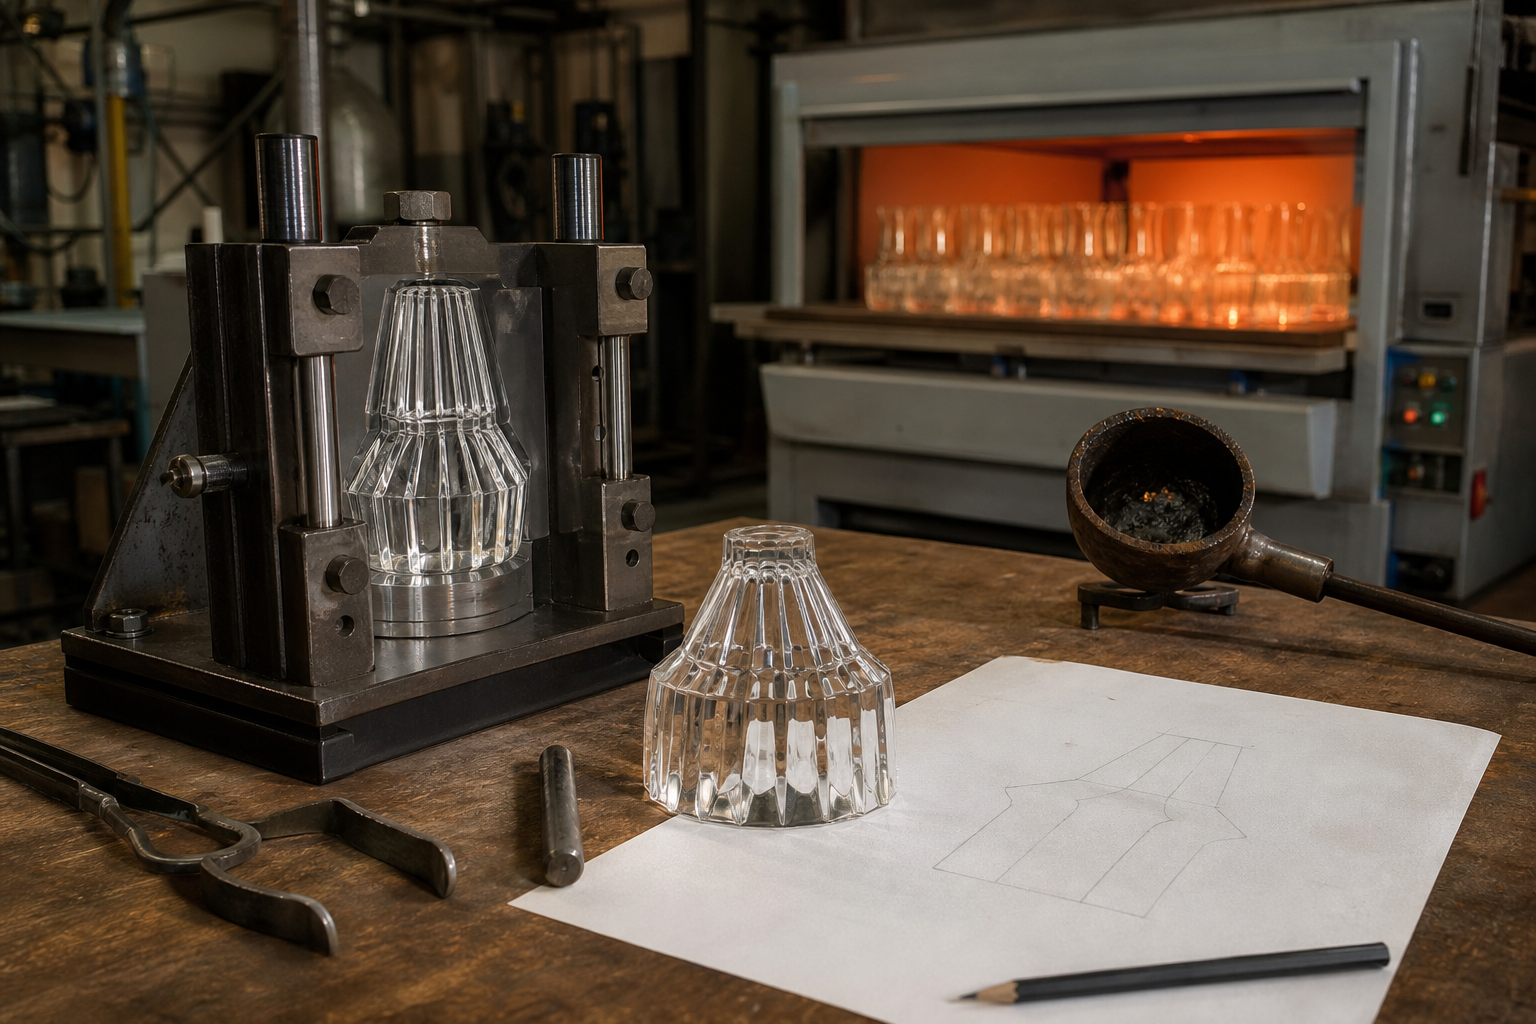
Select the glass process and finish for the order size
The pattern geometry, quantity, and acceptable variation should be considered together. A molded prismatic surface often points toward a pressed route when the same profile must repeat across a production run. A handmade route may make more sense when the project values individual variation or when the shape is difficult to reproduce with a fixed mold.
| Production route | Often suits | Questions to settle before sampling |
|---|---|---|
| Machine pressed | Repeatable ribs, facets, cells, and stable catalog or OEM profiles | Is the mold close to the required geometry, and where are the parting line, draft, rim, and pattern run-out? |
| Handmade or mouth blown | Short runs, decorative programs, and controlled organic variation | Which dimensions must stay controlled, and how will the buyer judge piece-to-piece variation? |
| Lampwork or borosilicate route | Small technical forms or projects needing a different glass formulation | Does the application require a separate material, heat, or fixture review? |
| Existing mold adaptation | A new SKU that is close to an available profile | Which features can change without disturbing the fitter, pattern scale, or visual balance? |
JX's public manufacturing pages mention several routes: pressed, mouth-blown, borosilicate, centrifugal, and handmade work. Confirm the route for the requested prismatic design rather than treating the process as a keyword label.
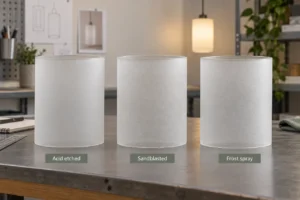
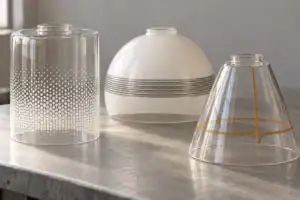
Finish is a separate choice from pattern. Clear glass shows the facets directly and can expose internal hardware. Frosted or satin treatment softens the source and may reduce the visual contrast of fine relief. Opal glass changes the overall appearance more strongly. Tinted glass changes the color of transmitted light and should be checked with the actual bulb, not only under showroom lighting.
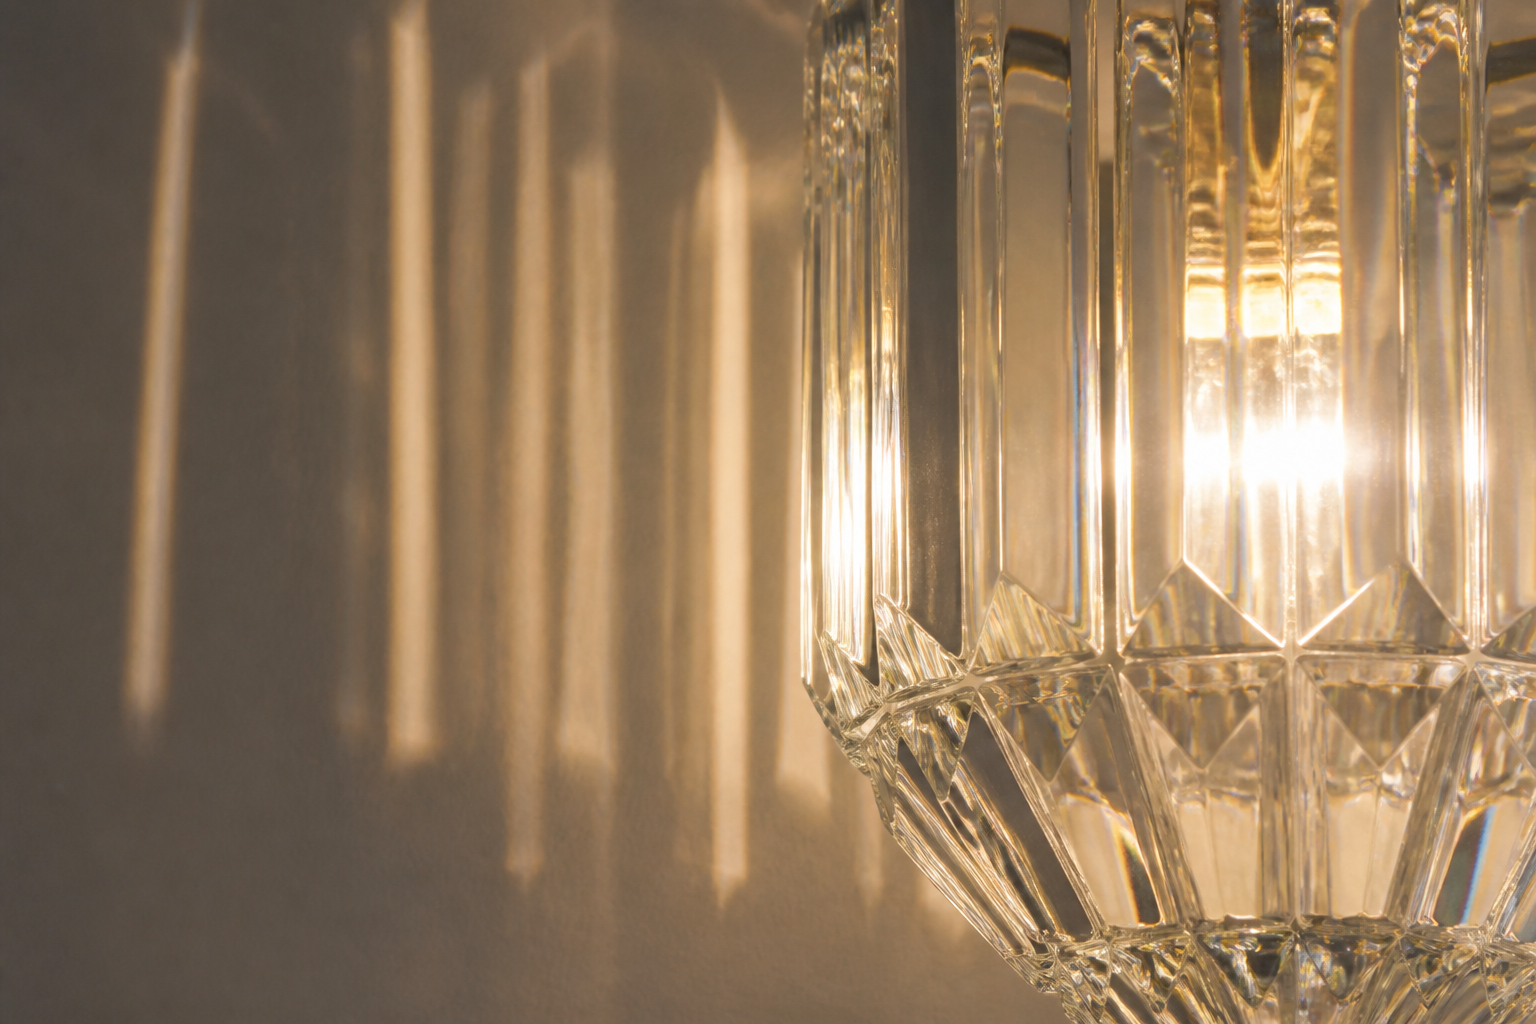
Review the lit sample on the real fixture
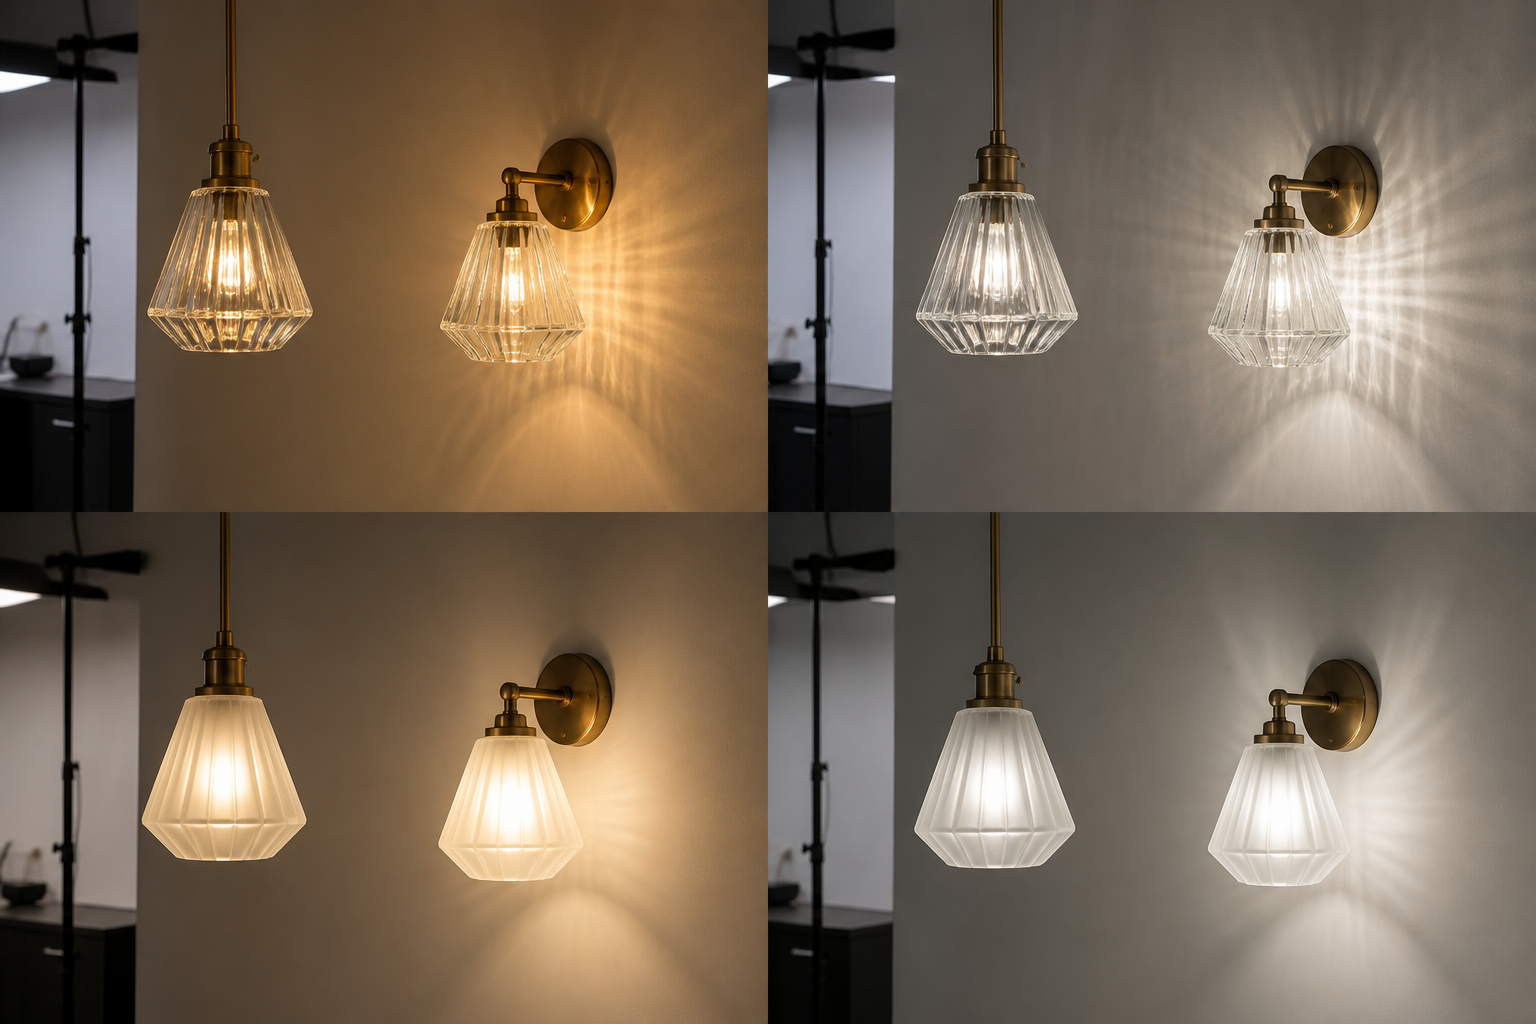
Review a prismatic sample in the fixture orientation and in a setting close to the finished product. A white workbench reveals the glass surface, but it cannot answer every fixture question.
Check these six things:
- Use the intended bulb family, source position, and approximate wattage or LED output.
- Test the shade with the fixture on and off. The pattern may be attractive in one state and too busy in the other.
- Rotate the sample if the relief is directional. Look for a preferred orientation or a repeatable reference mark.
- View the fixture from the normal user distance and from the side. A pattern that looks subtle straight on may dominate at an angle.
- Check the edge and fitter region. A bright line, dark band, or uneven transition can become a visible defect after assembly.
- Record the background and surrounding surfaces if the project depends on reflected highlights.
For a hospitality rollout, approve a representative fixture position rather than only a loose glass sample. For a replacement project, compare the new shade beside the surviving shade under the same light. This catches color, pattern scale, and height differences that a written description will miss.
Applications, replacement projects and OEM programs
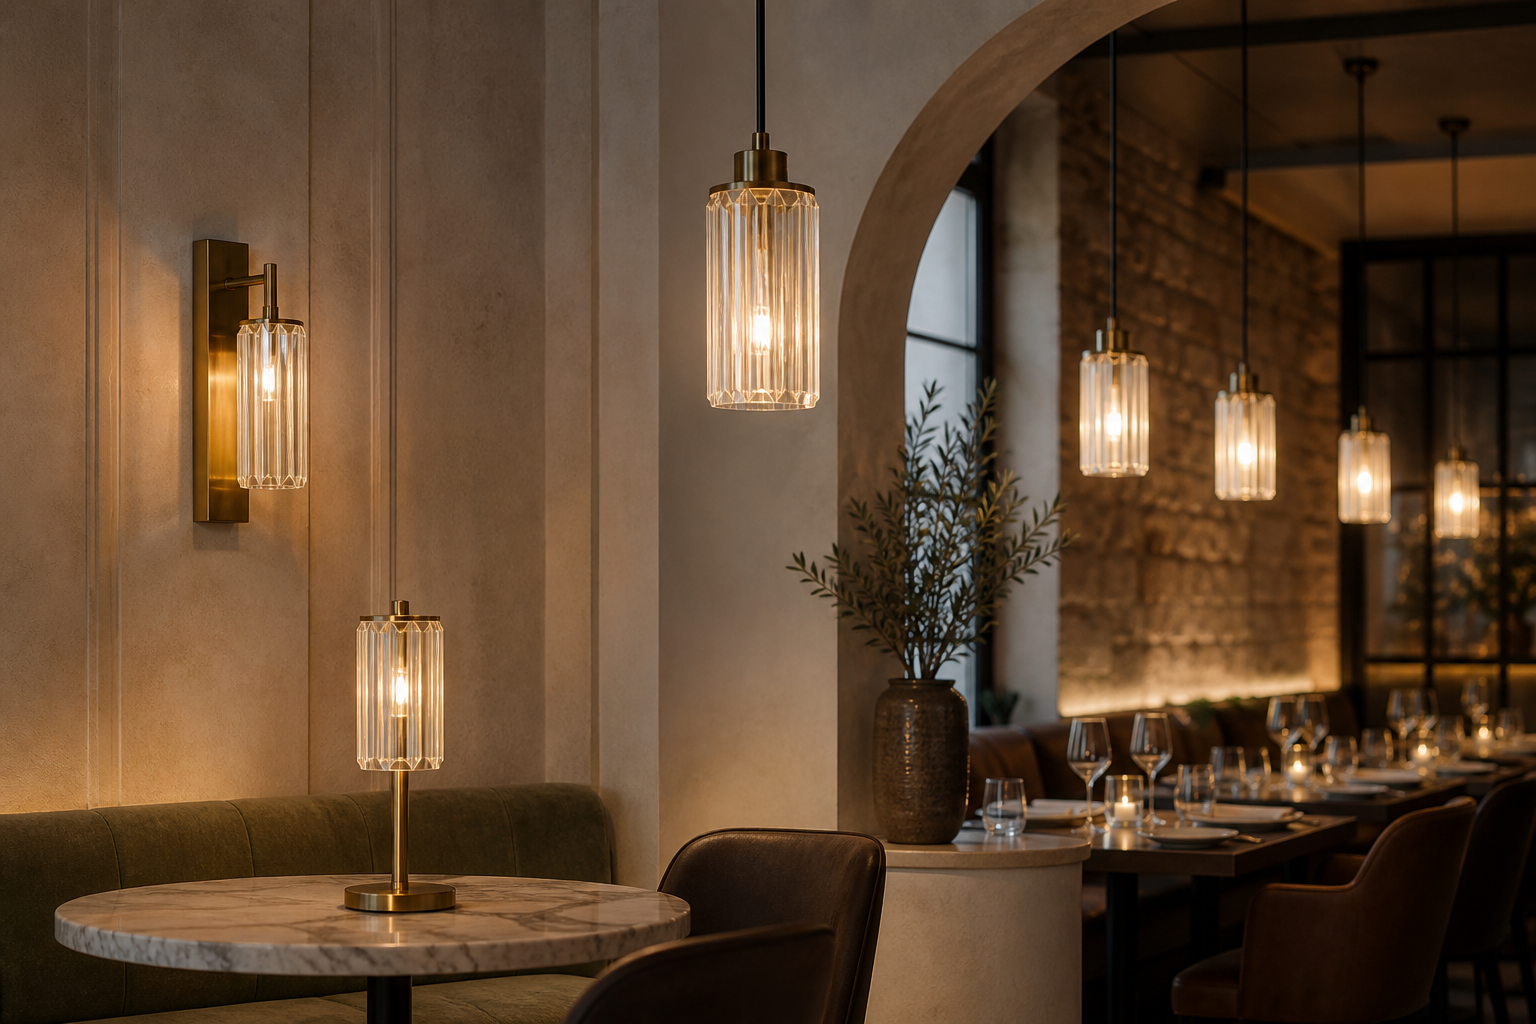
Prismatic glass can serve different jobs, so the specification should follow the application.
Pendant and ceiling fixtures
Confirm the canopy, holder, suspension hardware, shade orientation, and service clearance. A deep pattern may be part of the design language, but the fitter still needs to be reachable for replacement or cleaning.
Wall fixtures
Record the wall plate, arm direction, set-screw position, and the distance between the shade and the wall. A pattern that looks even on a pendant may create a strong side highlight on a wall-mounted fixture.
Table and desk lamps
Check the socket, harp or gallery, shade weight, and the balance of the base. The lower rim should not interfere with controls, handles, or the surface below.
Hospitality and repeated interiors
Specify one master sample, one drawing revision, the pattern orientation, the approved finish, and the packing method. The project needs a repeatable part record, not only a mood-board image.
Restoration and replacement
Send the surviving part or holder when possible. Record the old shade's opening, body profile, rim, pattern, and any small chips that are part of the reference but should not be repeated. A current catalog item is not automatically a suitable replacement.
Sample approval and quality checks
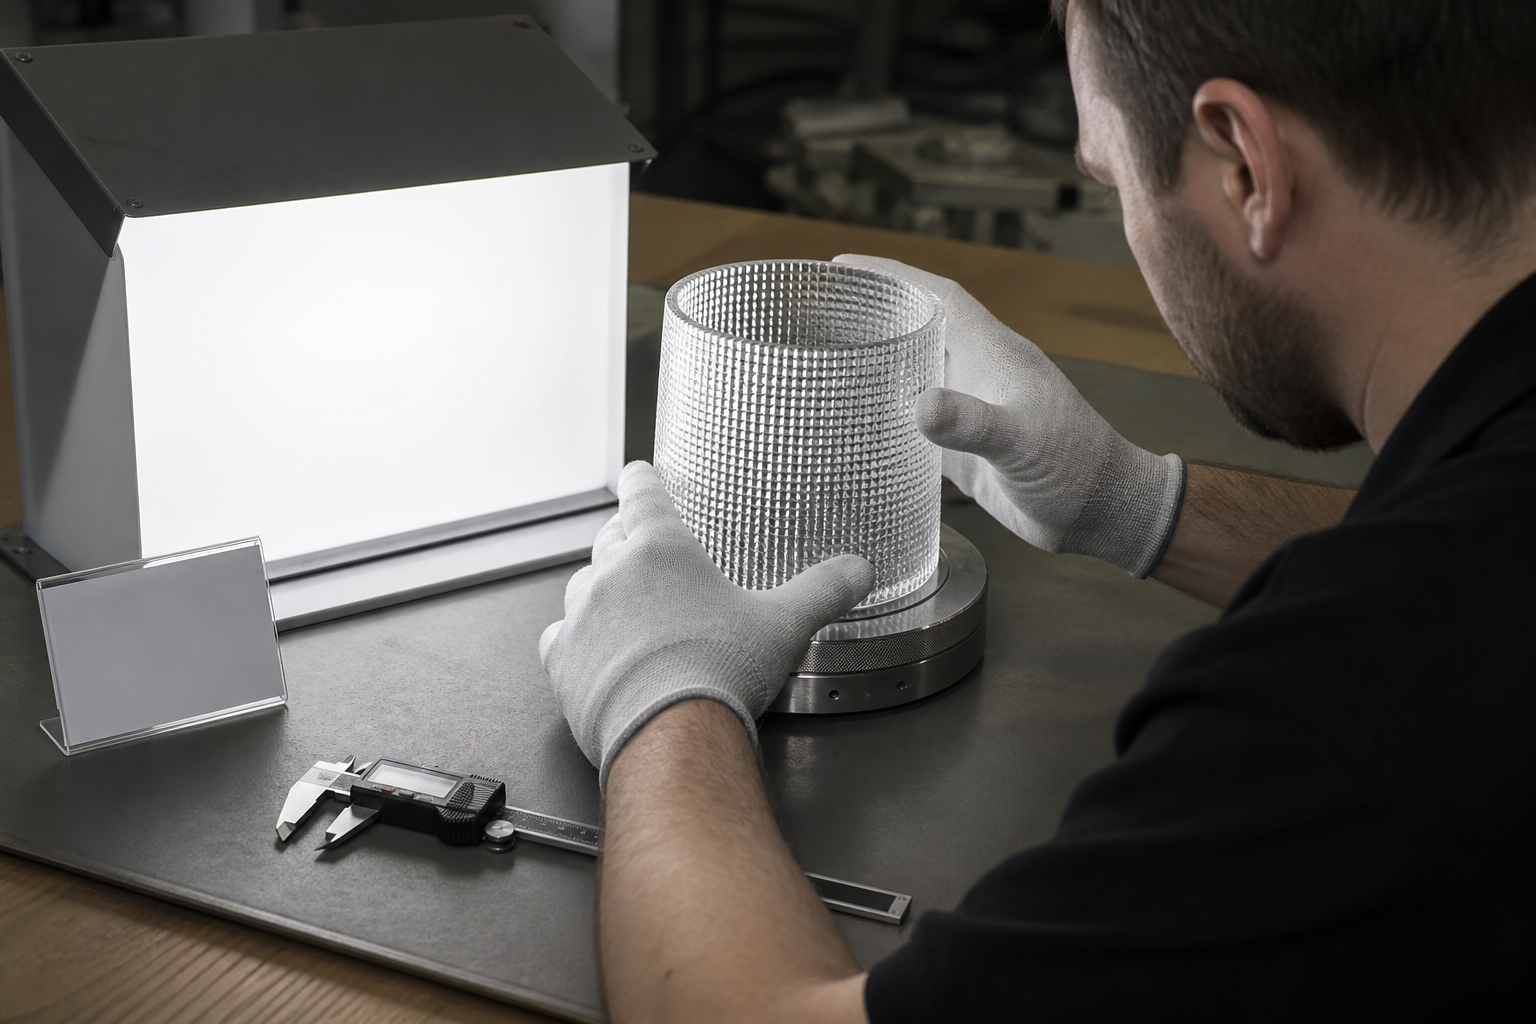
Approve the sample in the same order you will inspect production: interface first, then the visible glass, then assembly and packing.
1. Confirm the fit
Seat the shade on the actual holder or a controlled gauge. Check the opening, contact points, wobble, retention, thread or set-screw clearance, and removal method. Do not force a glass part into a holder just to prove that it can be installed.
2. Confirm the form
Compare height, maximum diameter, rim shape, wall appearance, and pattern start and end points with the approved drawing. Use the same reference points on the sample and the drawing.
3. Confirm the surface
Look for chips, sharp edges, scratches, unwanted flow lines, trapped inclusions, uneven frosting, or a pattern that fades near the rim. Decide which visual variation is acceptable before the sample is signed off.
4. Confirm the light effect
Use the intended fixture and bulb. Photograph the approved sample with the light on and off. If the project has a required photometric or market-access test, route that requirement through the complete fixture team. Do not treat the glass shade alone as evidence of a luminaire certification.
5. Confirm repeatability
For a multi-piece program, inspect more than one sample when the process or finish could vary. Compare pattern scale, color, edge condition, and seating height. The glass lamp shade quality inspection checklist is a useful companion for the batch record.
Plan order size, timing, packing and reorders
JX currently presents 500 pieces as a catalog-item planning baseline. For full custom OEM, the public planning figure is 1,000 pieces. These figures are for planning, not a quotation. A new prismatic mold, a difficult finish, mixed colors, a small first order, or several fixture interfaces can change the final MOQ and price structure.
The public site also uses a 25-30 day reference for planning. Ask the supplier to confirm whether that reference includes mold work, sampling, inspection, packing, and the required shipping handoff. A new mold should be scheduled separately from production so the project team knows what event starts the production clock.
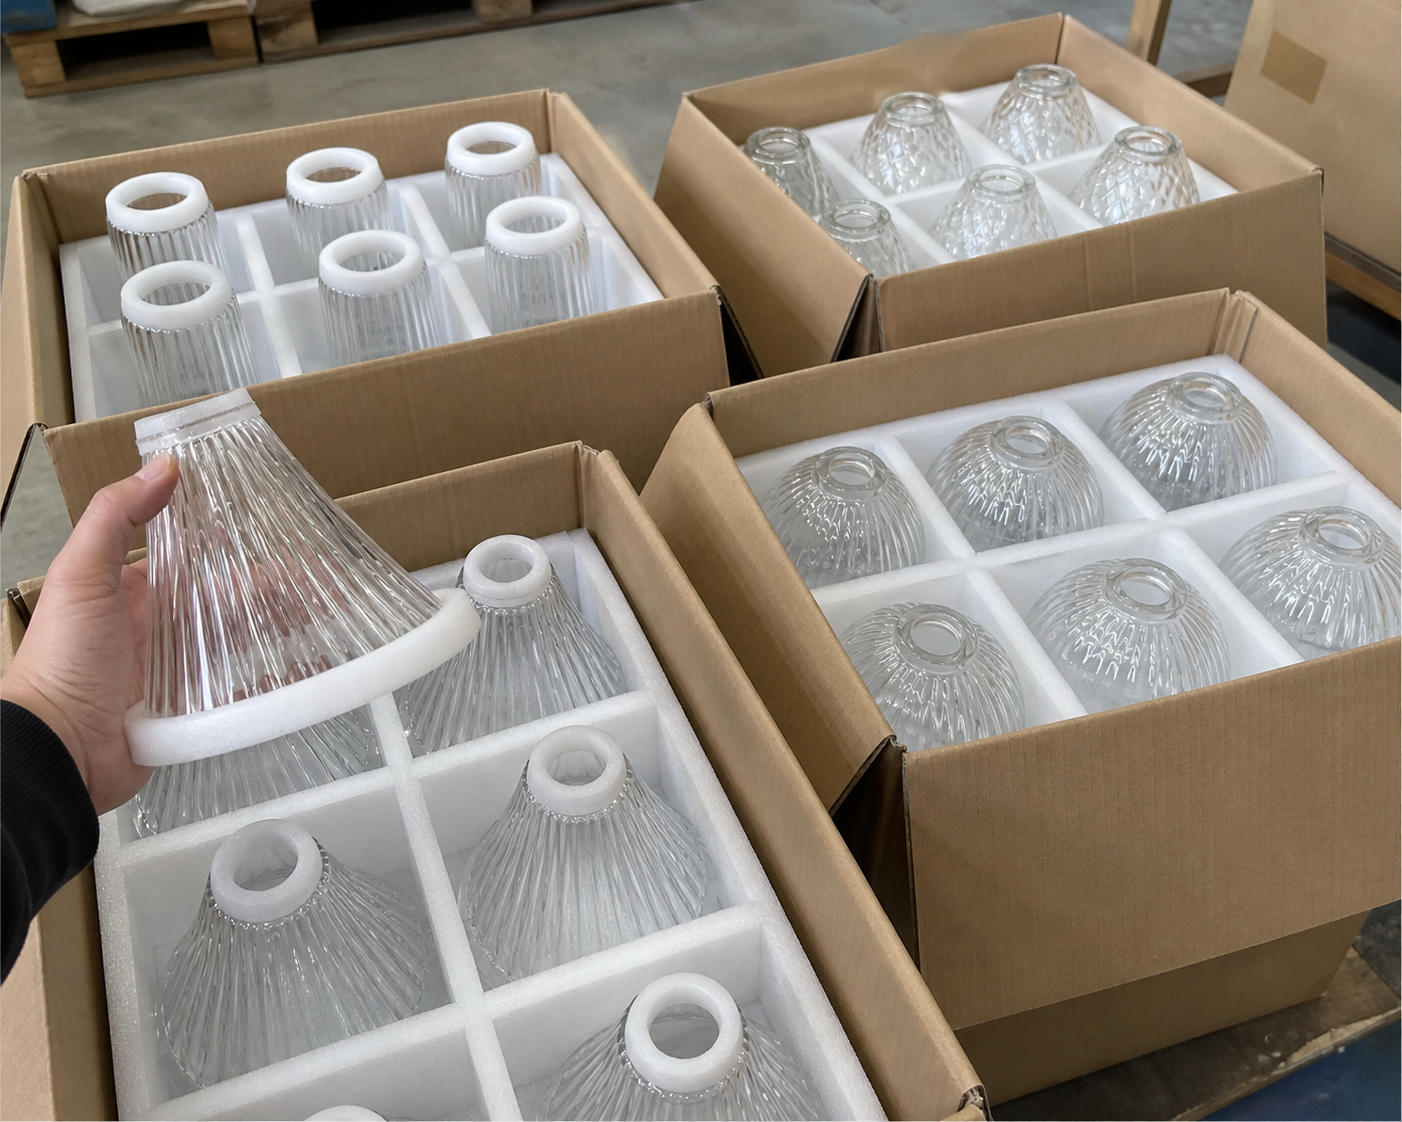
Packing should protect the rim, fitter, and relief pattern. Put the agreed inner protection, dividers, carton strength, pallet plan, carton marks, and replacement policy in the quotation. If the same SKU will be reordered, retain the approved sample code, drawing revision, finish reference, inspection photos, and packing method with the purchase record.
Build a prismatic shade RFQ a supplier can price
Send one organized package instead of a gallery of disconnected images. Include:
- the fixture photo from the front, side, and fitter view;
- a drawing or profile sketch with the opening, seating points, height, diameter, rim, wall, and clearance fields;
- the prismatic pattern reference, including pitch, depth, orientation, and where the pattern stops;
- the glass direction: clear, frosted, opal, tinted, polished, satin, or another finish;
- sample quantity, first-order quantity, forecast, destination, and target date;
- the required packing format and whether the cartons need retail or project labels;
- the inspection points that must be measured or photographed before shipment;
- the old shade or holder when the project is a replacement.
Ask the supplier to return the quote against the same revision. Request separate lines for sample cost, mold or tooling, unit price, packing, and any testing or documentation that the complete fixture requires.
Six mistakes that make prismatic shade projects drift
- Choosing from the front view only. The side profile and fitter may be incompatible even when the pattern looks close.
- Using "prismatic" as the whole specification. Pattern family, scale, depth, finish, and orientation still need to be named.
- Measuring the outside of the holder. The seating opening or contact surface is usually the fit-controlling reference.
- Approving the sample under a different bulb. Color, opacity, highlights, and glare can change with the source.
- Ignoring pattern run-out at the rim. The point where the relief stops can be visible and may affect the holder clearance.
- Reordering without the approved record. A photo in an email is not enough to control a mold, finish, tolerance, and packing method.
Prismatic shade questions buyers ask
Does a prismatic light shade always make a fixture brighter?
No. A prismatic surface changes the way light is seen and distributed, but brightness and efficiency depend on the glass, bulb, fixture geometry, and measured performance. Approve the visual result on the complete fixture, and request photometric data when the project needs a defined performance target.
Which dimensions should I send first for a prismatic glass shade?
Start with the fitter opening and seating method, then send the overall height, maximum diameter, rim, wall or weight requirement, and clearances. Add the pattern start point and orientation if the relief is directional. A supplier cannot confirm a replacement fit from the outside diameter alone.
Is machine pressing the best process for a prismatic pattern?
It is often worth reviewing when the pattern and profile need to repeat across a larger order. The final choice depends on the shape, mold complexity, acceptable variation, quantity, finish, and sample result. A handmade route may suit a small decorative program better. Ask the supplier to compare an existing mold, a new mold, and a handmade sample where the decision is uncertain.
Can the pattern be combined with frosted, opal, or tinted glass?
Ask the supplier to review the combination as a design and process choice. Frosting may soften the pattern, opal glass can change the apparent source, and tint changes the color seen through the shade. Approve the combination under the specified bulb and record whether the finish is part of the glass, applied after forming, or another treatment.
How do I match a prismatic replacement shade?
Send the surviving shade, holder, or a complete fixture whenever possible. Record the fitter, height, maximum diameter, rim, pattern scale, finish, and the position of the pattern relative to the holder. A close-looking retail listing may use a different gallery or retaining method, so do not order by style name alone.
What should a custom prismatic shade quotation include?
The quotation should identify the drawing revision, pattern and finish, glass route, sample plan, tooling or mold charge, MOQ, unit price, packing, inspection points, documentation, and shipping handoff. It should also state what is included in the lead time. If the shade is part of a certified luminaire, the fixture maker should confirm the applicable certification and testing route.
Release the pattern by sample and drawing revision
A prismatic light shade is ready for production when the interface, pattern, finish, light appearance, inspection points, and packing method all refer to the same approved sample and drawing revision. Keep the sample photos with the RFQ and use that record for the next order.
When the brief is ready, send the prismatic shade project through the JX RFQ builder. Include the fitter evidence first, then the pattern reference and quantity. That sequence gives the supplier enough information to discuss the right production route before the project is priced.