
ガラスランプシェードの製造方法:成形、アニール、仕上げ
Glass lamp shades are not all made by the same process. A shade may be mouth-blown from a gather of molten glass, pressed in a mold, shaped from borosilicate tubing at a burner, or heat-formed from a flat blank. After forming, the part is annealed, trimmed or ground where required, finished, and checked against the drawing or approved sample.
That process choice matters to a buyer. It affects tooling, repeatability, wall variation, surface character, order quantity, and which dimensions need the closest control. It should be settled before a supplier quotes a custom shade.
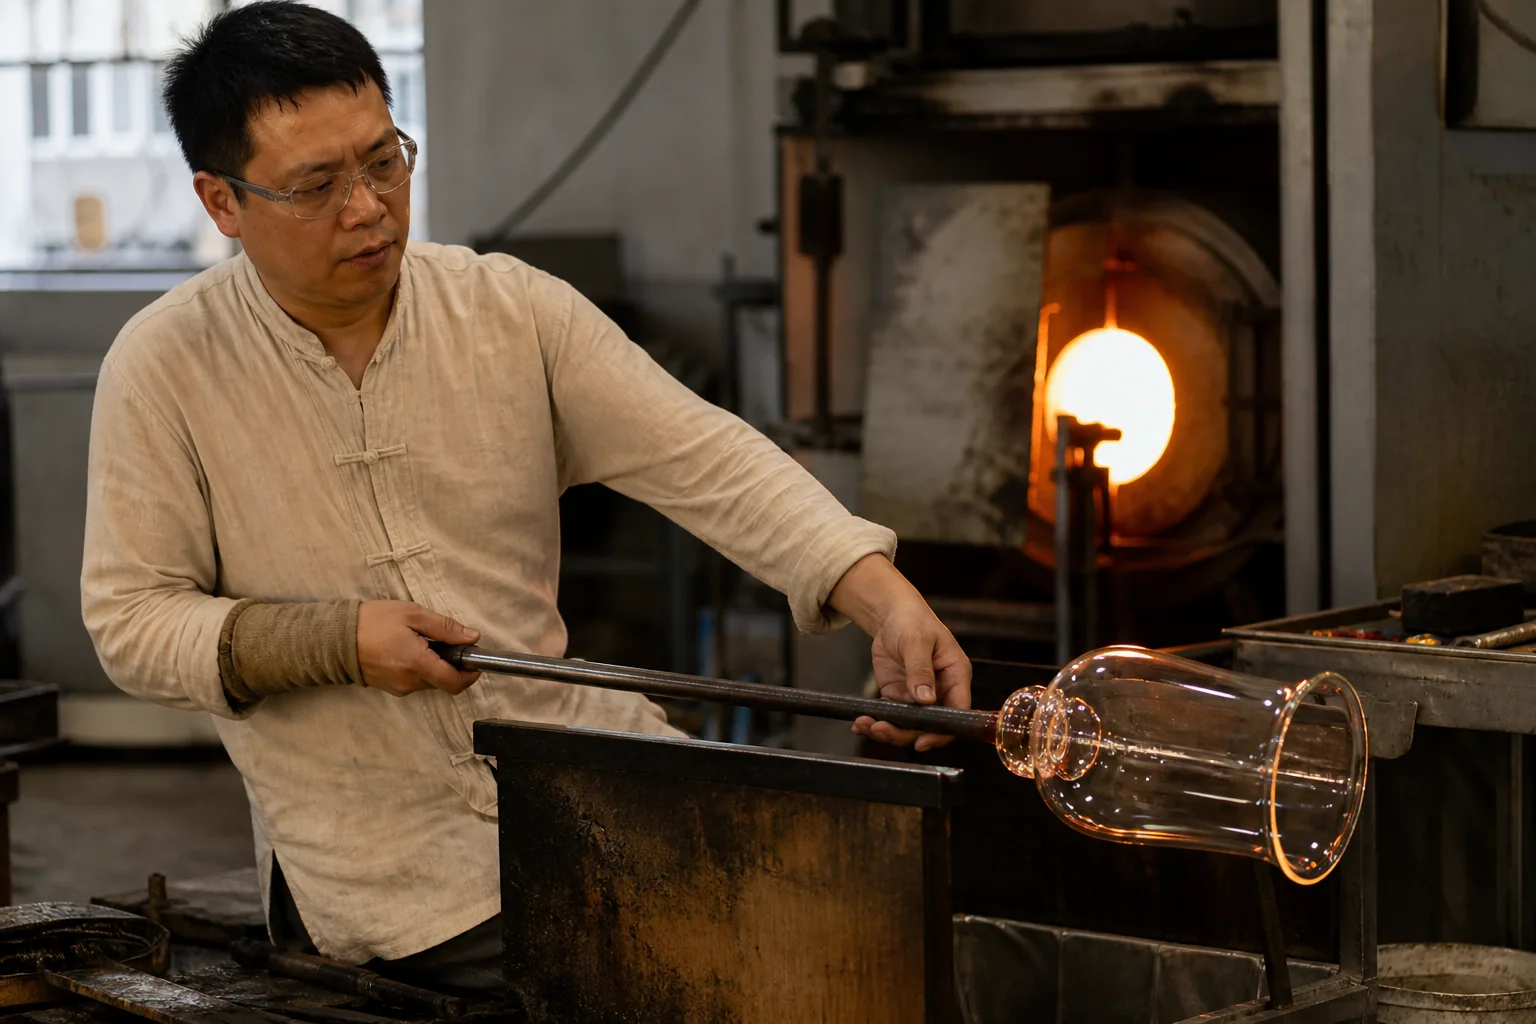
Glass starts with a batch, but a lamp shade starts with a process decision
Most common glass begins with silica sand, soda ash, limestone, and often recycled glass. The ingredients are weighed, mixed, melted, refined, shaped, and cooled. Glass Alliance Europe describes industrial melting temperatures of roughly 1300–1600°C, while the exact recipe and working range vary with the glass family and end use.
The distinction between primary glassmaking and shade forming is useful when qualifying a supplier. Some factories melt a raw batch. Others form purchased glass tubing, blanks, or pre-melted glass. Either route can be appropriate, but the supplier should explain which material enters its process and which operations are performed in-house.
| Material or input | What it does | What a buyer should confirm |
|---|---|---|
| Silica | Forms the main glass network | Glass family and clarity requirement |
| Soda ash or another flux | Lowers the temperature needed to melt silica | Whether the formulation is suitable for the application |
| Limestone and other stabilizers | Improve chemical stability and durability | Supplier's declared glass composition or material specification |
| カレット | Recycled glass that can return to the melt | Color control and contamination controls where relevant |
| Colorants or opacifiers | Create clear, opal, amber, smoke, or other effects | Whether color is through-body, layered, or surface-applied |
日本の コーニングガラス美術館 gives a 70/20/10 silica–soda ash–limestone composition for the soda-lime glass used in its demonstrations. That is a useful illustration, not a universal lamp-shade formula. A supplier-specific percentage, melting temperature, or thermal limit needs supporting documentation.
The seven-stage glass lamp shade manufacturing process
1. Define the geometry and the acceptance points
Production should start with a drawing, a physical reference, or both. The document needs the fitter opening, overall height, maximum diameter, wall or edge requirements, hole locations, finish, and any surfaces that must mate with metal hardware.
Not every dimension deserves the same tolerance. A fitter opening that locates the shade on a holder is normally more critical than a decorative body curve. The drawing should distinguish functional dimensions from visual reference dimensions, especially for mouth-blown work where small shape variations are part of the process.
2. Select the glass route and tooling
The supplier then matches the design to a forming route. A simple rounded shade with deliberate handmade variation may suit mouth blowing. A repeatable relief pattern or high-volume program may point to pressing. Small borosilicate forms may begin as tubing. A shallow curved panel may be cut from sheet and heat-formed over or into a mold.
Tooling can include blow molds, press molds, forming jigs, cutting fixtures, drilling fixtures, and fit gauges. Ask which tool controls each critical dimension and whether a retained approval sample will be used for repeat orders.
3. Form the shade
In mouth blowing, a glassmaker gathers molten glass on a blowpipe, centers it on a marver, introduces air, and shapes the expanding bubble with tools, gravity, and sometimes a mold. The National Park Service's glassblowing sequence documents the same core operations: gathering, marvering, blowing, reheating, shaping, transferring, and final forming.
In machine pressing, a measured portion of hot glass enters a mold and a plunger forces it into the cavity. The mold carries much of the geometry and surface detail, which makes the route useful when repeatability and production volume are important. Mold seams, draft, rim geometry, and tool wear should be considered during development.
Lampworking uses localized heat to soften glass tubing or rod. It is commonly associated with borosilicate components and smaller forms where the operator rotates and shapes the glass in a flame. Heat forming or slumping starts with a cut blank that softens in a kiln and conforms to a mold. These processes do not have the same tooling, wall behavior, or cost structure, so they should not be quoted as interchangeable methods.
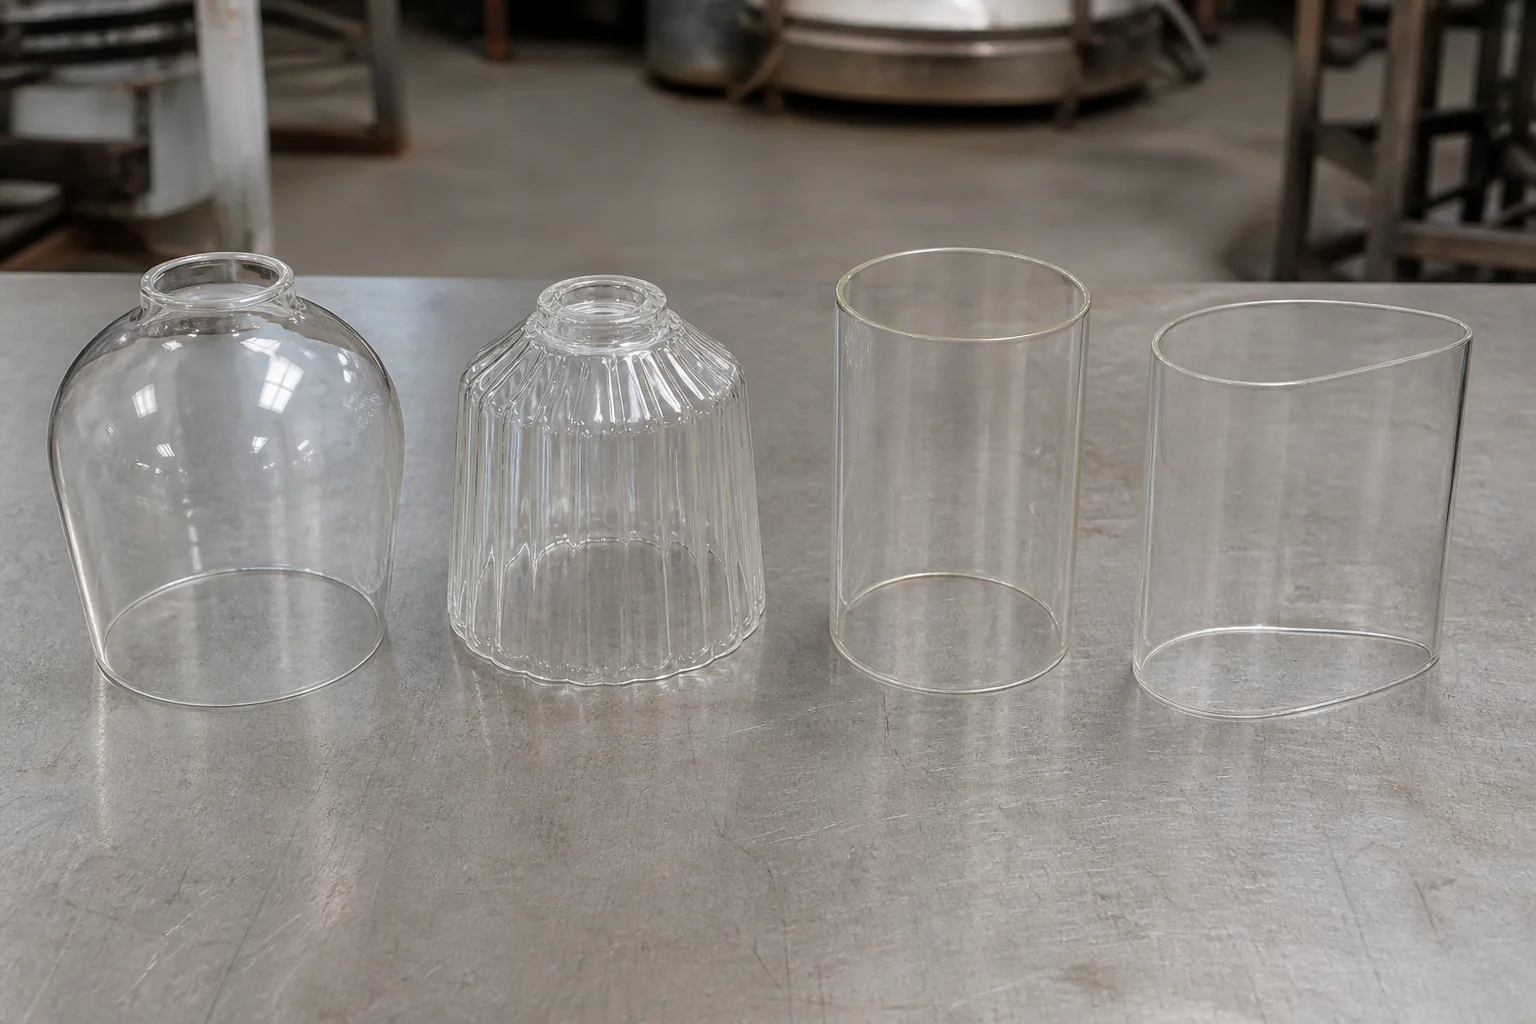
How the main forming methods compare
| Forming method | Usually considered for | Variation to discuss | Early sourcing question |
|---|---|---|---|
| 口吹き | Rounded, organic, ribbed, seeded, or smaller-batch forms | Wall distribution, body profile, bubbles, rim and fitter dimensions | Is the shape free-blown or mold-blown? |
| Machine-pressed | Repeatable profiles, molded detail, and larger runs | Mold seams, flash, tool wear, surface transfer | What tooling is required and which dimensions does it control? |
| Lampworked tubing | Smaller borosilicate shades and tube-derived geometry | Concentricity, seal or cut quality, localized tool marks | What tube size and glass grade form the starting material? |
| Heat-formed sheet | Shallow curves, shields, panels, and open profiles | Edge finish, spring-back, mold contact marks, flatness | Is the blank bent, slumped, or otherwise formed in a kiln? |
There is no single best method. The right choice is the one that can produce the required geometry, appearance, quantity, and acceptance limits without forcing the material into an unsuitable process.
Annealing is a controlled cooling step, not a marketing label
Hot glass does not cool evenly on its own. Different areas can contract at different rates and leave residual stress inside the part. Annealing holds the glass at an appropriate range and then cools it at a controlled rate so those stresses are reduced.
Glass Alliance Europe's manufacturing guidance defines the purpose of annealing as reducing residual stress and notes that cooling must be slow enough to prevent the stress from returning. The Corning Museum of Glass similarly keeps hot-glass projects overnight for slow, even cooling to reduce cracking and breakage.
The exact schedule depends on glass composition, thickness, geometry, and equipment. A generic time or temperature copied from another product is not a substitute for a validated schedule.
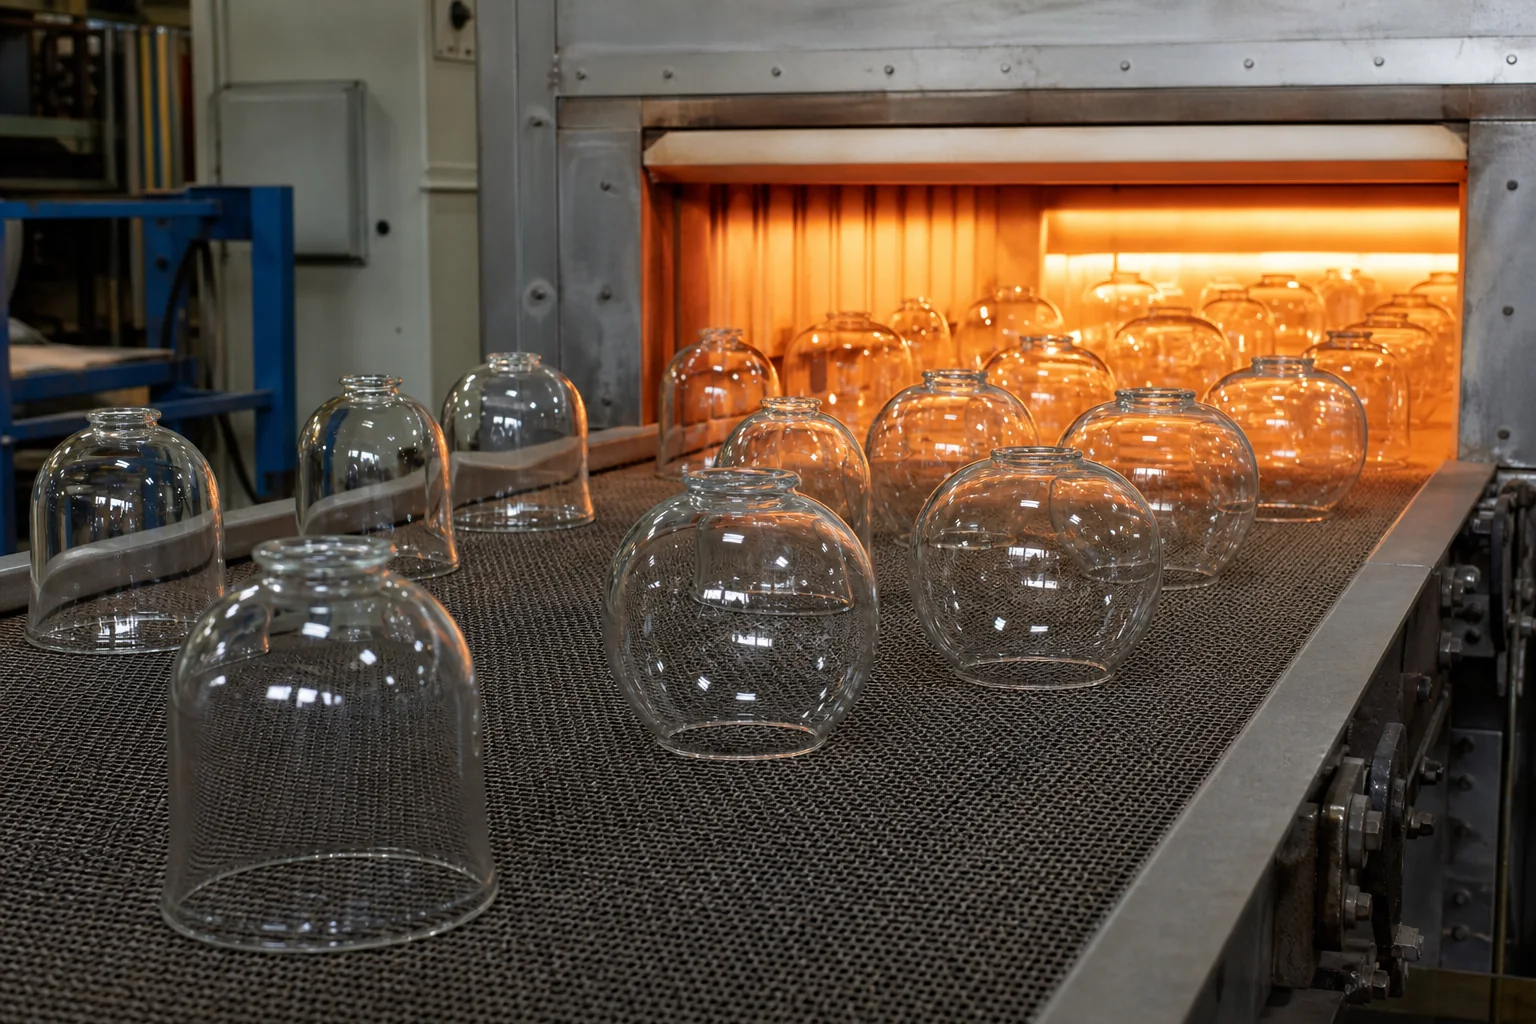
Annealed glass and tempered glass are not the same thing
Annealing aims to relieve unwanted residual stress. Tempering intentionally creates a compressive stress pattern to improve mechanical performance and change breakage behavior. A decorative glass shade should not be described as tempered unless the product, process, and applicable test evidence support that statement.
For an RFQ, ask for the declared glass condition and the inspection or test plan. Do not assume that a photograph, a smooth edge, or the word “heat-resistant” proves tempering.
Cold working creates the mounting interface
After annealing, the shade may need cutting, grinding, polishing, or drilling. The operations depend on the design. A blown shade may be separated from excess glass and its fitter edge ground to size. A pressed part may need flash removed. A sheet-formed panel may need its perimeter finished. A hole should be machined only when the drawing calls for one.
Cold working can change the final dimensions, so the fit check belongs after the relevant finishing operation. The buyer should specify how the part attaches to the fixture:
- fitter diameter and whether it seats on a ledge, ring, screws, or clips;
- hole diameter, center position, and edge distance where a hole is required;
- rim flatness or contact surface needed for the holder;
- clearance from the bulb, socket, and metal hardware;
- any edge appearance that remains visible after assembly.
Color and surface finish can be integral or applied later
Color may come from the glass composition, colored frit or overlays added during hot work, or a coating applied after forming. Frosted effects may be created by mechanical or chemical surface treatment. Painted decoration, mirrored finishes, and other coatings introduce their own adhesion, color-matching, and cleaning questions.
The finish callout should say more than “white,” “smoke,” or “frosted.” A useful specification identifies the reference sample, gloss level or visual target, which surfaces are treated, acceptable boundary lines, and the viewing condition used for approval. For illuminated shades, review the finish both unlit and lit because thickness and opacity differences can become more visible when the lamp is on.
Inspection should follow the drawing and the approved sample
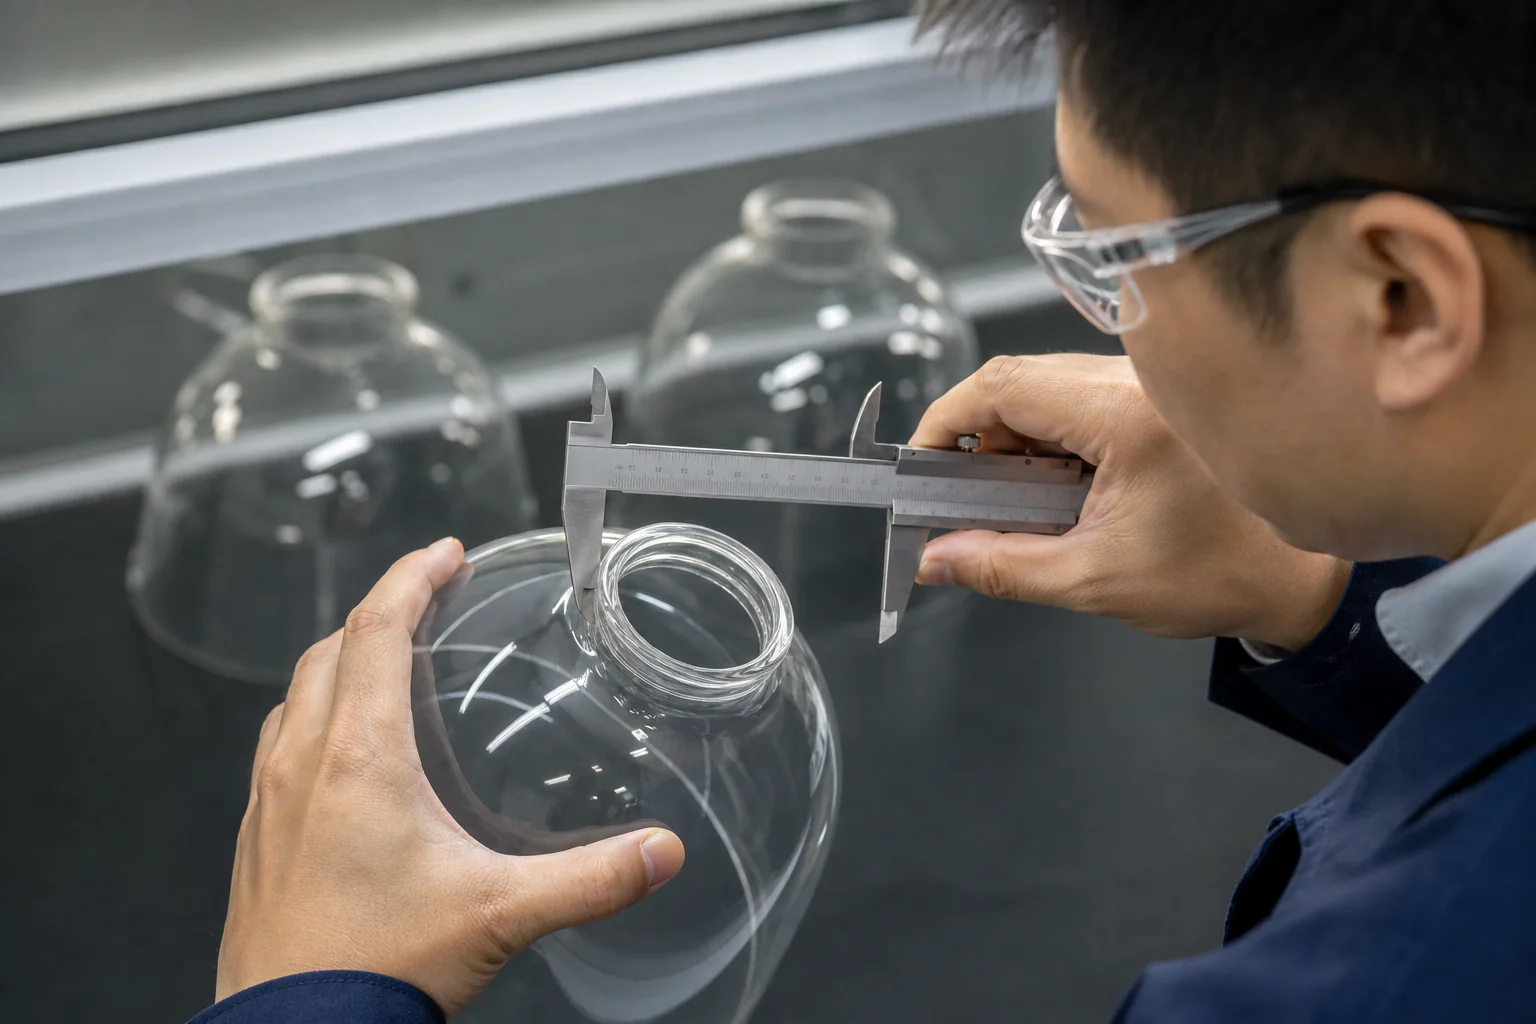
A good inspection plan is short enough to use and specific enough to settle disagreements. It can combine dimensional checks, visual checks, fit verification, and process evidence. The exact sampling rate and acceptance limits are commercial inputs; they should be agreed before production rather than invented after a shipment is complete.
| Inspection area | Practical check | Decision that must be agreed |
|---|---|---|
| Fitter or mounting feature | Gauge, caliper, or fixture-fit check | Tolerance and gauge method |
| Overall geometry | Height, diameter, profile, or template comparison | Critical versus reference dimensions |
| Visual appearance | Transmitted and reflected light review | Acceptable bubbles, seams, cords, marks, and color range |
| Edge and hole quality | Visual and dimensional check after cold work | Chips, polish level, edge radius, and positional tolerance |
| Residual stress | Appropriate stress inspection when specified | Method, frequency, and acceptance limit |
| Matched sets | Side-by-side lit and unlit comparison | Allowed variation within one fixture or project |
Bubbles deserve a written rule. The Corning Museum of Glass notes that bubbles may result from melting or gathering, but they can also be introduced deliberately. A blanket “no bubbles” instruction may reject an intentional seeded-glass effect, while a vague “handmade variation” note may allow defects the buyer did not expect. Photographic standards or a signed sample are clearer.
What common problems can tell you
The symptom does not prove one cause, but it tells the buyer where to investigate.
- An out-of-round fitter can point to forming variation, heat distortion, or an unsuitable finishing fixture.
- A rocking rim can indicate an uneven cut or grind, or a profile that was never defined as a critical surface.
- Unplanned bubbles, stones, or cords can justify a review of melting, material handling, or hot-work practices.
- Chips around a hole or edge can call for a cold-working and handling review.
- Cracking can involve residual stress, thermal shock, impact, assembly stress, or an unsuitable application. The failed part and installation conditions need examination before a cause is assigned.
- Color mismatch can come from batch variation, thickness variation, coating variation, or approval under different lighting.
The most useful corrective-action request includes photos, lot information, the drawing revision, the approved sample, the installation condition, and the number of affected parts. “Improve quality” is not measurable.
RFQ checklist for a custom glass lamp shade
Send enough information for the supplier to choose and defend a process:
- A dimensioned drawing with the fitter or mounting interface clearly marked.
- A physical sample or reference images when profile and surface character are difficult to show on a drawing.
- The preferred glass family, color, opacity, and surface finish, or a request for the supplier to recommend options.
- The intended fixture, lamp type, operating environment, and required market documentation.
- Prototype quantity, expected production quantity, and annual demand range.
- Critical tolerances and the planned method for checking them.
- Acceptable visual variation, including bubbles, seams, tool marks, and color range.
- Packaging, labeling, matched-set, and replacement requirements.
If one of these points is unknown, label it as an open item. That is safer than letting a supplier infer a requirement that later becomes a rejection criterion.
Frequently asked questions
Many decorative shades use soda-lime glass made primarily from silica, a flux such as soda ash, stabilizers such as limestone, and optional cullet, colorants, or opacifiers. Borosilicate and other glass families may be selected for different forming or thermal requirements. Confirm the material for the specific part.
No. Glass lamp shades can be mouth-blown, machine-blown, pressed, lampworked from tubing, or heat-formed from sheet, among other routes. Shape, volume, finish, and tolerance requirements influence the choice.
Annealing reduces residual stress created as hot glass cools. The correct schedule depends on composition, thickness, and geometry, so it needs to be validated for the part and process.
No. Annealing relieves unwanted residual stress. Tempering deliberately creates surface compression to improve mechanical performance and alter breakage behavior. A supplier should not use the terms interchangeably.
No. Bubbles may be unplanned, or they may be an intentional seeded or handmade feature. The purchase specification should define the allowed size, number, location, and visual reference.
Many mounting openings are cut, ground, polished, or drilled after forming and annealing, but the sequence varies by design. The final inspection should occur after the operation that establishes the mounting dimension.
Choose mouth-blown work when controlled handmade character or a suitable smaller-batch route is important. Consider pressing when repeatable molded detail and production scale justify tooling. Ask the supplier to compare both routes against the same drawing and quantity.
Send a drawing or sample, fitter dimensions, target finish, quantity, application, critical tolerances, and visual acceptance requirements. Those inputs allow the supplier to recommend a forming and inspection plan instead of quoting from appearance alone.
Turn the process into a reviewable RFQ
For a process review, send the drawing or sample together with the target quantity and the dimensions that control assembly. JX Lampshade can then respond with a proposed forming route, open technical questions, and the information still needed for sampling. Any MOQ, lead time, tolerance, material declaration, test method, or production capability remains subject to confirmation for the specific project.