ワイヤーフレームやスチレンコーンに布や紙をスプレー接着剤で巻き付け、スパイダーまたはクリップオンフィッターで固定します。ほとんどのDIYランプシェードは2時間以内、費用は2,000円未満で完成します。.
照明店に入ると、すぐに価格の計算が始まります。シンプルなドラム型シェードは4,000〜8,000円。布製のエンパイア型シェードは12,000円を超えます。テクスチャや柄があるものはさらに3,000円追加されます。これらの値札が示していないのは、製造コストが材料で800円程度、工場作業は約15分ということです。このガイドはそのギャップを埋めるために作られています。.
私たちはここで紹介する5つの主要な方法すべてでランプシェードを作ってきました:ホットグルー布、プリーツ布、紙、ワイヤーフレームの自作、キット組み立て。また、Pinterestのチュートリアルが省略している点も学びました。以下には正直な難易度評価、クラフトショップで迷わない材料リスト、初回からうまくいく精密なステップバイステップの手順を掲載しています。.
n適切なガイドをお選びください: このページでは5つの制作方法を比較しています。縫わずに集中してリメイクやファブリックのイメージチェンジを行いたい場合は、 DIYランプシェード.
ランプシェードとは何で、どのように機能するのか?
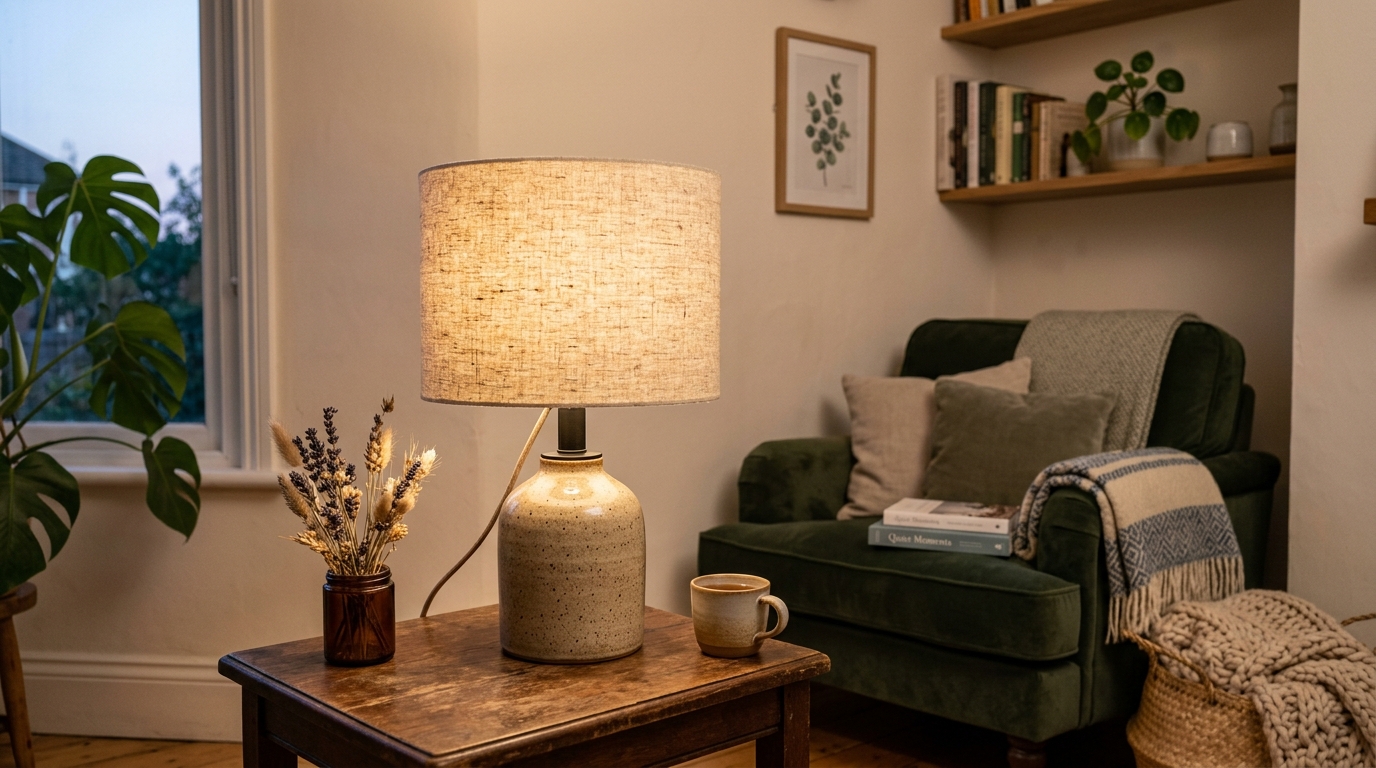
ランプシェードには3つの役割があります:強い電球の光を拡散する、光を望む場所に向ける、そして見た目も良くすること。切断を始める前にその構造を理解することが、まっすぐ吊るせるシェードと、片側に傾いて一箇所が焼けてしまうシェードを分けるポイントです。.
3つの構成要素:フレーム、カバー、フィッター
すべてのランプシェード(DIYも市販品も)は同じ3つの部品から作られています。.
フレームは骨組みです。ほとんどのDIYシェードでは、上下のワイヤーリング2つが垂直スポークで繋がれているか、ワイヤーなしで自立する成形スチレンコーンやドラムパネルです。ワイヤーフレームはクラフトショップでドラム型、エンパイア型、オーバル型などの形で販売されています。スチレンパネルは平らな状態で販売され、スコア&フォールドで形を作ります。.
カバーは見える部分です:布、紙、リボン、ラタンなど、光を拡散し適度な熱に耐えるもの。カバーは方法によってスプレー接着剤、ホットグルー、手縫い、または自己粘着バックでフレームに取り付けます。.
フィッターはシェードをランプに接続するハードウェアです。これを間違えると他のすべてが意味を持ちません。.
スパイダー、UNO、クリップオンフィッター:どれが必要?
フィッターの種類はランプベースによって決まり、シェードのスタイルではありません。ハードウェアを購入する前に既存のシェード(またはランプのハープとサドル)を確認してください。.
| フィッターの種類 | 取り付け方法 | 対応するランプ | よく使われるランプ |
|---|---|---|---|
| スパイダー | ハープの上に乗せ、フィニアルで固定 | ハープとサドルが付いたランプ全般 | テーブルランプやフロアランプ |
| UNO | ソケットに直接ねじ込むタイプ | ハープのないランプ | スイングアームランプと調剤ランプ |
| クリップオン | 電球自体にクリップで固定するタイプ | 小型電球用ランプ、シャンデリア | シャンデリアベース、ミニシェード |
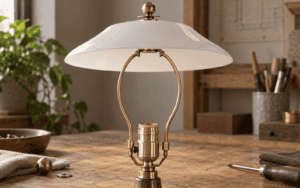
スパイダーフィッターはDIYプロジェクトで最も一般的です。ハープは安価で入手しやすく、高さも調整可能だからです。シェードを一から作る場合は、スパイダーフィッターリングを購入し、フレームの上部リングにワイヤーで巻き付けるか縫い付けてください。.
ランプシェードのスタイル:何かを切る前に一つ選びましょう
材料を購入する前に形を決めてください。スタイルによって、カット方法や張り方、多少ずれても作りやすいかどうかが決まります。.
ドラムシェードは初心者に最適なスタートです。上下の直径が同じなのでテーパーを考慮する必要がなく、接合部で生地がよれる心配もありません。.
ドラムシェード:DIYで最も簡単
ドラムシェードは上下の円周が同じです。この平らな円筒形なので、布や紙のカバーは単純な長方形(高さ×(円周+重なり用1インチ))になります。バイアスカットやプリーツは不要(希望する場合を除く)。誤差の許容範囲も広く、長方形が2mmずれても接着後は誰にも分かりません。.
ドラムシェードはほとんどのテーブルランプやほぼすべてのペンダントフィッティングに対応します。最初のプロジェクトとして理にかなっています。.
エンパイアシェードとベルシェード:クラシックな形、縫い目はやや難しい
エンパイアシェードは下が広く上が狭いテーパー形状です。ベルシェードは外側にカーブしてから再び内側に絞られます。どちらも、あらかじめテーパー加工されたスチレンパネル(1枚で販売され、スコアを入れて曲げる)か、フレアに合わせて非常に正確なバイアスカットが必要です。.
エンパイアシェードの縫い目は計画的に作る必要があります。布はドラムのように平らに巻けないため、スチレンの裏打ちで歪みを防ぎます。難易度は中程度ですが、ヴィンテージやミッドセンチュリーのランプベースに合う伝統的な見た目が得られます。.
クーリー、ペンダント、特殊な形状
クーリーシェードは上部が非常に狭く下部が広い円錐形で、アジア風のインテリアによく使われます。ペンダントシェード(ドームシェードとも呼ばれる)は半球や球体の形です。ほとんどは紙や成形ガラスが使われ、生地では完全な曲面にきれいに張ることができません。.
ここがDIYの実用的な限界です。クーリー型は、ファブリックとスチレンパネルで覆うことができますが、深い曲線(本物のドーム、球体、ファセット付きの幾何学形状)は、布できれいに覆うのが非常に難しいです。これらは作るよりも購入した方が賢明です。.
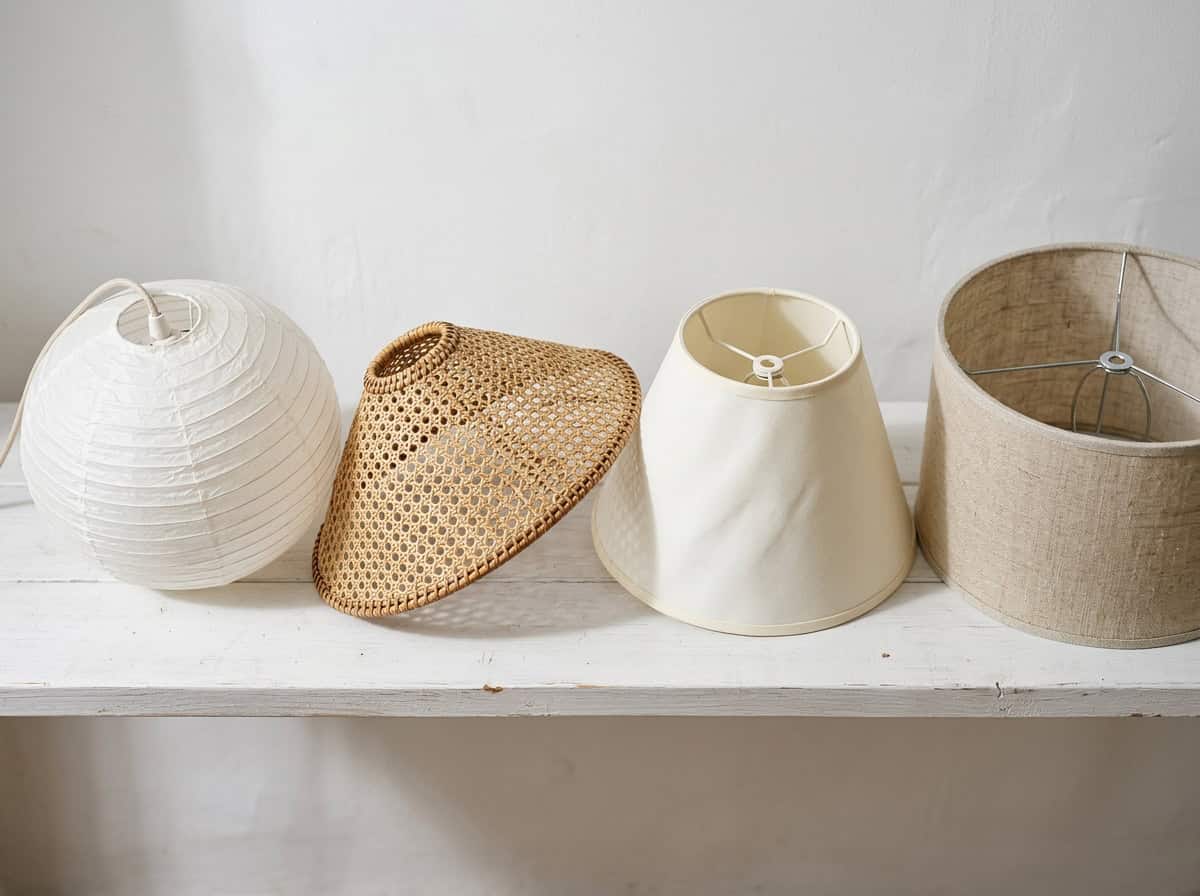
| スタイル | DIYの難易度 | 最適な素材 | 所要時間の目安 |
|---|---|---|---|
| ドラム型 | 簡単 | 布、紙 | 45〜90分 |
| エンパイア型 | 中程度 | 布+スチレンパネル | 1.5〜2.5時間 |
| ベル | 中〜難しい | 布+スチレンパネル | 2〜3時間 |
| クーリー | 中程度 | 布+スチレンパネル | 1.5〜2時間 |
| ペンダント/ドーム | 難しい | 紙、ラタン | 2〜4時間 |
| グローブ | DIYは推奨されません | ガラス/成形 | 購入をおすすめします |
本当に必要な材料と道具
「完全な材料リスト」やPinterestのリストは省略しましょう。多くのランプシェード作りのプロジェクトが失敗するのは、材料を買いすぎて、どれが実際に必要なのか理解していないからです。.
布製ランプシェードの材料
フレームには、ワイヤードラムまたはエンパイアリングセット(クラフト店やオンラインで$6-12)を用意します。仕上がりより少し大きめを選びましょう。カバーを付けると高さが約3〜4mm増します。.
カバーには天然繊維の生地が最適です:リネン、コットン、シルク。合成繊維は避けてください。ポリエステルは電球の近くで光をうまく拡散せず、熱によって揮発性物質の放出が早まります。中厚手が理想的で、シアー生地の場合は裏地が必要です。.
接着剤には、大きなパネルにはスプレー接着剤(3Mスーパ―77または同等品)、トリムや端の仕上げにはホットグルーガンを使用してください。白いPVA接着剤を直接生地に使ってはいけません。乾くと硬くなり、多くの素材で透けて見えます。.
自己粘着性スチレンシートは必須ではありませんが、入手する価値があります。生地を直接裏打ち材にアイロンで貼り付け、その後パネル全体をスコアして曲げて形を作ることができます。これはファブリックシェードでできる最大の品質向上です。気泡を防ぎ、シェードが何年も形を保つのに十分な剛性を与えます。.
トリムにはリボン、ギンプブレード、またはバイアステープを使って上下の端をカバーします。各リングの円周の2倍の長さを目安に用意してください。.
紙製ランプシェードの材料
ファブリック用と同じワイヤーリングセット、または幾何学的な紙シェード用のスコア済みスチレンコーンを使用します。.
紙の重さは多くのチュートリアルで言及されている以上に重要です。90~120gsmが最適です。薄い紙はストレスポイントで破れやすく、厚い紙は光をうまく拡散しません。テクスチャーのある水彩紙や和紙は美しい拡散効果をもたらします。.
接着剤には、PVA(白い接着剤)を水で50/50に薄めたものが紙シェードに適しており、乾くと透明になります。スプレー接着剤も平らな紙パネルには有効です。.
接着剤が固まるまで紙を固定するために、洗濯ばさみを20~30個用意してください。バインダークリップは紙の端を傷めるので、木製のものを使いましょう。.
ワイヤーフレームを一から作るための道具
フレーム自体を作る場合(カバーだけでなく)、ホットグルーガン以外にも道具が必要です:
- 亜鉛メッキスチールワイヤー:上部と下部のリングには16ゲージ、縦のスポークには20ゲージ。1種類だけ使うなら18ゲージが妥協点です。.
- ワイヤーカッターと丸ペンチ
- ロジン入りはんだを使うはんだごて(またははんだ付けしない場合は結束線)
- リング曲げ用ジグまたは鍋の蓋やバケツなどの大きな丸い物体で、ワイヤーを直径に合わせて巻きます。
完璧なリングをフリーハンドで曲げるには練習が必要です。ワイヤーをジグに1.5周巻き、切って重なり部分をはんだ付けします。つなぎ目は完全には見えなくならないので、背面に配置するようにしましょう。.
ランプシェードの作り方:5つのステップバイステップ手法
役立つチュートリアルと曖昧なものを分けるのは作業手順の順序です。多くの失敗したDIYシェードは、フレームを直角にする前にカバーを取り付けたり、接着剤が完全に硬化する前にトリミングしたりすることが原因です。以下の各手法ではタイミングと順序を明記しています。.
方法1:縫わないファブリックランプシェード(既存フレームにホットグルー)
古いシェードのリフレッシュ、初めての製作、または短時間のプロジェクトに最適です。ワイヤードラムフレーム、フレーム円周の2倍以上の幅の生地、ホットグルーガン、はさみ、洗濯ばさみが必要です。.
- 計測してカットします。生地の高さ=フレームの高さ+1.5インチ(上下の余裕分)。幅=大きいリングの周囲×2(きれいな重なりのため2回巻きます)。.
- 始まりの端を固定します。ホットグルーを1本の縦スポークに沿って塗り、生地の端を押し付けて15秒間押さえます。ここが基準点となり、他はすべてここから測ります。.
- フレーム全体に生地を伸ばして接着します。4~6インチごとに区切って、ワイヤーリング(生地ではなく)にグルーを塗り、生地を押し付けます。生地はピンと張りますが、しわが寄らない程度にします。生地がずれた場合は、止めて、剥がして、再度固定してください。.
- 重なり部分の縫い目を仕上げます。スタート地点に戻ったら、生地の切り端を1/2インチ内側に折り込み、始まりの端の上に重ねて接着し、きれいな縦の縫い目を作ります。.
- 上下の端を折り込んで処理します。余裕分をワイヤーリングの内側に折り込み、グルーで固定します。冷めるまで洗濯ばさみなどで押さえておきます。.
- トリムを付けます。ギンプブレードやリボンを上下のリングにグルーで貼り付け、切り端を隠します。.
所要時間:45~75分。簡単です。.
方法2:プリーツ生地のランプシェード
ヴィンテージ風の雰囲気や生地の端切れがある方、ドラム型フレームに最適です。プリーツ加工は立体感のあるギャザーを作り、滑らかな巻き方よりも生地のムラが目立ちにくくなります。生地の厚みのわずかな違いもプリーツの中で目立たなくなります。.
- 生地をカットします。フレームの周囲の少なくとも2.5倍の幅が必要です。プリーツをはっきり出すためです。12インチのドラムシェード(周囲約37.7インチ)の場合、幅約95インチ、高さはフレームより2インチ高いストリップをカットします。.
- プリーツの間隔を印をつけます。布用マーカーで上端に一定間隔で印をつけます。1/2インチのプリーツの場合は1インチごとに印をつけます(半分は前に、半分は後ろに折ります)。正確なサイズよりも均等な間隔が重要です。.
- 上部のリングで折り、ピンで留めます。各プリーツを折り、長いまっすぐなピンで直接上部のワイヤーリングに固定します。何も接着する前に全体を作業してください。.
- テンションを調整します。プリーツを寄せた布はフレームに隙間やたるみがなく、平らに沿うようにします。縫い目に余分な布がある場合は、最後の4~5個のプリーツを少し広めに調整します。.
- 上端を接着します。ピンを1本ずつ外し、ワイヤーにホットグルーを少量つけてプリーツを押さえ、次に進みます。グルーが乾かないように3プリーツずつ作業します。.
- 下部のリングでも同様に繰り返します。各プリーツをまっすぐ下に引っ張る(またはらせん状に少しねじる)→接着→余分をカットします。.
所要時間:1.5~2時間。難易度:簡単~中程度。.
方法3:紙製ランプシェード(フラットパネルまたは幾何学形状)
紙製ランプシェードは布よりもすっきりとした彫刻的な印象になり、光の拡散も異なります。紙が半透明の場合は光がより暖かく均一に広がります。不透明な場合はエッジがはっきりします。.
フラットパネル型の紙製ドラムシェードの場合:
- 紙を高さ×(周囲+1インチの重なり)でカットします。寸法は方法1の布と同じです。.
- 片端から1/2インチの位置に垂直線を折り目として入れます。これが重なり縫い目になります。.
- 紙の裏側にスポンジブラシで薄めたPVA接着剤を塗ります。60秒間乾かして粘着性を出します。.
- 折り目を起点にワイヤーフレームに紙を巻きつけ、上部と下部のリングに押し付けながら進めます。3インチ間隔で洗濯ばさみで固定します。.
- 完全に乾燥させます(2~3時間)。乾いたらピンを外します。PVAが硬化すると紙がしっかりします。.
- 重なり部分を接着し、クラフトナイフと定規で上下端をきれいにカットします。.
幾何学的な折り紙風ペンダントの場合は、スコア&フォールド法で作ります。120gsmの紙と印刷済みテンプレートが最適です。フリーハンドで幾何学的な折り目を複数パネルにまっすぐ入れるのはほぼ不可能です。.
所要時間:1.5~3時間。フラットパネルは簡単、幾何学は中程度。.
方法4:ワイヤーフレームを一から作る
最も手間のかかる方法ですが、唯一、どんなカスタムサイズや形状にも対応できます。特殊なランプベースや規格外のペンダントに重要です。.
- リングサイズを計算します。シェードの最も広い部分(エンパイア型なら下部直径、ドラム型なら上下直径)を測ります。ワイヤーの接合部分を考慮して5%を加えます。.
- 上部リングを曲げます。16ゲージのワイヤーをジグに巻き付け、目標の円周に合わせます。接合部で1.5インチ重ねてはんだ付けします。完全に冷めるまでジグから外さないでください。ワイヤーは、数分間テンションをかけたまま冷ますことで、丸い形状をよりよく保持します。.
- 同じ手順で下部リングを曲げます。ドラムシェードの場合は上部と同じ直径です。エンパイアの場合は下部の方が大きくなります。.
- 垂直スポークを追加します。20ゲージのワイヤーを6〜8本、シェードの高さより1インチ長くカットします。一端を上部リングにしっかり巻き付け、ピンと張った状態で下端を下部リングに巻き付けます。始める前にマーカーでリングを等分しておくと、スポークの間隔を均等にできます。.
- スパイダーフィッターを追加します。既製のスパイダーフィッターリング(約$3-5)は、上部リングの3〜4か所に等間隔ではんだ付けできます。あるいは、18ゲージのワイヤーで上部リングの中心からクロスワイヤーを曲げ、中央にワッシャーをはんだ付けしてフィニアルが通るようにします。.
- フレームを強化します。高さが14インチを超えるシェードには、スポークの中間に水平リングを1本追加します。これにより、カバーの重みでフレームが横に歪むのを防ぎます。.
フレームが完成したら、方法1または2でカバーします。.
フレームのみで所要時間は2〜3時間。中級〜上級、はんだ付けが必要です。.
方法5:ランプシェードキット(最速の方法)
自己粘着性スチレンランプシェードキットには、カット済みのスチレンパネル(剥がして貼るタイプ)、上下のワイヤーリング、スパイダーフィッター、トリムが含まれています。布や紙はご自身でご用意ください。.
WikiHowの キットを使ったランプシェードの作り方ガイド, によると、キットを使うことで最もミスが起こりやすい工程(採寸、スチレンのカット、フレームの位置合わせ)が省略され、カバー作業に集中できます。.
- 選んだ布をアイロンがけします。しわはそのまま仕上がりに反映されます。.
- スチレンの裏紙を剥がし、粘着面を上にして平らな面にパネルを置きます。.
- 布を表面を下にして粘着パネルに重ね、中心から外側に向かってなめらかに貼ります。スプレーのりは不要です。.
- ロータリーカッターで印の線に沿って布をカットし、きれいな端にします。.
- パネルの背骨ラインに沿ってスコアを入れ、形を曲げて継ぎ目を重ねます。.
- 上下のチャンネルにワイヤーリングをはめ込みます。.
- ワイヤーリングの上にトリムを貼って仕上げます。.
キットは$15-25で、ほとんどの手芸店や生地店で購入できます。キットの形やサイズに制限されますが、初めてのランプシェード作りにはその制約がむしろ役立ちます。.
所要時間:30~60分。簡単。.
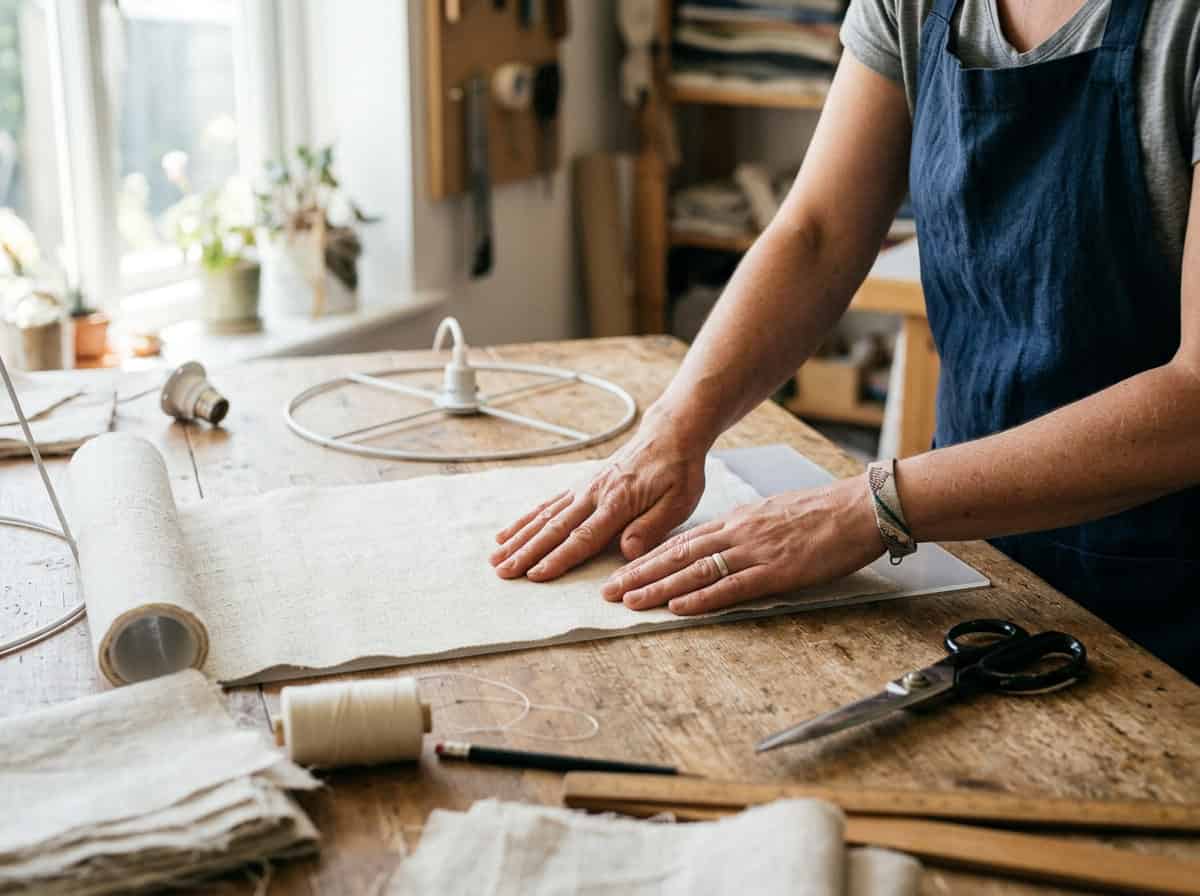
ランプシェード用の布を硬くする方法
布を硬くすることで、何年も形を保つシェードと、数か月でたるんだり波打ったり、縫い目で崩れたりするシェードとの差が生まれます。結果が大きく異なる2つの方法があります。.
スプレー糊 vs. 市販の布用硬化剤
スプレー糊は手軽な方法です。布に軽いハリを与え、最初の成形には役立ちますが、水溶性のため湿気で徐々に効果が薄れます。小さなシェードの軽い布には十分ですが、長持ちさせたい場合には不十分です。.
市販の布用硬化剤(スティフェンスタッフ、アリーヌのファブリック・スティフナーなど)は、布の繊維内に永久的な結合を作ります。スポンジブラシで塗布し、濡れている間に布を引っ張って形を整え、4~6時間乾燥させます。乾燥後は、硬い裏打ちがなくても布が形を保ちます。ただし、硬化剤は淡色の布をやや濃くする場合があるので、必ず端切れでテストしてください。.
自己粘着性スチレン裏打ち:プロの方法
これは商業用ランプシェードメーカーが使用している方法で、ランプシェードキットの販売店からDIY用にも入手できます。自己粘着性スチレンは、剥離可能な接着層が付いた薄くてやや柔軟なプラスチックシートです。.
手順:布にアイロンをかけ、スチレン裏打ちの剥離紙をはがし、布を接着面にのせてなじませ、余分をカットします。完成した布とスチレンのラミネートは硬く、耐熱性があり、波打ちやたるみがありません。自宅でランプシェードを作る際に最も信頼できる技法です。.
日本の 照明工学協会 シェードの素材は見た目だけでなく、使用する電球の動作温度での耐熱性も評価することを推奨します。スチレン裏打ちの布は、発熱の少ないLED電球と安全に使用できます。60Wを超える白熱電球の場合は、スチレンメーカーの耐熱基準を必ず確認してください。.
トラブルシューティング:よくあるDIYランプシェードの6つの問題
ほとんどのランプシェードの失敗は、接着剤の乾燥を急いだこと、生地の張り具合が間違っていたこと、またはカバーをかける前にフレームが正しく調整されていなかったことに起因します。ここでは、最も一般的な問題の診断方法を紹介します。.
生地が平らにならない/縫い目に沿って気泡ができる
気泡は通常、スプレー接着剤を早く塗りすぎて(表面が乾いてしまい、正しく接着しなくなる)、または生地にしわが残ったまま貼り付けた場合に発生します。.
完成したシェードの場合:薄いカードを使って気泡の下に少量のスプレー接着剤を注入し、平らに押さえて20分間重しをします。作業中のシェードの場合:接着剤がまだ粘着性のあるうちに生地をはがし、中央から外側に向かって再度押し付けます。.
光が均一でない/明るいスポットができる
ホットスポットは、周囲よりも強く光が透けて見える明るい部分です。これは、カバーの密度が均一でないことを意味し、特に天然織物の生地でワイヤースポークの部分が織り目が開いてしまう場合に発生します。.
解決策は裏地を追加することです。薄い白い生地や半透明の紙をシェードの内側にもう一枚貼ることで、光の拡散が均一になります。既存のシェードの場合は、内側に合わせてカットした裏地をスプレーで貼り付ければ、外側からは見えません。.
| 問題 | 考えられる原因 | 対処法 |
|---|---|---|
| 気泡/生地の浮き | 接着剤が押さえる前に乾いてしまった | 接着剤を再注入し、重しをする |
| 上端のたるみ | フレームが水平でなく、生地が引っ張られた状態で接着された | 再度接着し、洗濯ばさみで張り直す |
| ホットスポット/明るい部分 | スポーク部分の生地が薄い、または織り目が粗い | 白い裏地を追加する |
| シェードが片側に傾く | スパイダーのフィッターアームが不均等または中心からずれている | フィッターを中心位置に再ハンダ付けする |
| 紙がワイヤー部分で破れる | 紙が軽すぎて、曲げ部分で過度に負荷がかかる | 内部にティッシュテープで補強する |
| 縫い目の隙間が開く | 接着剤の重なりが不十分 | ホットグルーで再接着し、30分間クランプする |
既製のランプシェードを購入するタイミング
ランプシェードを作らない判断も、作り方を知るのと同じくらい重要です。シェードの種類によっては、技術が難しいのではなく、材料がクラフトルームにない設備を必要とするため、DIYでは現実的に作れないものもあります。.
DIYで再現できないもの:耐熱性、光学的透明度、精度
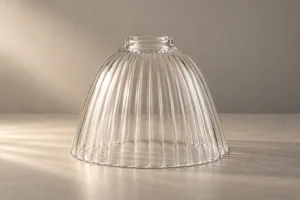
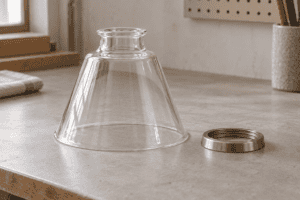
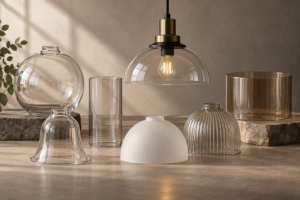
ガラス製ランプシェードが最も明確な例です。手吹きや成形された ガラスランプシェードコレクション は、布や紙のカバーでは得られない光学的透明度を持っています。光は、布がもたらす色の変化や質感のノイズ、拡散のアーティファクトなしに、きれいに通過します。ガラスは熱の扱いも異なり、広い温度範囲で熱的に安定しており、長年使用しても変色やガス放出がありません。.
成形工程にはガラス炉、型、アニール炉が必要です。これは技術の壁ではなく、設備の壁です。ガラス工房でカスタム品を数万円で作ることもできますが、日常使いには、品質の高い製造ガラスシェードが布製品にはない精度と耐久性を提供します。.
ランプベースに合うガラス製ランプシェードの選び方
購入する場合も、作る場合と同じく3つの寸法が重要です:高さ、上部直径(シェードがフィッターに取り付けられる部分)、下部直径(光の広がりに影響します)。.
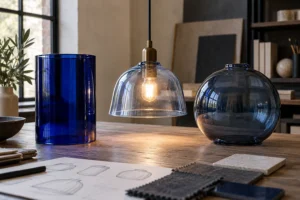
ペンダント照明の場合は、フィッター開口部(シェード上部のランプソケットに合う穴)も確認してください。標準ペンダントフィッターの開口部は40mm、57mm、または100mmです。開口部のサイズが合わないと、シェードが落ちたり、角度がずれたりします。jxlampshadeの ガラスシェードコレクション サイズガイド付きで、ご自身の器具に合わせて選べます。.
2026年以降のランプシェードデザインのトレンド
ランプシェード市場は、DIY側では素材を抑えた職人感のある作品へ、製造側では精密に成形された存在感のある素材へと、同時に二つの方向に進んでいます。.
持続可能で自然な素材
和紙、パルプに埋め込まれた乾燥植物、ラタン編み、オーガニックコットンがDIYランプシェード分野を席巻しています。日本のホームデコ市場調査によると、 Statista 自然素材のアクセサリーは家具の中でも成長が早いセグメントの一つとして追跡されており、ランプシェードも同じ方向に進んでいます。.
実際の結果として、漂白されていない生地や自然染色の生地は2年前よりも入手しやすくなり、専門の紙素材業者やクラフトショップも自然繊維ランプシェード素材のコーナーを明らかに拡大しています。.
職人によるミックスメディアと存在感のあるシェード
製造側では、2026年のトレンドはミックス素材の存在感ある作品です。鉱物を埋め込んだガラスシェード、手描きの内部表面、テクスチャーのある虹色コーティング、以前はプラスチックでしか実現できなかった幾何学的な形状などが挙げられます。.
デザイン専門誌など ディーン ペンダントや天井用シェードが、単なる光拡散器ではなく彫刻的なオブジェとして機能する傾向が強まっており、照明が消えている時でも注目を集める形状や質感が重視されています。.
DIY愛好者にとっては、シンプルな白いドラムシェードは、個性的な照明が並ぶ部屋では目立ちにくいということを意味します。職人技術が持つ本来の魅力(プリーツ加工、植物の封入、重ね紙など)を活かし、工業製品のような精密さを再現しようとするよりも、手作りならではの味わいを大切にしましょう。.
よくある質問
ランプシェード用の布を硬くするにはどうすればいいですか? 自己粘着性のスチレン裏打ちが最も信頼できる方法です。布をアイロンで貼り付けると、スプレーや乾燥を待つ必要なく、永久的に硬くなります。軽い用途なら、市販の布用硬化剤(刷毛で塗り、4~6時間硬化)が小型シェードに適しています。スプレー糊は一時的な効果しかなく、最初の湿気の多い夏を越えることはできません。.
ランプシェード作りに最適な布は何ですか? 中厚手のリネンやコットンが、光の拡散性・耐熱性・扱いやすさのバランスが最も良いです。ポリエステル(耐熱性が低い)、シアー生地(裏地が必要)、目の粗い生地(ムラが出やすい)は避けましょう。柄物も使えますが、幾何学模様など直線的なプリントは避けてください。プリーツ加工で直線が歪みやすくなります。.
ランプシェードのフレームを一から作るには? トップとボトムのリングには16ゲージの亜鉛メッキワイヤーを使い、バケツや鍋のフタなど円形の型に巻き付けて曲げ、接合部をはんだ付けします。リング同士は20ゲージのワイヤーで6~8本の縦スポークを均等に配置し、各リングにしっかり巻き付けて固定します。トップリングには既製のスパイダーフィッターをはんだ付けします。材料費合計:$8-15。.
キットなしでランプシェードは作れますか? はい。本ガイドの方法1(縫わずにホットグルー)と方法3(紙)は、市販キットなしでも作れます。キットを使うと作業が早く正確になりますが、キットでしか手に入らないのは、あらかじめスジ入りされたスチレンパネルだけで、それもほとんどのクラフトショップで個別に販売されています。.
ランプシェードのスパイダーフィッターとは? スパイダーフィッターは、ランプハープの上に乗る金属製の十字型金具で、中央にフィニアル(飾りネジ)を通して固定します。テーブルランプやフロアランプで最も一般的なフィッタータイプです。シェードのトップリングがスパイダーアームに乗り、フィニアルで全体を固定します。DIYフレームの多くは、市販のスパイダーフィッターリングをトップワイヤーリングにはんだ付けまたはワイヤーで巻き付けて使用します。.
紙のランプシェードはどう作りますか? 紙を高さ×(周囲+2.5cm)にカットし、裏側に薄めたPVA接着剤を塗ってワイヤーフレームに巻き付け、リングに押し付けながら洗濯バサミで乾燥中に固定します。ペンダント型ドームの場合は、あらかじめスジ入りされたテンプレートを使いましょう。フリーハンドで幾何学的なスジを入れると、複数パネルで均一に仕上がることはほとんどありません。90~120gsmの紙を使うと、破れずに光をよく拡散します。.
DIYランプシェードの材料費はいくらですか? 基本的なホットグルー布製ドラムシェードなら、材料費(ワイヤーフレーム、布、トリム、接着剤)で$12-20程度です。キットを使う場合は$20-30(キット代込み)です。ワイヤーフレームを一から作る場合は、ワイヤーやはんだ代で$8-15追加されます。DIYで明確に節約できないのは、複雑なエンパイア型やベル型シェードで、全面スチレンパネルキットと高級布が必要な場合だけです。その場合は高品質な既製品と同等の価格になることもあります。.
自分のランプに合うシェードのサイズは? シェードの底直径は、ランプベースの高さとほぼ同じが目安です。24インチのベースには、底直径が約35~40cmのシェードが合います。高さは、シェードがランプベースの高さの約60~70%になるのが理想です。ペンダント照明の場合は、シェードの底直径が電球の最も広い部分より少なくとも5cm以上広いものを選び、安全な熱クリアランスを確保しましょう。.
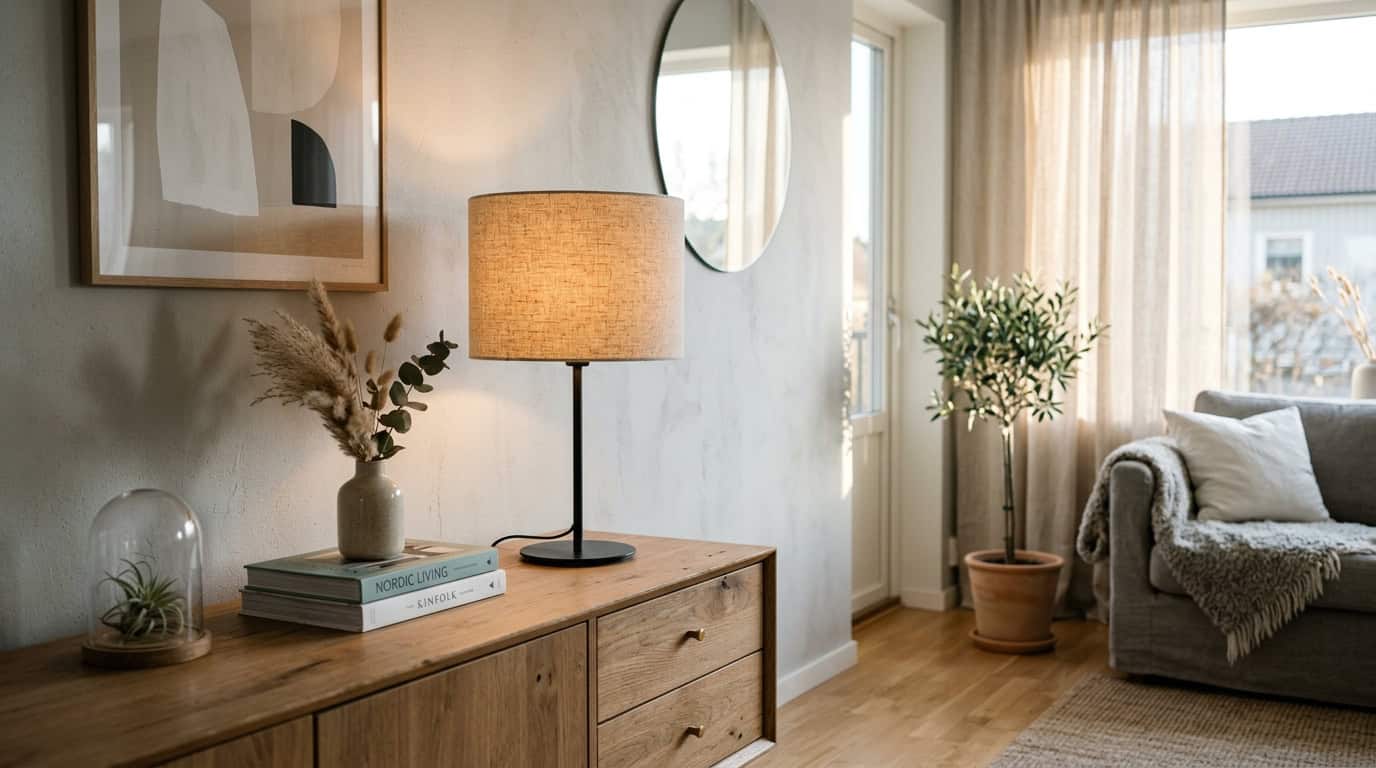
最適なランプシェードの選び方:作るべき時と買うべき時
DIYランプシェードが活躍する場面は二つあります。まず、メーカーがあなたの予算で提供していない素材や質感が欲しい時。次に、市販のシェードでは対応できない珍しいサイズが必要な時です。ヴィンテージベースにプリーツリネンのシェード、キッチンアイランドの上に和紙ペンダント、壁紙とマッチするプリント生地で包んだドラム型シェードなど、これらは本当に満足感のあるプロジェクトで、市販品では手に入らない結果を生み出します。.
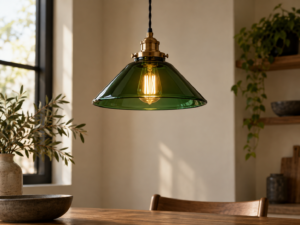
購入が有利なのは、精密に成形された形状やガラスです。特にペンダント照明の場合、品質の高い ガラスランプシェードコレクション は、布製の代替品では再現できない光学的な透明度と耐熱性を提供し、複雑なDIYエンパイアシェードの素材費と競合する価格で手に入ることが多いです。次回の布や紙のプロジェクトには上記の5つの方法のいずれかを試してみてください。また、クラフトルームで作れる範囲を超える形状や素材が必要な場合には、ガラスの選択肢があることも知っておきましょう。.