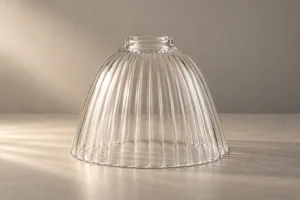
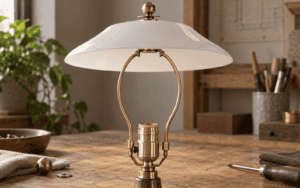
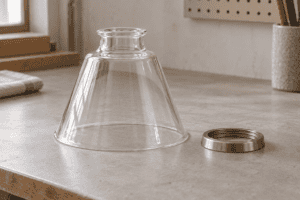
To stop a glass lamp shade from rattling, first de-energize and cool the fixture, then find out whether the glass is moving inside its holder or the whole fixture is vibrating. The usual causes are a mismatched fitter, a missing or compressed gasket, uneven retaining-ring or screw pressure, a damaged holder, or movement from the fixture structure. Check the shade-to-holder interface before ordering replacement glass. Do not overtighten hardware or wedge hard material against the glass.
This guide is written for lighting brands, fixture engineers, distributors, hospitality maintenance teams, installers, and buyers approving custom glass shades. It gives a 12-check diagnostic sequence, mounting-system examples, an anti-rattle RFQ field list, and a clear point at which adjustment should stop and replacement or engineering review should begin.

Why a glass lamp shade rattles
A rattling shade is a mechanical symptom. The sound does not identify the failed part by itself, so begin by separating four interfaces: glass to gasket, gasket to holder, ring or screw to the assembly, and fixture body to its mounting surface. A correct repair stabilizes the intended interface without transferring a hard point load into the glass.
| What you notice | Likely source | First check | Do not assume |
|---|---|---|---|
| The shade moves when touched but the fixture body is still | Fitter, gasket, retaining ring, or screw contact | Support the shade and inspect the seating surface | That the glass is defective |
| The shade rocks or sits visibly tilted | Wrong opening, uneven ring, damaged holder, or missing washer | Check the mounting system and level of the seating lip | That tightening harder will level it |
| The sound appears only when a fan, door, or HVAC system runs | External fixture vibration or a loose support | Observe the fixture body and mounting bracket | That a new shade will remove the vibration |
| The shade is quiet until the bulb warms the assembly | Thermal movement, contact pressure, or a heat-related defect | Inspect clearance, gasket condition, and any haze or discoloration | That every rattle is a loose ring |
| Several shades on one fixture make different sounds | Batch variation, mixed hardware, or unequal seating | Compare the same holder and hardware at one station | That the production lot is automatically consistent |
For a custom project, document the symptom with a short video, the fixture position, the glass shade identity, and the hardware installed. That evidence is more useful than writing "make it tight" on a purchase order.
Start with a safe isolation check
Before touching a mounted glass shade, switch off the fixture and allow the glass and hardware to cool. For a hardwired luminaire, isolate the circuit at the breaker and have a qualified person verify the electrical condition before opening or altering wiring. This article covers mechanical shade fit, not electrical installation.
Support the glass with two hands or a padded support while removing a ring, cap, screw, or shade. If the glass has a crack, chip, sharp edge, heat mark, or loose fragment, do not reinstall it to "test" the sound. Set it aside for replacement or technical review. A shade that is already damaged should not be treated as a normal adjustment problem.
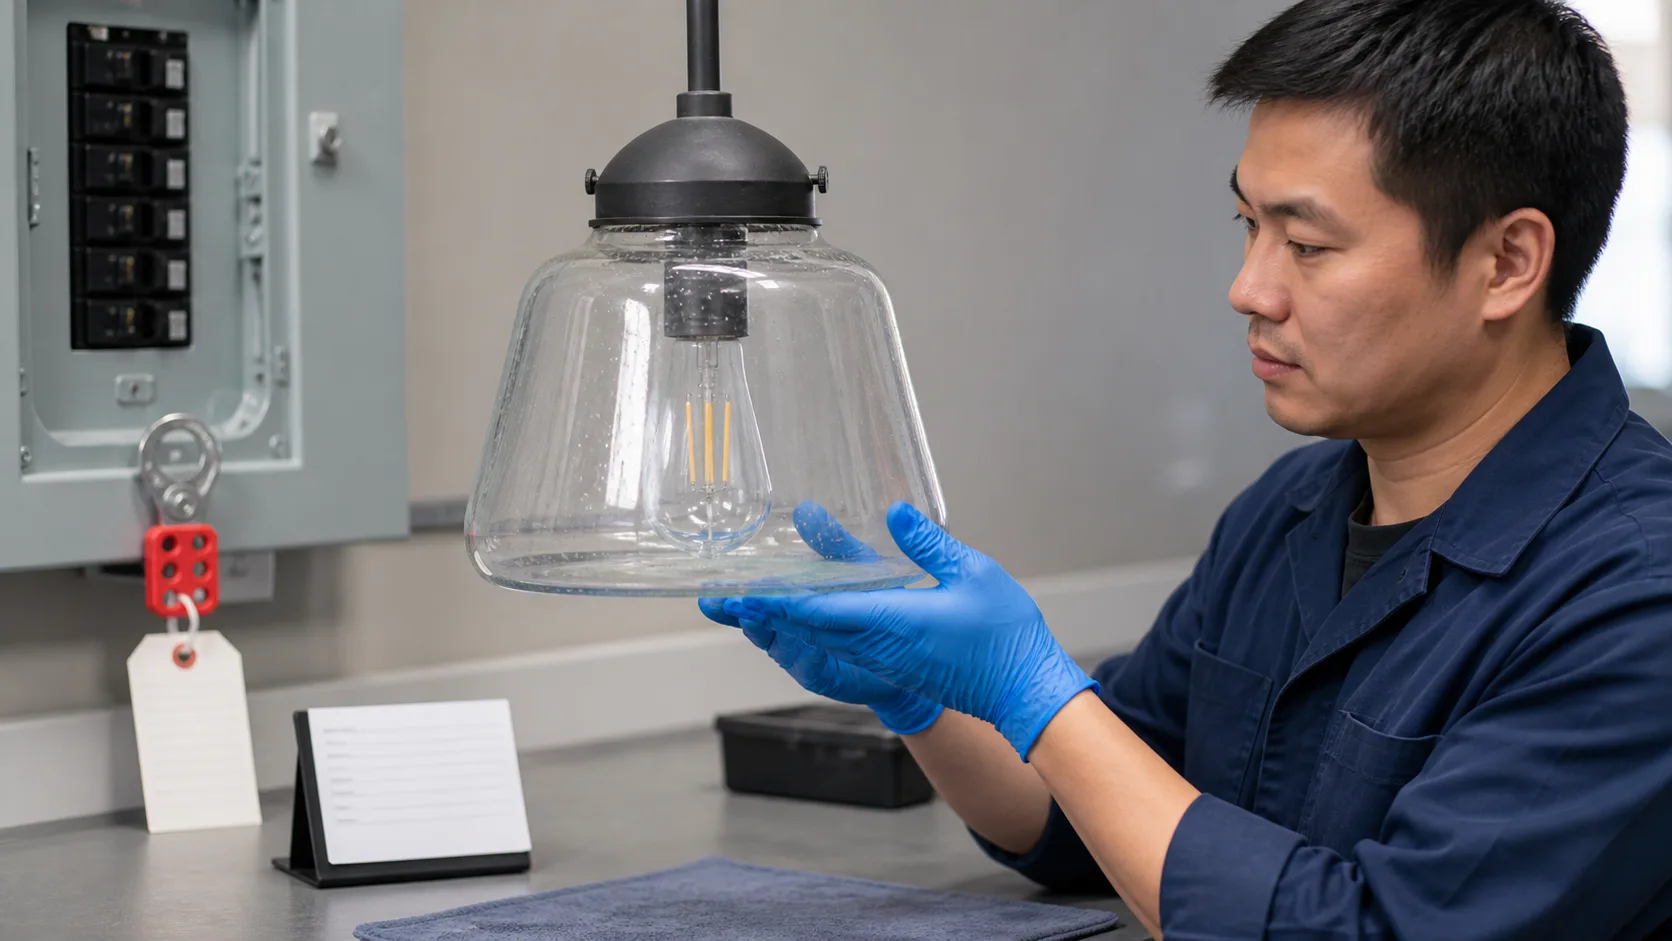
Do not rotate a stuck shade with force. Glass can bind against a ring when the holder is tilted, when a gasket has swollen, or when a screw is bearing on one point. Photograph the assembly first, keep the hardware together, and record the order of the parts before removal.
The 12-check glass lamp shade rattle workflow
Use these checks in order. The sequence starts with observation and identification, then moves to dimensions and parts, and ends with a controlled reassembly or a replacement decision.
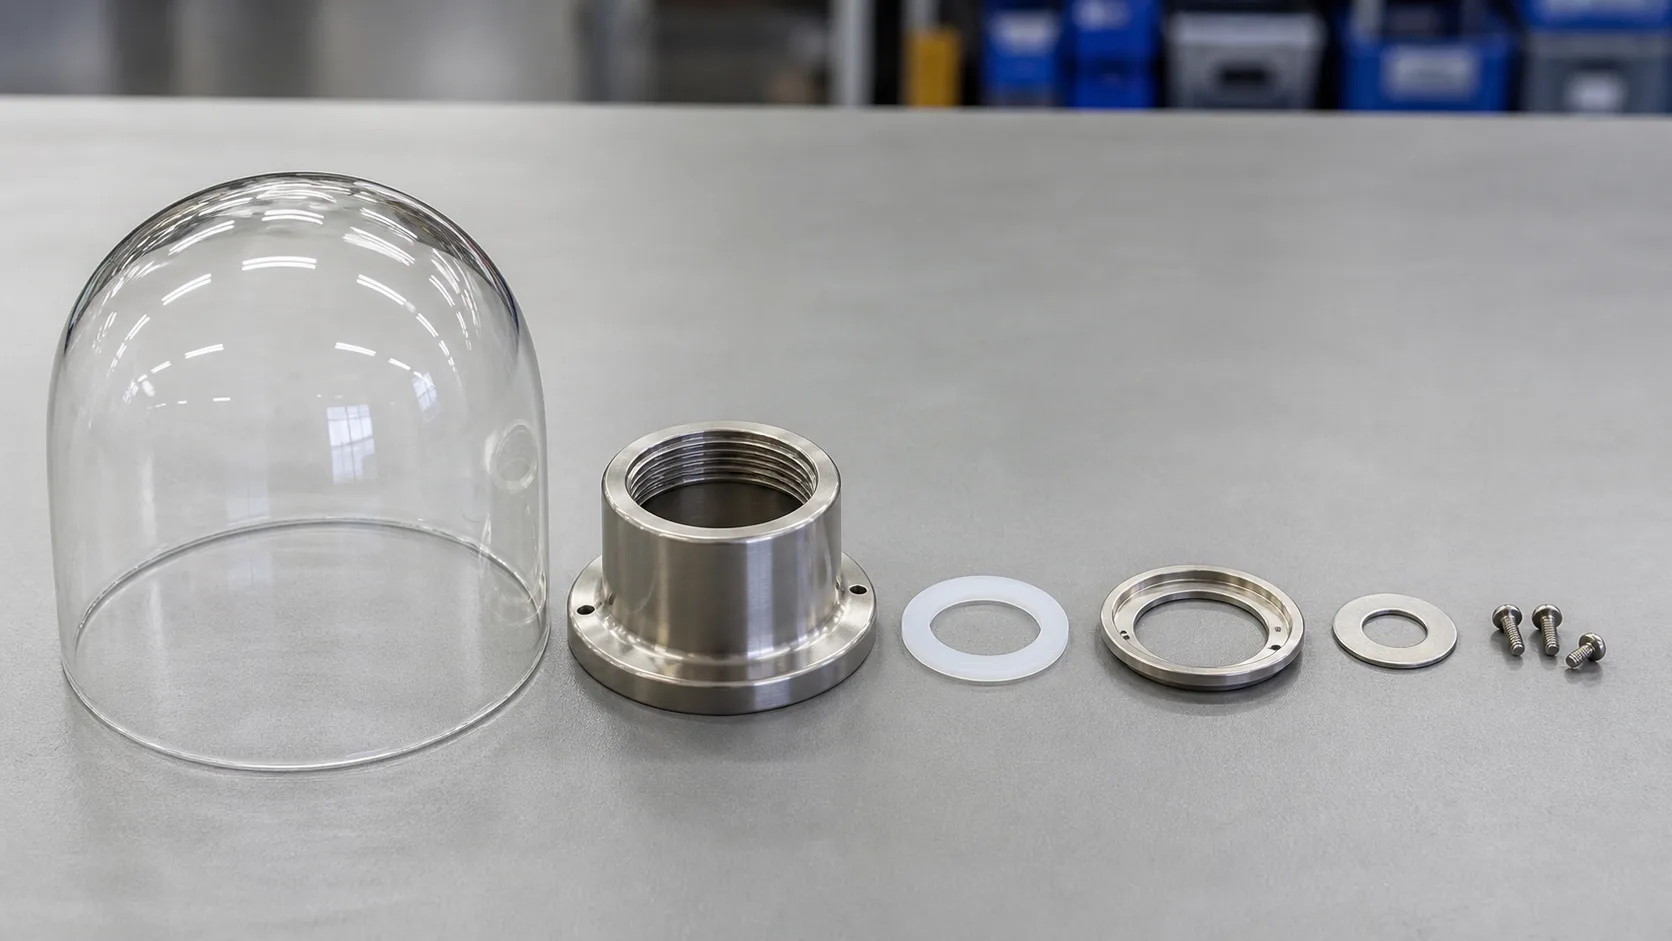
| Check | Question to answer | Evidence to record | Stop or escalate when |
|---|---|---|---|
| 1. Observe the symptom | Does the sound occur at rest, after a light touch, or only when the fixture moves? | Trigger, location, short video, fixture position | The sound is accompanied by a crack, falling part, or exposed electrical issue |
| 2. Separate shade movement from fixture movement | Is the glass moving inside the holder, or is the holder moving with the fixture? | Hand-supported observation with power off | The backplate, arm, canopy, or ceiling support is loose |
| 3. Identify the mounting system | Is it UNO, spider, clip-on, neckless, gallery-ring, retaining-cap, or another design? | Fitter type and clear hardware photographs | The actual system cannot be identified from the installed parts |
| 4. Check the seating surface | Does the glass sit on a continuous, clean, even contact area? | Contact-zone photos and debris or damage notes | The glass rests on a point, chip, bent lip, or sharp metal edge |
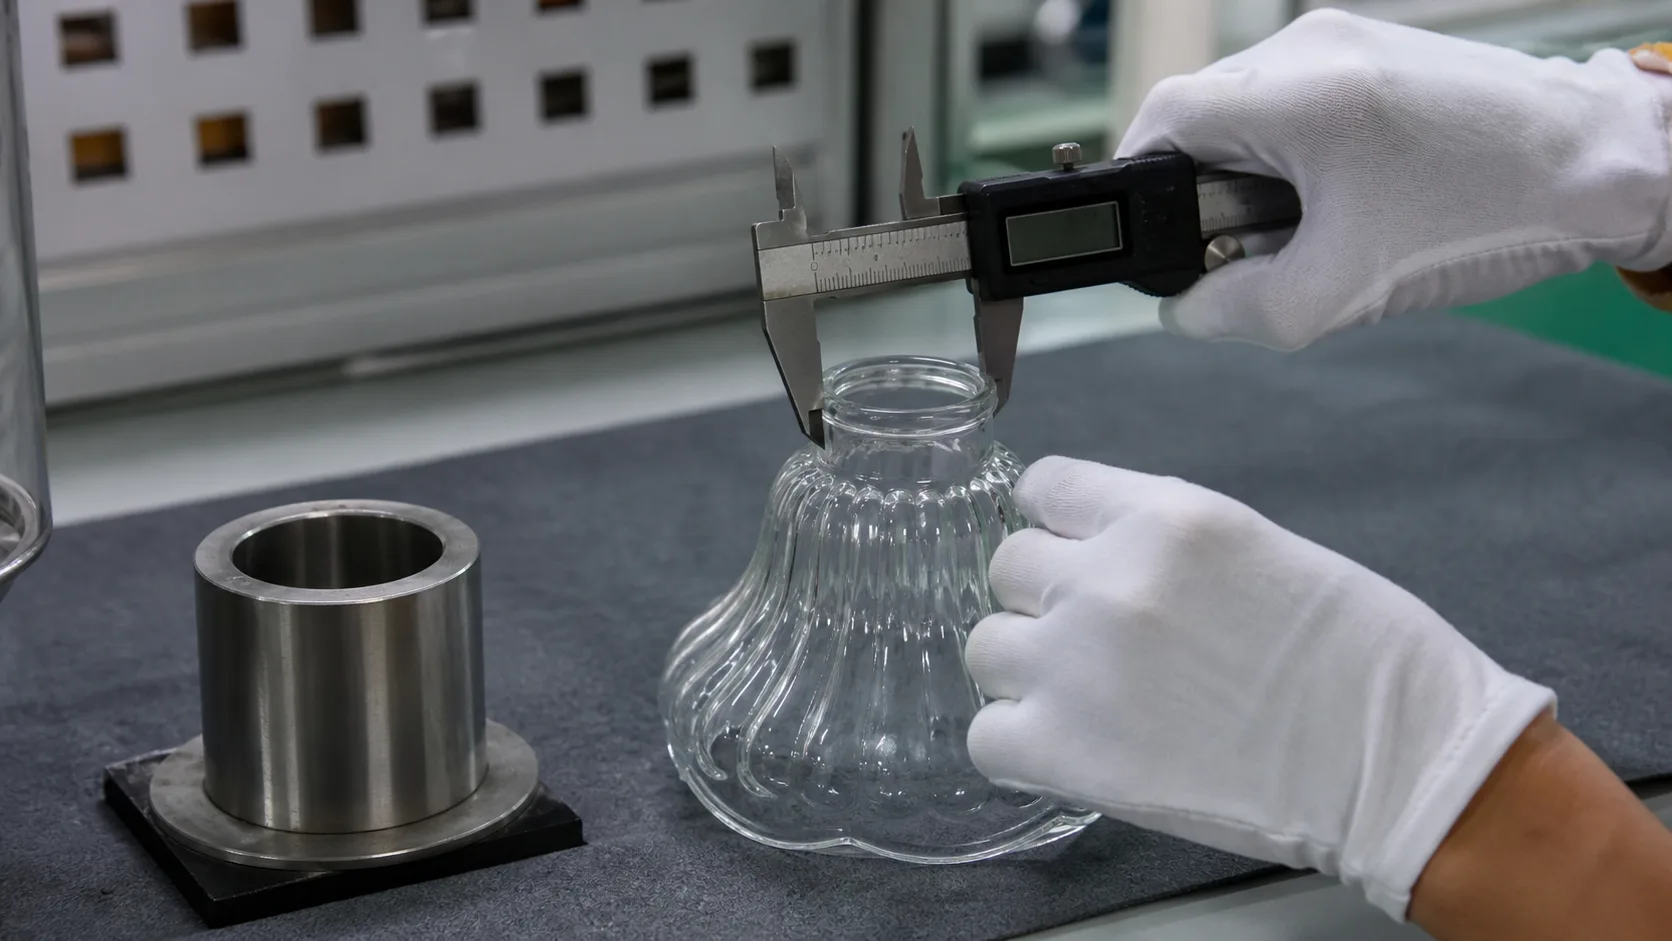
| 5. Measure the critical fit | Are the glass neck and receiving holder measured at their mating surfaces? | Glass outside diameter, holder inside diameter, units, and method | Only the widest outside shade diameter is available |
| 6. Inspect the gasket or washer | Is the specified cushion present, seated, clean, and still resilient? | Part identity, shape, position, and condition | A generic hard substitute is being considered |
| 7. Inspect the retaining ring or cap | Does the ring or cap sit squarely and provide even support? | Thread condition, ring contact, and alignment | The ring bottoms out before it supports the shade |
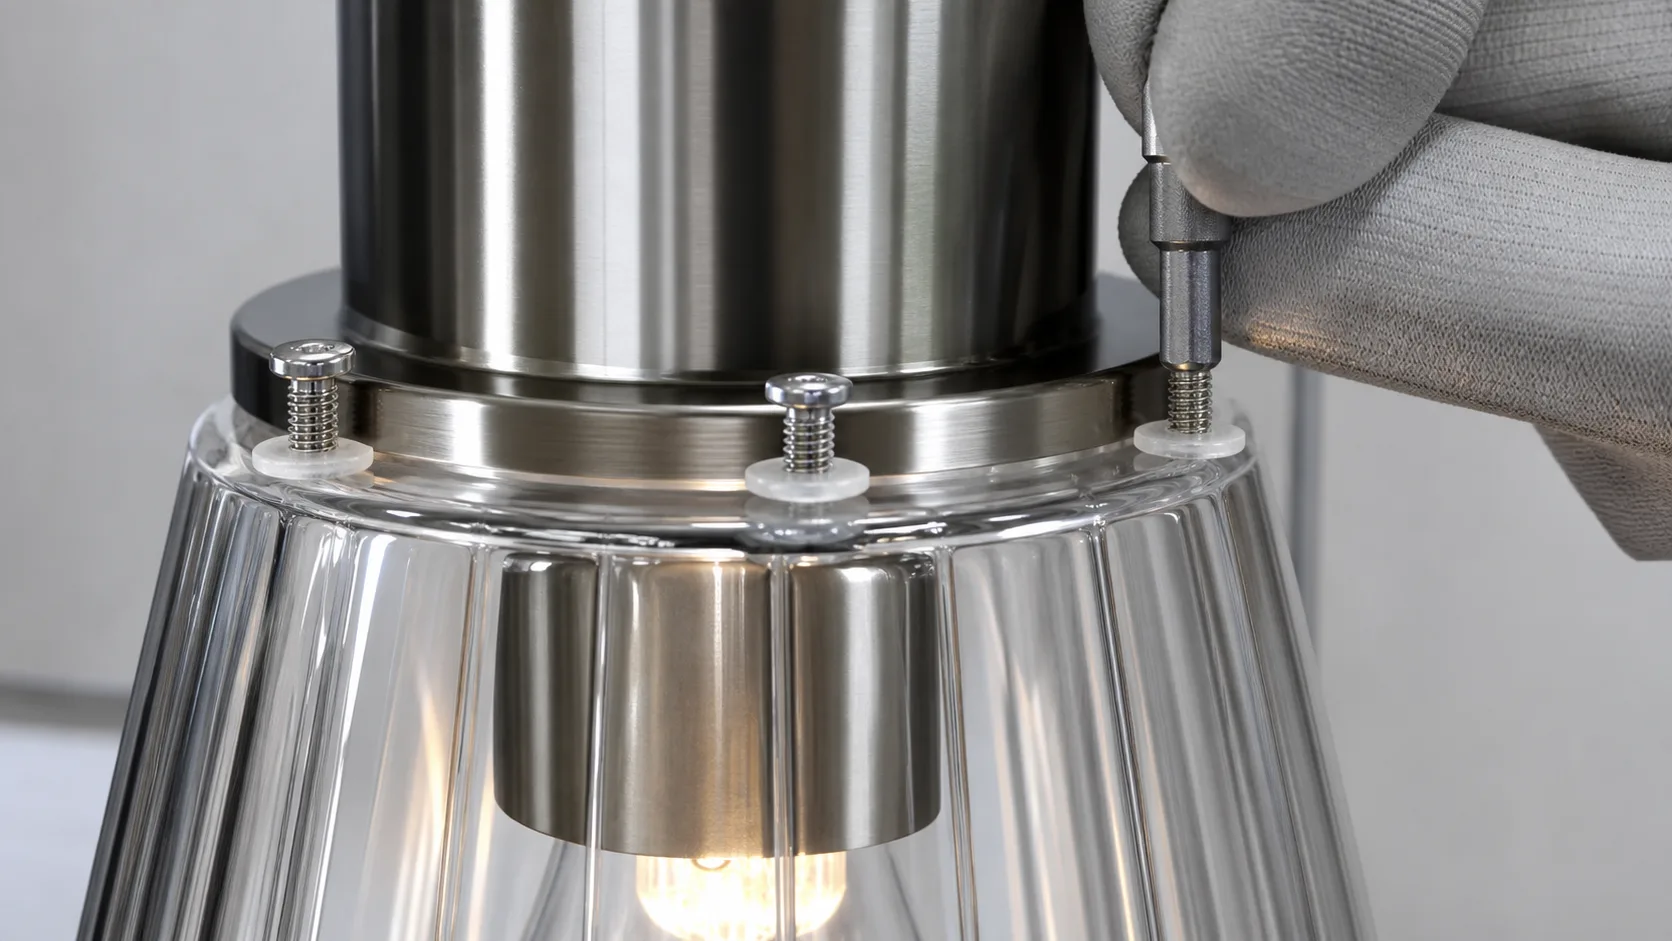
| 8. Check screw contact | Are screws or fasteners evenly placed and protected where they touch glass? | Screw count, washer presence, contact points, and sequence | A screw presses directly on a fragile edge or creates a visible mark |
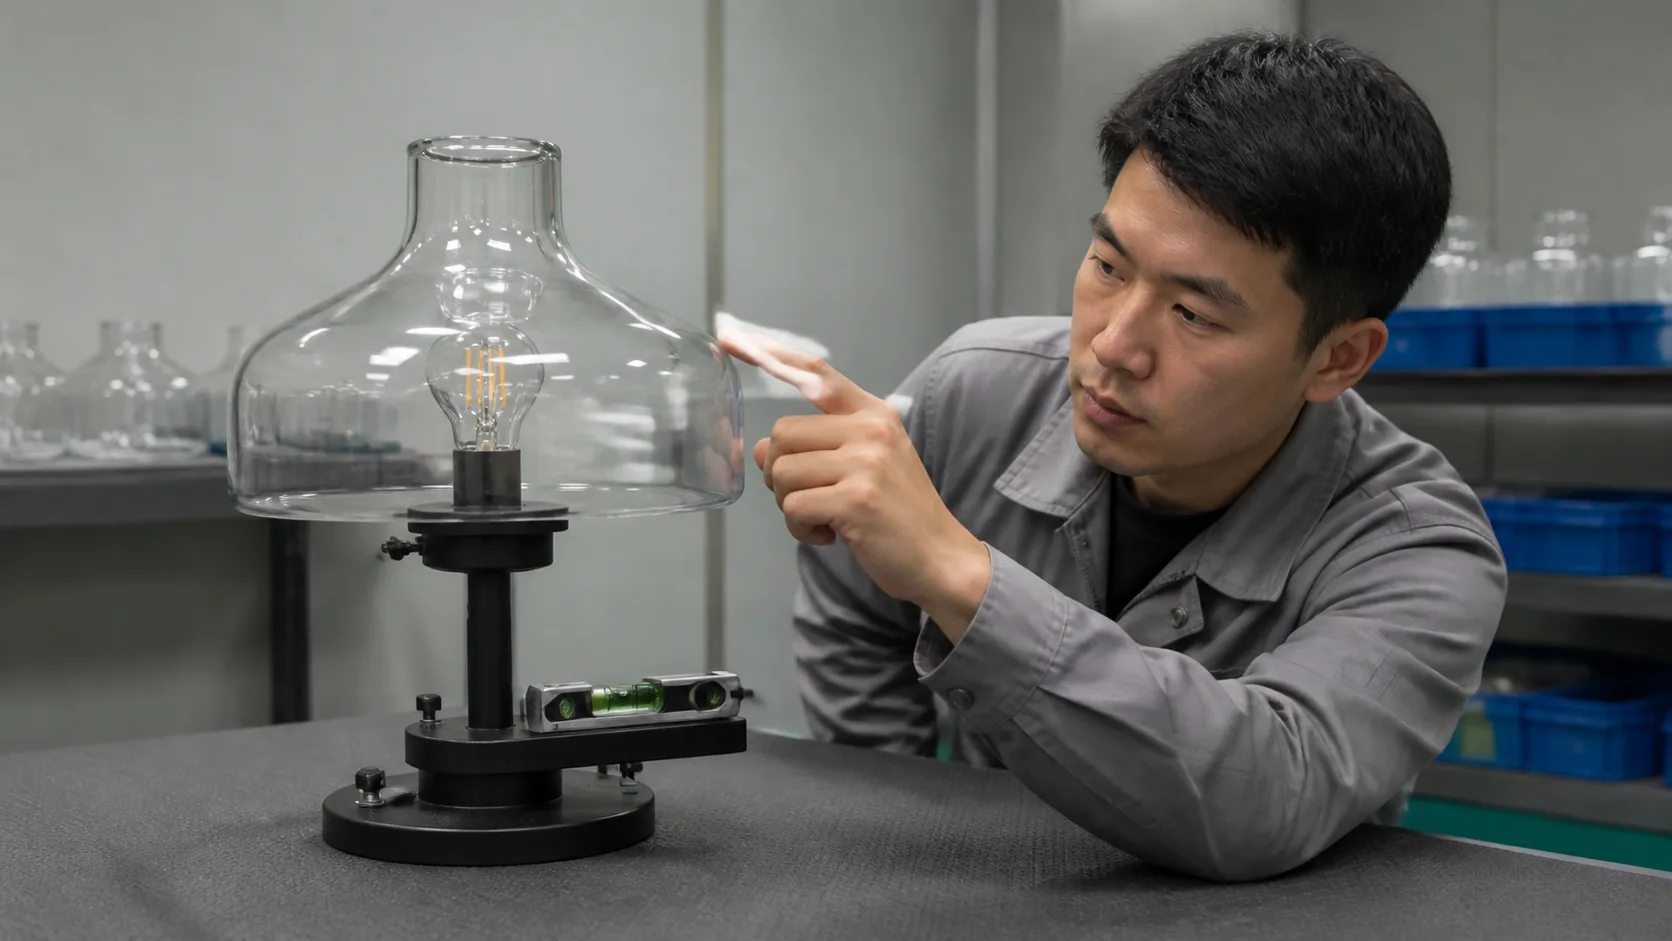
| 9. Check level and rocking | Does the shade sit level without force, rocking, or binding? | Level check and gentle rocking result | The shade needs heavy pressure to appear level |
| 10. Inspect the holder and fixture | Are the socket ring, harp, bracket, cup, arms, and threads straight and secure? | Hardware revision and damage photos | The support is bent, cracked, worn, or not the specified part |
| 11. Check external vibration | Does the symptom follow a fan, door, motor, HVAC cycle, or moving fixture? | Trigger and test condition | The structure vibrates even with the shade removed |
| 12. Record the accepted fix | Does the reassembled shade stay seated under the agreed test condition? | Final parts list, fit photos, and approval record | The fix depends on undocumented tape, glue, force, or a mixed part set |
The goal is not to make every shade immovable by force. The goal is to create a repeatable support condition that holds the glass evenly, leaves the intended clearance, and can be serviced without damaging the shade.
Diagnose the four common mounting systems
The same rattling sound can have different causes on different fitters. Identify the interface before choosing a repair.
UNO and threaded socket-ring shades
An UNO-style shade is supported around the socket and secured by a threaded ring or collar. Check that the ring matches the socket thread, that the glass opening is centered, and that any washer or gasket is in the specified position. If the ring is tight on one side and open on the other, the holder may be tilted or the glass may be sitting on an uneven lip.
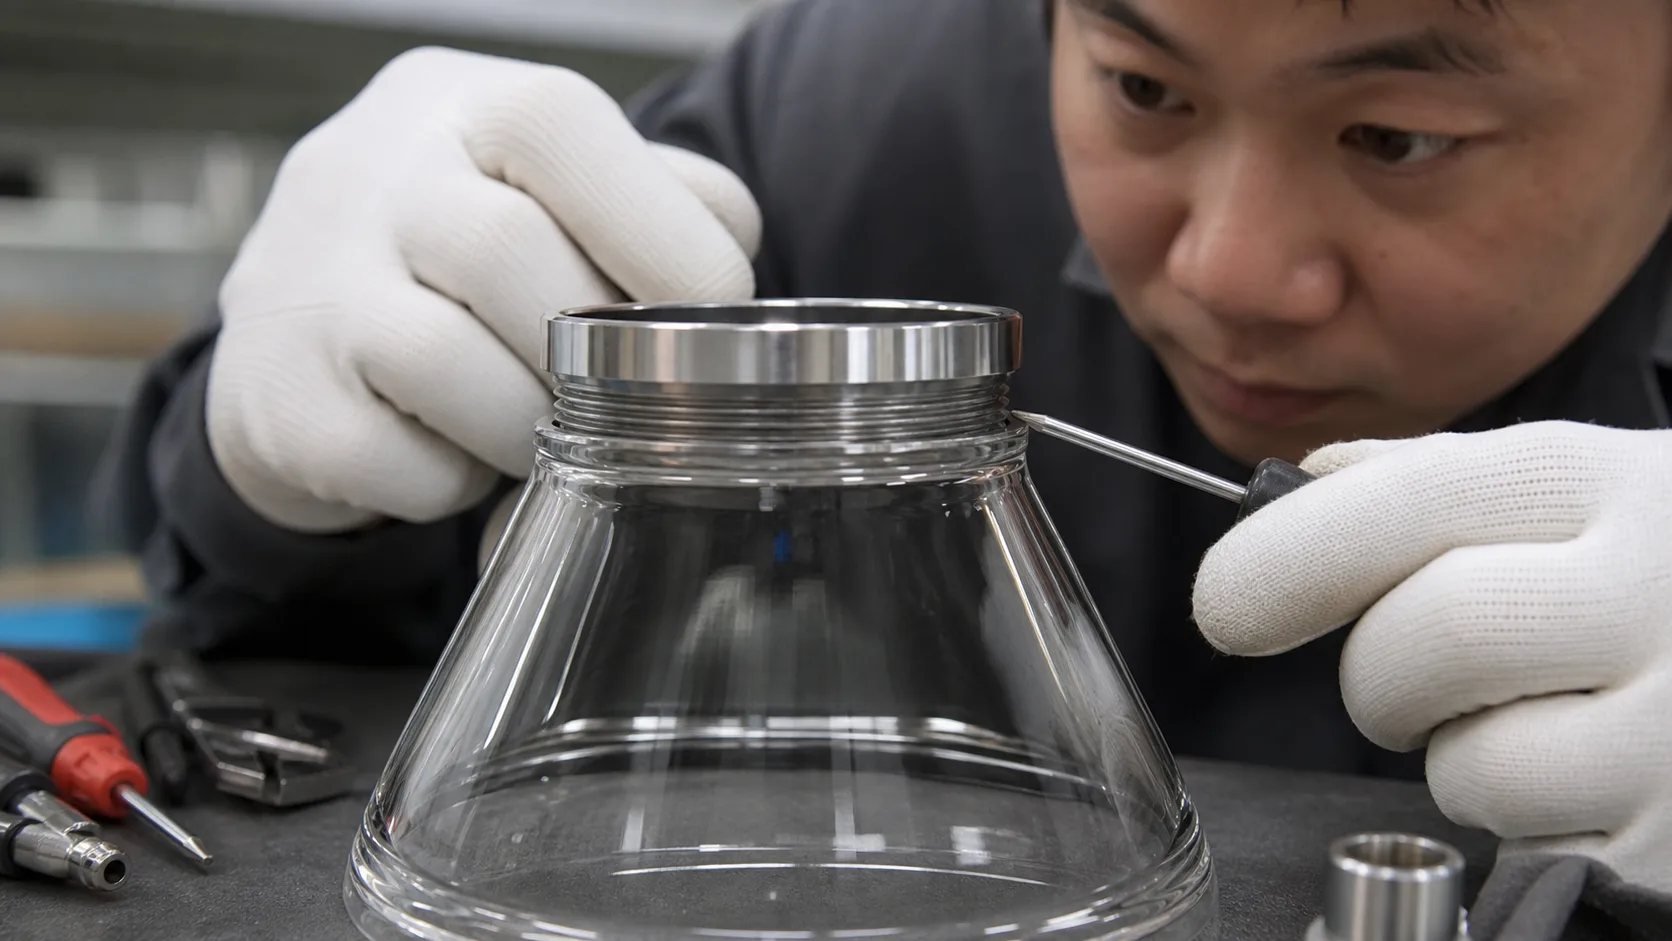
Do not use the visible outside diameter of the shade as the fit measurement. Measure the glass opening and receiving ring at the contact interface. The JX fitter compatibility checker explains why a mounting system, opening, holder, hardware, and clearance must be checked together.
Spider, harp, and finial assemblies
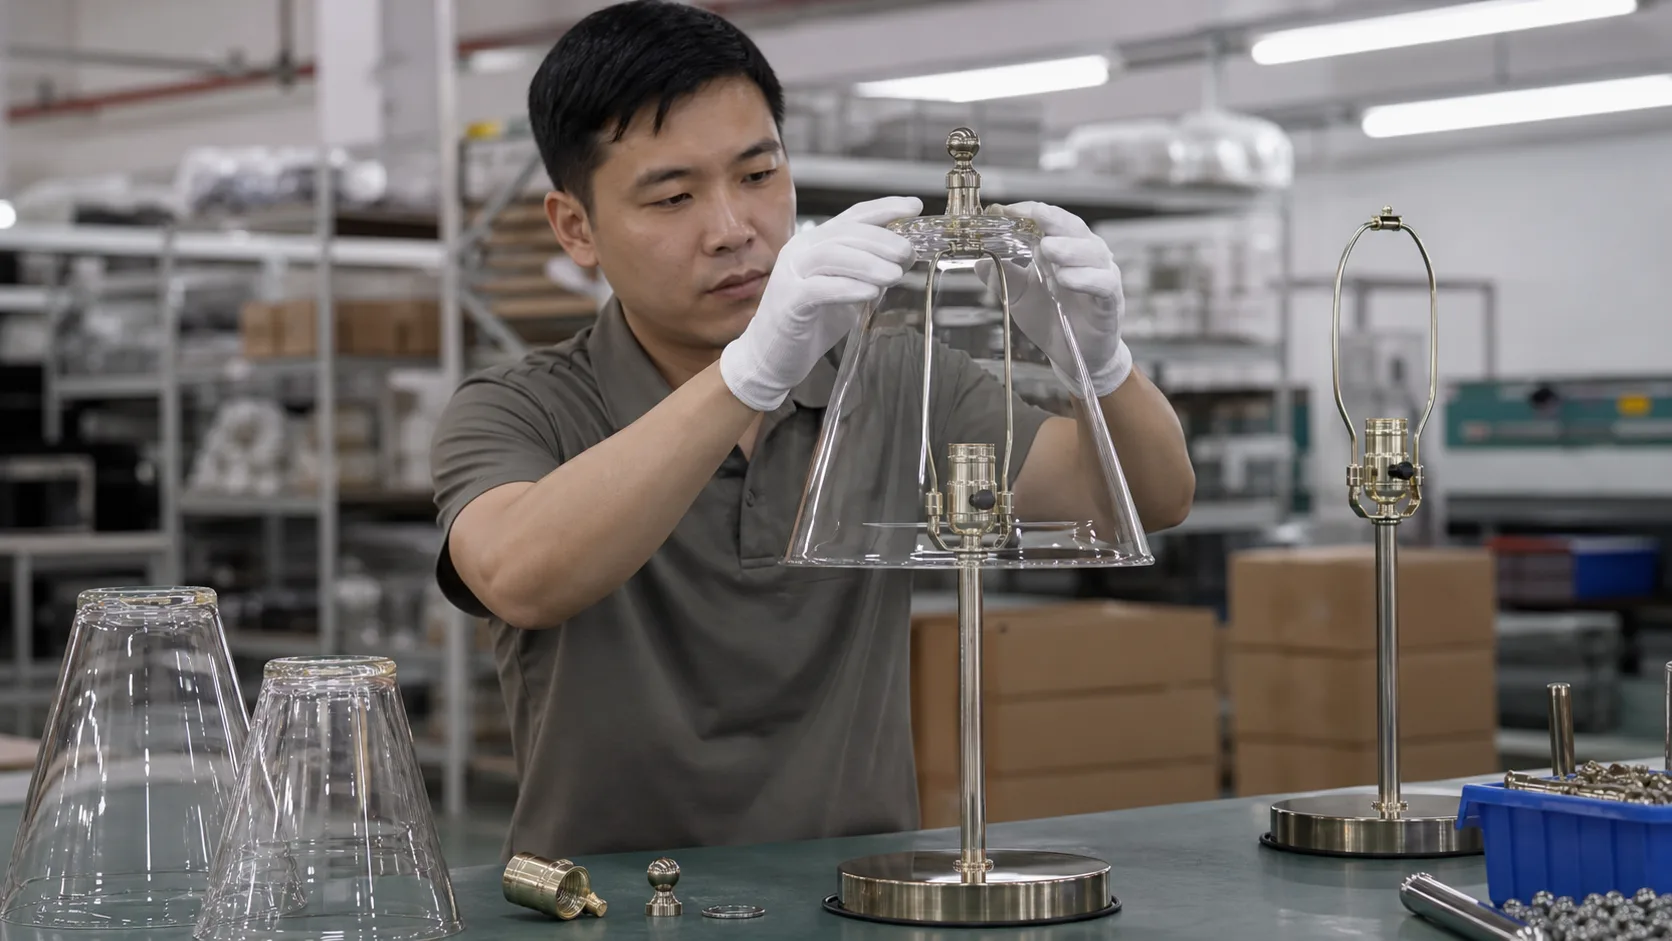
A spider shade rests on a washer or center fitting supported by a harp and is held from above by a finial. A rattle may come from the finial, the center washer, the harp saddle, or a loose connection lower in the lamp. With power off, support the shade, check that the spider ring is seated flat, and inspect whether the finial is applying even pressure.
Heavy glass should not be placed on a support that was intended for a lighter fabric shade. If the harp is loose in its saddle, the shade can move even when the finial feels tight. Treat the harp, saddle, washer, and finial as one assembly rather than tightening only the visible top nut.
Pendant balance cups and retaining caps
Pendant assemblies often use a cup, cap, threaded hardware, washers, or fastener screws to distribute support around the glass. In its glass shade guide, Besa shows a balance cup, retaining cap, fastener screws, and silicone washers, and specifically warns against overtightening. Treat that document as one manufacturer's assembly example, not a universal method for every pendant. See the Besa glass shade installation guide.
If a pendant rattles, check whether the cup is level, whether the cap is centered, and whether the washers are present at the fastener locations. A cap that touches one side first can create a stable-looking but noisy assembly. The wire, canopy, and suspension hardware should also be checked by a qualified installer when the fixture itself moves.

Neckless, gallery-ring, and screw-held shades
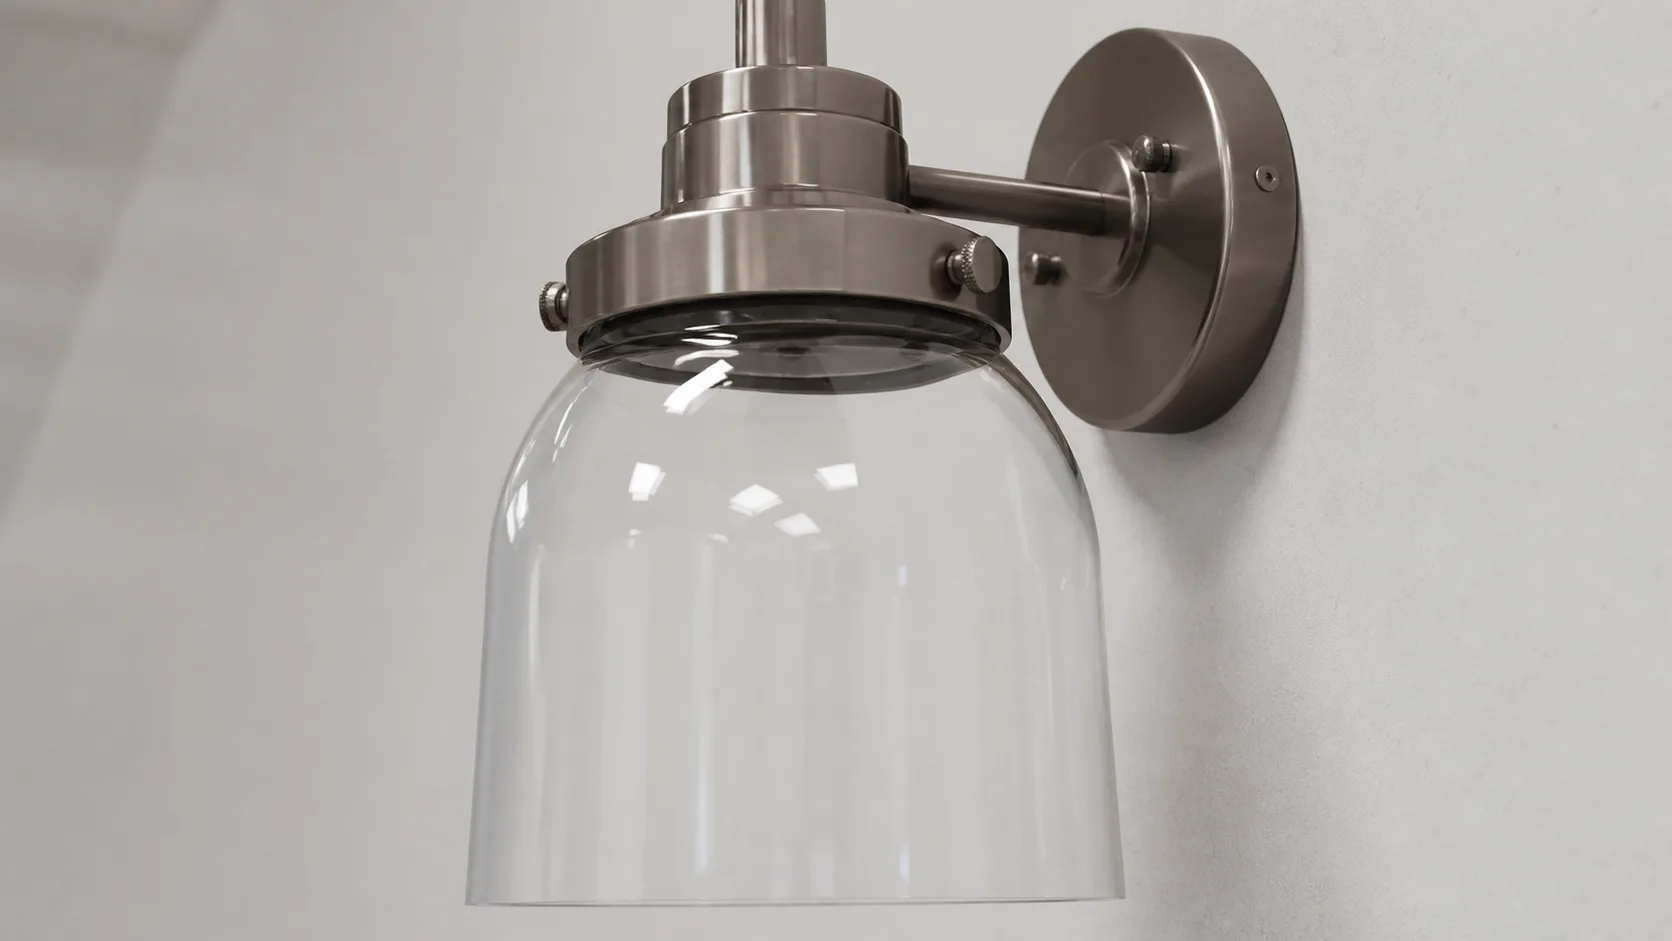
Neckless and gallery-ring shades usually depend on a lip, ring, gasket, or set screws. The glass must be supported around the intended contact area. Screws should stabilize the shade through the specified interface, not act as point clamps against a fragile rim.
One Visual Comfort installation document shows glass rings, gasket tape, threaded adjustment, and a shade ring tightened snugly to complete the installation. That is a useful example of why the gasket and ring belong in the same assembly definition. It is not a basis for choosing a random tape thickness or a universal tightening force. See the Visual Comfort installation instructions.
Check fit before blaming the glass
Many rattling problems are interface problems. A replacement shade can look correct from the front while its neck, lip, hole, or holder opening is wrong for the fixture. The correct measurement depends on the fitter type.
Use the JX replacement shade measurement guide to locate the critical opening, then compare the glass and fixture in the same unit. Send the holder or ring with the order whenever possible. A drawing alone can miss a worn thread, bent ring, compressed gasket, or unusual seating surface.
| Interface field | Why it can create a rattle | What the buyer should record | What the supplier should confirm |
|---|---|---|---|
| Mounting system | A spider, UNO, neckless, and retaining-cap assembly do not use the same support logic | System name and clear photographs | Compatible holder and assembly sequence |
| Glass fitter or neck | A nominal size can describe the wrong diameter or location | Inside or outside diameter, measurement points, and units | The matching glass dimension and inspection method |
| Receiving holder | A worn, bent, or oversized holder leaves movement | Holder opening, lip, thread, and condition | Holder revision or supplied mating part |
| Gasket or washer | Missing, hard, displaced, or compressed cushioning permits movement | Shape, position, material direction, and part ID | Approved gasket or washer and replacement route |
| Retaining ring or cap | Uneven contact can support one side and leave the other loose | Ring or cap geometry, threads, and contact path | Ring fit, adjustment sequence, and service access |
| Screw or fastener contact | Point pressure can damage the edge or fail to stabilize it | Count, position, washer, and tightening order | Contact protection and approved fastener set |
| Shade weight and balance | A heavy or off-center shade can overload the intended support | Actual or target weight and center-of-mass concern | Holder suitability and sample approval condition |
| Acceptance test | "No rattle" is not a repeatable test by itself | Fixture, trigger, duration, and observer result | Agreed release condition and evidence format |
Do not copy a gap, diameter difference, or torque value from a generic article and treat it as a production tolerance. A custom fixture should define its own critical dimensions and approval condition from the actual holder, glass sample, gasket, and hardware.
Check the gasket, washer, and retaining ring as one system
A gasket is not a universal cure. It can reduce movement when it is the correct part and is placed in the intended contact zone, but a wrong gasket can tilt the shade, prevent the ring from seating, or create pressure at one point. Check its shape and position before changing its thickness or material.
Look for these conditions:
- The gasket is present on every fixture position.
- The gasket is not folded, pinched, torn, hardened, or displaced.
- The glass is resting on the gasket rather than on a sharp metal edge.
- The retaining ring or cap is centered before it is tightened.
- The ring reaches its designed seating condition without bottoming out early.
- Washers are installed where the fixture guide places them.
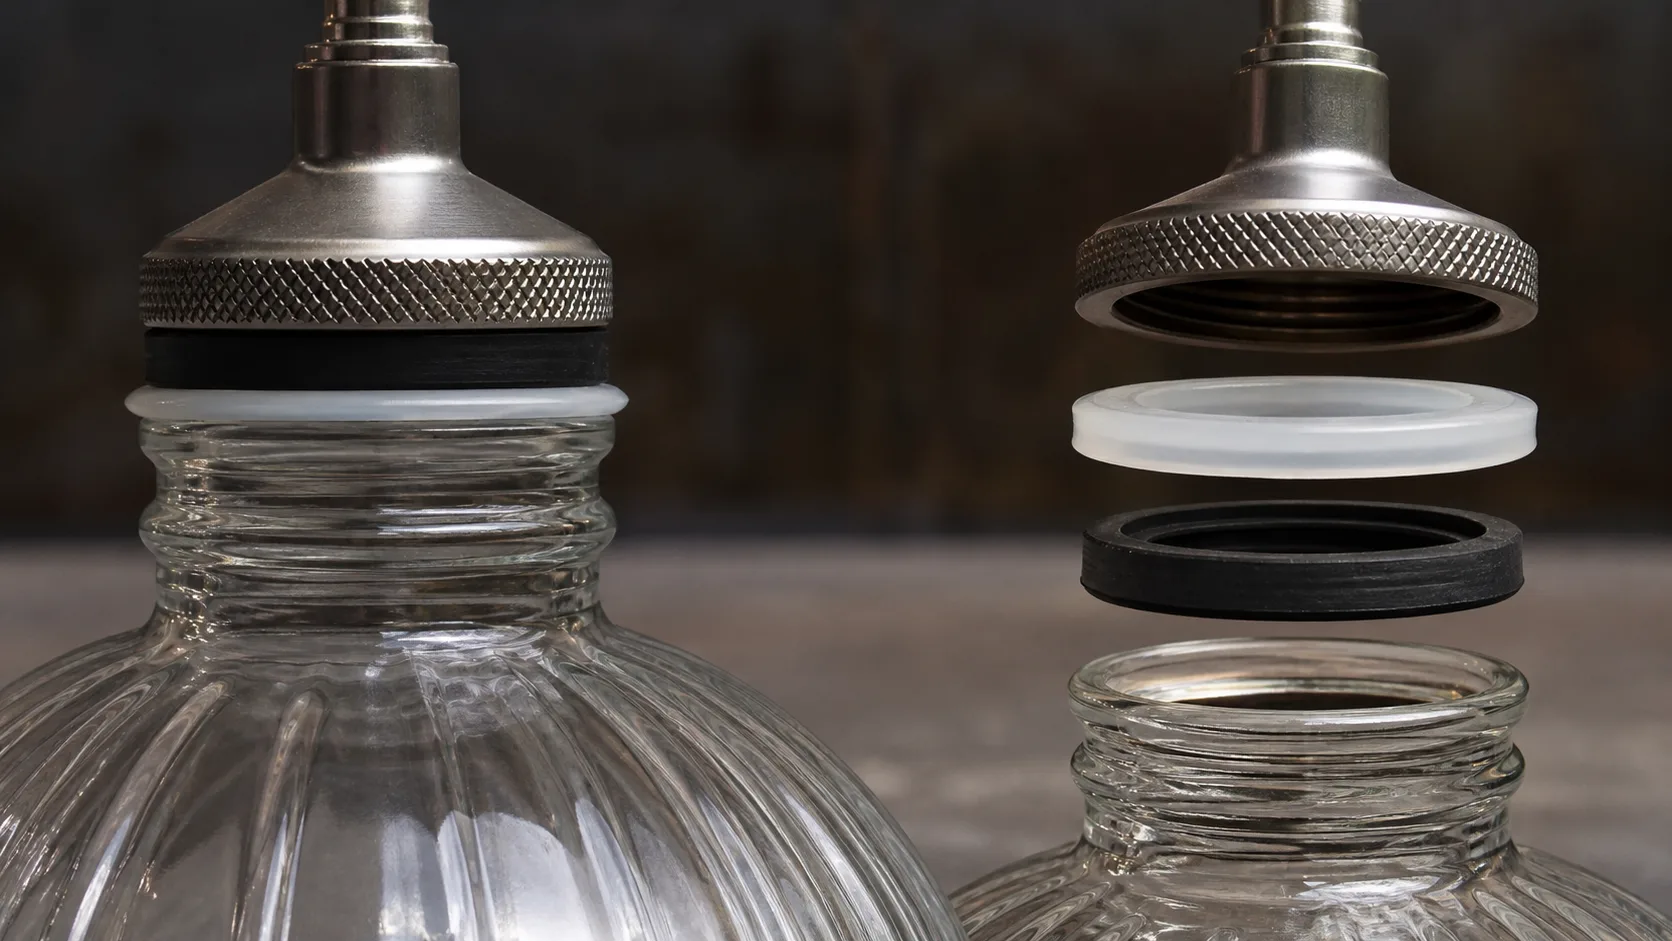
If the ring feels tight but the shade still moves, stop increasing force. The ring may be tight against the thread while the glass remains unsupported because the holder diameter, gasket position, or contact height is wrong. Record the parts and send the assembly to the fixture maker or shade supplier for a fit review.
Check level, rocking, and even screw contact
With the fixture safe and the glass supported, check whether the shade rocks on its seating surface. A small visual tilt can indicate a high point, bent ring, uneven gasket, or a screw that is bearing too early. A level can help with the observation, but it cannot replace a drawing or a controlled mating sample.
For screw-held shades, tighten fasteners in the sequence specified by the fixture maker. If no sequence exists, do not invent a high-force method. Use a controlled, gradual approach only after confirming that the fasteners, washers, and contact surfaces are correct. The glass should not show a pressure mark, chip, whitening, crack, or new sound after assembly.
When several identical fixtures are available, compare them side by side. If one shade rattles and the others do not, exchange only one variable at a time: the shade, the gasket, the ring, or the holder. Do not swap the whole assembly and then guess which component caused the change.
When external vibration is the real cause
If the shade is stable while the fixture is still but starts moving when a ceiling fan, air-handling unit, door, motor, or nearby equipment operates, investigate the fixture structure. The glass may be transmitting a vibration that originates at the canopy, bracket, arm, stem, or building attachment.
Use a simple isolation sequence:
- Observe the fixture with the shade removed, using a qualified person when electrical access is involved.
- Check whether the holder or bracket moves relative to the mounting surface.
- Reinstall the approved shade assembly and observe one external trigger at a time.
- Record whether the sound changes when the fixture body is stabilized without touching the glass.
- Stop if the structure, wiring, or suspension is loose or damaged.
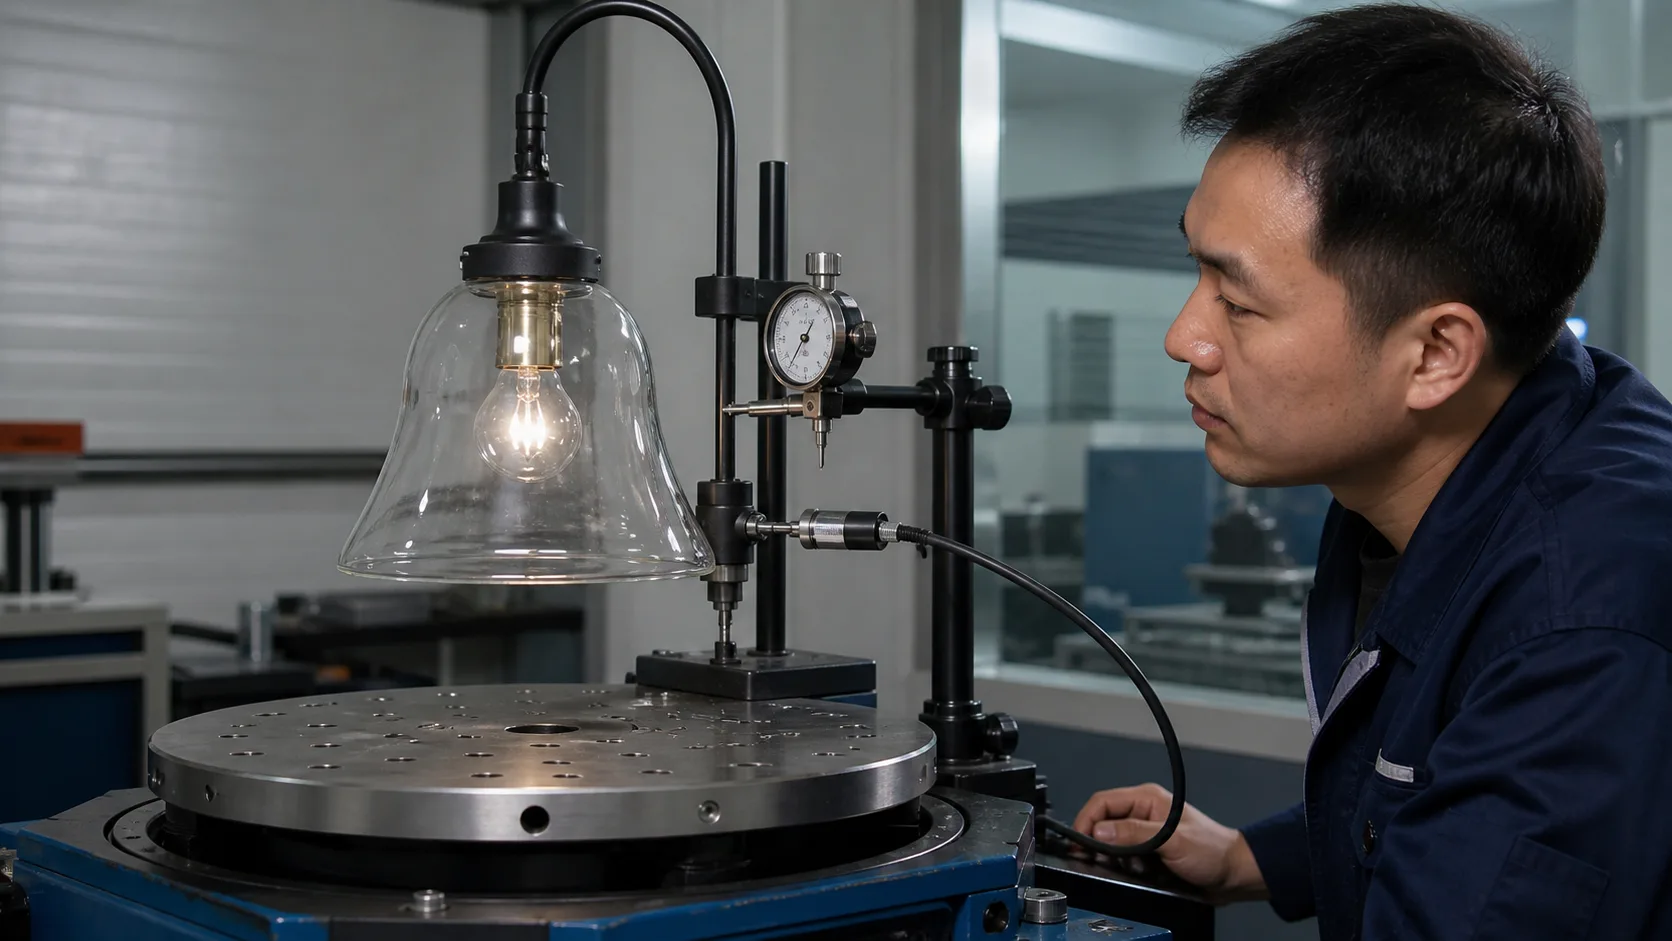
For a new commercial fixture, the manufacturer may use a controlled vibration or endurance setup. The test condition needs to be defined by the fixture maker and buyer; a random hand shake is not a universal qualification test. If a sensor, dial indicator, or video is used, record the actual fixture, hardware, and sample identity.
What not to do to silence a glass lamp shade
Do not overtighten the ring or screws
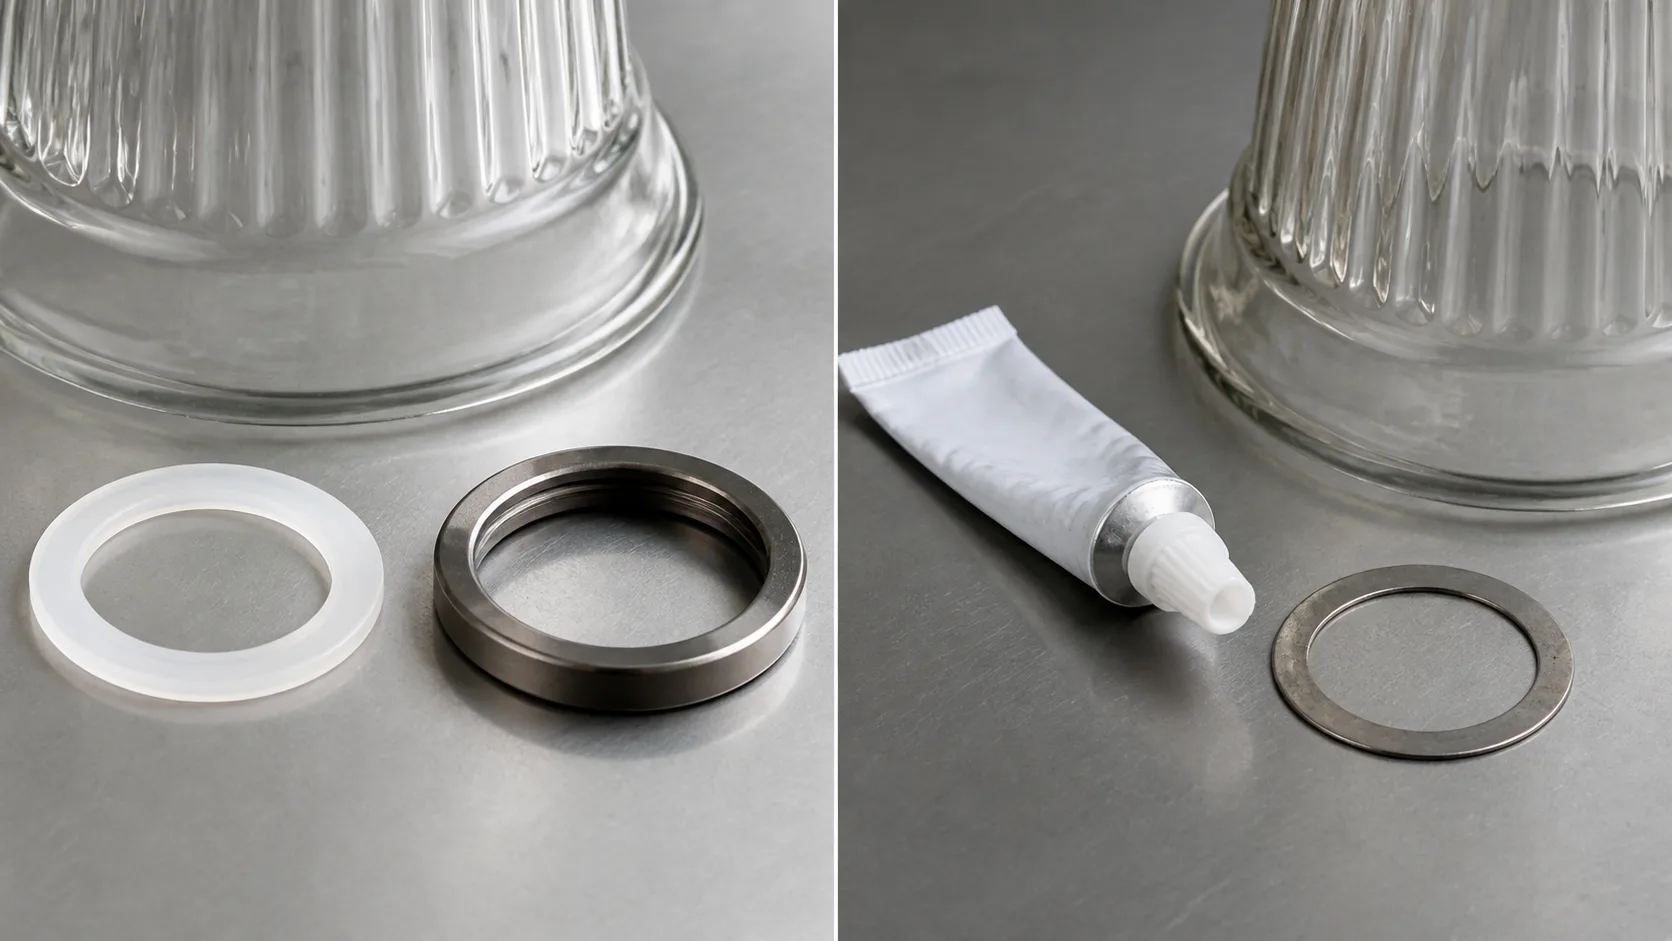
More force does not correct a wrong interface. It can chip the rim, create concentrated stress, distort a gasket, strip a thread, or make future service unsafe. Manufacturer instructions commonly show a defined ring, washer, or cap relationship and warn against excessive tightening. Follow the fixture's instructions rather than applying a generic force.
Do not glue the shade into the holder
Adhesive can hide the cause, complicate service, trap heat or moisture, stain the glass, and make a future replacement difficult. It can also create a hard spot where the glass moves against the fixture. Only use a bonding method when the fixture maker has designed and documented it for that assembly.
Do not insert a hard metal shim
A metal shim can turn a small loose fit into a point load. It may scratch the glass, damage the ring, or change the seating height. If an adapter or reducer is needed, it should be a designed component with known contact surfaces and service instructions.
Do not keep operating a damaged or unstable fixture
A crack, loose suspension, exposed electrical part, falling component, heat discoloration, or repeated movement is a stop condition. Photograph the issue and route it to the fixture maker, qualified installer, or shade manufacturer.
Write an anti-rattle requirement for a new fixture RFQ
The best time to prevent rattling is before the glass shade and holder are tooled separately. Add an interface section to the drawing or quote request. Avoid a vague line such as "shade must not make noise." Define the parts and the observation condition.
Include these fields:
- Glass shade identity, revision, finish, shape, and intended fixture position.
- Mounting system: UNO, spider, neckless, gallery ring, retaining cap, screw-held, or another named interface.
- Critical glass dimension and measurement locations, with units and a drawing reference.
- Receiving holder dimension, thread, ring, lip, or cup detail from the actual mating part.
- Gasket, washer, or cushion location, approved material direction, and replacement part identity.
- Retaining ring, cap, screw, or fastener arrangement, including service access.
- Shade weight, balance concern, and any bulb or fixture clearance that affects the assembly.
- Leveling and assembly sequence, including what must be supported during installation.
- The agreed observation test: fixture, trigger, duration, environment, and acceptance record.
- Photos or video required for sample approval and shipment release.
The JX technical drawing checklist can help organize the drawing fields. The custom lampshade RFQ builder is the practical route for sending the shade, holder, dimensions, finish, quantity, and evidence requirements together.
When replacement is safer than adjustment
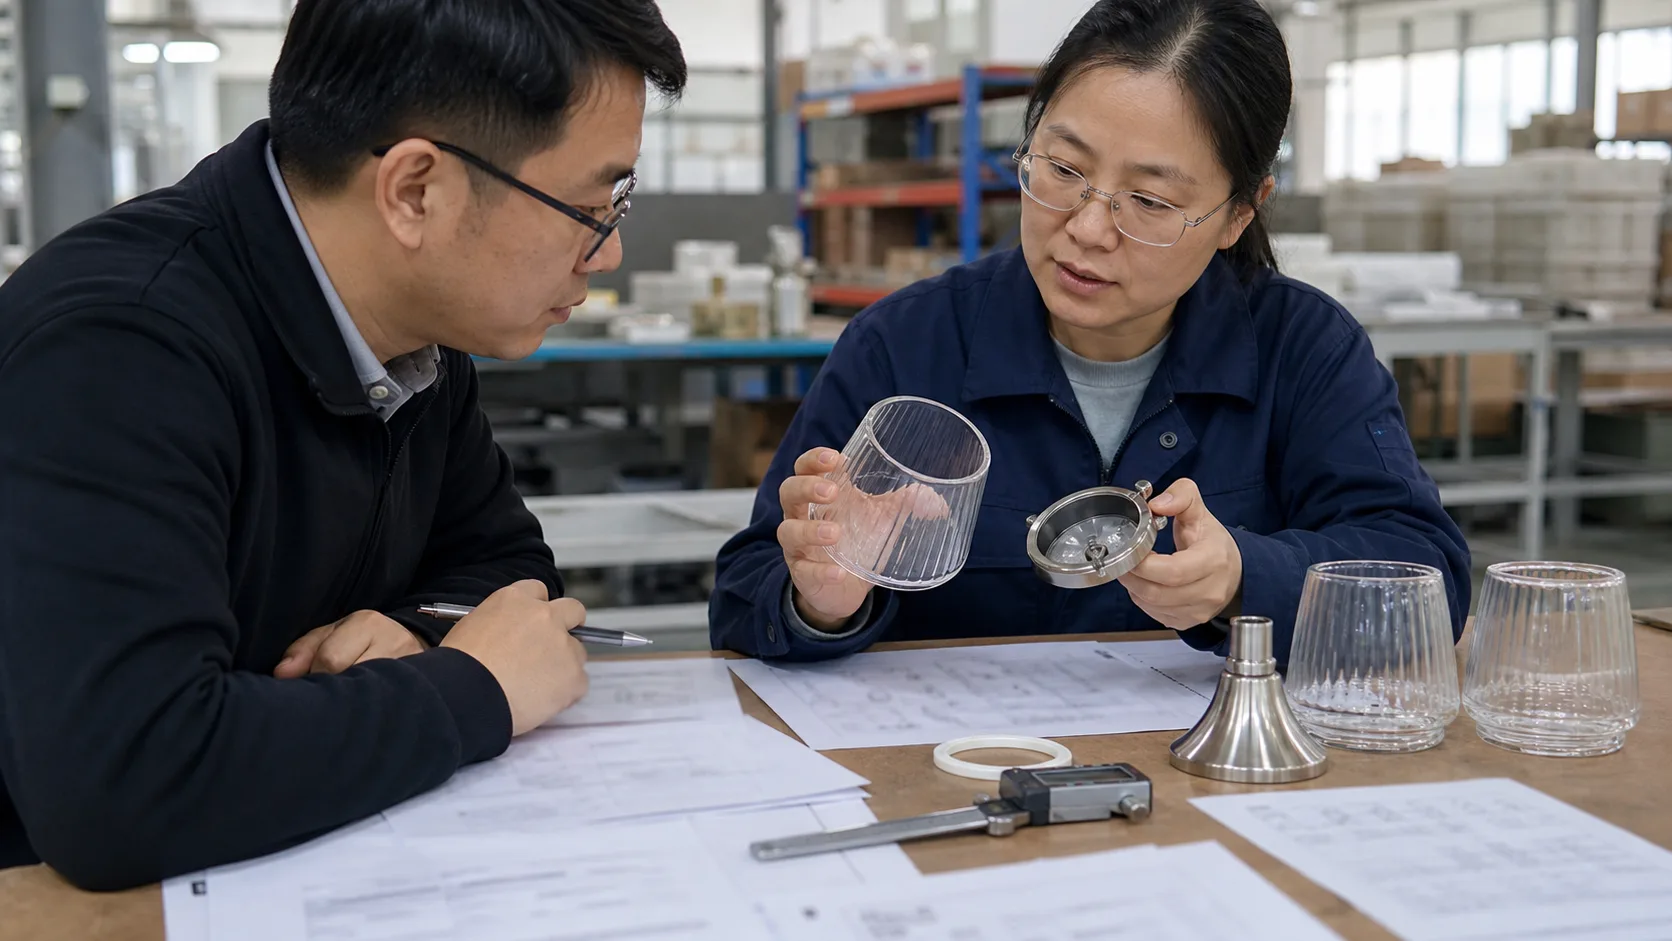
Adjusting the hardware is reasonable only when the glass, holder, and support parts are known to be compatible and undamaged. Replacement or engineering review is the better route when:
- The glass has a crack, chip, sharp edge, or heat-related discoloration.
- The fitter opening does not match the receiving holder.
- The ring, cup, harp, bracket, or socket support is bent, cracked, or worn.
- The required gasket, washer, or retaining part is missing and cannot be identified.
- The shade needs force to sit level or needs a hard shim to stop movement.
- The noise returns after correct assembly and the fixture structure is stable.
- Several shades from a lot show inconsistent seating on the same approved holder.
For a replacement, send the actual holder and a clear view of the fitter rather than ordering only by the widest shade diameter. A supplier can then confirm whether the replacement glass, ring, gasket, and fixture are a controlled set.
Request a fit review before the next production run
Send the shade and holder details for fit review when the rattle cannot be isolated to a simple missing part. Include the mounting system, glass neck or fitter measurements, holder opening, gasket or washer photographs, ring or screw arrangement, shade weight if known, fixture position, and a short recording of the symptom. Add the intended finish and quantity if a new production run is being considered.
JX can use those details to route the request toward a replacement shade, a custom fitter discussion, or a drawing-based review. Start with the custom glass lamp shades manufacturer page when the fixture needs a new glass interface rather than a like-for-like replacement.
Frequently asked questions
Why does my glass lamp shade rattle after installation?
The most common causes are uneven seating, an incorrect fitter, a missing or compressed gasket, a loose retaining ring, uneven screw pressure, or movement in the fixture body. Isolate whether the glass moves inside the holder before changing the shade.
Can a gasket stop a glass lamp shade from rattling?
A correct gasket can cushion the intended contact area and reduce movement, but it is not a universal fix. It must match the fixture design and sit in the specified position; a wrong or oversized gasket can tilt the shade or prevent the retaining ring from seating.
Should I tighten the retaining ring?
Only follow the fixture maker's assembly method and tighten enough to reach the designed seating condition. If the shade remains loose, tilts, or needs force, stop and check the fitter, gasket, ring, and holder instead of adding more pressure.
Can I use tape or glue to stop a glass shade from rattling?
Do not use undocumented adhesive, hard tape, or metal shims as a permanent fix. These materials can hide a wrong interface, create point pressure, affect service access, or damage the glass. Use an approved gasket, ring, adapter, or replacement part defined for the fixture.
How do I stop a pendant glass lamp shade from moving?
Check the balance cup, retaining cap, washers, fasteners, cord assembly, and canopy in the order specified by the fixture guide. Besa's installation example uses a balance cup, retaining cap, fastener screws, and silicone washers, but another pendant may use a different interface.
When should I replace a rattling glass lamp shade?
Replace or escalate the shade when it is cracked, chipped, heat-damaged, wrong for the holder, or unstable after the correct gasket and hardware are installed. A recurring rattle can indicate a fixture or support problem, so replacing glass alone may not solve it.
The right fix starts with the interface
A glass lamp shade stops rattling when the complete assembly is understood: glass opening, holder, gasket, ring, fasteners, fixture support, and test condition. Check the interface first, preserve the evidence, and define the same parts and acceptance method for every future order.