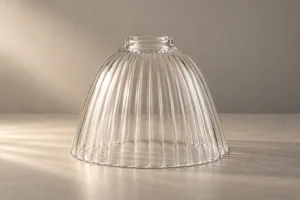
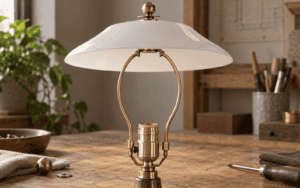
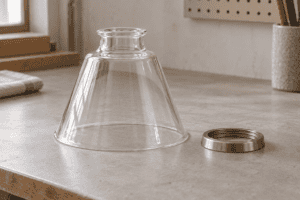
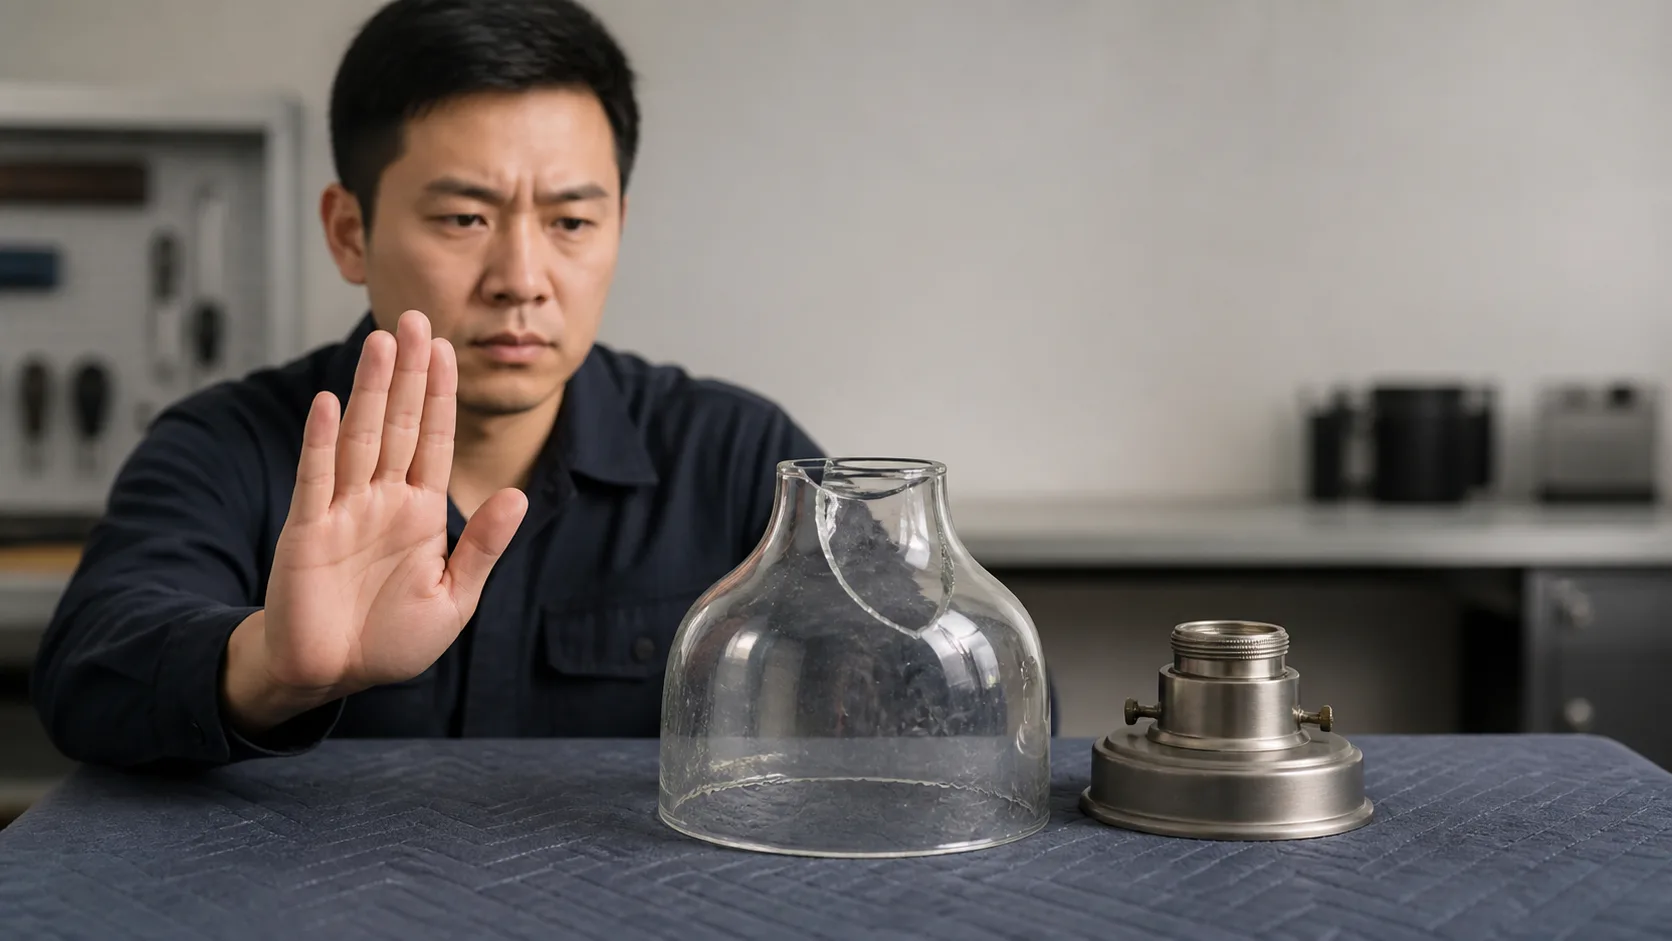
To remove a stuck glass lamp shade safely, first switch off and isolate the fixture, let the glass cool, and support the shade from below. Then identify whether it is held by a threaded ring, set screws, spring clips, a finial, or a hidden holder. Loosen only the retaining part shown in the fixture instructions. If the glass is cracked, the fixture is loose, or the shade does not release with the documented method, stop and arrange a qualified inspection or replacement review.
This guide is for lighting brands, fixture engineers, distributors, installers, hospitality maintenance teams, and buyers who need a repeatable removal and replacement intake process. It covers glass shade mechanics, not electrical rewiring. A model-specific installation manual always overrides a general article.
Why does a glass lamp shade get stuck?
A glass shade can feel stuck for several different reasons. The retaining ring may be cross-threaded or tightened against an uneven lip. A set screw may still touch the glass. A spring clip may be carrying the load. A gasket may have compressed or shifted. A threaded globe may have been installed too tightly after heat and cooling cycles. The fixture body may also be moving, making the shade seem stuck when the real issue is the support.
The outside shape does not tell you the release method. Two globe shades can look similar while one is held by a threaded socket ring and the other is held by three clips. Start with the holder and the hardware visible around the glass.
| What you see | Likely retention method | First question | Safe next move |
|---|---|---|---|
| A metal ring surrounds the glass neck | Threaded ring or collar | Does the ring have a continuous thread and a clear hand-grip? | Support the shade, then loosen the ring in the direction shown by the fixture guide |
| Small screws point toward the glass | Set screws or clamp screws | Are washers or protective pads present? | Support the glass and loosen each screw gradually, without removing the last screw unsupported |
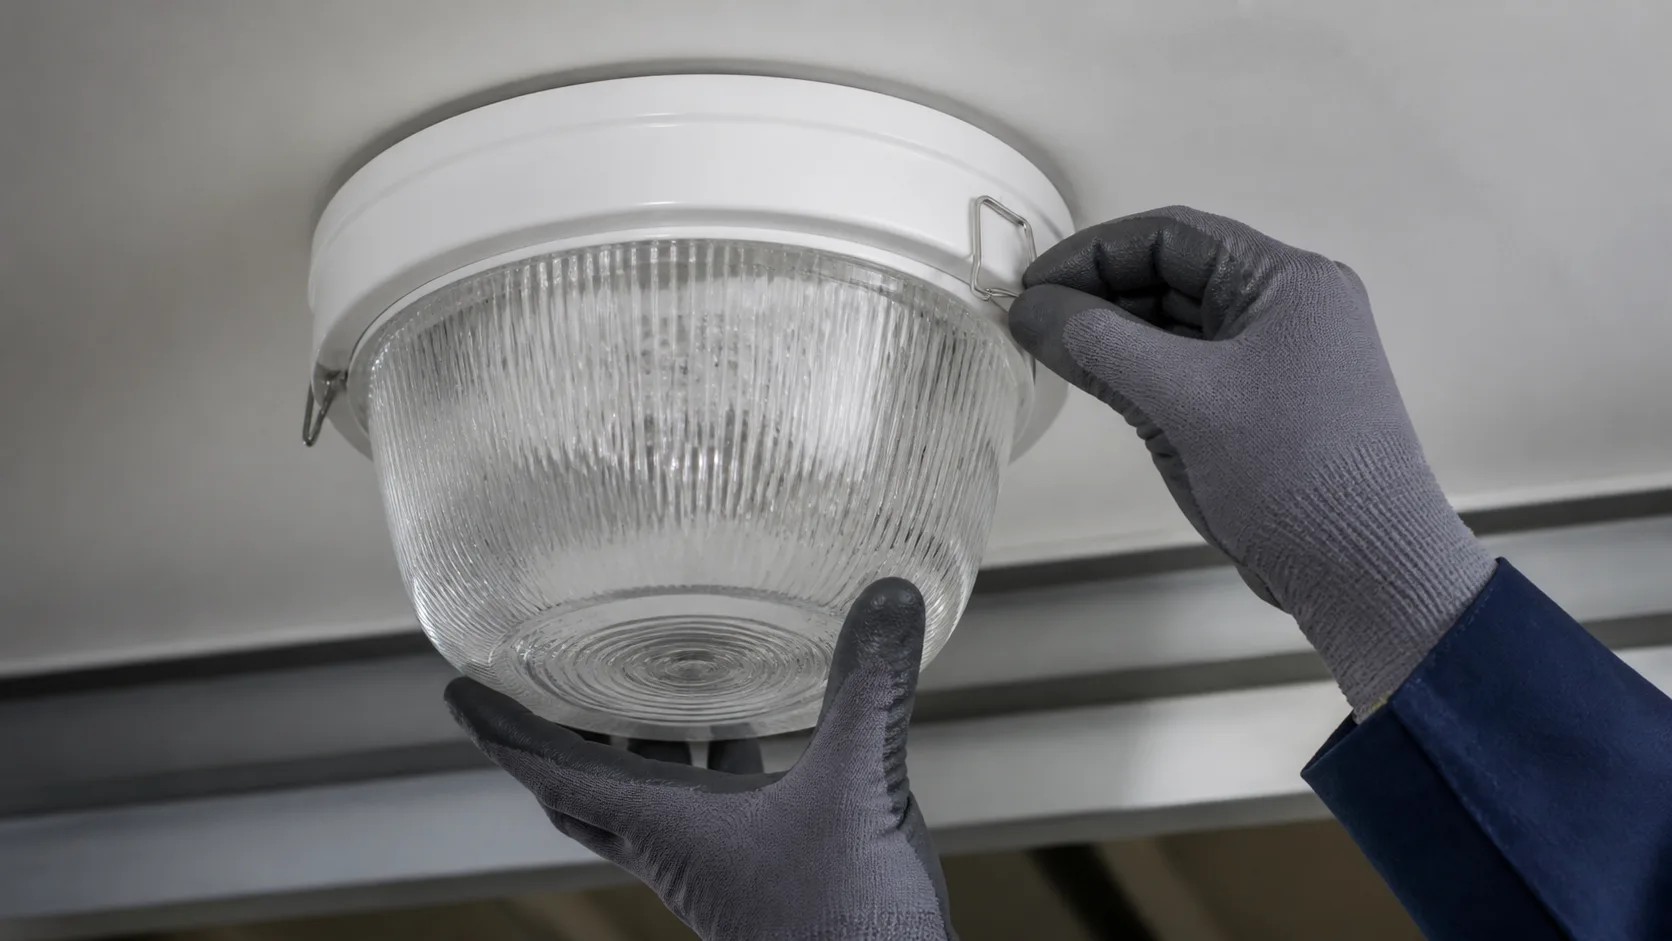
| Thin metal arms or clips touch the rim | Spring clips or tabs | Do the clips release from the holder or from the glass edge? | Follow the fixture sequence and keep a second hand under the shade |
| A top nut or finial sits above a center opening | Spider fitter and finial | Is the shade supported on a harp or washer? | Hold the shade, remove the finial and washer, then lift only if the assembly is stable |
| No obvious fastener is visible | Concealed holder, bayonet, adhesive, or model-specific base | Does the fixture manual show a release point? | Do not pry the glass; identify the model or ask the fixture maker |
The JX fitter compatibility checker is useful when the hardware is unclear. Take a photo of the entire fixture and a close view of the glass-to-holder interface before changing anything.
What should you do before touching a stuck glass shade?
Switch off the wall control, then isolate the relevant circuit at the breaker or unplug the lamp. Do not rely on a switch position when the work involves a hardwired fixture or when another person could restore power. Allow the bulb, socket, metal holder, and glass to cool before you handle the assembly.
Clear the floor and place a stable, padded surface nearby. Use clean gloves that give you grip without hiding cracks or sharp edges. For a ceiling or wall fixture, use a stable access method and keep the shade supported before removing the final fastener. A second person can help hold a large or heavy globe, but that does not replace qualified electrical work.
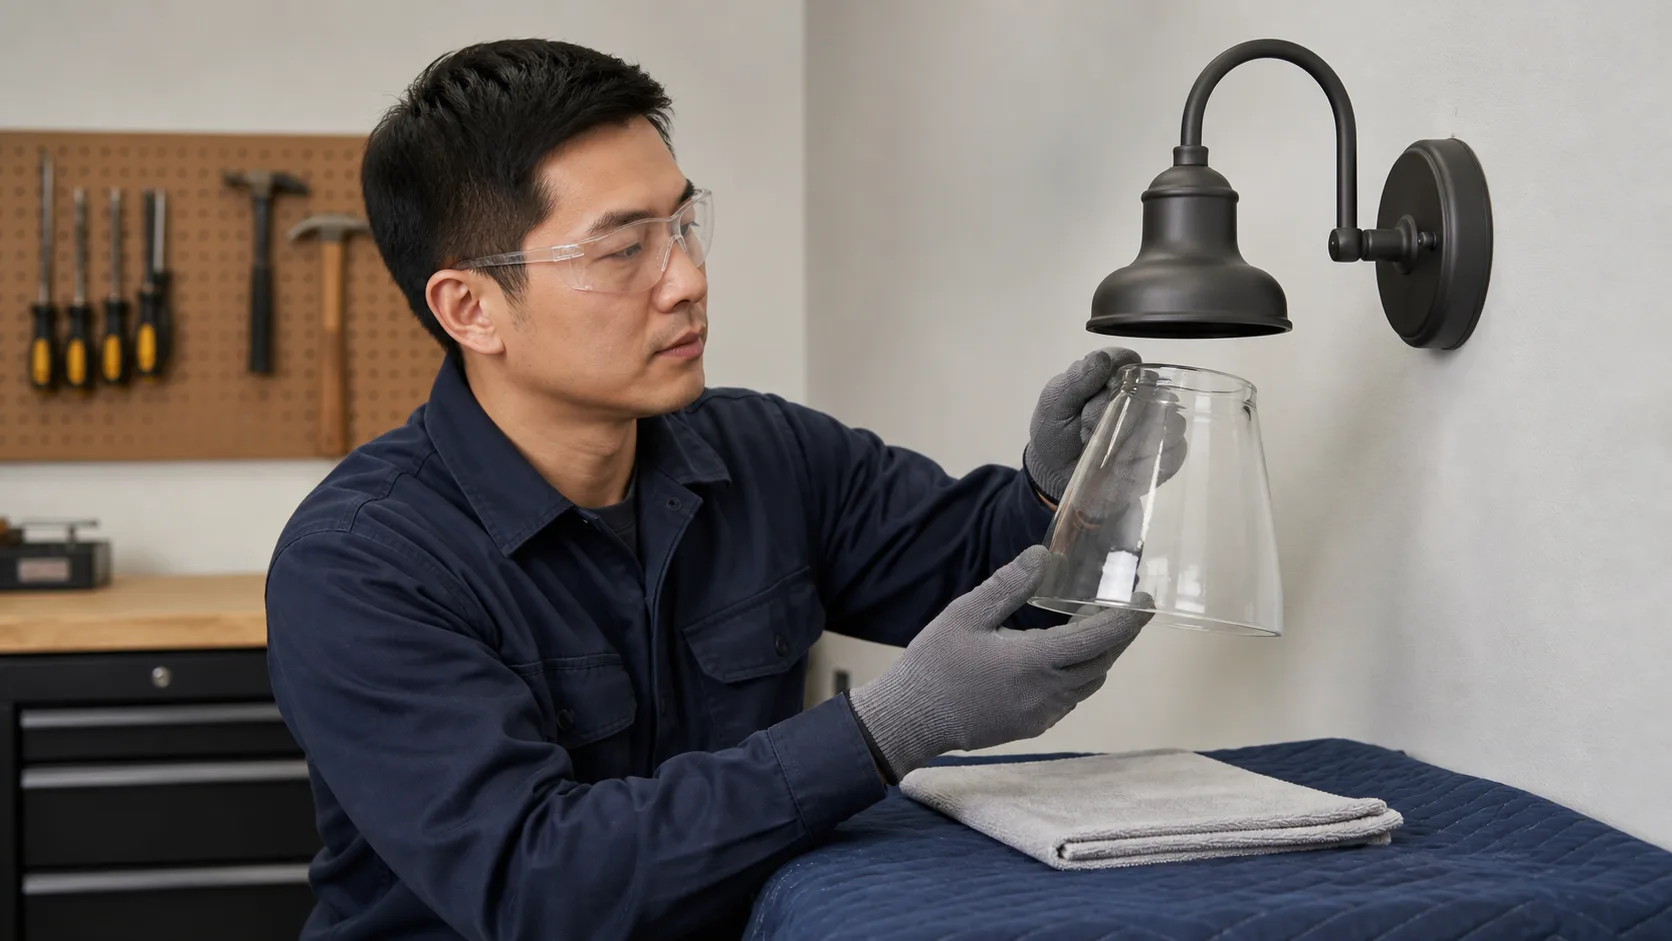
Before applying force, check the following stop conditions:
- A crack, chip, sharp flake, loose fragment, or visible impact mark is present.
- The shade, socket, arm, canopy, or suspension moves with the glass.
- The fixture is listed in a current manufacturer safety notice or recall.
- The glass is hot, wet, contaminated with oil, or difficult to see clearly.
- The holder is bent, corroded, broken, or missing a retaining part.
- The installation guide is unavailable and the release method is not obvious.
CPSC recall records show why this matters. Some recalled fixtures had glass shades that could separate and create a cut hazard, while another recall involved retaining clips that could break and let glass fall. Those examples do not diagnose your fixture, but they support a simple rule: if the support itself is failing, stop using the fixture and identify the model before removal.
The CPSC Ginger bathroom fixture recall describes a shade attached without visible screws and gives replacement as the remedy for the listed models. The CPSC IKEA ceiling lamp recall describes failed retaining clips and instructs consumers to stop using and uninstall the recalled lamps. Check the model, not just the visual style.
How can you identify the glass shade attachment method?
Take one wide photo, one straight-on photo of the holder, and one close photo of every ring, screw, clip, tab, or finial. Use a flashlight at an angle to reveal a thread, a small screw head, a spring, or a gap between the glass and metal. Do not rotate the glass while you are still trying to identify the system.
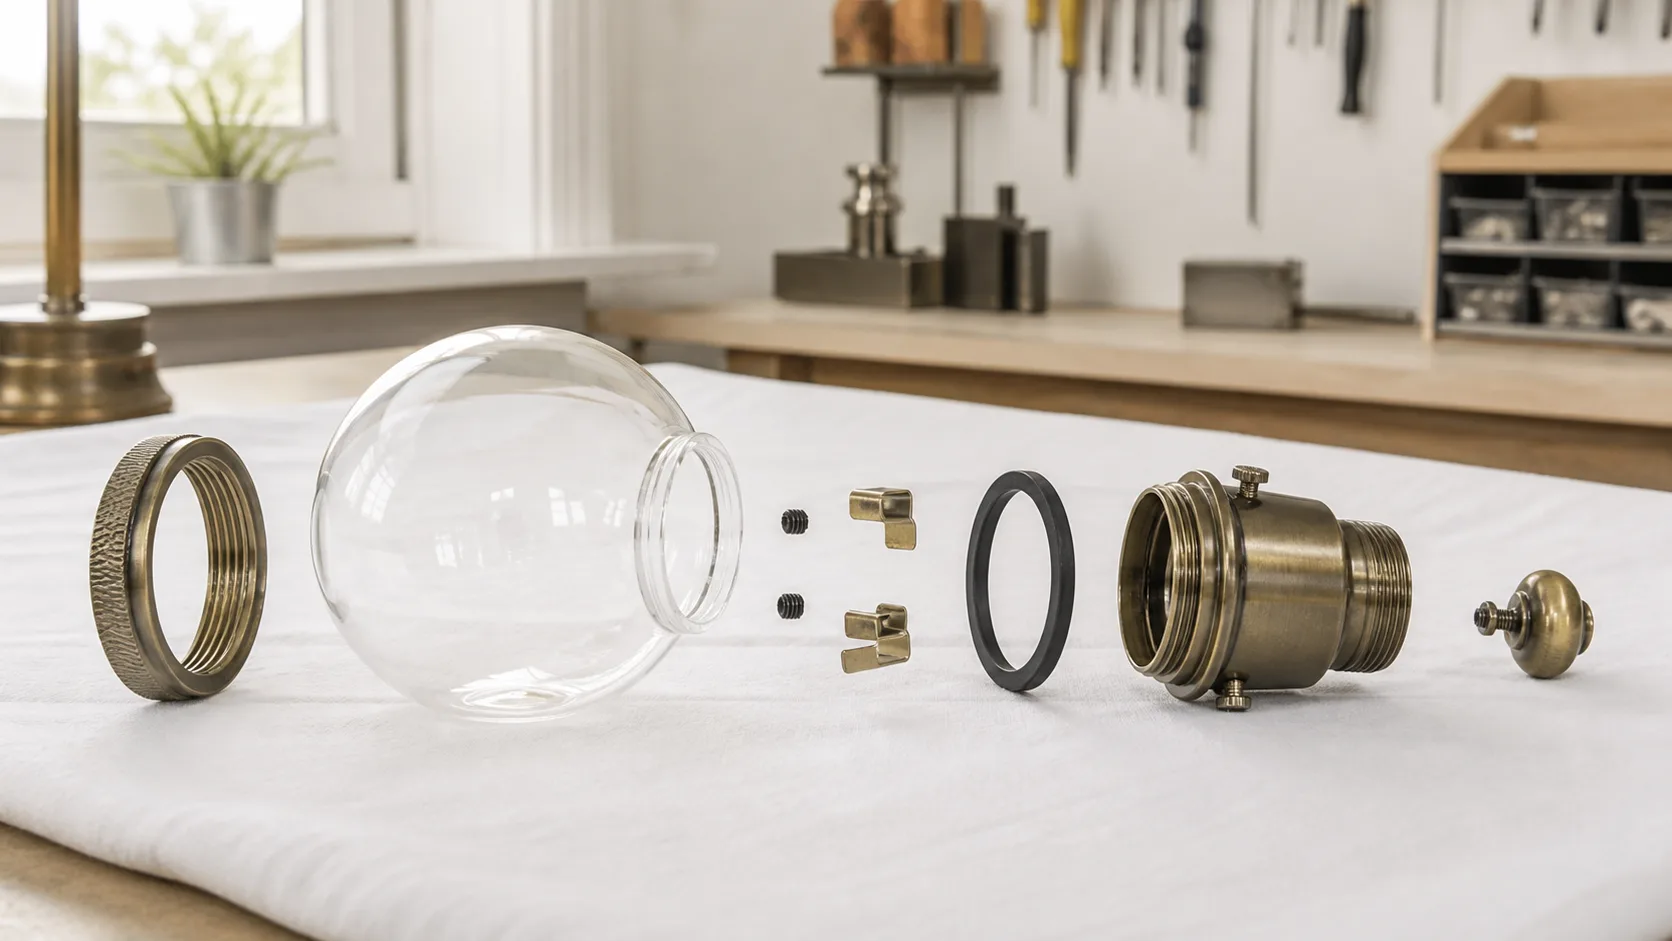
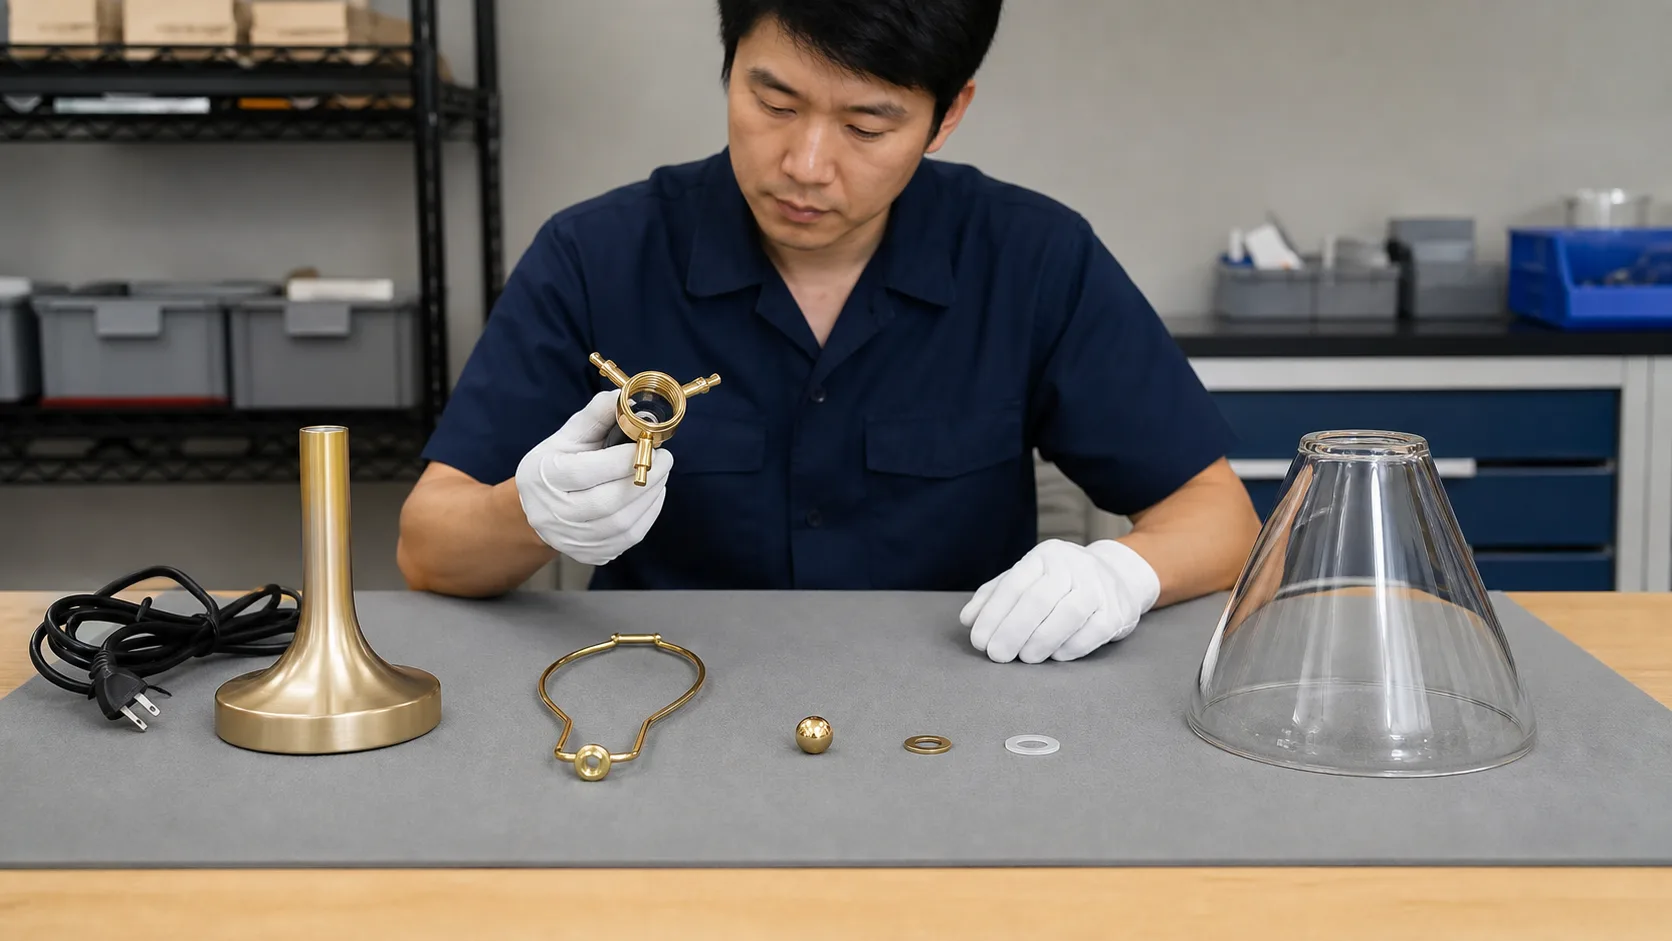
Record the fixture type and the position of the hardware. A pendant may use a balance cup and retaining cap. A wall sconce may use a shade holder with tabs or base screws. A table lamp may use a spider fitter, harp, washer, and finial. The glass shape alone is not enough to select a removal instruction.
Threaded rings and collars
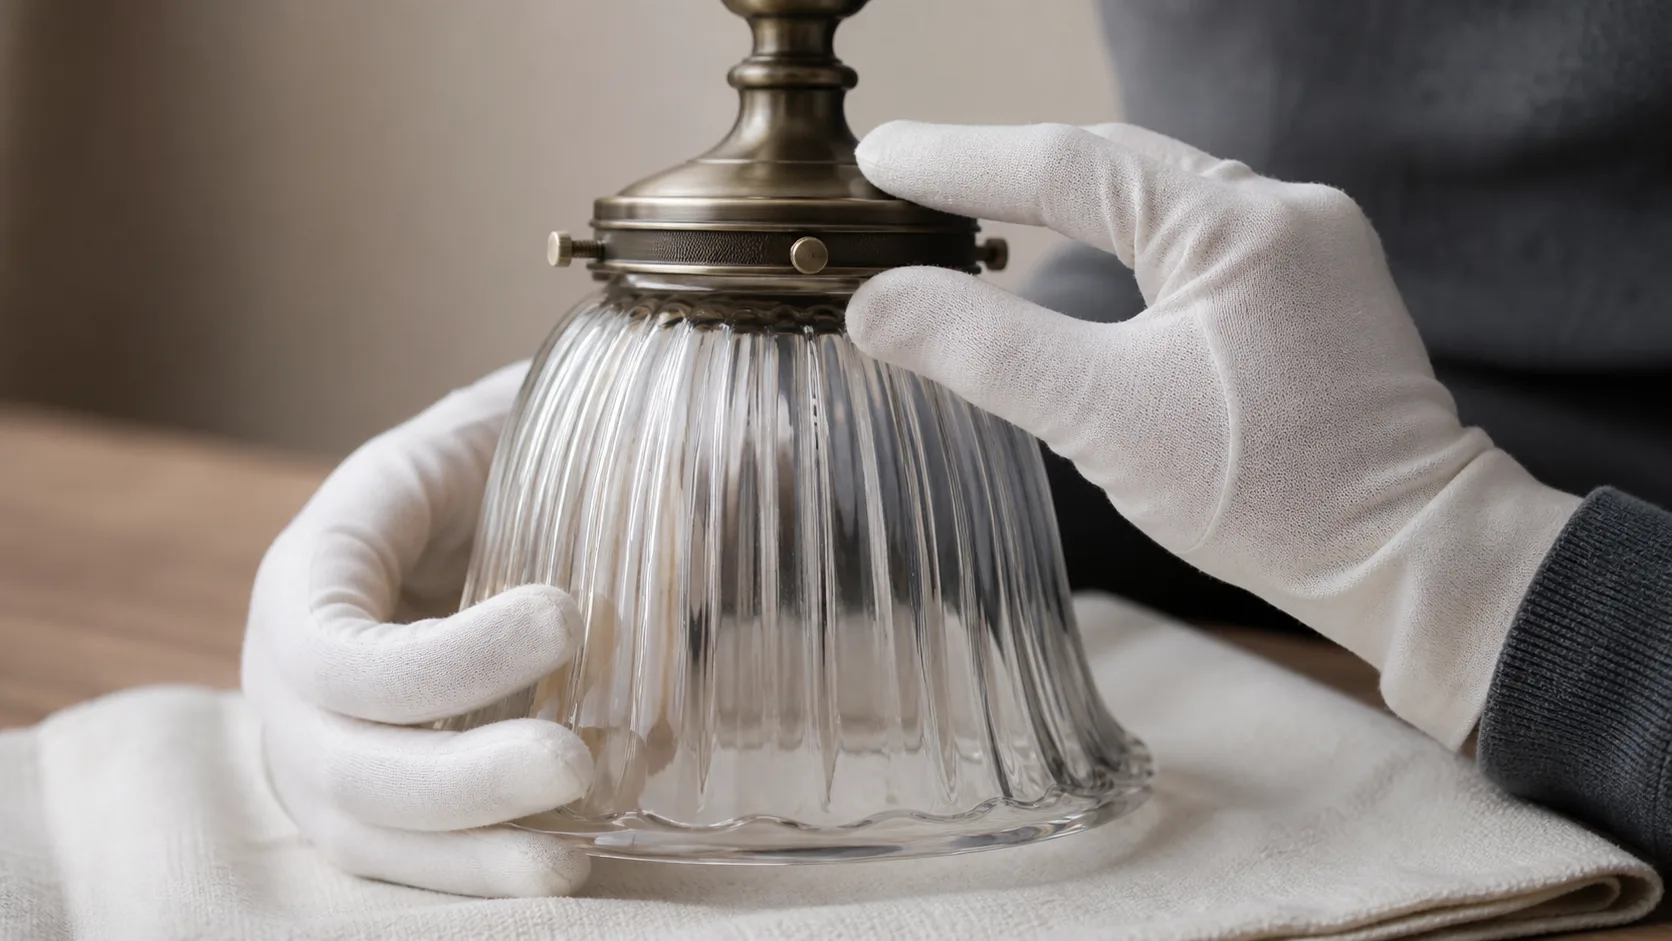
A threaded ring normally sits around a glass neck or against a fitter. The ring may turn while the glass remains still, or the shade and ring may appear to move together if they are bound. Keep one hand under the glass. Use the other hand on the ring, not on the fragile edge, and turn only in the direction specified by the fixture maker.
Do not use pliers on a visible glass edge. If the ring turns a fraction and then binds, stop and inspect for cross-threading, a tilted shade, a gasket caught in the thread, or a hard contact point. A ring that is tight on one side can load the glass unevenly.
Set screws and clamp screws
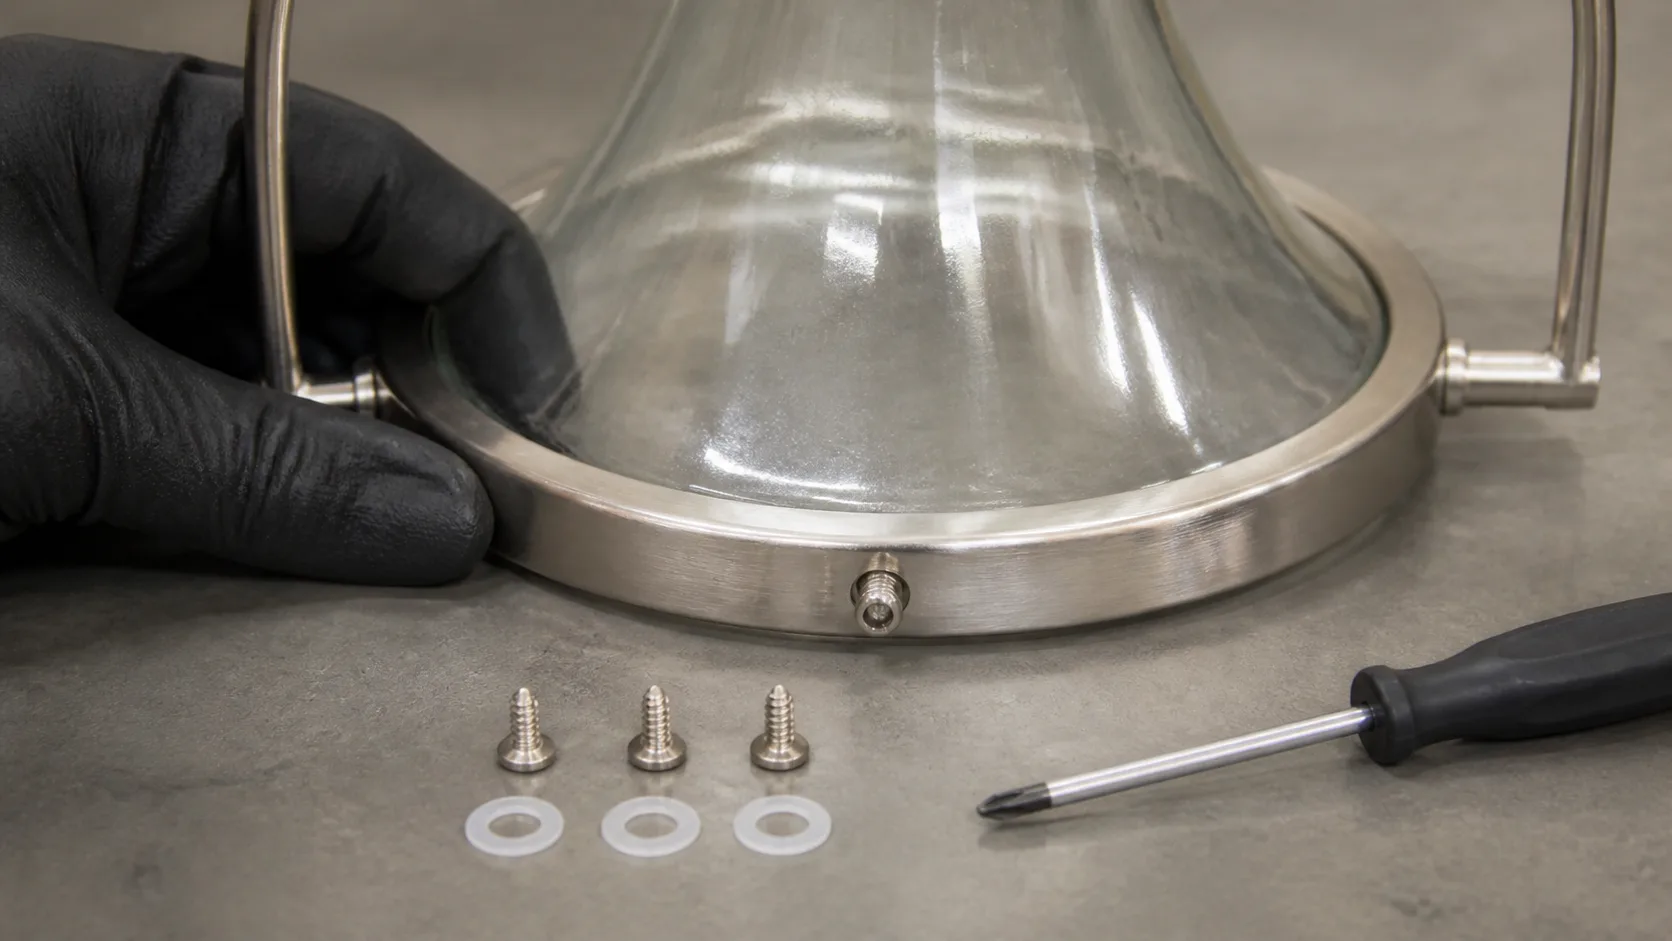
Set screws may be spaced around a holder and may point directly at the glass or at a washer. Loosen them a small amount in sequence while the shade is supported. Do not remove one screw completely while the remaining screws carry an unknown load. If the glass drops or tilts when the first screw loosens, support it immediately and stop to identify the holder design.
Use the correct driver so the screw head is not damaged. If a screw is corroded or seized, the fixture maker or a qualified technician should decide whether a penetrating product or replacement hardware is appropriate. Keep liquids away from the socket and wiring.
Spring clips, tabs, and snap retainers
Spring clips can release suddenly. Place one hand or a padded support under the shade before moving a clip. Release one clip at a time, following the direction shown in the instructions. Do not twist the glass to make a clip clear the rim. If a clip is broken, bent, or pressing on a damaged edge, treat the fixture as a stop condition.
Some wall fixtures hold the shade in a removable holder, while others secure the holder to the fixture with base screws. A Visual Comfort assembly guide for one wet-location wall fixture shows the glass shade held in a separate holder with metal tabs and the holder attached by base screws. That is a model example, not a universal sequence. Use the Visual Comfort assembly instructions to see why the holder and glass may need to be treated as one assembly.
Spider fitters, harps, and finials
For a table lamp with a spider fitter, the finial usually holds a washer and center fitting above the shade. Support the shade before removing the finial. Keep the washer, harp, and finial together. If the shade is heavy or the harp is loose in its saddle, do not assume that removing the finial will make the assembly safe to lift.
For a pendant, a top cap or balance cup may hold the shade around the socket. Besa's glass shade guide shows a balance cup, retaining cap, fastener screws, and silicone washers as one documented assembly. It also warns against overtightening. Follow the Besa glass shade installation guide for the listed models, and do not transfer its dimensions or parts to another fixture.
What is the safest step-by-step removal sequence?
Once the retention method is known and no stop condition is present, use a controlled sequence. The aim is to remove the retaining load while keeping the glass supported. It is not to win a contest against a tight ring.
| Step | Action | Evidence to keep | Stop when |
|---|---|---|---|
| 1 | Isolate power and let the assembly cool | Circuit or unplug status and fixture model | Power cannot be isolated or the fixture is hardwired and unsafe to access |
| 2 | Support the shade from below | Padded support and helper if needed | The glass is too heavy or unstable for the available support |
| 3 | Photograph the installed hardware | Wide, holder, and close-up photos | A hidden fastener or model-specific mechanism remains unclear |
| 4 | Release the retaining component in sequence | Screw count, ring direction, clip positions, part order | Glass tilts, binds, cracks, or the holder moves with the shade |
| 5 | Lift or lower the shade without twisting the rim | Contact condition and removed parts | A bonded, damaged, or captive assembly will not release normally |
| 6 | Place the glass on a padded surface and inspect it | Crack, chip, edge, haze, and fit notes | Damage makes the shade unsuitable for reuse |
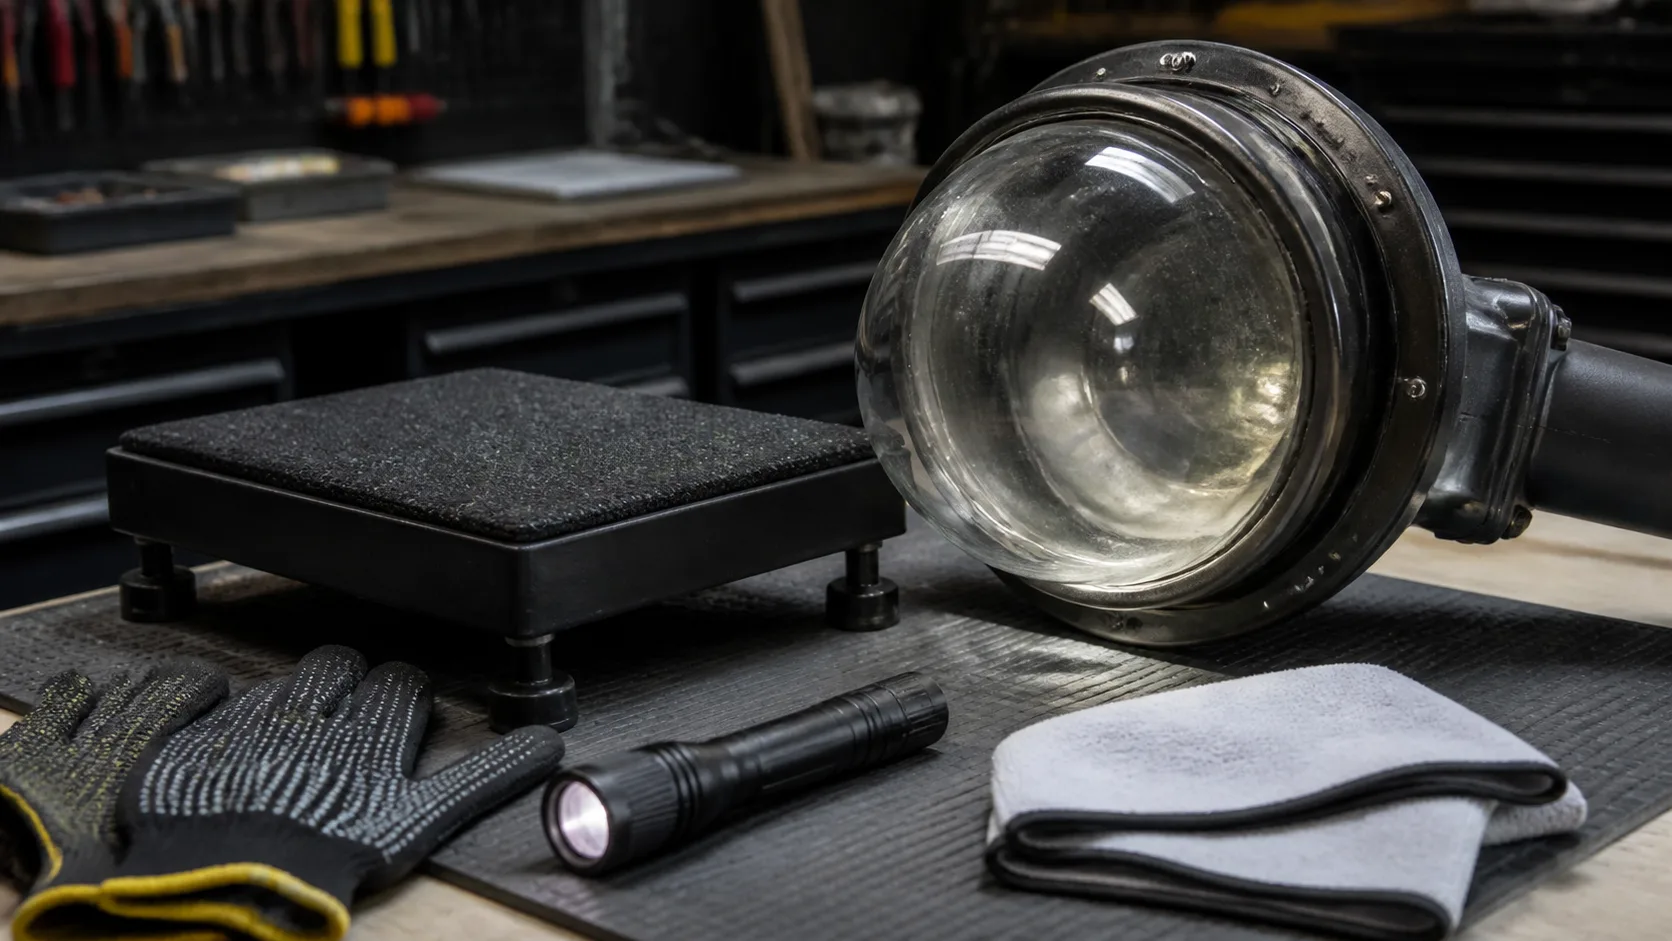
Use a soft, clean cloth or low platform so the glass does not roll. Keep screws and washers in the same order in a small tray. If the ring is stuck, a second person should support the shade while the first person observes the ring and holder. Do not pull down on a ceiling globe that is still held by an unseen clip.
How do you loosen a ring that will not turn?
First confirm that the ring is the intended release component. Some rings are decorative and do not hold the shade. Some globes twist into a socket ring, while others are held by a separate retaining collar. Look for the gap, thread, washer, or stop shown in the fixture guide.
Support the glass and try a small movement in the documented direction. Keep the force on the ring or collar. If the ring rocks, binds at one point, or turns with the entire fixture, stop and inspect alignment. A tilted holder, damaged thread, compressed gasket, or cross-threaded collar can make more force unsafe.
Do not strike the glass or use a hard tool against its rim. Do not clamp the globe with pliers. If the metal ring needs a tool, use the fixture maker's method or ask a qualified technician to protect both the glass and the holder. A replacement shade request should include the ring and holder photos because the replacement must match the actual interface.
What if the glass shade has no visible screws?
No visible screws does not mean the shade is a simple twist-off. It may use internal clips, a bayonet-style release, a hidden ring, a glued base, or a holder that must be removed from the fixture first. A CPSC recall described a bathroom fixture where the shades were glued to a metal base and no attachment screws were visible on the mounted fixture. That is a clear reason to identify the model instead of prying the glass.
If the shade is bonded, cracked, chipped, or still captive after the documented release step, stop using the fixture and request instructions from the maker or a qualified service professional. Do not heat the glass, cut adhesive while it is mounted, drill the holder, or wedge a screwdriver between glass and metal. Those actions can turn an unknown retention problem into a breakage and injury problem.
What should you inspect after the shade comes off?
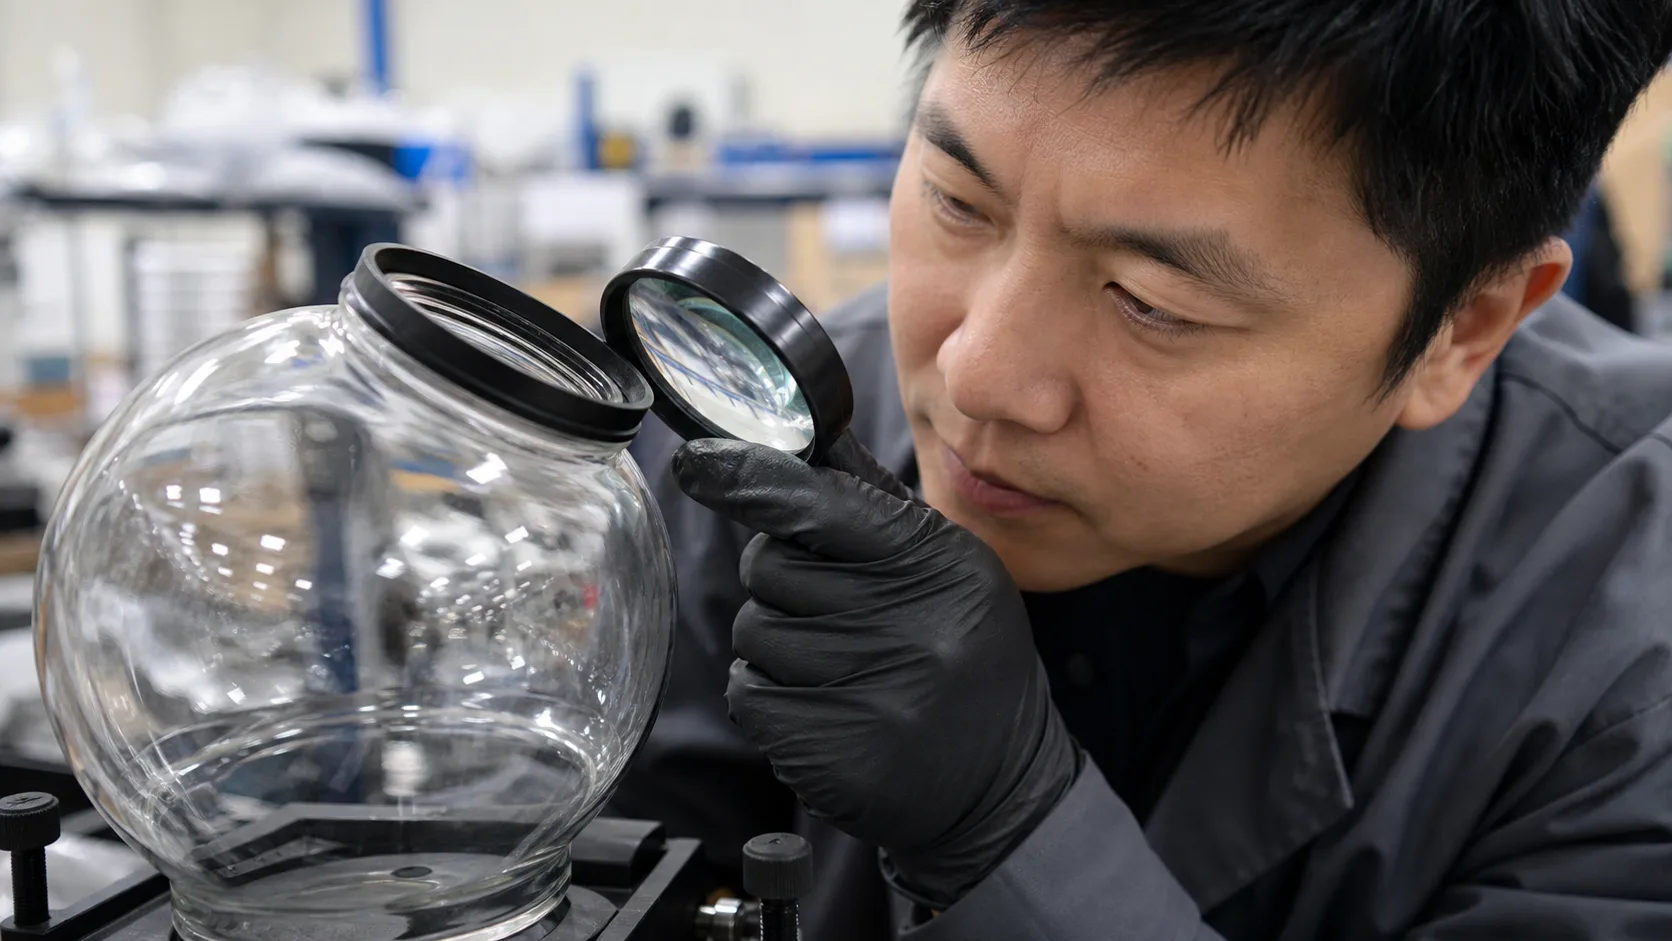
Place the shade on a padded surface and inspect the neck, rim, holes, threads, tabs, and contact areas. Look for a new chip, a hairline crack, whitening, abrasion, heat discoloration, or a gasket imprint concentrated on one point. Check the holder separately for bent tabs, damaged threads, missing washers, corrosion, and a lip that is no longer level.
Arrange the parts in removal order and photograph the assembly from the side. This record helps separate a glass problem from a holder problem. If the shade is going back on the same fixture, use the maker's installation sequence and do not overtighten a ring, cap, or fastener.
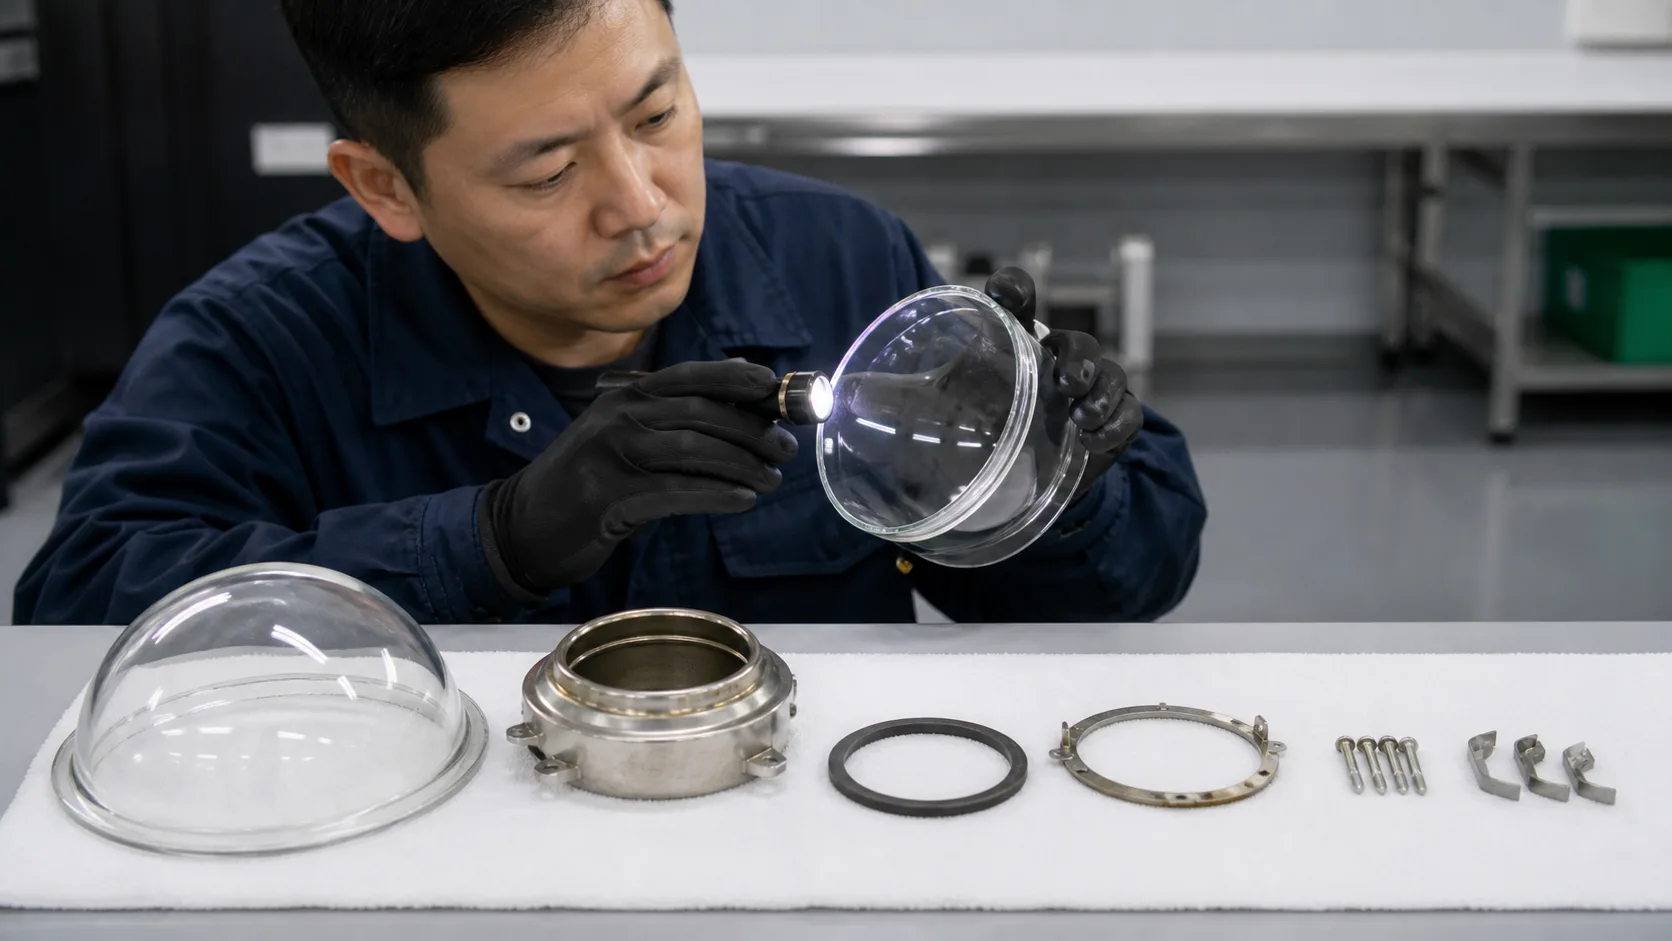
The JX glass lamp shade quality inspection checklist can help organize visual checks. For a custom replacement, also note whether the shade has holes, cutouts, or a special edge. Those details affect the drawing and the fit review, so the glass lamp shade holes and cutouts guide is a useful companion.
Which measurements are needed for a replacement shade?
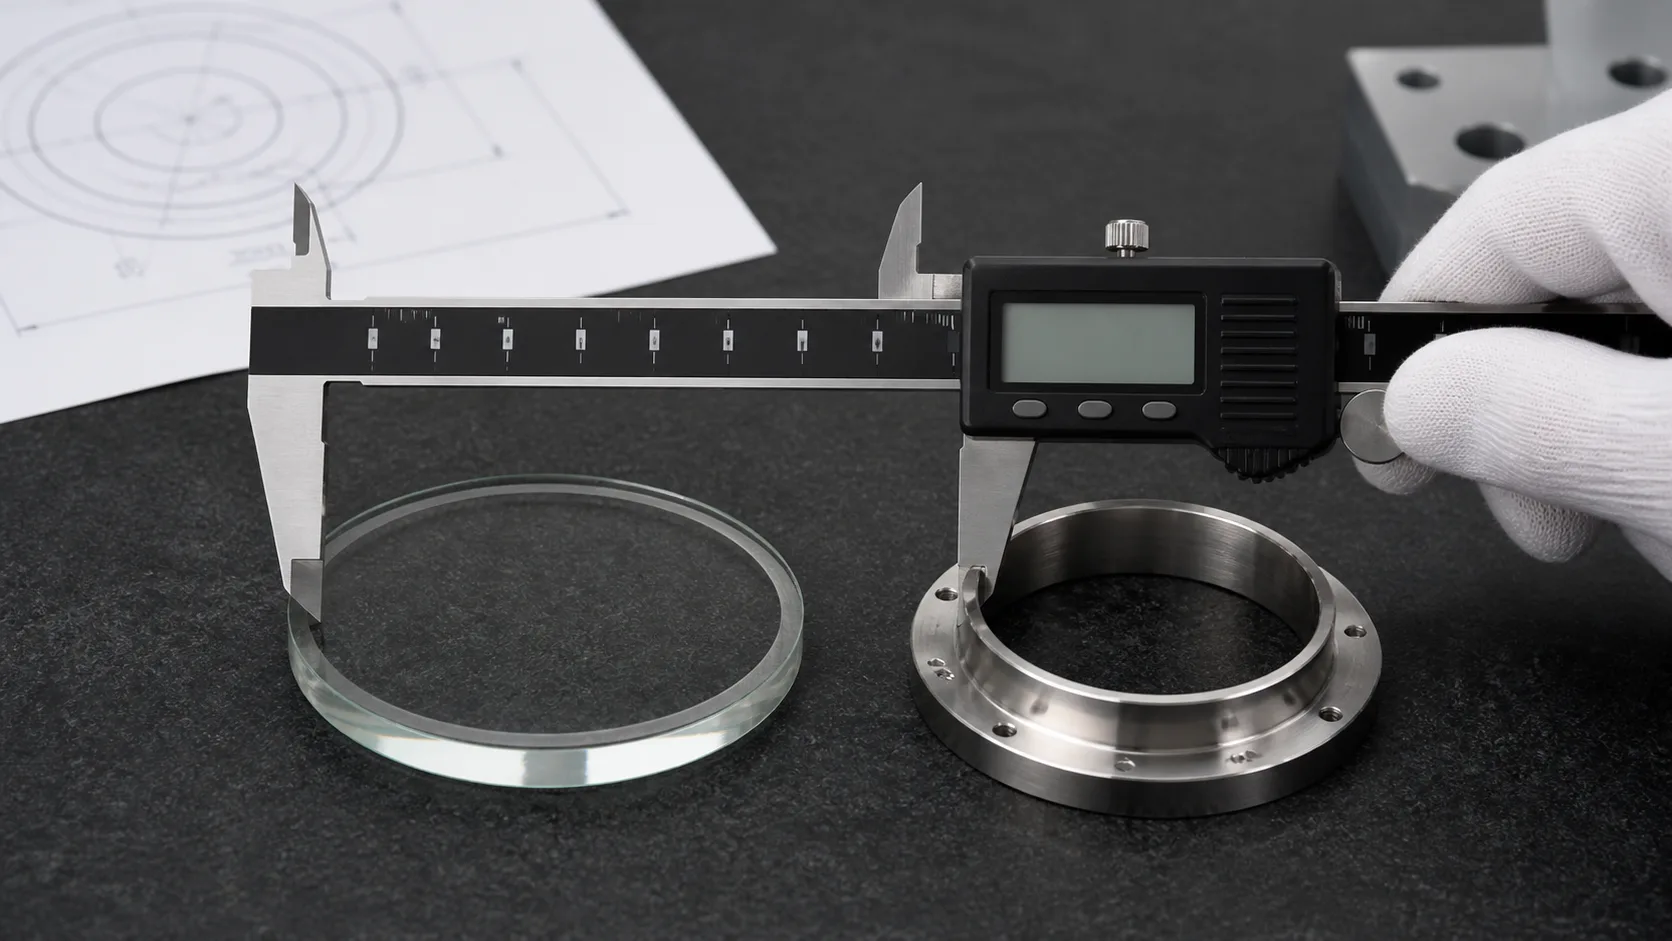
Do not order from a photograph or the widest outside diameter alone. Measure the critical glass-to-holder interface with the shade and the mating part in the same unit. Record the measurement locations, tool, and whether each value is inside diameter, outside diameter, height, opening, thread, or contact lip.
| Replacement input | What to photograph or measure | Why it matters |
|---|---|---|
| Fixture identity | Model label, overall fixture, and installed position | Similar shapes can use different holders and release methods |
| Glass profile | Height, widest diameter, neck or opening, and shape sketch | The outside silhouette does not define the fitter |
| Mating interface | Holder opening, ring, thread, lip, tabs, screws, and washers | The replacement must seat on the actual support |
| Special features | Holes, cutouts, slots, notches, ruffles, or edge treatment | A small feature can change tooling and orientation |
| Glass appearance | Clear, opal, frosted, seeded, ribbed, colored, or coated finish | Appearance and light transmission need sample approval |
| Condition and quantity | Broken, chipped, missing, sample, pilot, or production quantity | Review path and packaging need depend on the order stage |
The JX replacement glass shade measurement guide explains the difference between a visual size and an interface size. For a production order, send a drawing with the critical dimensions and use the technical drawing checklist to check that the supplier has the information needed for review.
What should you send when the shade cannot be removed?
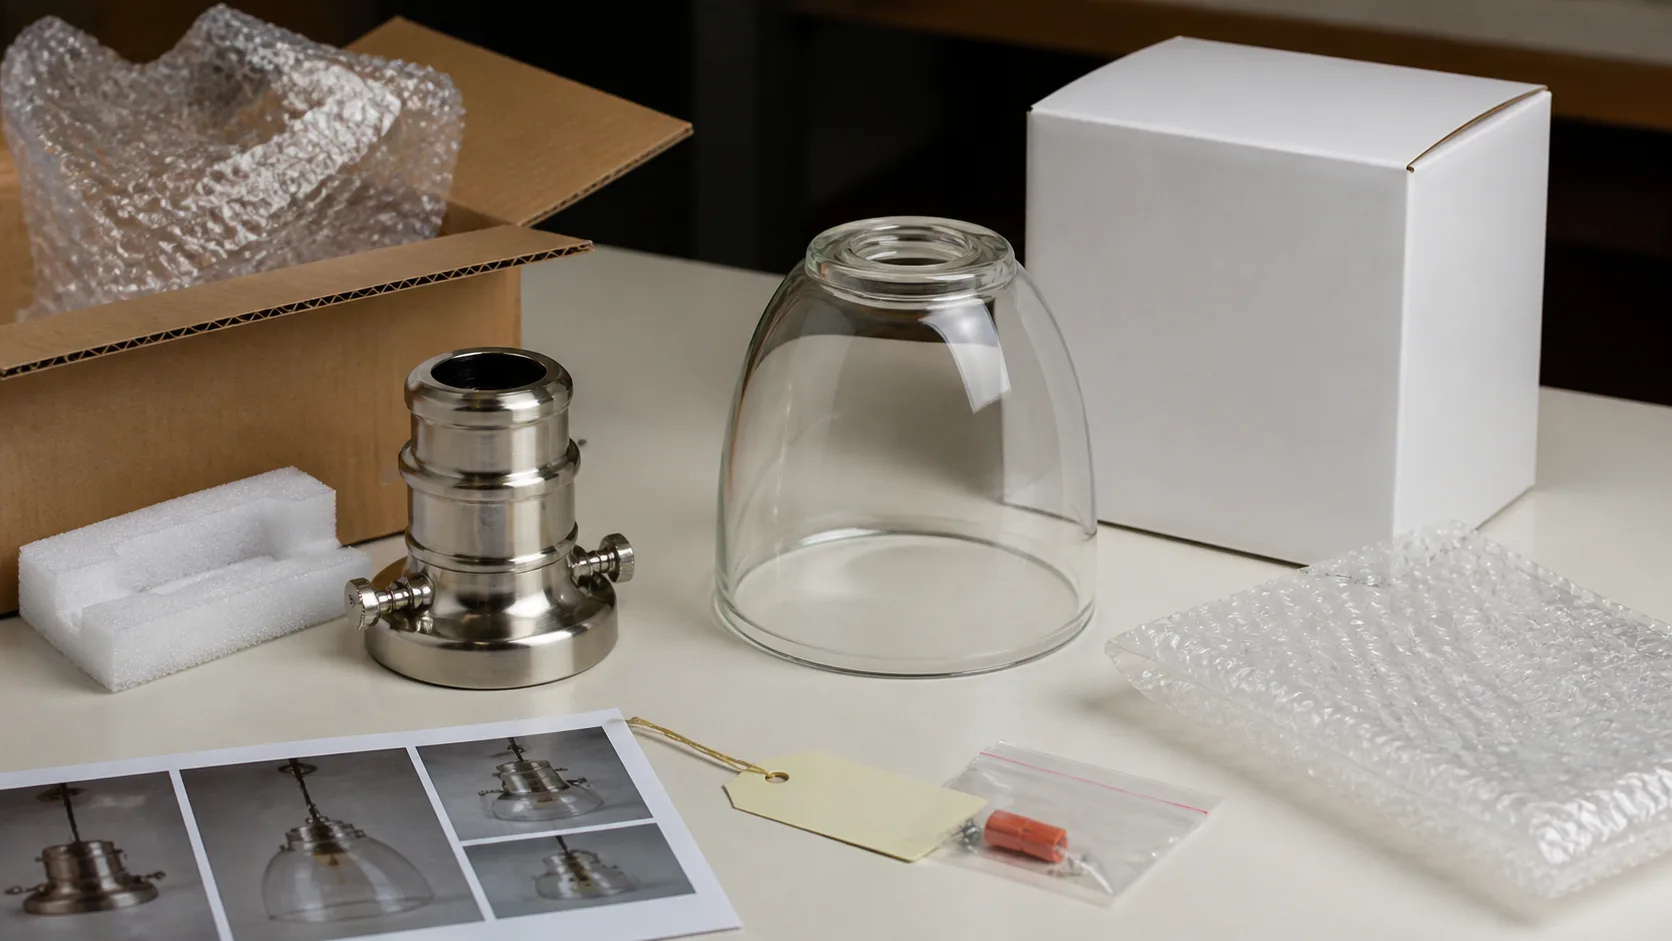
Send the fixture model, wide photos, close photos of the holder, a short video of the attempted movement, and the visible dimensions. State whether the fixture is installed, whether the glass is damaged, whether the ring or screw moves, and whether the holder moves with the glass. Do not ship a loose or damaged shade without protective packaging and a clear description of the condition.
For a replacement review, include the original shade if it can be removed safely. If it cannot, a profile drawing and clear interface photos may be enough to begin a fit discussion, but a final approval may still require a physical sample or mating holder. The custom glass lamp shade manufacturer page explains the type of OEM and ODM information that can support a quote.
Use this short intake list:
- Fixture model and application.
- Quantity for sample, replacement, pilot, or production.
- Glass profile and critical opening dimensions.
- Fitter, ring, thread, clip, tab, gasket, or screw details.
- Glass material and finish if known.
- Any crack, chip, scratch, haze, discoloration, or previous repair.
- Required delivery location, packaging needs, and approval method.

What should you never do to a stuck glass lamp shade?
Do not keep operating a fixture with a cracked or loose shade just because it is still illuminated. Do not use a towel as a substitute for a designed gasket. Do not put hard metal between the glass and holder. Do not apply adhesive, heat, impact, or a high-force clamp to make the shade move. Do not remove a ceiling or wall fixture's electrical parts unless the work is within the role and qualification of the person doing it.
The correct repair may be a replacement shade, a new retaining part, a fixture-holder repair, or a model-specific service procedure. The article cannot identify that result from a generic photograph. It can help you preserve the evidence and stop before a preventable breakage.
Frequently asked questions
What should I do before removing a stuck glass lamp shade?
Switch off and isolate power, let the glass and hardware cool, clear the area below, and support the shade. Photograph the holder and inspect for cracks, chips, loose parts, or a recalled fixture before loosening any ring, screw, clip, or finial.
How do I remove a threaded glass lamp shade?
Confirm that the ring or collar is the release part, support the shade from below, and turn the ring only in the direction shown by the fixture instructions. If it binds, rocks, or turns the fixture body, stop and inspect alignment, thread condition, gasket position, and holder damage.
Can I use pliers or penetrating oil on a glass shade?
Do not clamp the glass with pliers. A fixture maker or qualified technician should decide whether a seized metal fastener needs a tool or penetrating product. Keep any liquid away from the socket and wiring, and never use force against the glass rim.
Should I remove a shade with a crack or chip?
Do not treat a damaged shade as a normal service part. Isolate the fixture, support the glass without squeezing the damaged area, and arrange model-specific service or a replacement review. A crack, sharp edge, or loose fragment is a stop condition.
How do I know which replacement glass shade to order?
Match the fixture model, holder or fitter, critical opening, ring or thread, height, profile, finish, special holes or cutouts, quantity, and glass condition. Send photos of the mating hardware, not only the front view of the shade.
When should an electrician or fixture maker handle the removal?
Use qualified help when power cannot be isolated, the fixture is hardwired or structurally loose, the shade is overhead or heavy, the retention method is hidden, or the glass is bonded or damaged. General shade guidance does not replace the fixture maker's instructions or electrical requirements.
Source notes
The Besa glass shade installation guide documents one pendant assembly with a balance cup, retaining cap, fastener screws, and silicone washers, and warns against overtightening. The Visual Comfort assembly instructions document a separate holder, tabs, and base screws on one wall fixture. These are examples of why the model-specific guide controls.
The CPSC Ginger recall and CPSC IKEA recall illustrate the consequences of separating glass or failed retaining hardware. They are not diagnoses of an unlisted fixture.