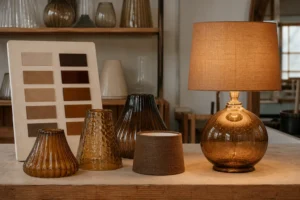
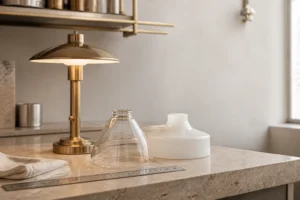
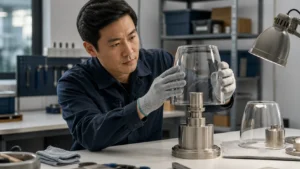
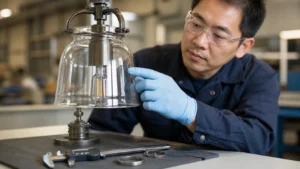
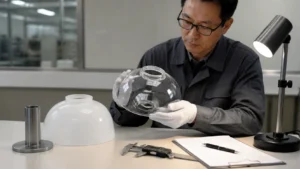
A quote-ready glass lamp shade technical drawing should show the mounting interface, critical dimensions, full profile, material, finish, process notes, tolerances, inspection points, quantity, and revision status. A photo or sketch can start the conversation, but it cannot replace the agreed specification.
Many custom shade inquiries begin with a phone photo, a retail link, or a pencil sketch. That is enough to start a discussion. It is not enough to make a repeatable quote or approve a production sample.
For a custom glass lamp shade, the drawing has to answer four separate questions:
- Will the shade fit the fixture?
- Will the finished glass have the intended profile and light behavior?
- Can the shape and finish be produced with the proposed process?
- How will the buyer decide whether the sample or production lot is acceptable?
This checklist is for lighting brands, OEM buyers, designers, distributors, and project teams preparing a custom inquiry. It is not a replacement-measurement guide. If you are replacing an existing shade, start with the glass lamp shade replacement guide and then transfer the confirmed dimensions into a drawing package.
What a technical drawing needs to accomplish
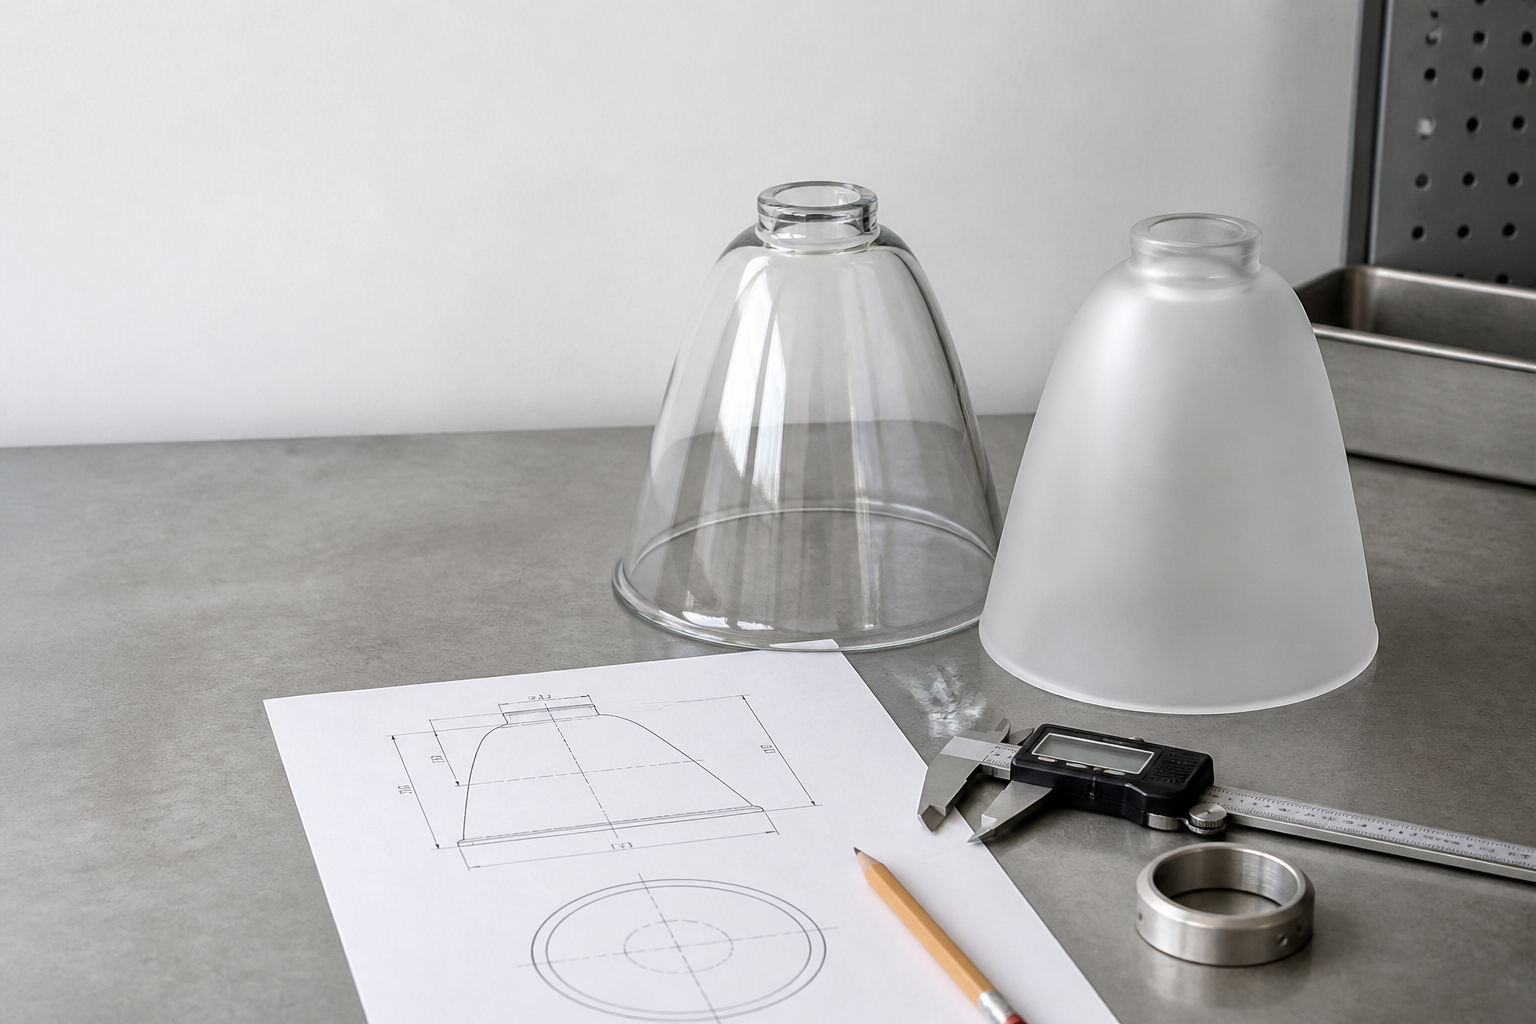
The drawing is a shared reference between design, purchasing, manufacturing, quality control, and installation. A useful sheet does not need to look like a complex CAD model. It does need a clear view of the part, an agreed unit system, identifiable critical dimensions, and enough notes to prevent two people from interpreting the design differently.
| Decision | Drawing evidence | What goes wrong when it is missing |
|---|---|---|
| Fit | Opening, neck, holder, retention method, and clearance | The shade looks right but cannot seat or be retained safely |
| Form | Side profile, section view, rim, curve, and orientation | The sample follows the idea but not the intended silhouette |
| Process | Glass family, finish, forming route, holes, and edge treatment | The supplier quotes a process that cannot hold the required result |
| Acceptance | Critical dimensions, defect rules, sample reference, and revision | The buyer and supplier disagree after the sample or shipment arrives |
The first version can be a marked-up PDF or a dimensioned sketch. The final production reference should have a part number, revision, date, and approval status. Keep the drawing and the RFQ together so the quote is tied to a specific version.
The 12-detail glass lamp shade technical drawing checklist
1. Product identity and revision
Put a part number or internal project code in the title block. Add the drawing revision, issue date, units, scale or “not to scale,” and the person or team responsible for approval.
This seems administrative until a project has two similar shades with different fitter openings. A filename such as new-shade-final.pdf does not tell a factory which file controls the quote. Use a stable identifier such as LS-204-R02 and keep older revisions in the project folder rather than deleting them.
2. Fixture and mounting reference
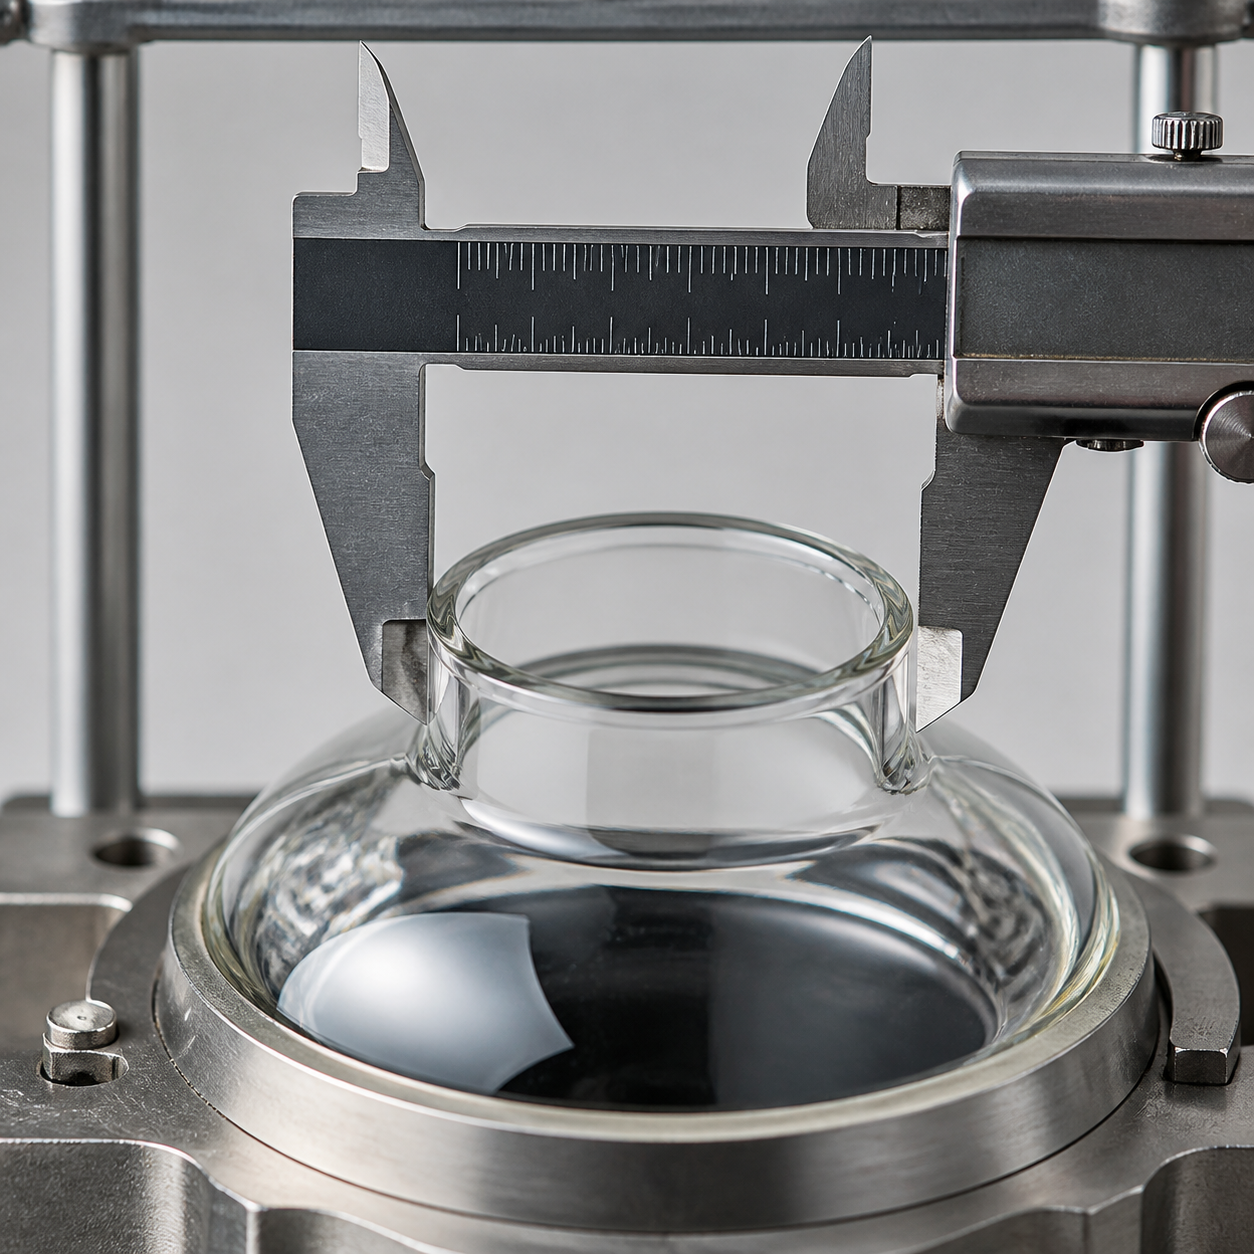
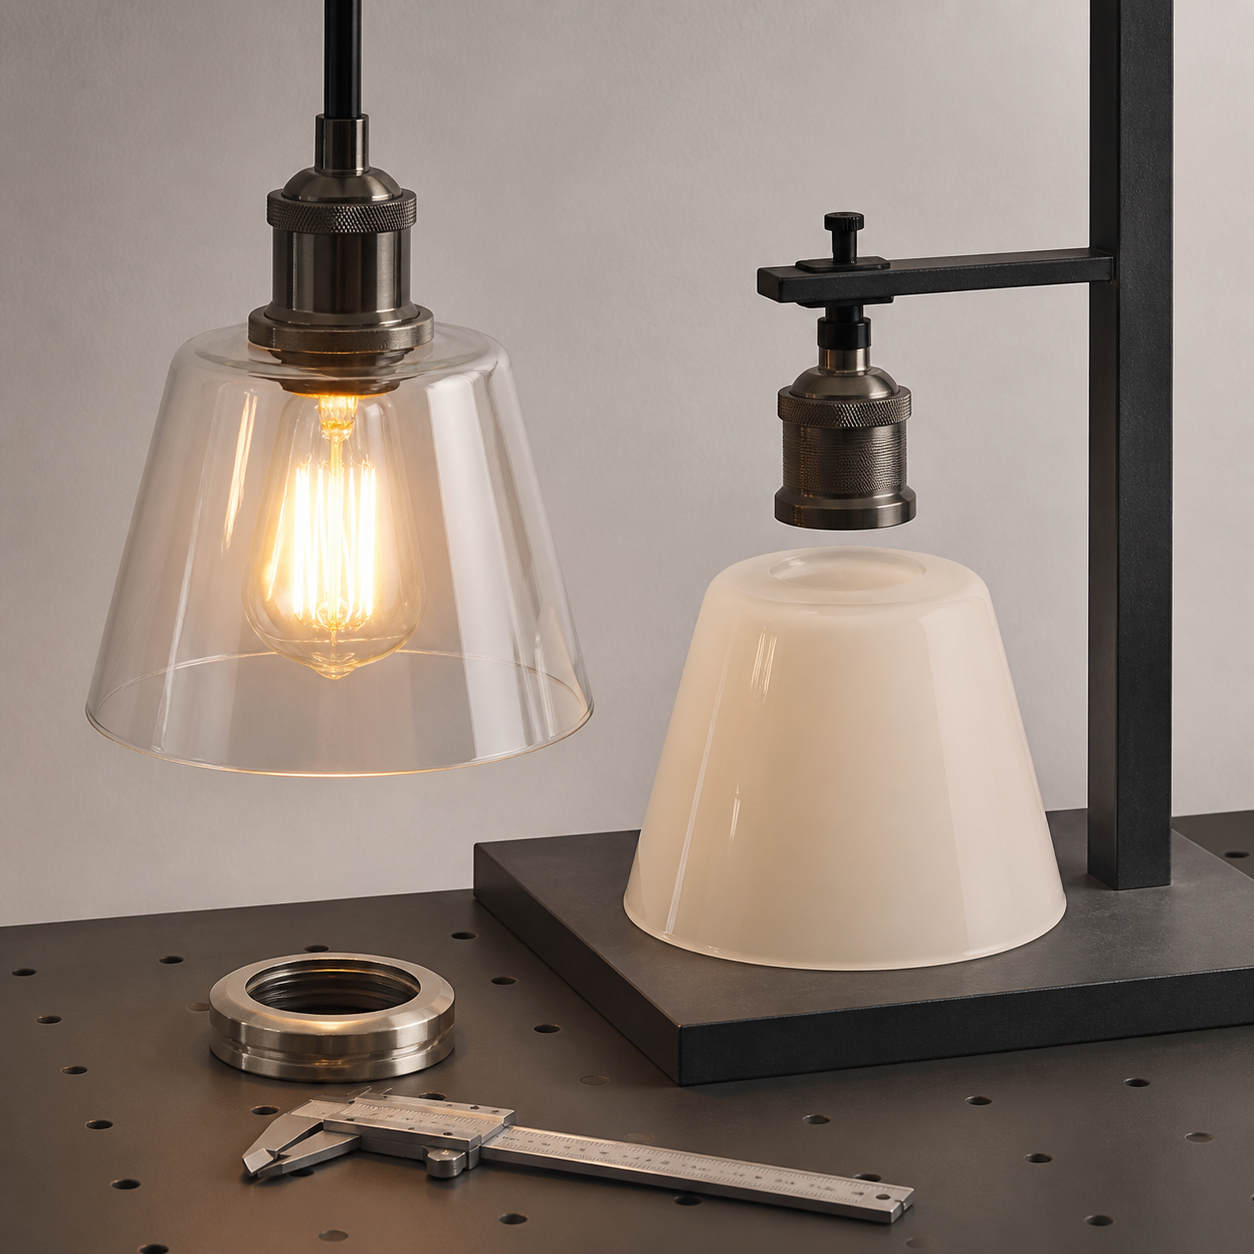
Show how the shade sits on the complete fixture. The mounting detail may be a neck, threaded opening, gallery ring, spring clip, screw-retained holder, or another arrangement. The drawing should show the part that the shade meets, rather than leaving the shade floating by itself.
If the existing hardware is unusual, include a close photo with a ruler and a simple cross-section. For uncertain hardware, use the lamp shade fitter compatibility checker before locking the drawing.
Record:
- Which surface locates the shade?
- Which feature carries the load?
- Is the shade retained from the inside, outside, top, or bottom?
- Does a screw, ring, spring, or clip contact the glass?
- What clearance is needed to install the shade without forcing it?
3. Critical dimensions first
Do not scatter dimensions randomly across a drawing. Mark the dimensions that control fit and installation before adding decorative measurements.
For most glass shades, the first review normally includes:
- fitter or opening diameter, identified as inside or outside measurement;
- overall height or depth;
- maximum body diameter;
- rim or lower opening diameter;
- neck length, thread, groove, or retaining step when present;
- wall thickness or weight when the fixture load or thermal behavior requires it;
- installation clearance to the bulb, holder, ceiling, wall, or neighboring shades.
Use one unit system on the main drawing. If the project buys in millimeters but sells in inches, show the selling reference as a secondary note and state which unit controls inspection. Do not mix a rounded inch dimension with an unrounded metric dimension and assume they mean the same thing.
4. Full profile and orientation
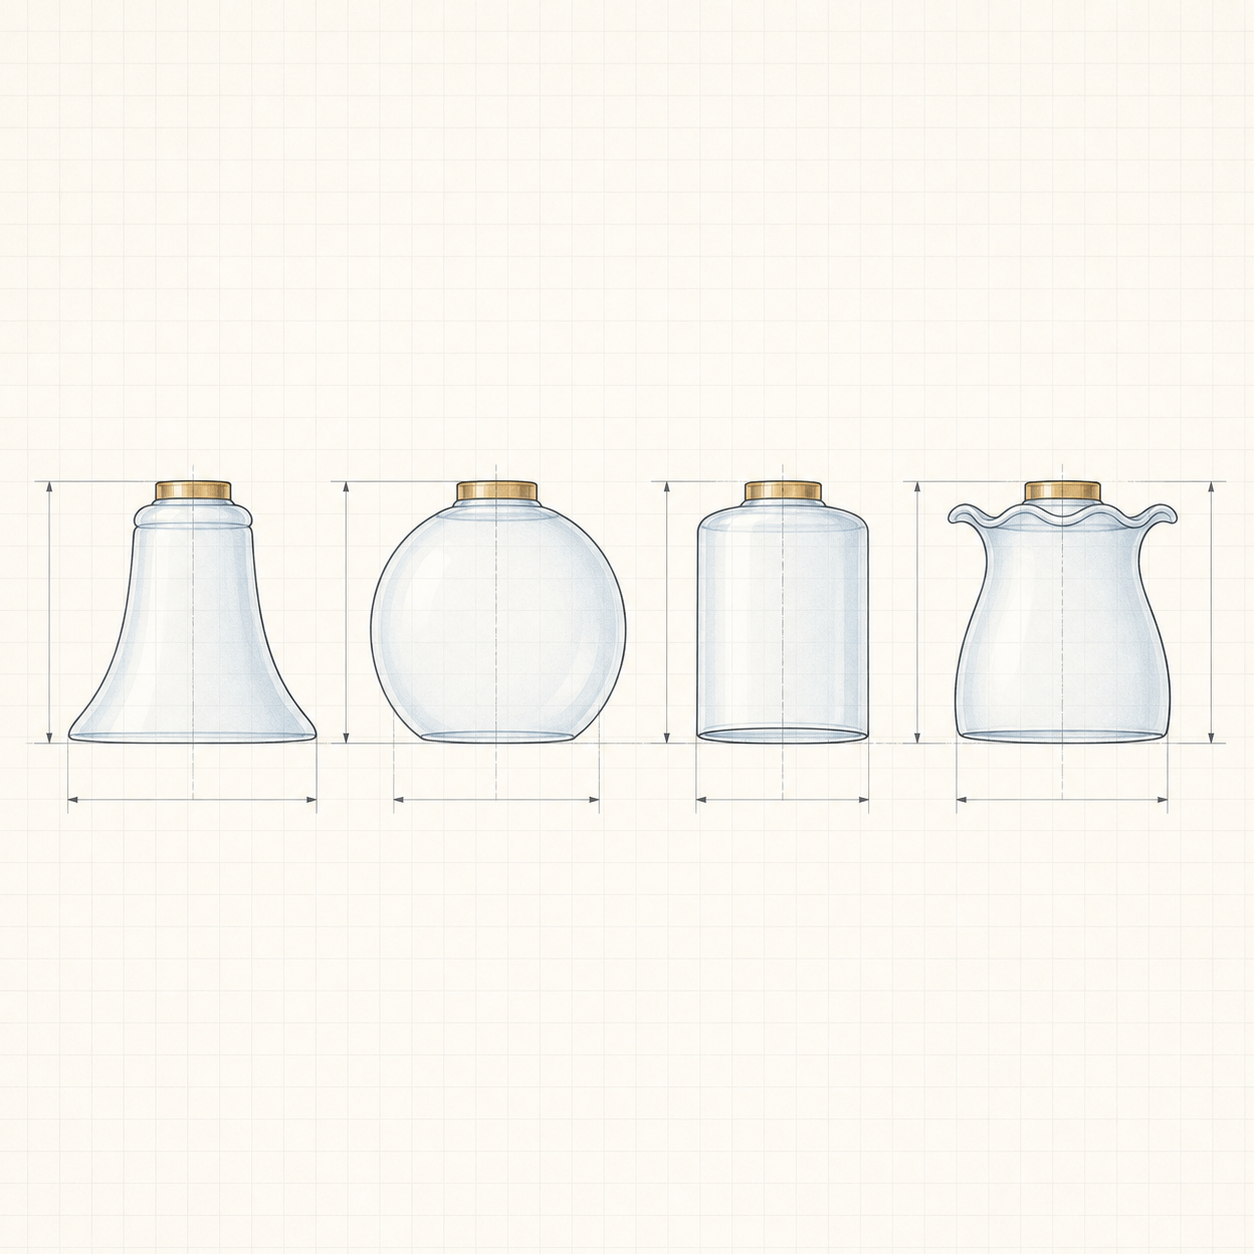
A single front view cannot describe a curved or asymmetrical shade. Add a side profile and mark the centerline, top, bottom, front, back, or rotational orientation where those details matter.
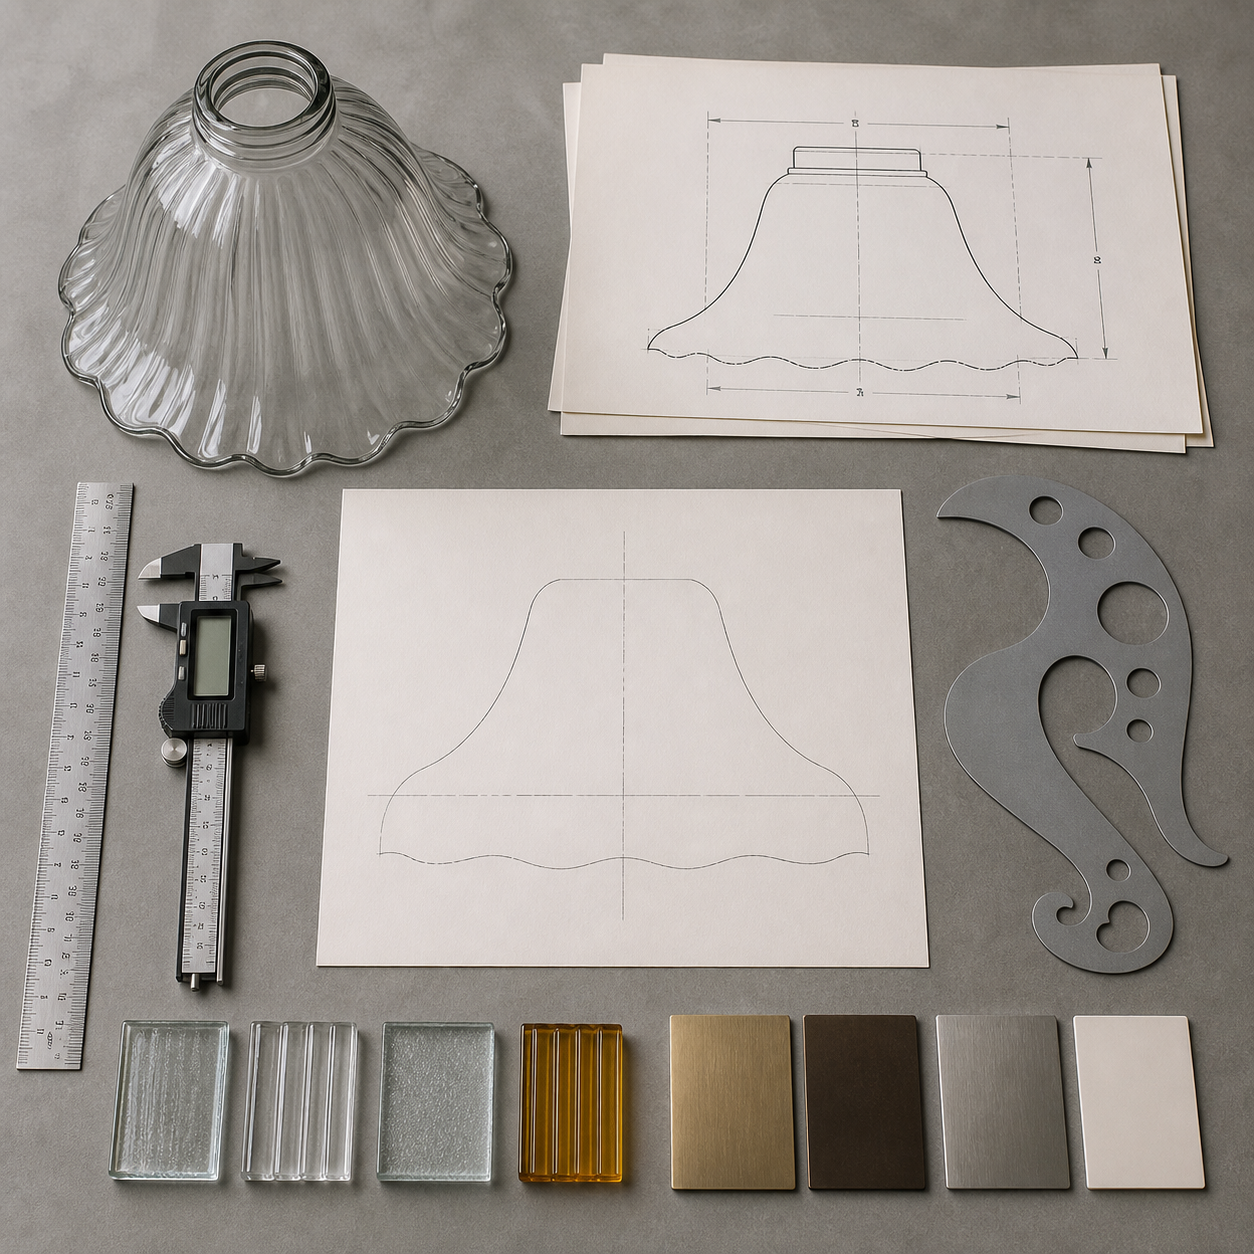
For a globe, the maximum diameter may be enough to describe the body. For a bell, tulip, flared, ribbed, or irregular shade, the transition between the neck and body can be the part that makes the design recognizable. If the rim is wavy, scalloped, petal-shaped, or intentionally uneven, show the intended pattern and say whether the variation is decorative or controlled.
5. Section view for hidden geometry
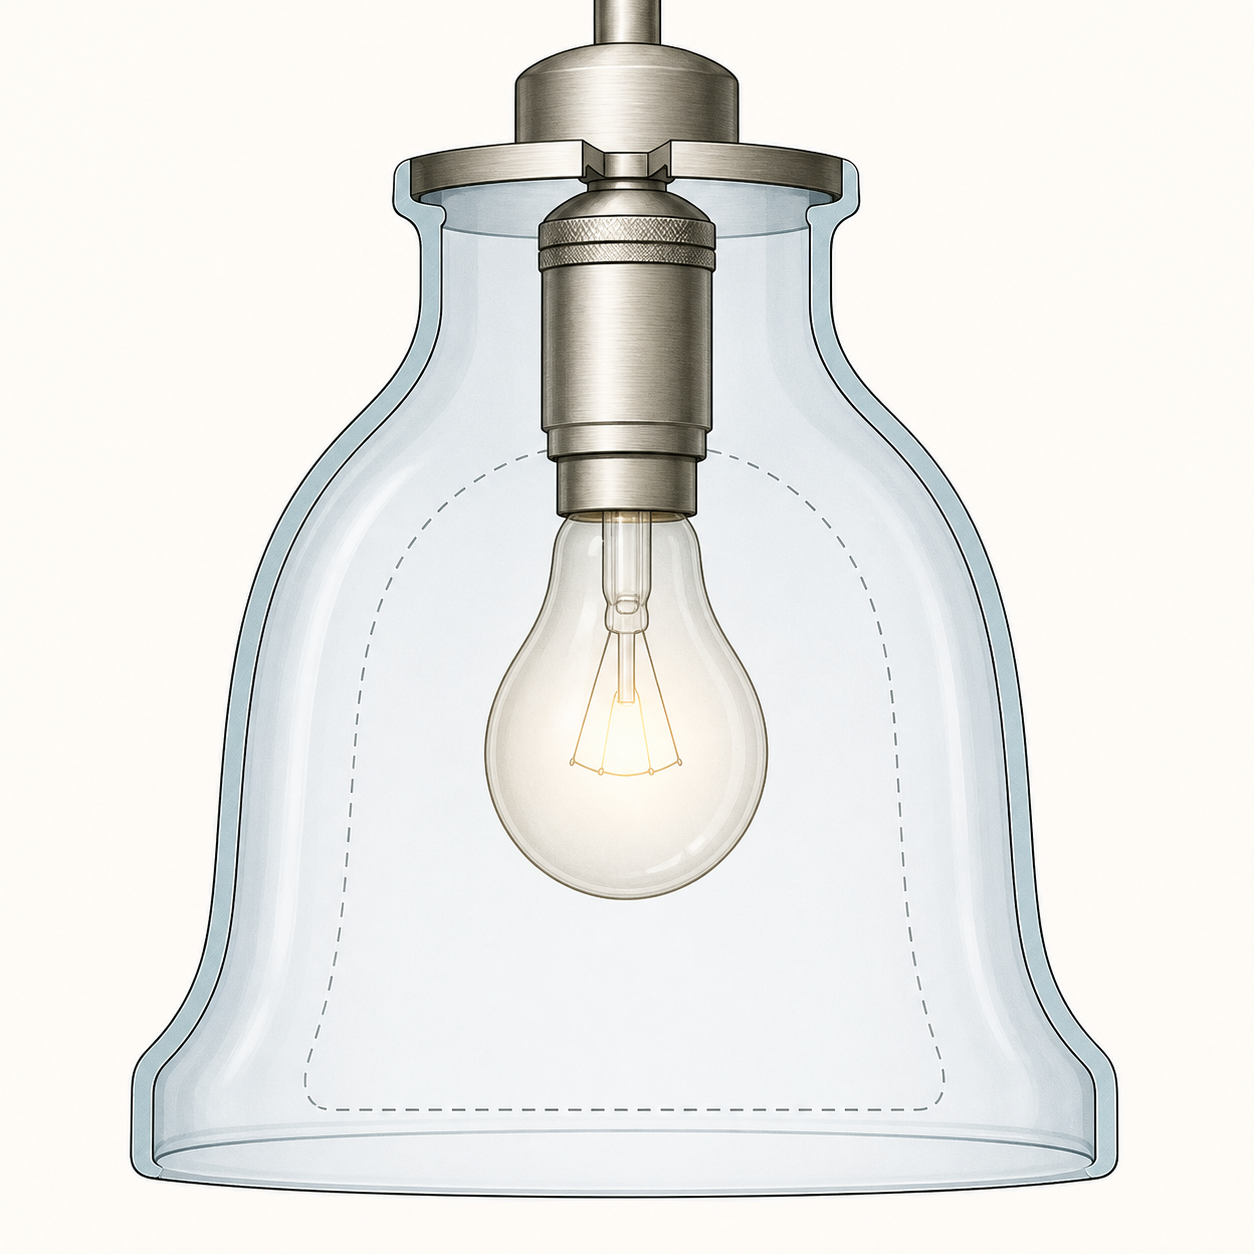
Use a section view when the outside profile does not show the details that control fit or safety. A section can reveal the wall, neck, inner shoulder, lip, channel, double wall, drilled hole, or minimum bulb clearance.
The section should identify where a dimension is taken. “Opening: 42 mm” is incomplete if the supplier cannot tell whether 42 mm means inner diameter, outer diameter, thread crest, or the diameter at the rim. Draw the measurement line between the actual surfaces being checked.
For a replacement shade, the section can be based on the surviving sample. For an OEM shade, use the section to explain the intended relationship between the glass and the holder. That distinction keeps the drawing from becoming a photograph with unspoken assumptions.
6. Glass material and thickness intent
Name the glass family or starting material if the project requires one. Common categories may include soda-lime, borosilicate, or a buyer-approved alternative. The material choice should follow the fixture temperature, shape, optical target, process, and cost requirement rather than a generic “premium glass” label.
State whether the thickness is:
- a fixed requirement;
- a target range the manufacturer should propose;
- a visual or weight constraint;
- a safety or thermal requirement that needs engineering confirmation.
Do not copy a thickness or thermal limit from another shade. A hand-formed piece, a pressed part, and a heat-formed curved component may need different process controls. Link the drawing to the glass lamp shade manufacturing process guide when the buyer needs to compare forming routes.
7. Finish, color, and light transmission
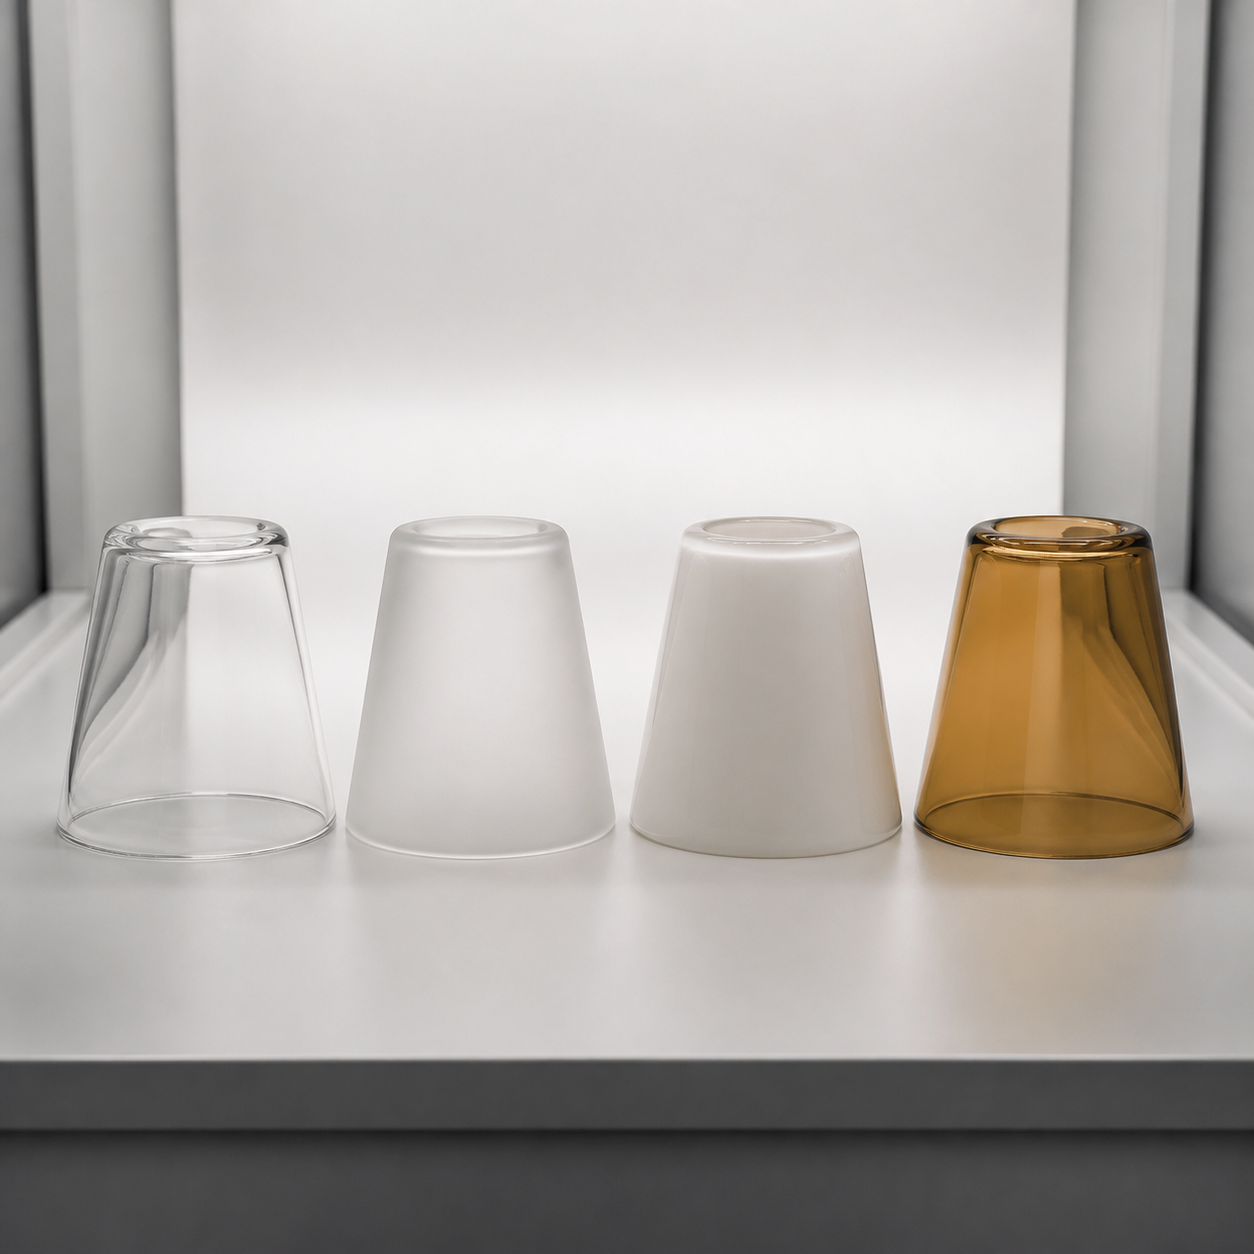
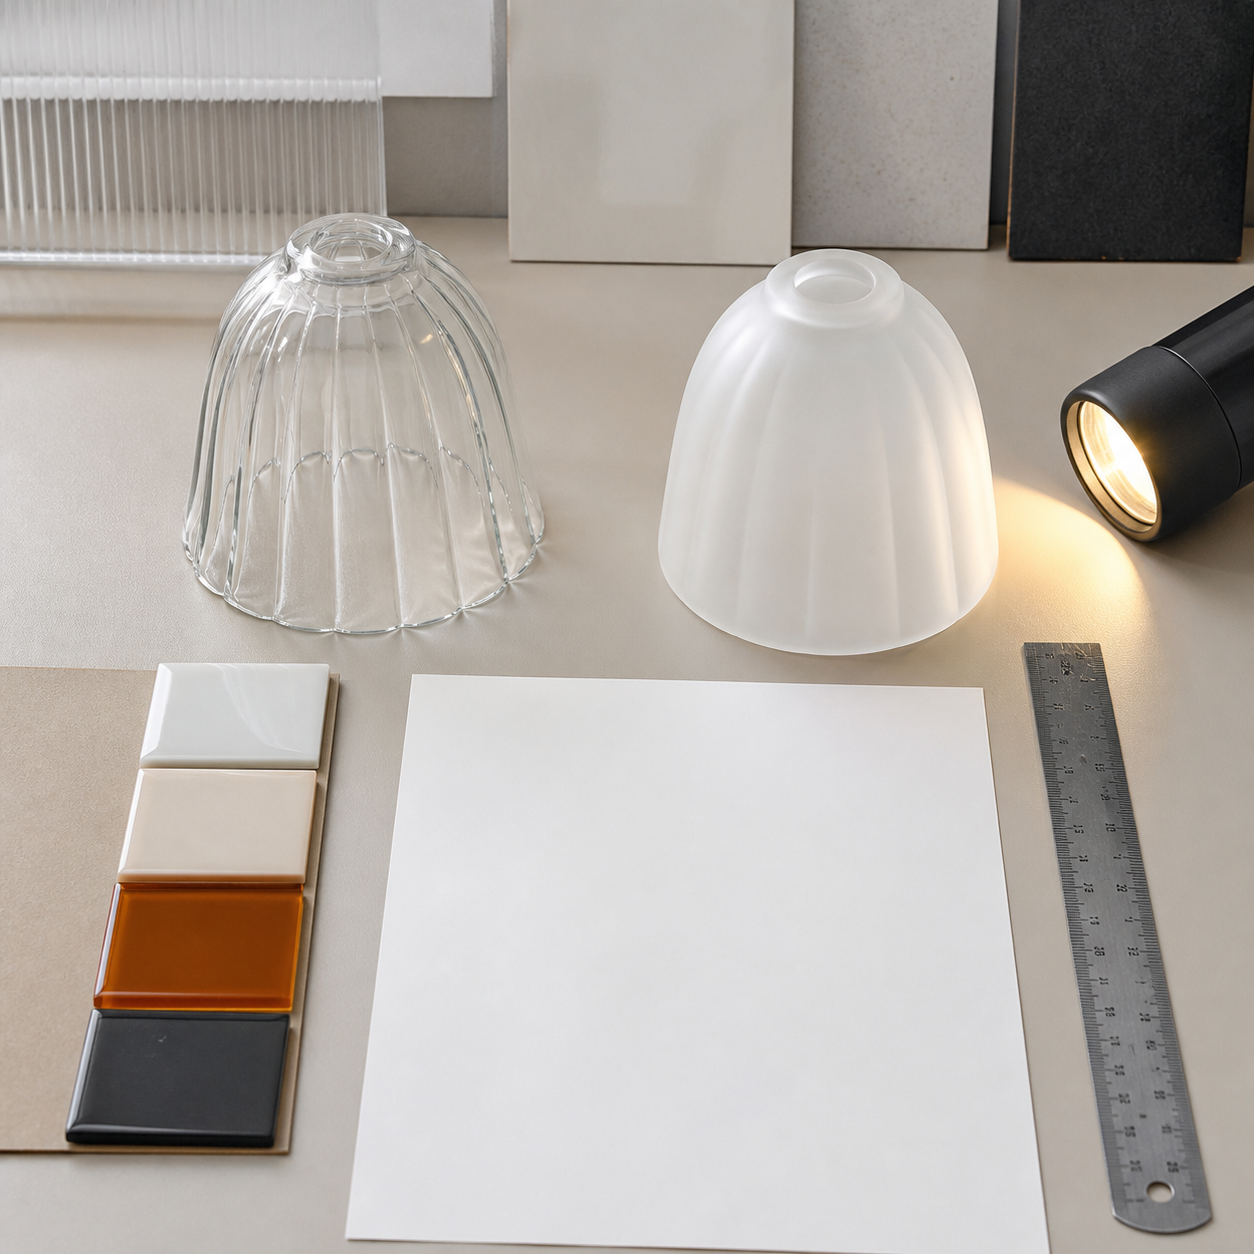
Describe finish and color separately from the glass material. “White glass” could mean clear glass with a coating, opal glass, acid-etched glass, sandblasted glass, sprayed color, or a translucent ceramic finish. Those options do not produce the same appearance or light output.
Include, where relevant:
- clear, frosted, opal, seeded, crackled, colored, or opaque appearance;
- color reference, master sample, or physical swatch;
- gloss, satin, matte, etched, blasted, painted, plated, or other surface treatment;
- whether the inside, outside, or both surfaces receive the finish;
- whether the finish must remain consistent when the shade is lit;
- whether small bubbles, seeds, flow lines, or handmade variation are acceptable.
日本の glass lamp shade material selector is useful for narrowing the material and finish discussion. The drawing should still identify the approved sample or reference because a selector cannot replace a physical color decision.
8. Manufacturing and finishing notes
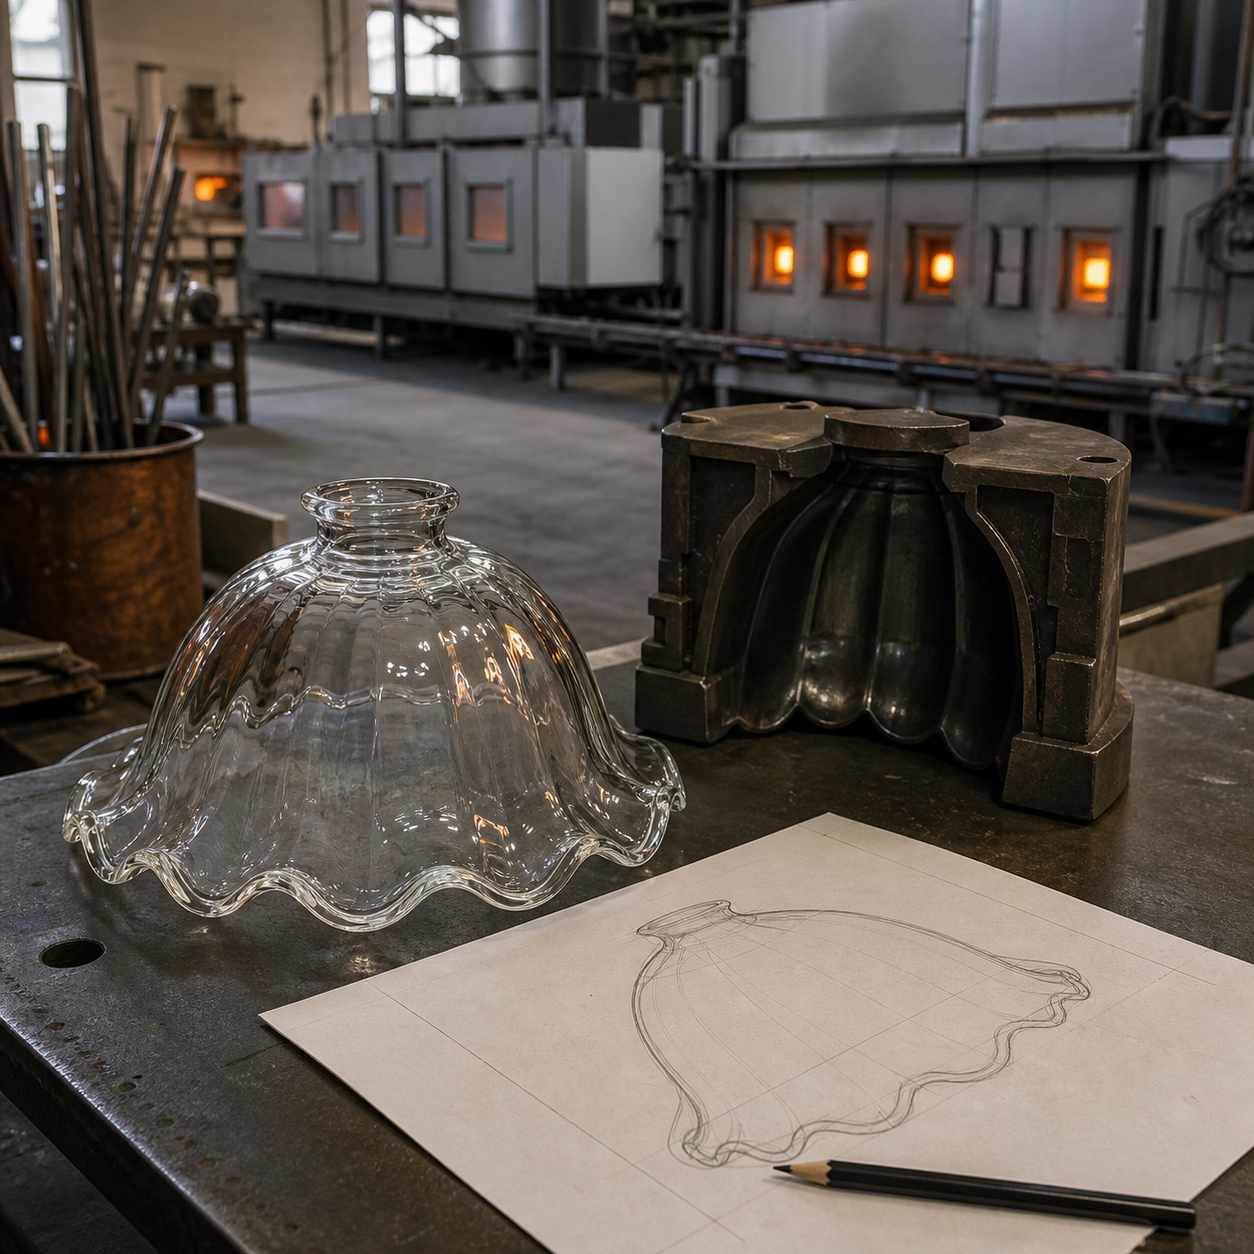
Add process notes only when they affect the result. Useful notes might cover mouth-blown, pressed, lampworked, centrifuge, slumped, bent, drilled, fire-polished, acid-etched, sandblasted, sprayed, or electroplated work. The purpose is not to dictate a process the buyer has not evaluated. The purpose is to tell the manufacturer which characteristics cannot be lost when choosing the process.
For example, a drawing can state that the shade needs a continuous clear neck, a visible rib pattern, a polished opening, or a controlled matte finish. The supplier can then confirm whether the proposed method, tooling, or secondary operation can deliver it.
Keep production claims separate from drawing requirements. If a supplier proposes a new mold, tooling charge, special annealing cycle, or test method, record that proposal in the quotation and sample approval documents instead of quietly changing the drawing.
9. Tolerances around risk
The drawing should show which dimensions are critical and which are reference only. A practical classification is:
| Dimension class | Example | Buyer action |
|---|---|---|
| 重要 | Fitter opening, retaining step, hole location | Agree the inspection method and acceptance range before sampling |
| Functional | Overall height, clearance, rim diameter | Confirm the fixture still installs and operates correctly |
| Cosmetic | Rib spacing, wave amplitude, color appearance | Approve a visual master or physical sample |
| Reference | Approximate curve or non-contact decorative feature | Mark as reference so it is not mistaken for a hard limit |
Handmade glass naturally needs a different control strategy from a pressed part with dedicated tooling. Do not insert a generic “plus or minus” value into every field. Ask the manufacturer to propose achievable tolerances for the selected process, then approve the limits that protect fit, appearance, and function.
10. Inspection points and acceptance evidence
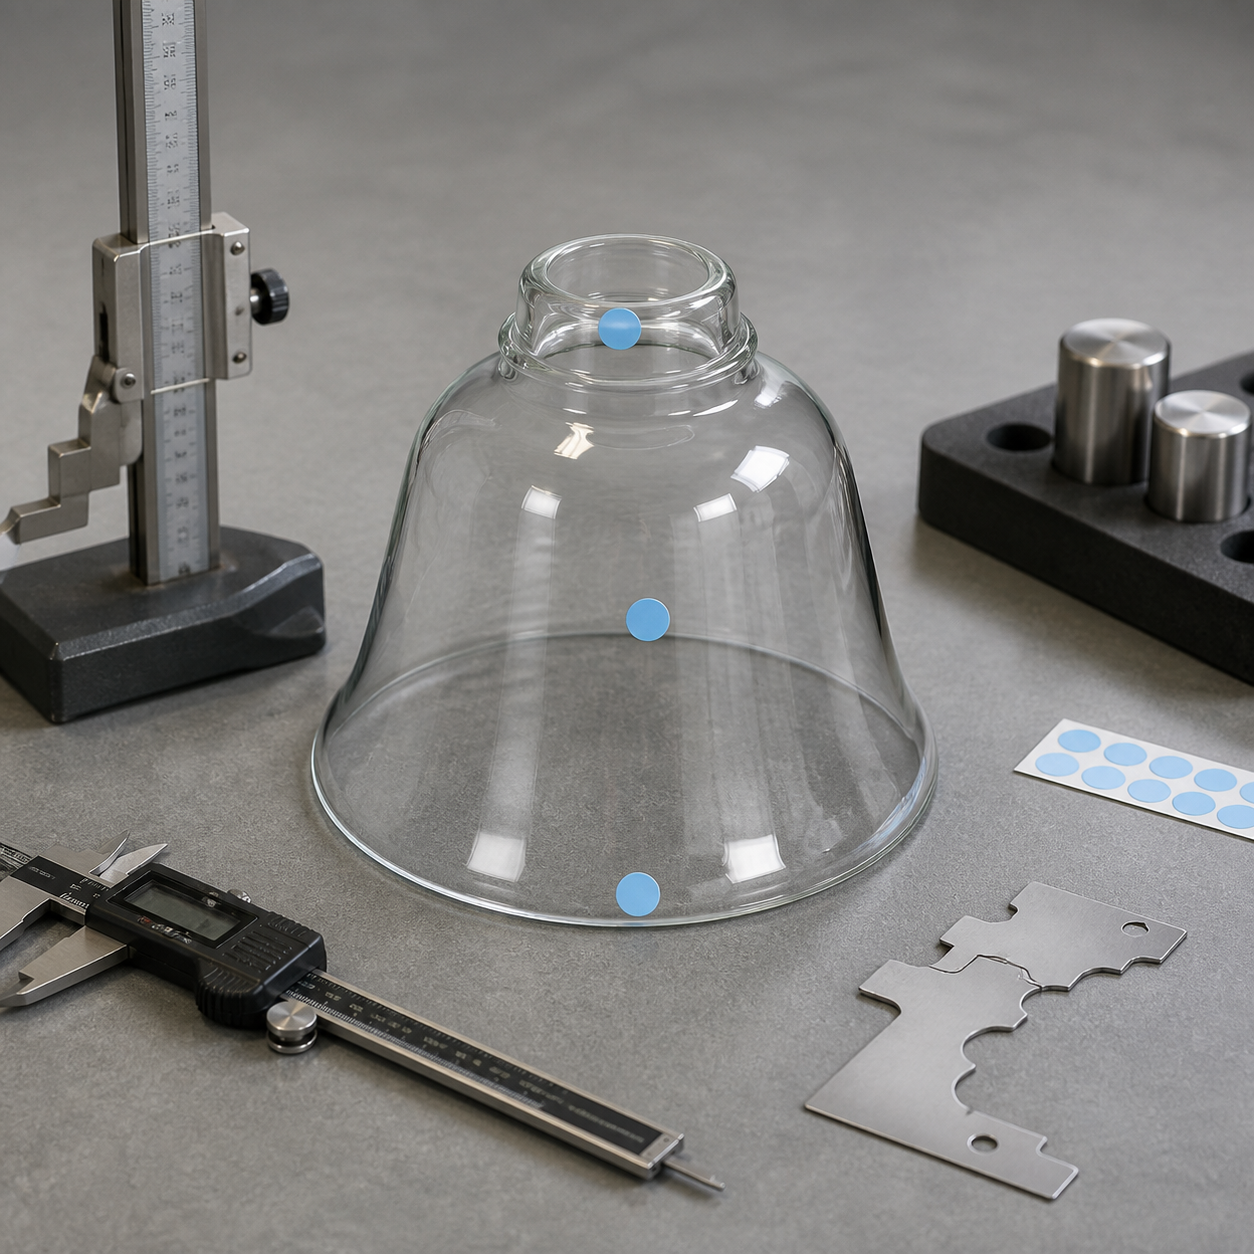
Inspection is easier when the drawing tells the inspector what to check and the order to check it. Add numbered balloons or a separate inspection table for the dimensions and visual features that matter.
| Inspection point | Suggested evidence | Confirm before the order |
|---|---|---|
| Fitter and retention geometry | Caliper reading, fixture fit photo, or gauge record | Which surface is measured and what range is acceptable? |
| Profile and height | Height gauge, profile template, or controlled photo | Is the profile fixed, approximate, or sample-matched? |
| Rim and edge | Close visual inspection and defect photo | Are chips, sharp edges, polishing marks, or waviness acceptable? |
| Color and finish | Master sample comparison under agreed light | Is variation allowed between lots or only within one lot? |
| Light behavior | Installed sample photo or photometric test when required | Is the target appearance visual, measured, or both? |
| Packing condition | Carton and insert photo before shipment | Which packaging details are part of acceptance? |
ISO 2859-1:2026 describes acceptance-sampling plans for lot-by-lot inspection by attributes and uses AQL-indexed schemes. It does not choose the correct AQL for your shade, and it does not replace a product-specific inspection agreement. If sampling is part of the purchase order, specify the standard, inspection level, defect classes, and acceptance numbers with the quality team.
For thermal testing, be precise about scope. ASTM C149 describes thermal shock resistance testing for commercial glass containers. It should not be copied into a lamp shade drawing as a universal requirement. If a thermal-shock or stress test is needed, ask the supplier to state the method, specimen, temperatures, acceptance rule, and applicability to the actual shade.
11. Quantity, application, and project conditions
The same shade can require different decisions for a prototype, a replacement batch, a hotel rollout, or a retail collection. Put the commercial context beside the drawing:
- prototype, sample, pilot, or production quantity;
- target delivery window and shipping destination;
- indoor, outdoor, hospitality, bathroom, industrial, or other use;
- fixture orientation and bulb or LED source;
- cleaning, humidity, vibration, or temperature conditions that affect the part;
- whether one shade must match an existing installed set;
- required packaging, labeling, spare quantity, or carton configuration.
The CPSC home fire-safety guide advises using the correct bulb wattage and not using a table lamp without a shade. For a commercial or OEM project, the fixture maker remains responsible for the complete luminaire design and applicable safety review. The drawing should therefore show the intended application and bulb envelope, but it should not claim a safety certification that has not been confirmed.
12. Approval documents and revision control
Finish the package with the documents the supplier and buyer will actually use:
- The dimensioned drawing in PDF or another agreed format.
- The native CAD file when the manufacturer needs it and the buyer is authorized to share it.
- Photos of the fixture, holder, existing shade, or sample from several angles.
- Material, finish, and color references.
- Quantity, destination, packaging, and required documentation.
- A list of open questions that the supplier must answer in the quote.
- The sample approval record tied to the drawing revision.
If the design changes after the quotation, create a new revision. Do not edit the old file in place and assume everyone received the update. A short revision note such as “fitter opening changed; finish unchanged” prevents a surprising number of production mistakes.
Drawing, sketch, photo, or sample: which one should you send?
Use the least complicated document that still answers the next decision.
| Starting material | Good for | Still missing |
|---|---|---|
| Photo with ruler | Early identification and feasibility discussion | Hidden geometry, reliable dimensions, material and finish control |
| Hand sketch | First custom conversation and shape direction | Scale, tolerance, interface detail, and revision control |
| Dimensioned PDF | Quote review and sample planning | Physical appearance and real light behavior may still need a sample |
| CAD or controlled drawing | Tooling, production, and inspection reference | The agreed material, finish, and approval sample |
| Physical sample | Matching an existing part or approving appearance | A drawing is still needed for repeatable inspection and revisions |
The most efficient first inquiry often combines a dimensioned sketch, fixture photos, one physical or photographed reference sample, target quantity, and a short list of open decisions. Use the custom lamp shade RFQ spec builder to collect those details in one submission.
How to review the first sample against the drawing
Do not start by asking whether the sample “looks close.” Review it in the same order the drawing defines the risk:
- Confirm the part number and revision on the sample record.
- Check the fitter, retention detail, and installation clearance.
- Measure critical and functional dimensions using the agreed method.
- Review the profile from the same viewing angle as the drawing.
- Compare color and finish against the approved master under the agreed light.
- Inspect the rim, edge, surface, holes, threads, and other defect-sensitive areas.
- Photograph any deviation beside the measurement tool or reference sample.
- Record accept, revise, or reject against a specific drawing note.
This sequence separates a fit failure from a cosmetic preference. It also makes the supplier's next action clearer. A revised sample should reference the new drawing revision rather than relying on an email thread.
Add packaging to the same project file
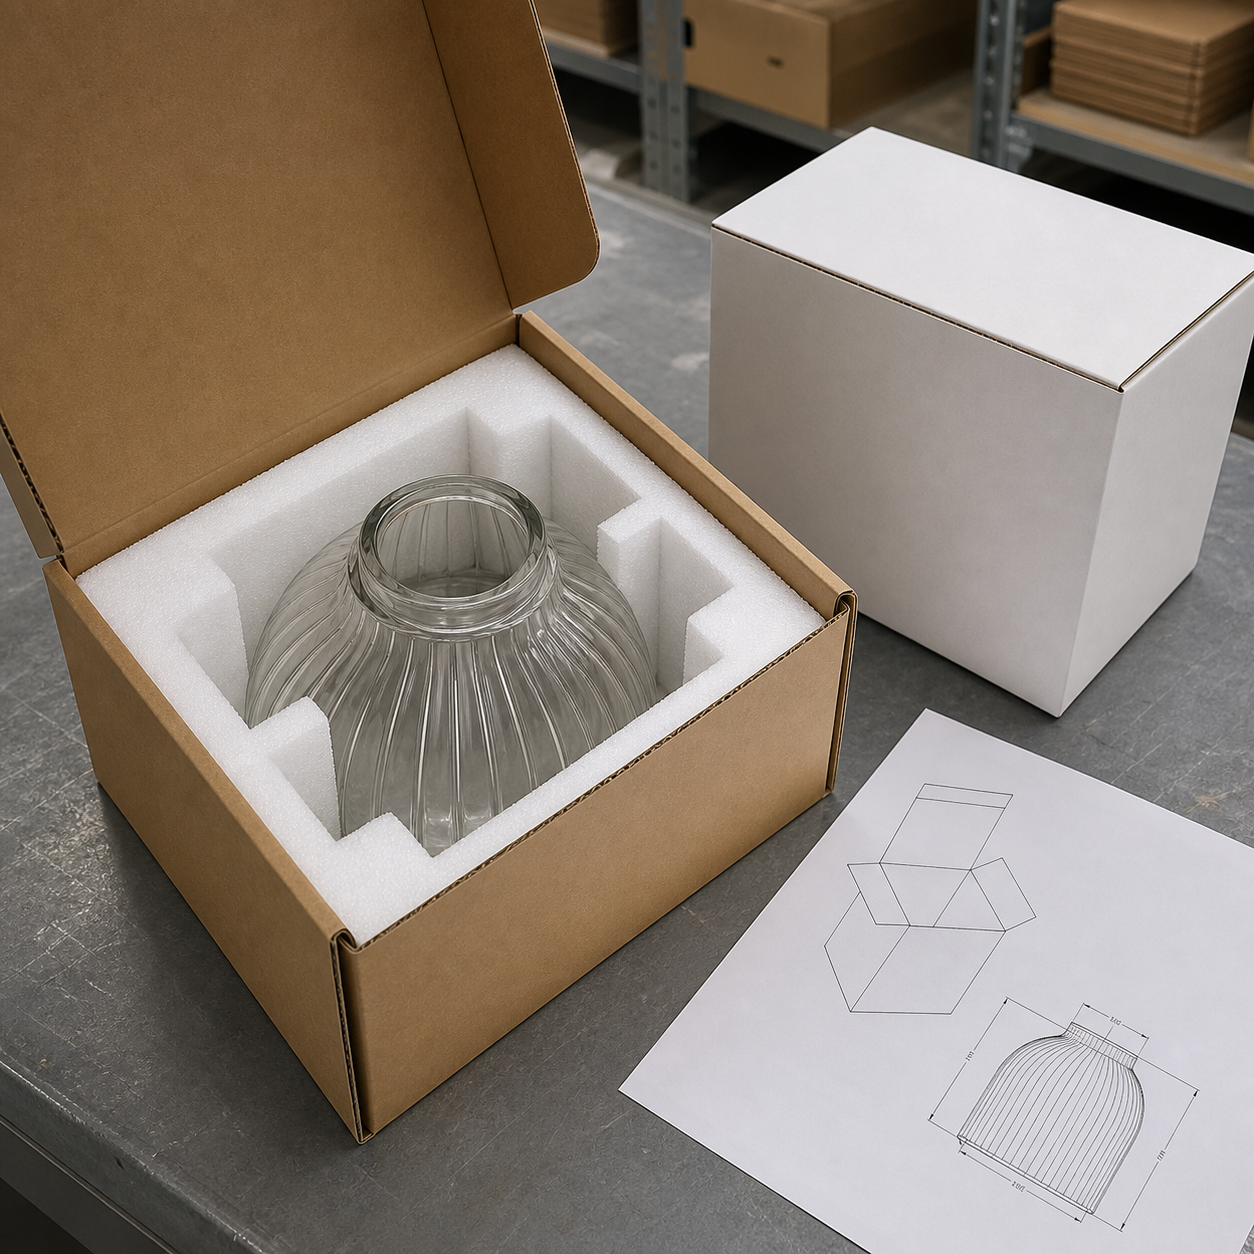
Packaging is not part of the glass profile, but it is part of the delivered result. Record the individual protection, divider or cavity, carton orientation, quantity per carton, and any fragile or upright marking required by the project. Ask for a packing photo or packing drawing before shipment when the shade is unusually thin, heavy, deep, irregular, or expensive to replace.
Do not accept “standard export packing” as a complete specification. The phrase does not tell you the insert shape, cushioning location, carton strength, or whether the shade can move inside the box. Link the packing requirement to the shade revision and the shipment quantity.
A quote-ready handoff package
Before sending the inquiry, check that the recipient can answer these questions without opening a second email:
- What is the part and which revision controls?
- How does it mount and what dimension controls fit?
- What is the full profile and which features are intentional?
- What glass and finish are required or still open?
- Which dimensions are critical, functional, cosmetic, or reference?
- What sample, test, inspection, and packaging evidence is needed?
- How many pieces are needed, for which fixture and market, and by when?
- What can the supplier propose, and what must the buyer approve first?
For a custom request, send the drawing, photos, sample information, quantity, application, and finish references together. JX's custom glass lamp shade manufacturer page explains the broader OEM/ODM route; the RFQ builder is the more direct next step when you already have a design to review.

Frequently asked questions
Is a hand sketch enough to get a glass lamp shade quote?
A hand sketch can start a feasibility conversation, especially when it is accompanied by a photo, a known reference size, the intended fixture, quantity, and the questions you need the supplier to answer. A dimensioned PDF or controlled drawing is better for sample approval and production because it identifies the actual inspection surfaces and revision.
Do I need a CAD file?
Not always. A clear dimensioned PDF can be enough for an initial review. A native CAD file becomes more useful when the part needs tooling, complex curvature, repeated revisions, or a controlled interface with other components. Ask the manufacturer which file format its engineering team can use.
Which glass lamp shade dimension matters most?
The dimension that controls mounting usually comes first: the fitter opening, neck, holder contact, or retention feature. Height, maximum body diameter, rim, profile, clearance, and wall or weight requirements follow. The exact priority depends on the fixture, so show the hardware rather than listing dimensions without context.
Should I put tolerances on every dimension?
No. Mark the dimensions that protect fit, function, appearance, or assembly, then classify the remaining dimensions as reference or supplier-proposed. A manufacturer should confirm achievable tolerances for the selected forming and finishing route before the buyer approves the drawing.
Can a manufacturer make a shade from a photograph?
A photograph can help identify shape, finish, and fixture context. It cannot reliably show hidden openings, scale, wall thickness, or the surface that carries the shade. Send a ruler or caliper reference, several angles, and a physical sample or dimensioned sketch when the fit matters.
When should I request a sample?
Request a sample before mass production when the profile, finish, fitter, light transmission, color, or surface variation affects the product decision. Tie the sample to a drawing revision and record what is approved. A sample should reduce ambiguity, not become an undocumented replacement for the drawing.
A clear drawing makes the first supplier reply useful
The purpose of a glass lamp shade technical drawing is not to make the inquiry look more technical. It is to remove the decisions that otherwise appear later as a wrong fitter, a changed silhouette, a finish dispute, or a sample that cannot be inspected consistently.
Start with the mounting interface and the critical dimensions. Add the profile, material, finish, tolerance, inspection, application, packaging, quantity, and revision record. Then send the complete package through the custom lamp shade RFQ spec builder for review.